Trending

Monday, July 15, 2013

So Fresh & So Clean

Originally we had reserved this past weekend for a camping trip on the island with some of our friends. Unfortunately, some unexpected financial obligations arose and we had to back out last minute. We were sad to miss it, but on the upside we accomplished A LOT around here (including meeting new friends in our neighbourhood for both Halle and myself! Exciting!!).

With Halle's birthday party happening this coming weekend, we really want to house to be clean and as organized as possible before our friends show up (we're still settling in after the move). After reading this post last week by my blogging pal Sheila, I wanted to tackle a project we've been putting off since we moved in - our front door. From a distance, it didn't look like much more than a white painted door (with mismatched hardware). 


July 13, 2013


When you got closer, the ugly became a bit more obvious. The door itself is your run of the mill exterior grade steel door, but it had never been painted and was incredibly dirty and marked up. To make it look even worse, the brass paint from the door handle was chipping off and it just looked awful.


July 13, 2013July 13, 2013

July 13, 2013

We had already bought some flat black spray paint to use for the door handle a while ago, but we needed to decide what do for the door itself. We talked colours and picked up some paint swatches to bring home and test next to our siding. We'd even considered purchasing a new window insert that we saw at Home Depot for $28. In the end, it came down to the fact that the door is NOT our style at all, and eventually we'd like to replace it with a nice wood door like thisthis, or (my personal favourite) this.

With all this in mind, we opted to use some white exterior paint that B needed for another project (to be shared soon), and just freshen up the front door. Once I started painting it was obvious how grey and dirty the door really was.


July 13, 2013July 13, 2013

It took about 3 coats to get the door looking great, and once we put that black door handle back on everything was looking much crisper around here. 


July 14, 2013

Front Door Before & After

The door handle was pretty easy to clean up. B just gave it a good sanding to get all the old chipped paint off, and then we gave it three light and even coats of the matte black spray paint. It's looking fantastic and matches our deadbolt nicely!

July 14, 2013July 14, 2013

Isn't it great that one day of light work can make such a noticeable difference? Have you been freshening anything up around your place recently?
SHARE:

Wednesday, May 2, 2012

Project Reduce The Waste: DIY Dryer Sheets

When we were planning our move, B and I had agreed we wanted to try and minimize the amount of stuff we brought across the country with us. Not only to simplify the move, but our life on the west cost as well. We try to live simply and enjoy life, and we also try to be as green as possible. So when we left behind all of our laundry detergent, etc with my parents to use, we had to buy everything all over again out here. 


We picked up our usual eco-friendly laundry detergent, and some fabric softener at Costco last week (it's not eco... but they don't sell eco-friendly fabric softener at our Costco), but we passed on the dryer sheets. They create so much waste, and I had read and heard about ways to create your own dryer sheets at home. I knew that this was the answer for us, especially since we have so many old kitchen towels that we no longer need or use. This project will not only stop us from adding tons of dryer sheets to the landfills, but also stop old ratty cloths from heading there as well. Interested in making your own dryer sheets too? Here's what you'll need...


DIY Dryer Sheets


1. Old cloths, towels, shirts, etc that you are okay cutting up and parting with
2. Fabric softener
3. A container


Sounds pretty simple, right? Well, because it is! First step is to take those cloths/shirts/towels (whatever fabric it is you choose to use), and cut them up into smaller sizes. For me, I had two tea towels and a wash cloth. Each tea towel I ripped into four sections, and the wash cloth got ripped in half...


DIY Dryer Sheets

From three old cloths that we no longer need or use, I was given 10 dryer sheets!

DIY Dryer Sheets

Next, I added some fabric softener to my container and soaked my cloths in it. I flipped them and let them soak it up from all sides, before ringing out excess and letting it soak again.

DIY Dryer Sheets

Once you're done with the soaking, wringing, repeat process all you have to do is let those babies dry! Simple as that. The dry sheets can then be tossed in with your wet laundry, and i've read that they can be used a dozen times are more... but we'll see how many times they go. Regardless, I feel pretty good knowing that I'm keeping dryer sheets and these old towels out of the landfills for now! 

What little tips and tricks do you use around your home to reduce the amount of waste you create? I'd love to hear some of them!
SHARE:

Thursday, February 2, 2012

A Clean Slate

Or brick fireplace... personally, I was more looking for the latter. The other day while playing with Halle, I decided I'd finally had enough of looking at our soot stained, dirty brick fireplace.


February 1, 2012
{I know... can you believe we've been living like this?}


I mean, it's been months since we ripped that awful white brick off, so it was time I finally got busy and did something about that eye sore. First things first, it just needed to be cleaned - straight forward right? Well, I'd heard of different cleaning solutions from different people, but after reading this tutorial on Young House Love, I opted for the damp cloth route to start. After going over the whole thing once with a damp cloth (minus the bottom left corner), it was already looking a lot better...


February 1, 2012

Cleaning the brick was honestly one of those things that was so easy, I'm actually embarrassed by how long it took me to get around to doing it. Can you say lazy much? Okay... maybe just preoccupied, but either way this little project should definitely have made it's way to the top of my list! Geeez.

After seeing it cleaned up (at least a little), there is no doubt in my mind that we will paint it... and hopefully sooner than I had originally thought.

Do you have any simple projects you've been putting off, and need to finally cross off of your list? Put it out there, maybe you'll find that motivation that you need to get it done!
SHARE:

Monday, January 24, 2011

My Great Clean Out!

Today I'm joining in on a little clean up / organization blog party that Anne-Marie of 10 Rooms has put together! 

When Anne-Marie emailed me about taking part in "The Great Clean Out", I just knew I had to say yes... what better motivation to get my butt in gear and start cleaning and organizing? I also knew right away what room I would be tackling... My Craft Room / Office / Laundry Room...


Yeah - it was looking pretty rough. Left over Christmas pieces were stuffed in boxes in here. Construction materials had been placed here to stay out of the main basement living area. Basically, it had been a giant catch all for anything that didn't have a proper home.

With me back to classes as of last Monday (I'm soooo excited about my class this term!), I knew I needed to whip this space into shape so that I would have somewhere to escape to and get my work done. My first step was just to get EVERYTHING out... which meant relocating it all (with the help of B) into our living area. My #1 rule was that anything that didn't belong, was not to go back in! I knew that by keeping it out in the open in our living space, I would be more motivated to find a proper place for everything. After running the vaccum around quickly, I got to work organizing.

With the help of B, we moved my brand new IKEA "As-Is" dresser into the spot that was previously occupied by our big, ol' ugly filing cabinet (which we no longer needed).


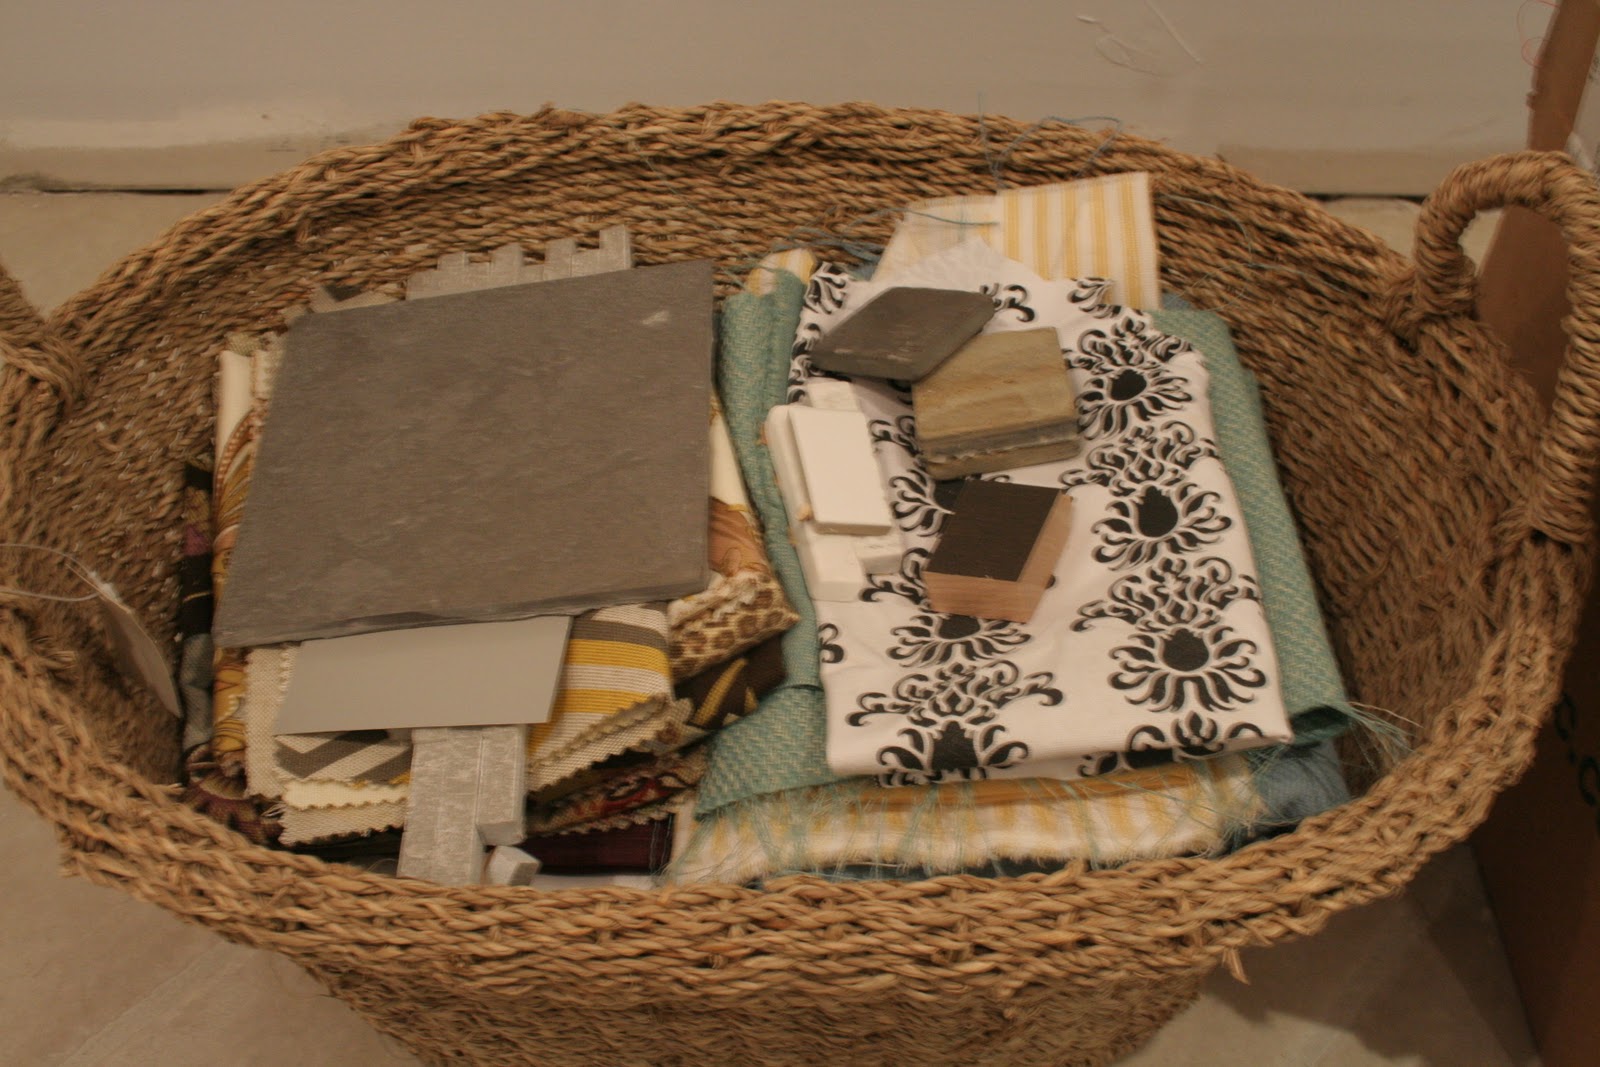
There was a lot of stuff to sort out and organize. Old school projects, paper (LOTS OF PAPER!), crafty items, fabric and other samples... and pretty much any other thing you can possibly think of. 


It kept me busy for quite some time, and I definitely did not complete this in a couple of nights, it was an on going process. Items were moved, and moved again. At this point it is by no means "perfect", but it's exactly what I set out to accomplish for now. It has more storage, and it's a lot more functional than it was before - take a look at the before and after...


I can actually get INTO the room again... and with all that new drawer space, everything has a home!


The top left drawer contains ribbons, my blog cards and some other crafty items (and yes, it could still use some organization... I'll be working on that). The drawer on the right is looking a little better with a utensil organizer keeping all of my pens, pencils, markers, etc. nice and organized. This will make looking for a pen and other writing utensils a lot easier!


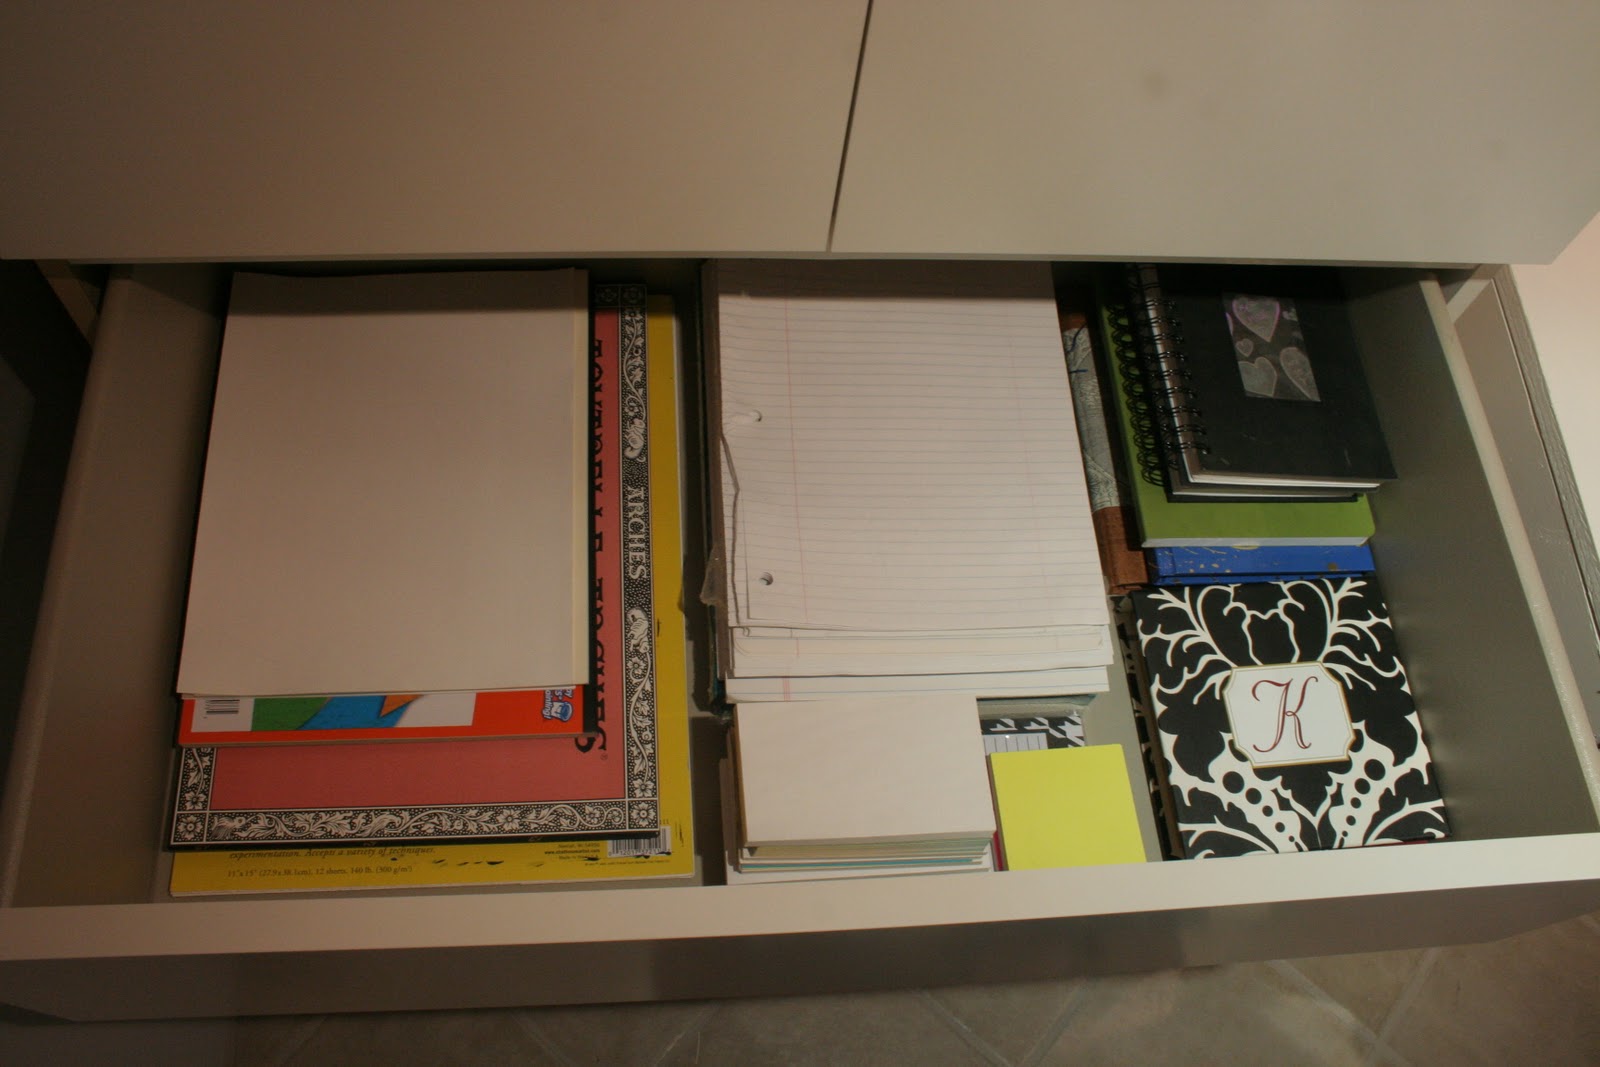
The next drawer down is home to all of my paper. The far left is craft and painting papers, the middle is blank and lined paper with some smaller pads down at the bottom. The right side is all notebooks - yeah, there are a lot of those around here.


The third drawer down I have dedicated to "gift wrapping/giving materials"... kind of. You see blank note cards, some tissue paper and a LOT of tape... that could also use a little extra organization.


This drawer holds a lot of my old writing stuff. I used to be big into writing poems and short stories, and they are all housed here. I am hoping to condense everything so I can free this drawer up... I have a feeling my bottom drawer contents will only continue to expand in the future...


My fabric drawer doesn't look very exciting right now, but they are all organized by colour, and my neutrals ended up at the top. 

My cleaning also got B motivated, and last weekend while I was back home spending some time with my family, he made some more progress on finishing up my desk. He finished painting it white, got the final trim attached, put up my cork board and attached my pistons... check it out in action...


I have a bunch of stuff that I stumbled across that needs to be added to my inspiration board up there, but I think that it is so perfect! What a lucky girl I am to have B make me such a fabulous desk! 

So, that's everything that went back in... what came out? Well, of course the old desk and filing cabinet - both of which are waiting to be relocated to my parents house. All of the Christmas stuff that had ended up in there was packed up when we did a proper clean up after the holidays, and then this...


Quite a lot to toss and recycle, as well as quite a few things that we will donate / add to our garage sale pile (we are determined to make a little bit of cash off all of the extra / unused stuff we have laying around).


Organizing, cleaning and purging our home of things always calms me down and makes me feel good, so thank you to Anne-Marie for lighting the fire under me, and getting me going on cleaning up this room! I'm already dreaming of all of the great projects I'll work on in here and all of the great blog posts I can write from my nice clean desk! Make sure you head over to Anne-Marie's blog to see her Great Clean Out and find out who else participated!

Have you taken on a major cleaning / organization project recently, or do you have one coming up? I would love to hear some of your best organizational tips!
SHARE:
Related Posts with Thumbnails
© Life on Misneach Ridge
Blogger Designs by pipdig