Trending

Monday, October 5, 2015

A Copycat Sofa Table

One thing that we have always been slow to add to our home is furniture. We try to be careful when bringing in pieces and we are always very conscience of our budget. We don't really splurge on pieces, and if we know what we want, B would rather build it for us. The best part about building our own furniture is that we can always get the end result that we desire, taking away or adding details as we please, and it saves us a ton of money. Of course, when I decided that I wanted a sofa table for our family room it was time for us to flex our DIY muscles once again.

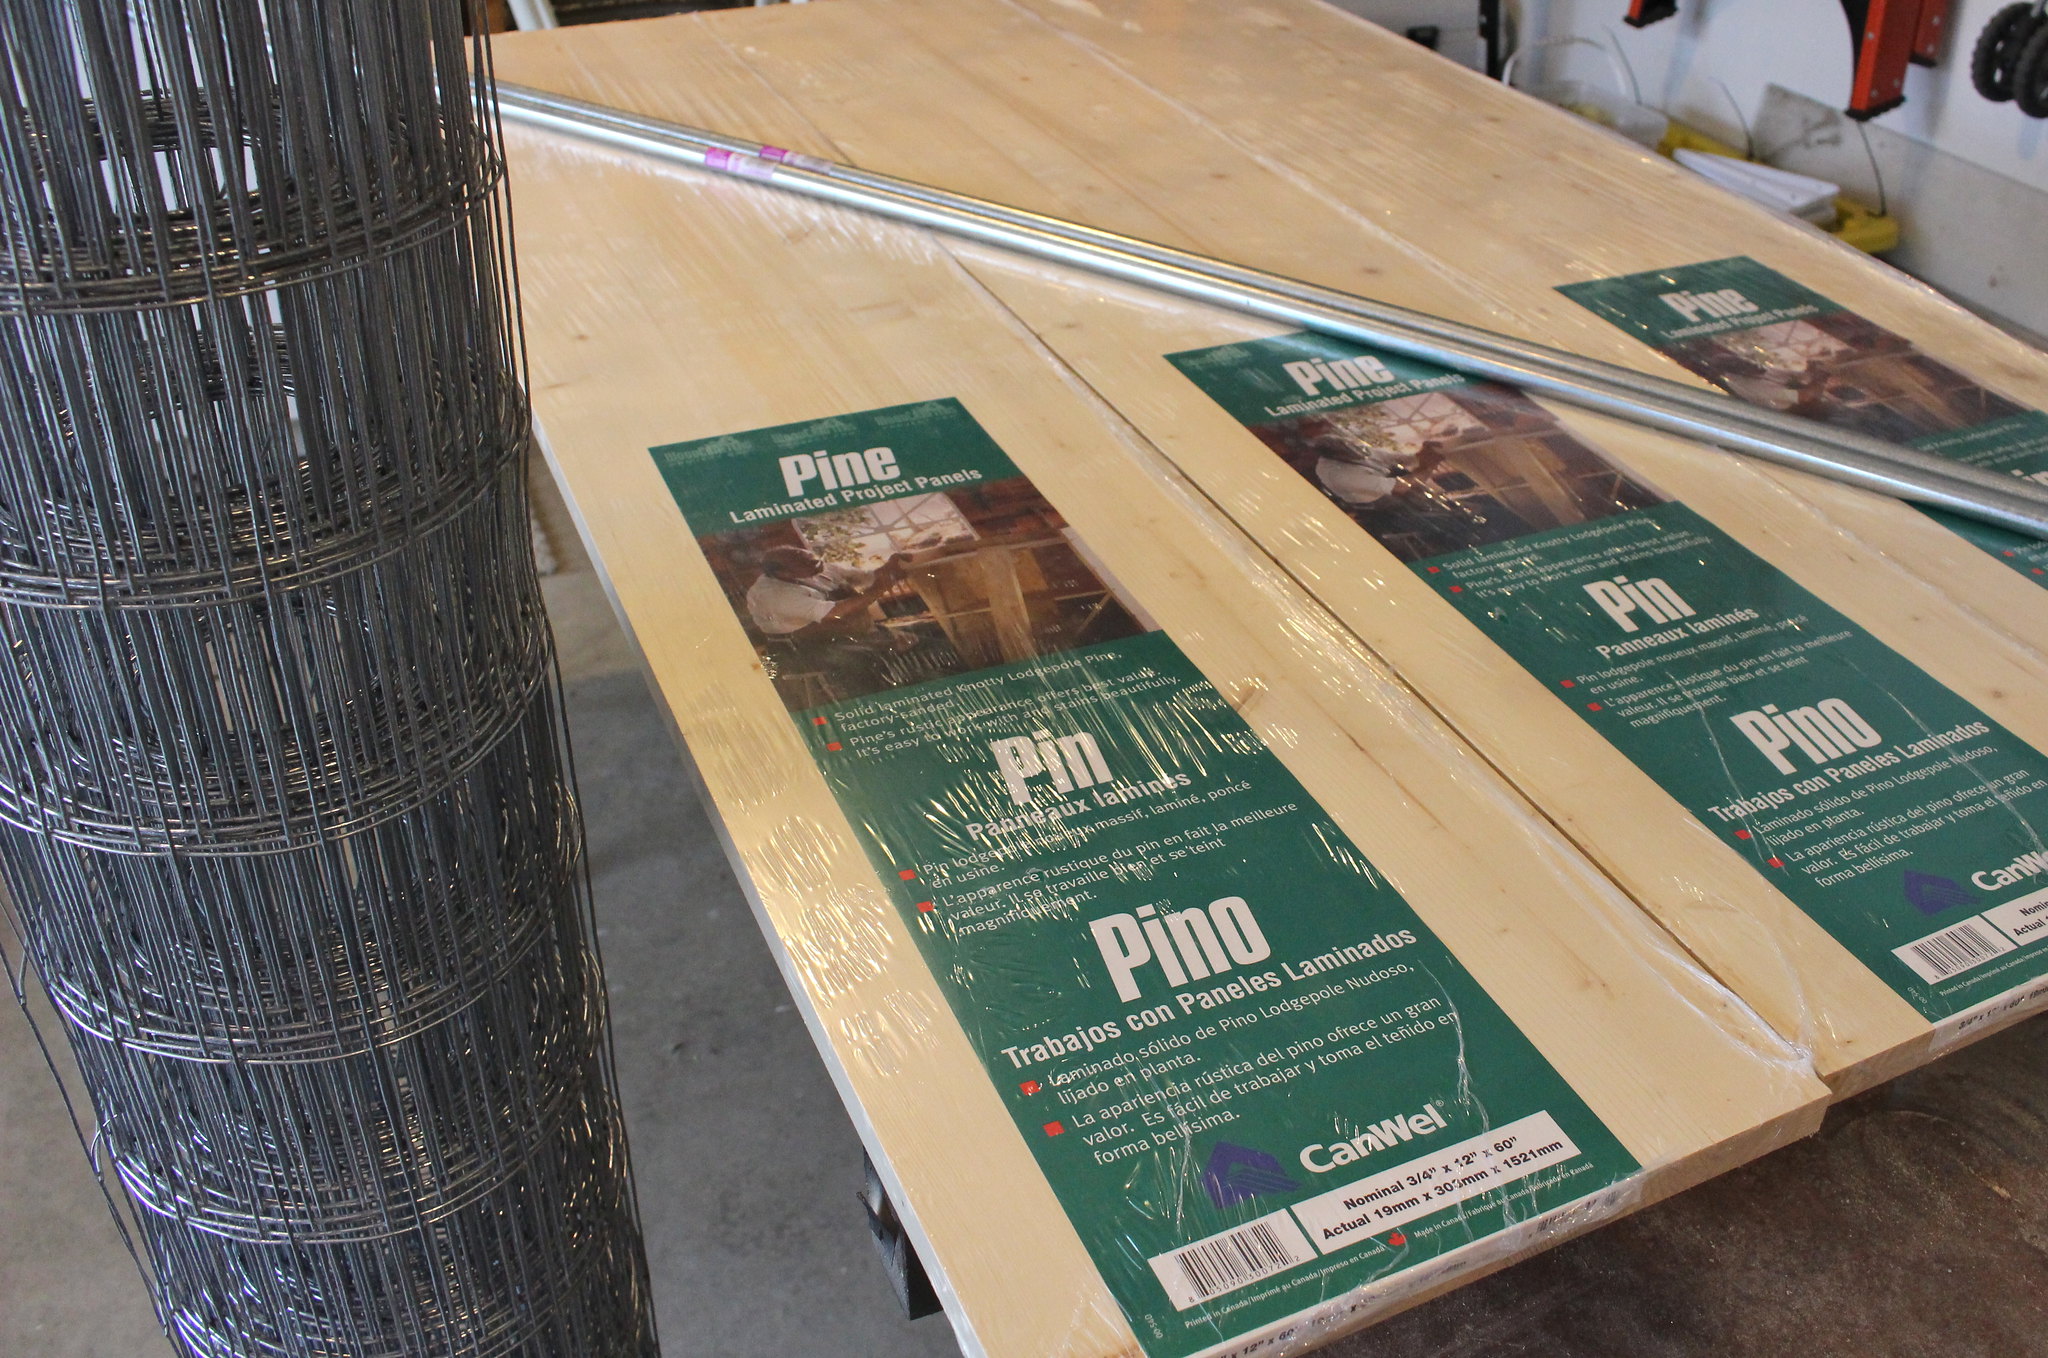
Before we began to build, I started looking at Pinterest and different big box stores for inspiration. We could've built something simple and straight forward, but I knew that I wanted something different (read not all wood), and provided us with storage space. When I found the Bleached Pine Rolling Console from West Elm, I knew that I had found our next project. It took quite a few weeks of sourcing materials and discussing plans before we started. The finally decided on the following supplies to help us build our table:

- 3 - 12" x 5' pine boards
- 2 - 10' pieces of conduit (1/2" EMT)
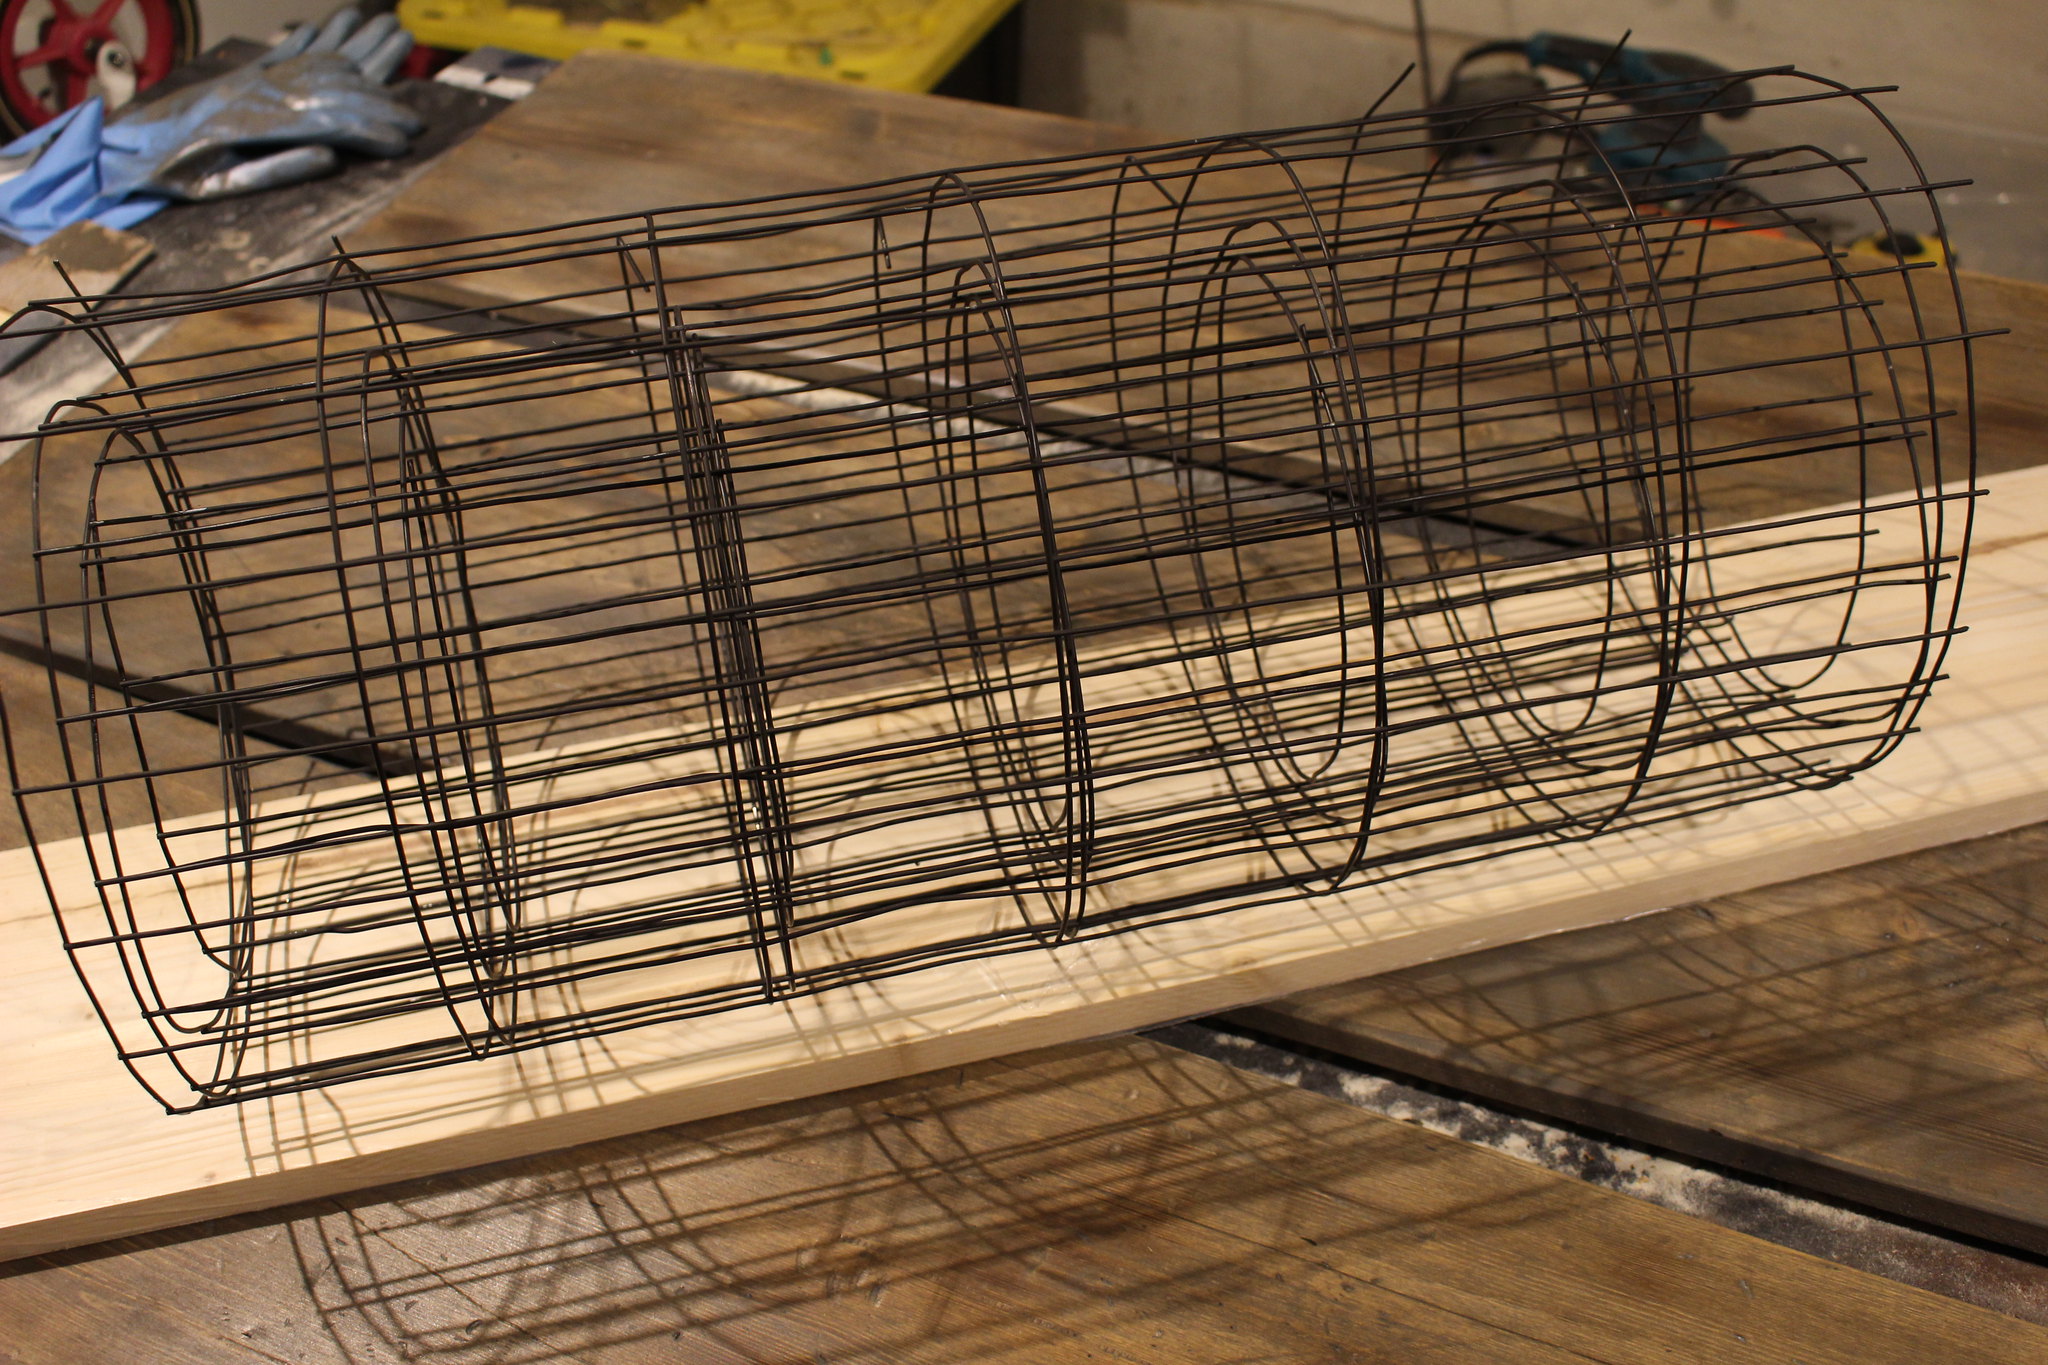
- 50' of Galvanized Wire Fencing
- 3/4" Fencing Staples
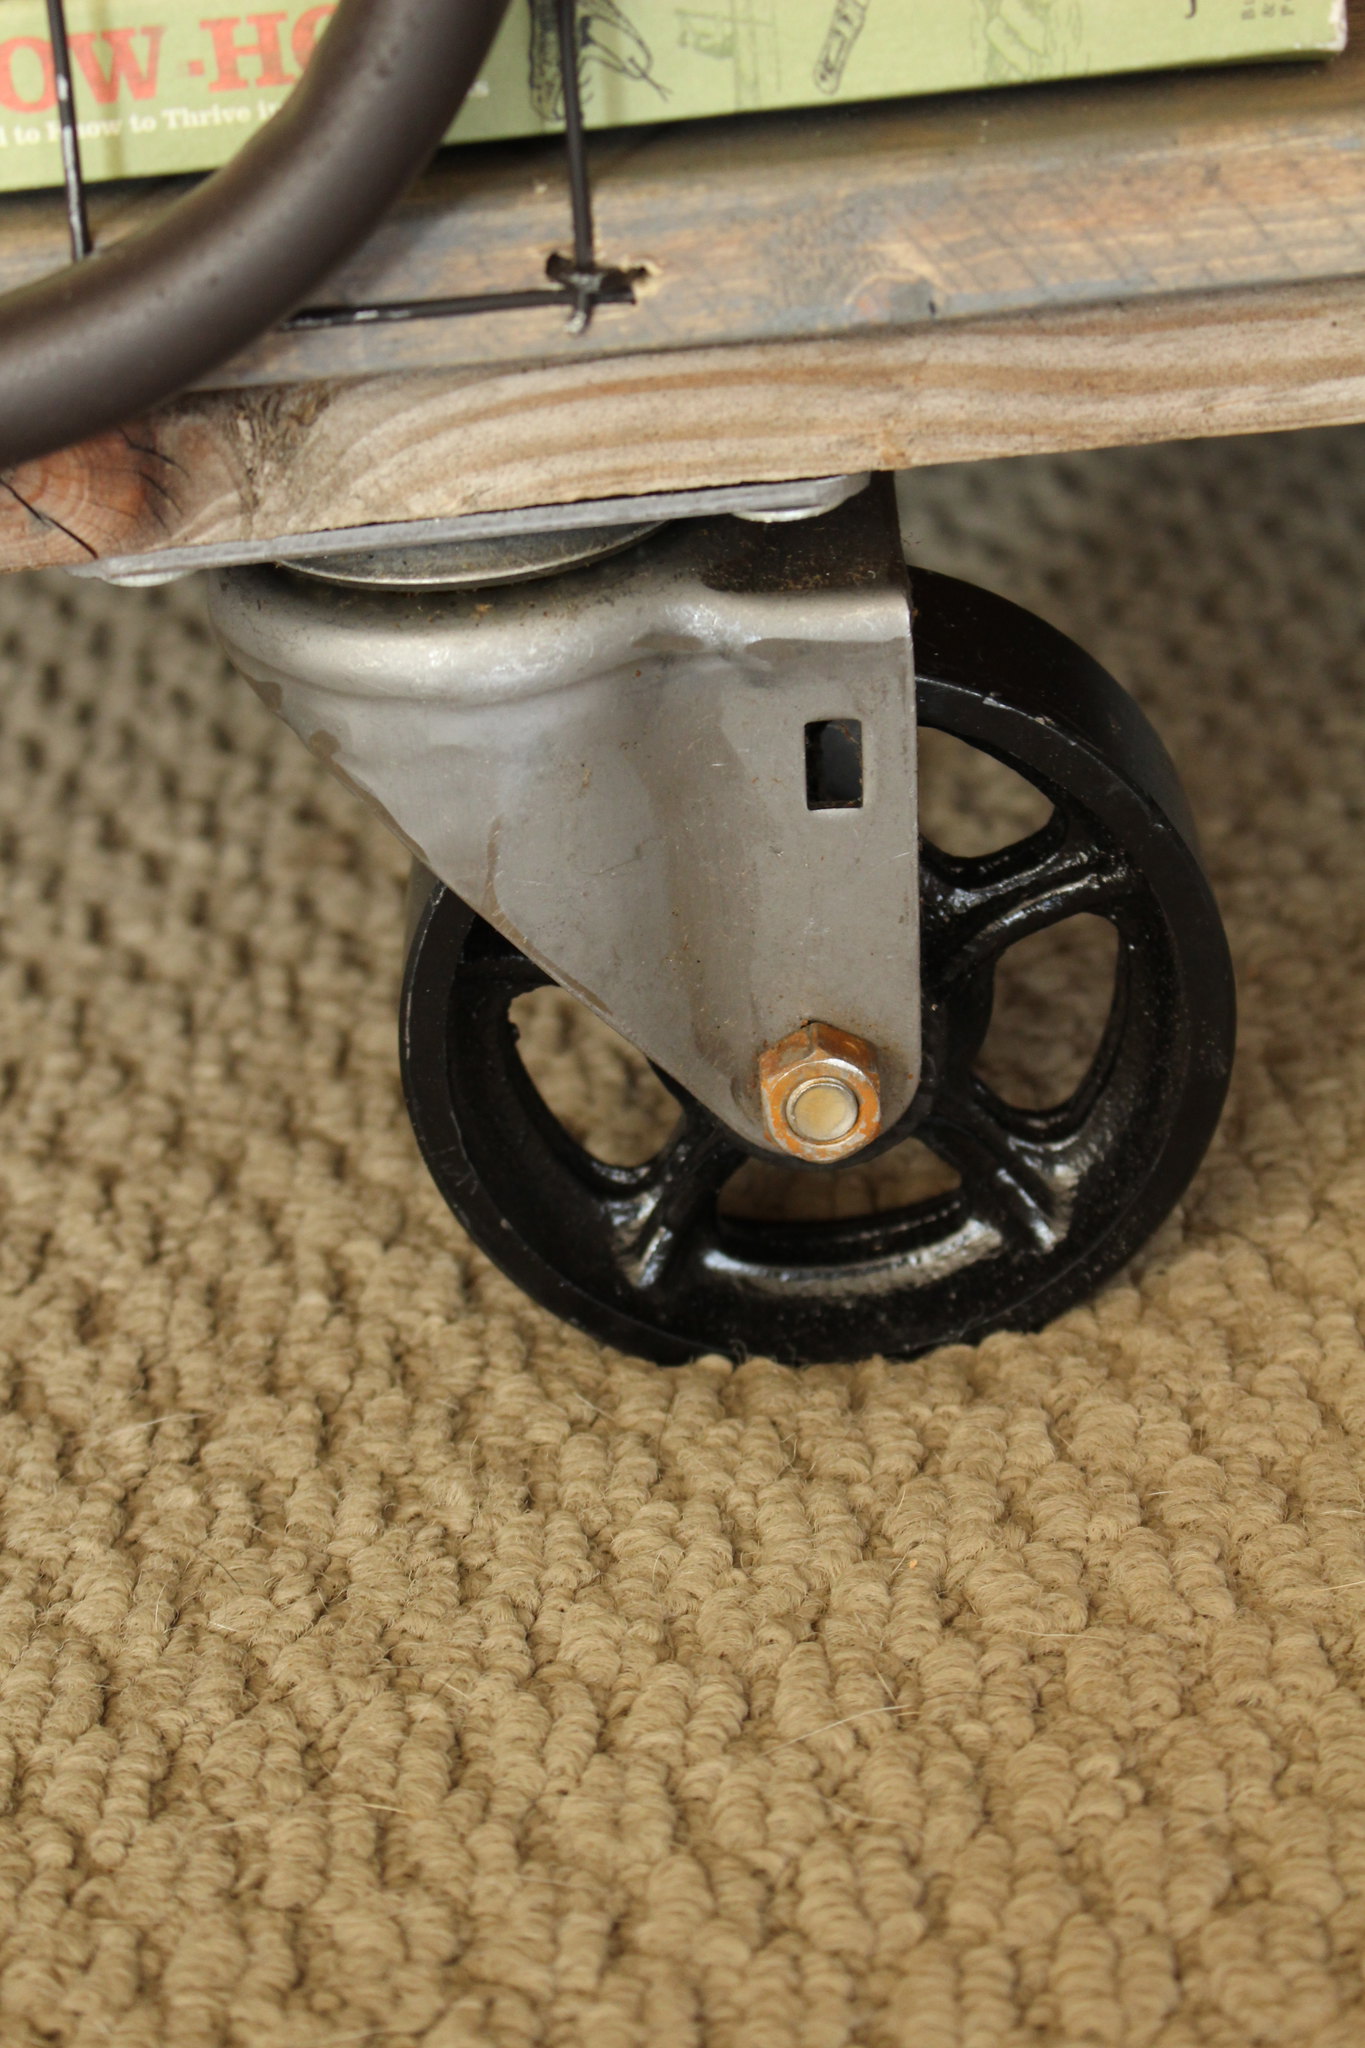
- 4 - 4 x 1 1/4 Vintage Black Cast Iron Swivel Casters (2 with brakes) (not pictured as they were still being shipped to us)


Console Table Supplies

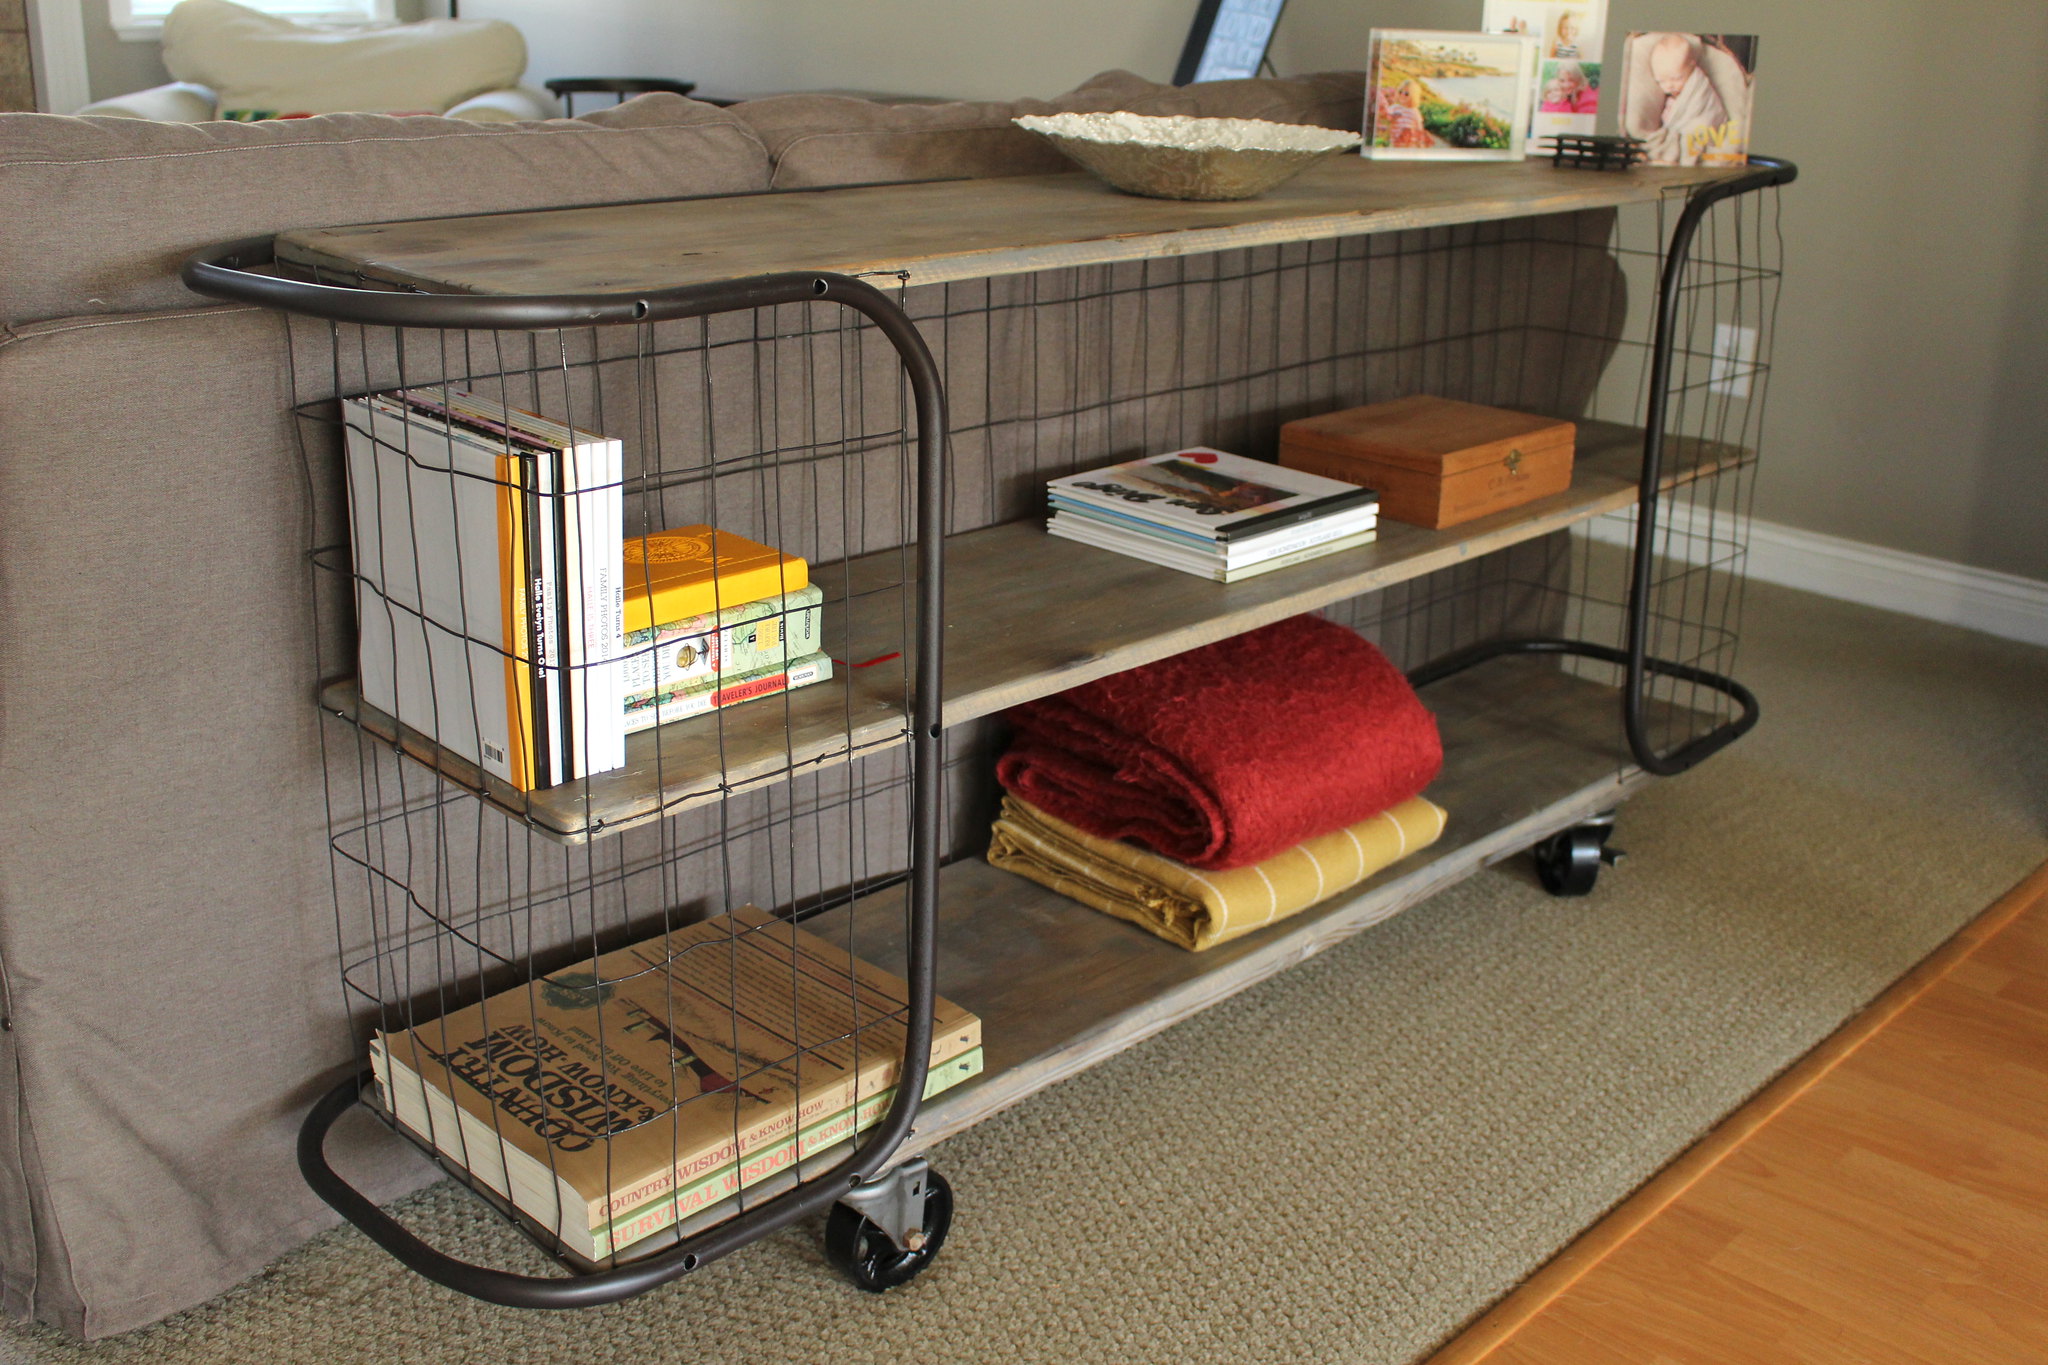
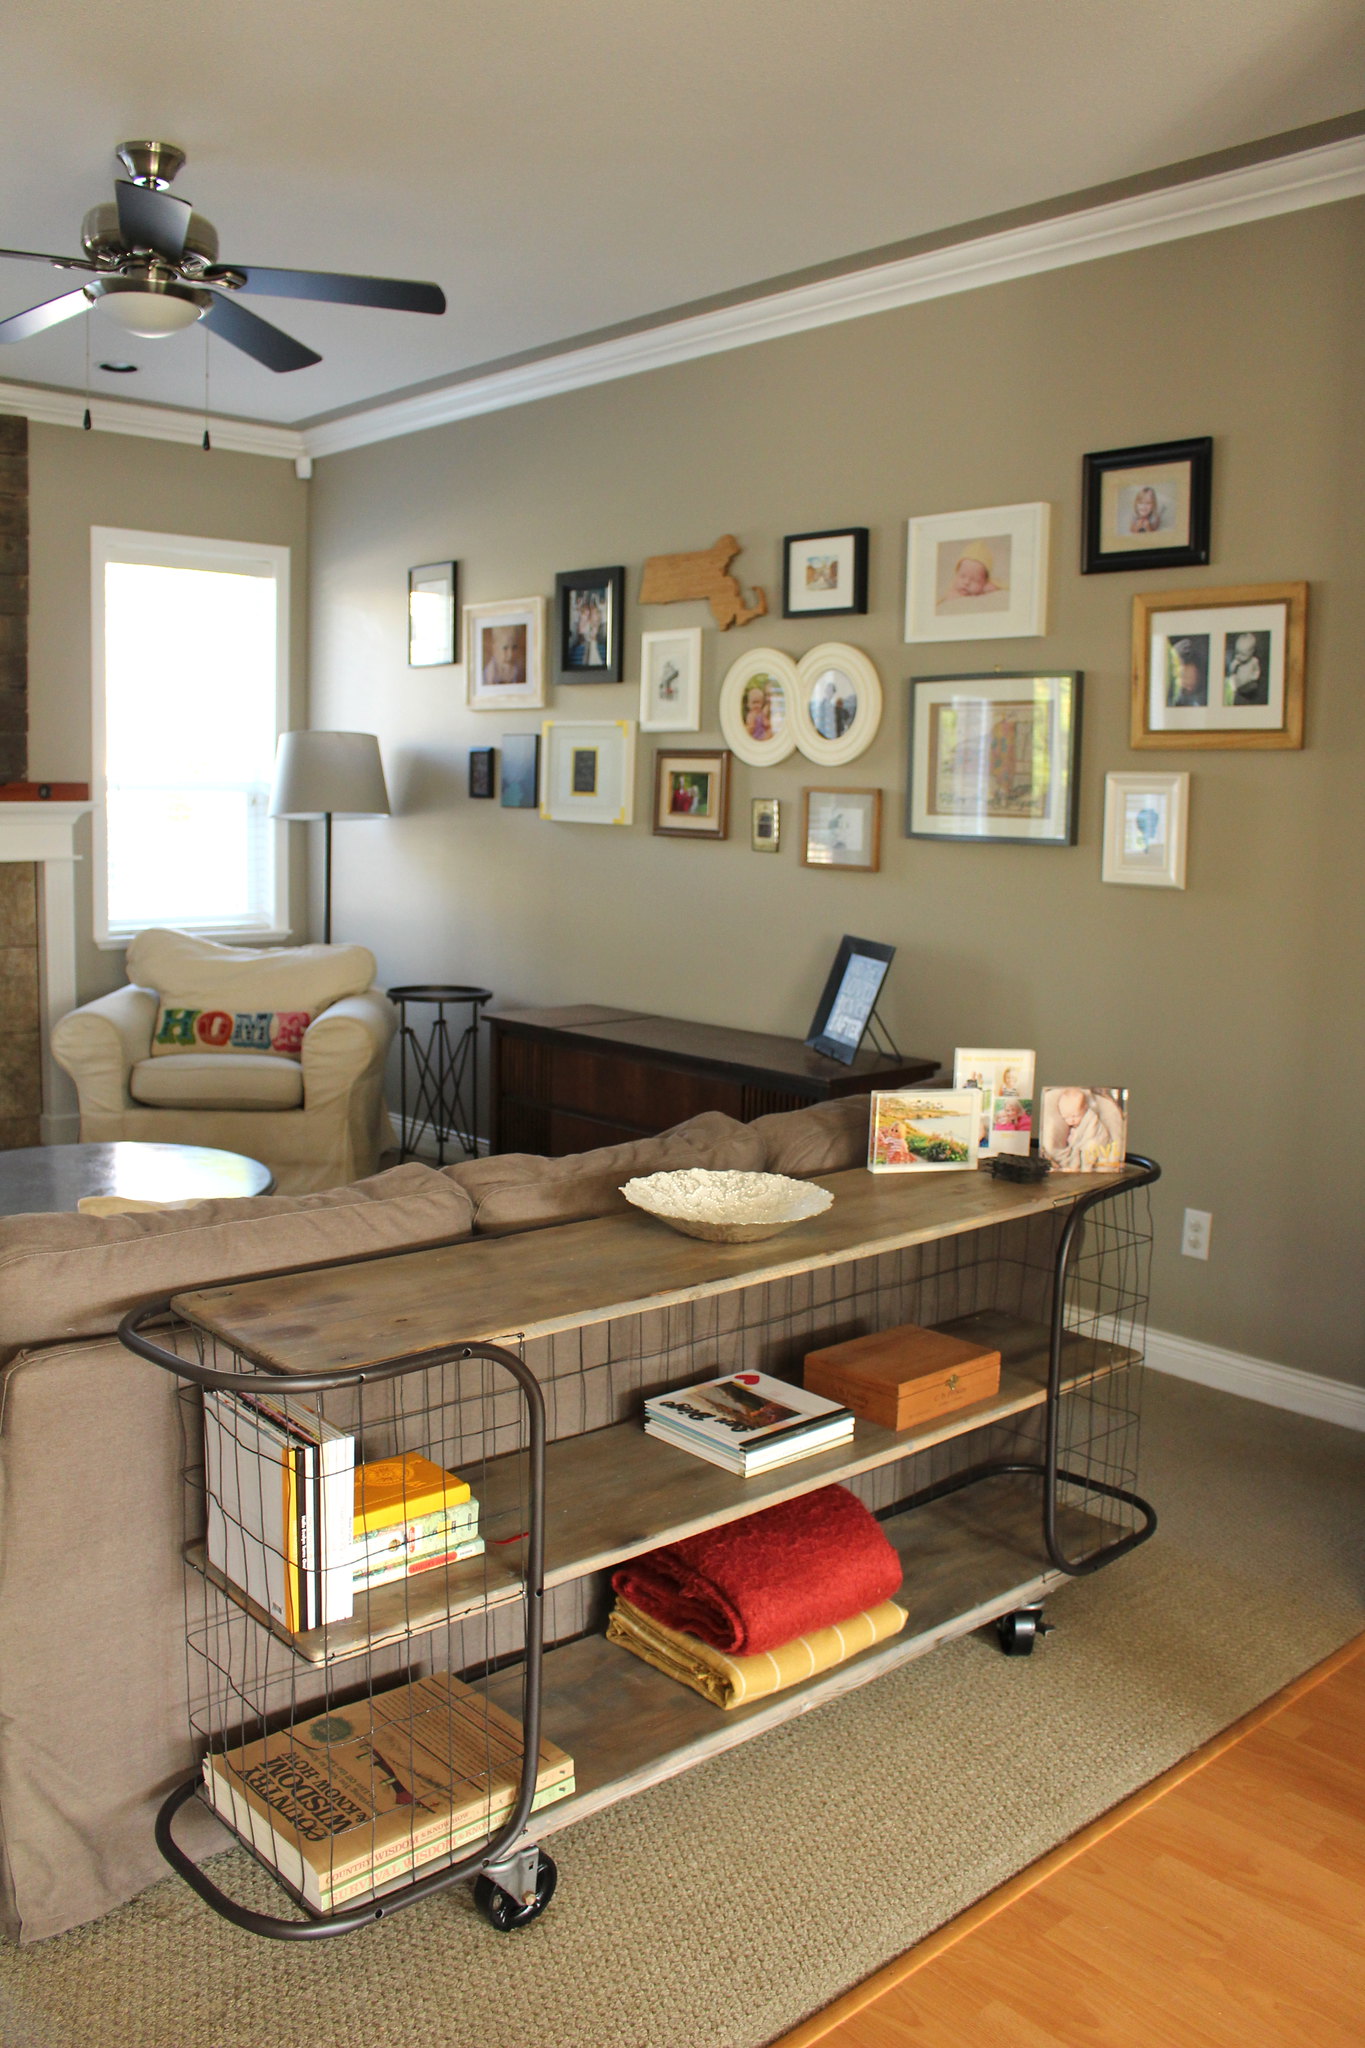
Our plan was to build a similar looking table to West Elm's but with a smaller foot print and aged looking wood. After taking measurements, we decided the table would be 12" deep, 5' long and 2' tall (with the casters on). This would ensure the table would be only slightly shorter than the length of our couch, come up nicely to the back of it, and be deep enough to hold books and photos, without being too deep.

Console Table BuildingConsole Table Building

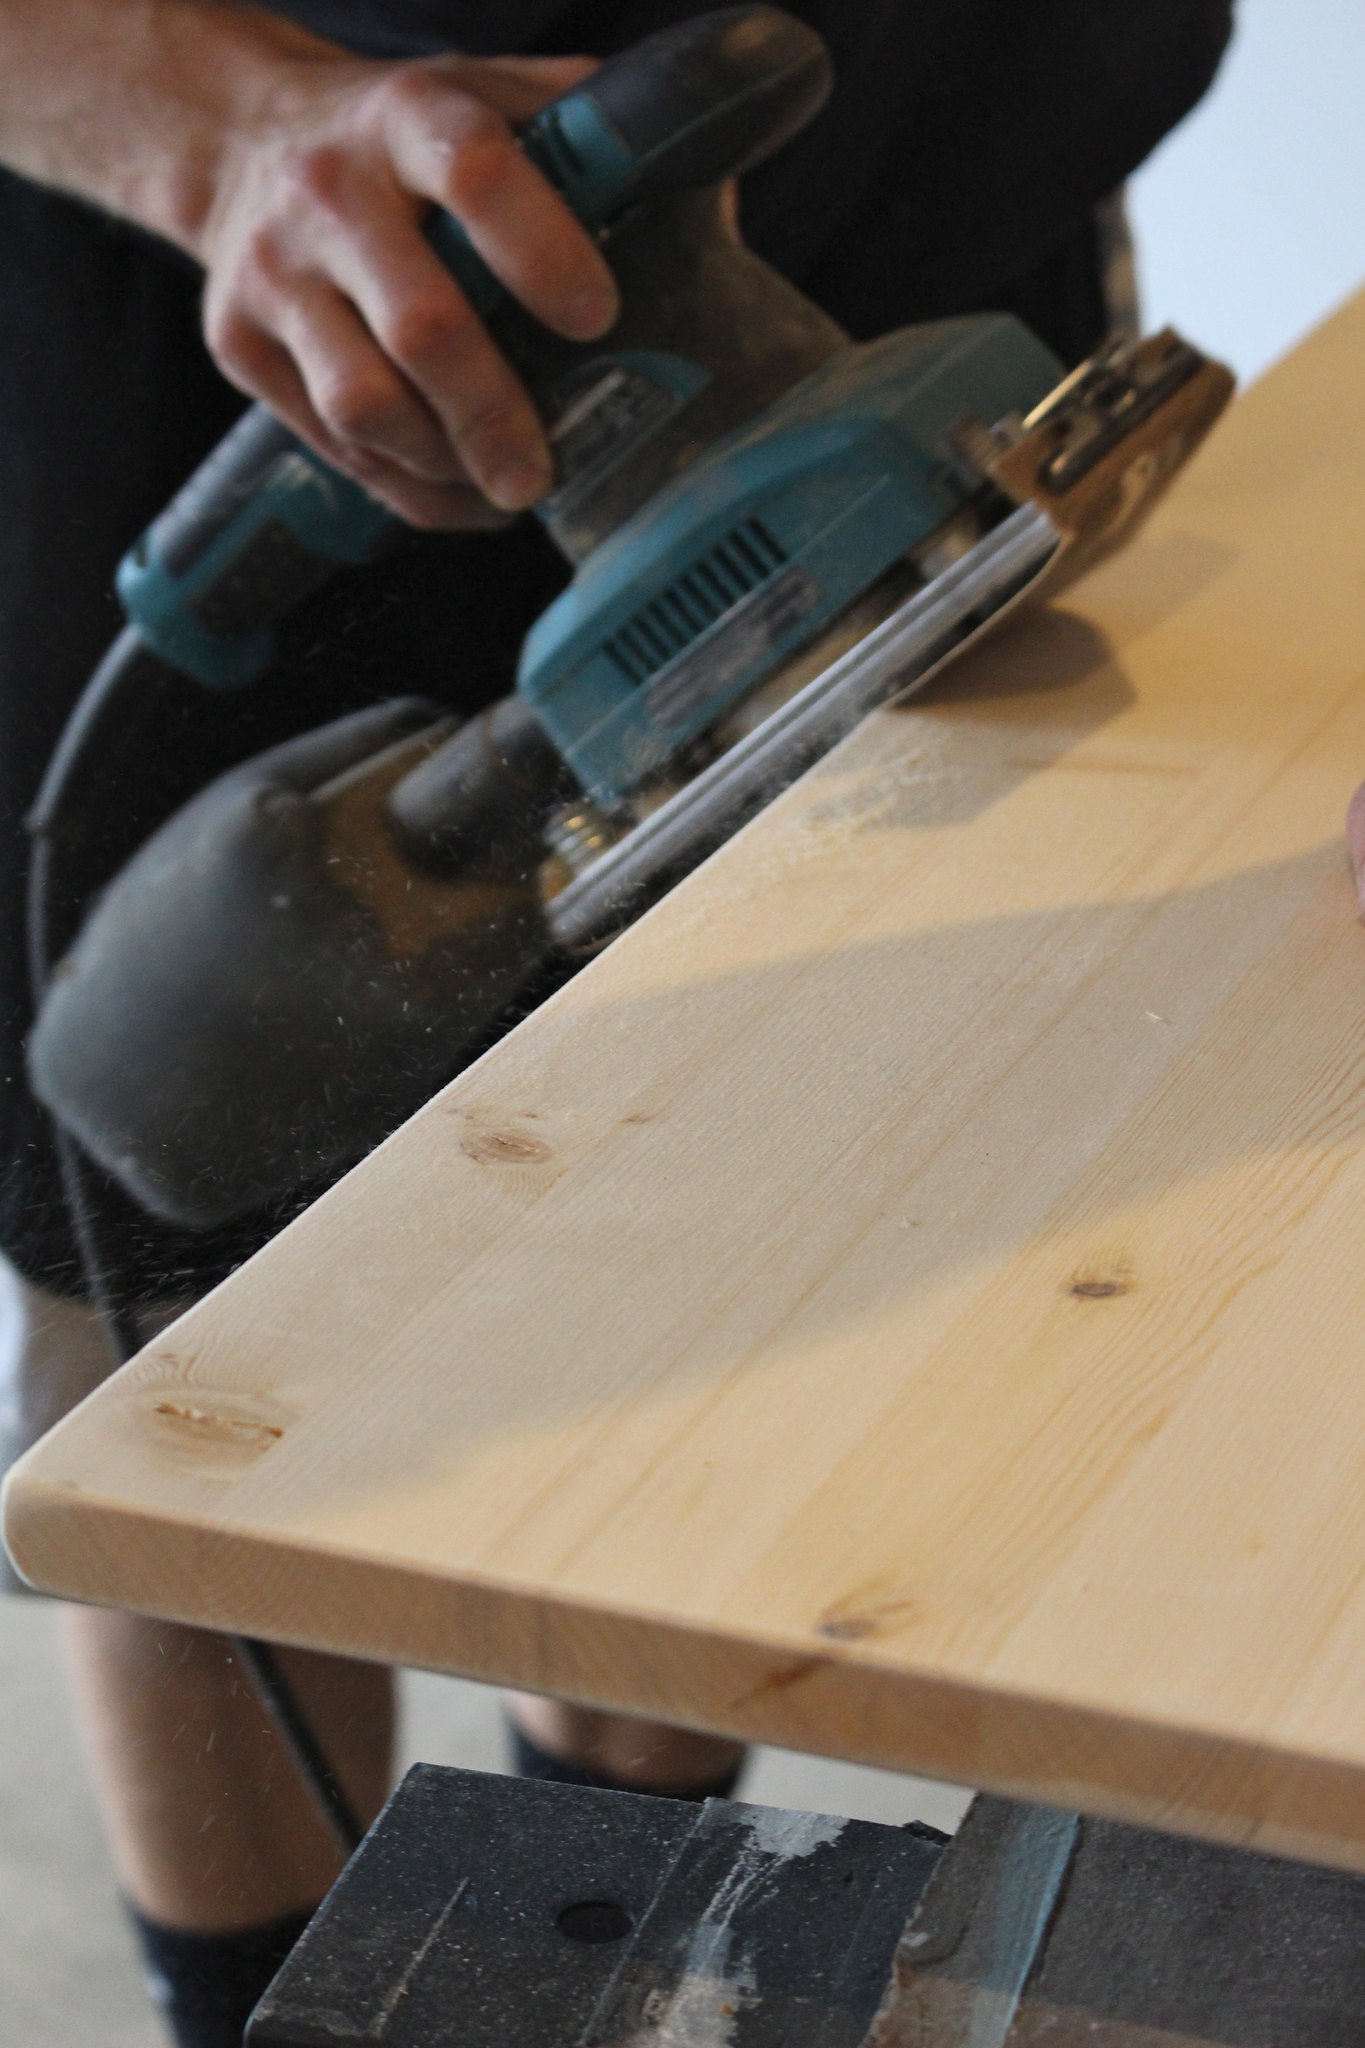
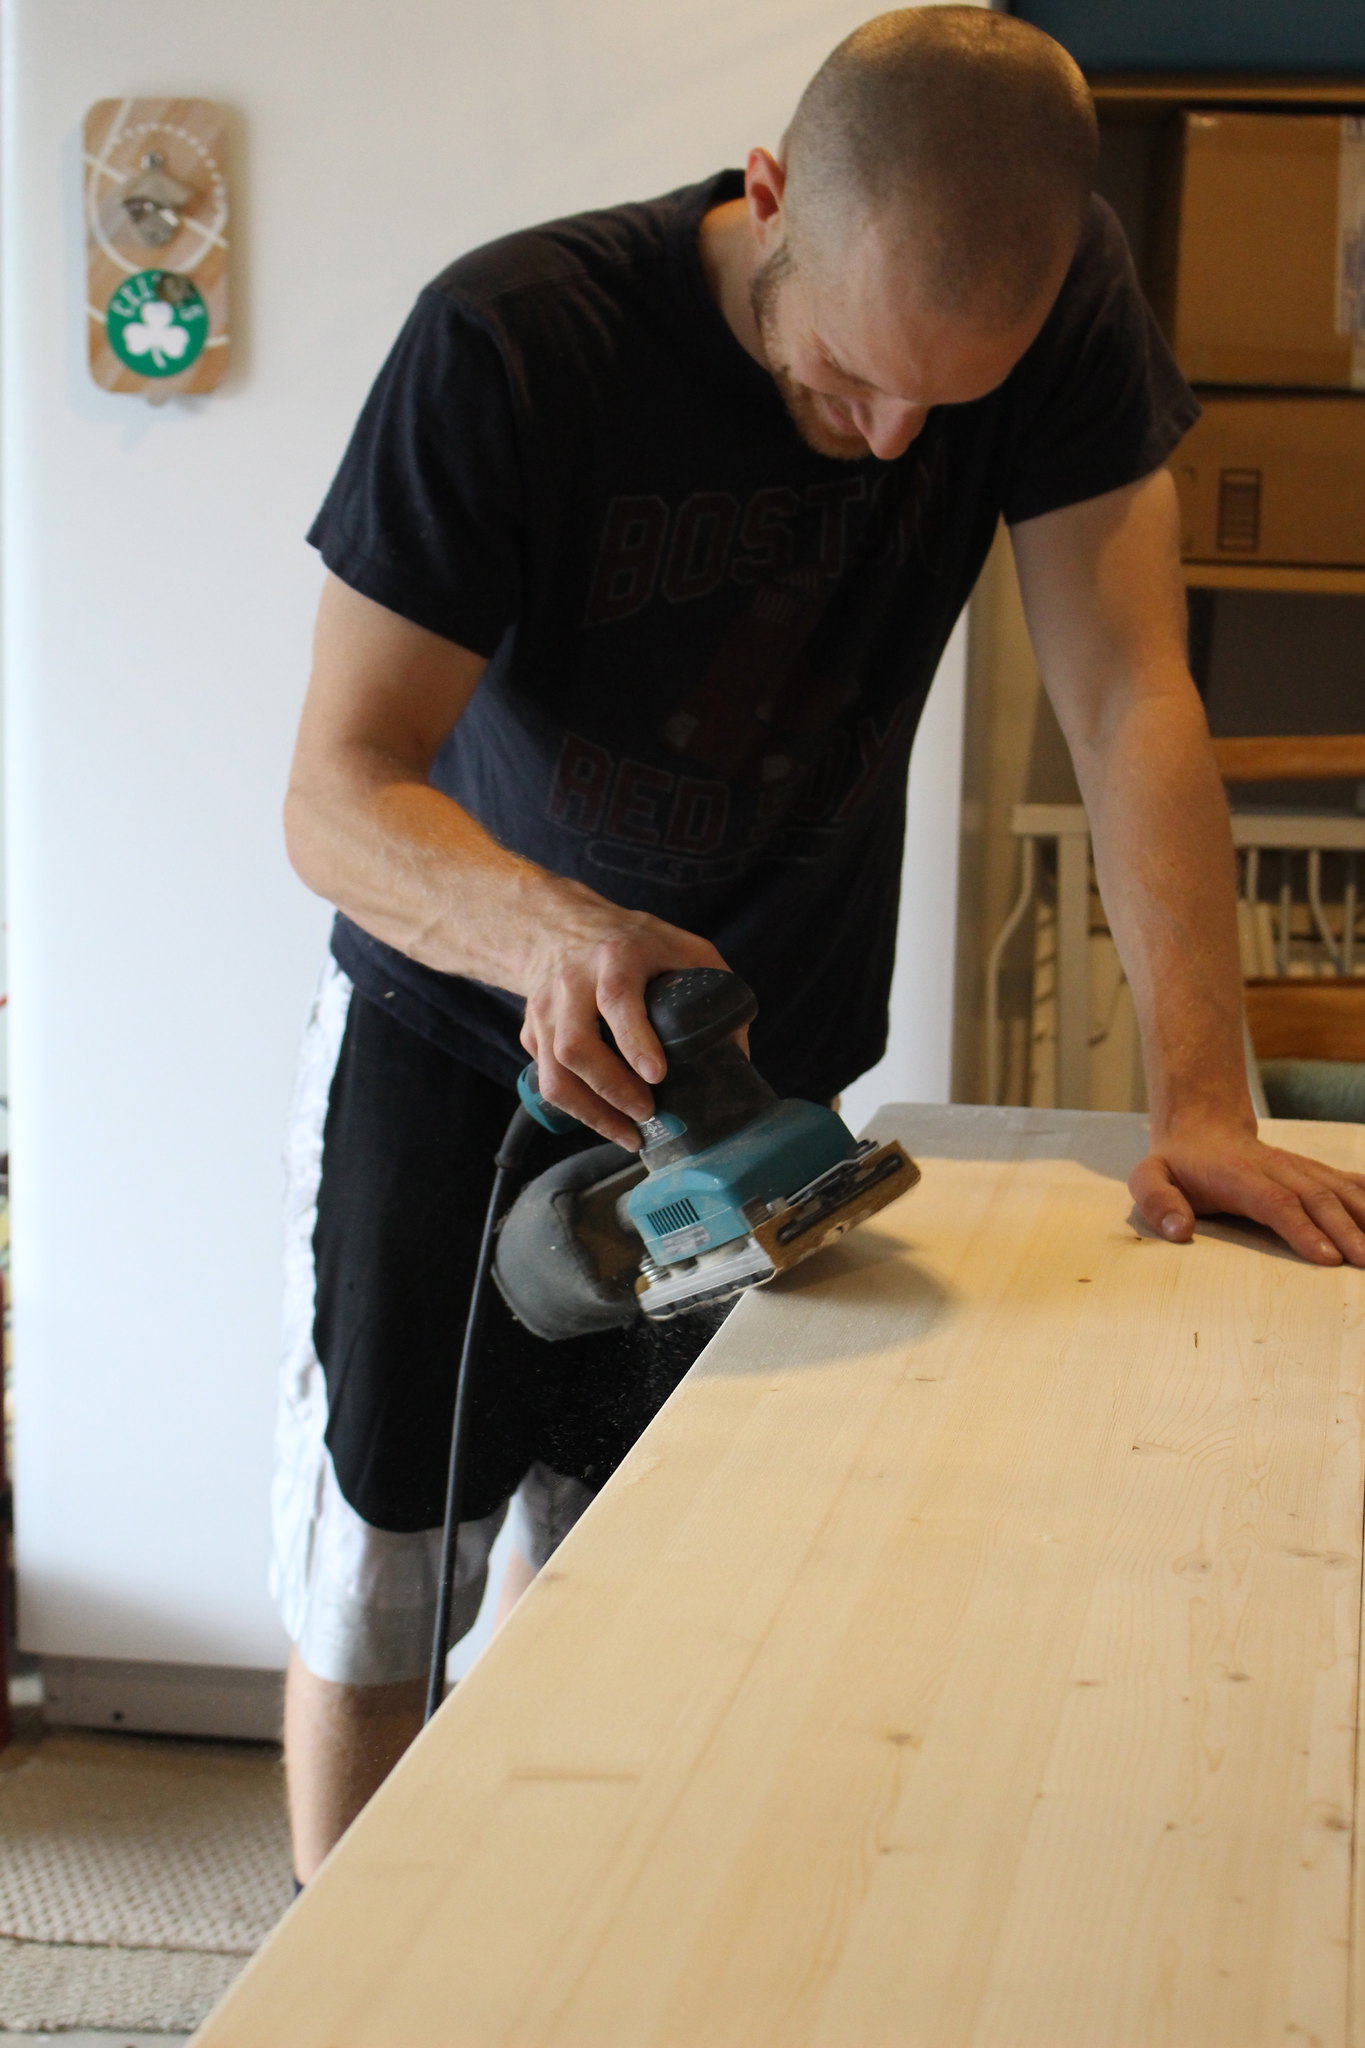
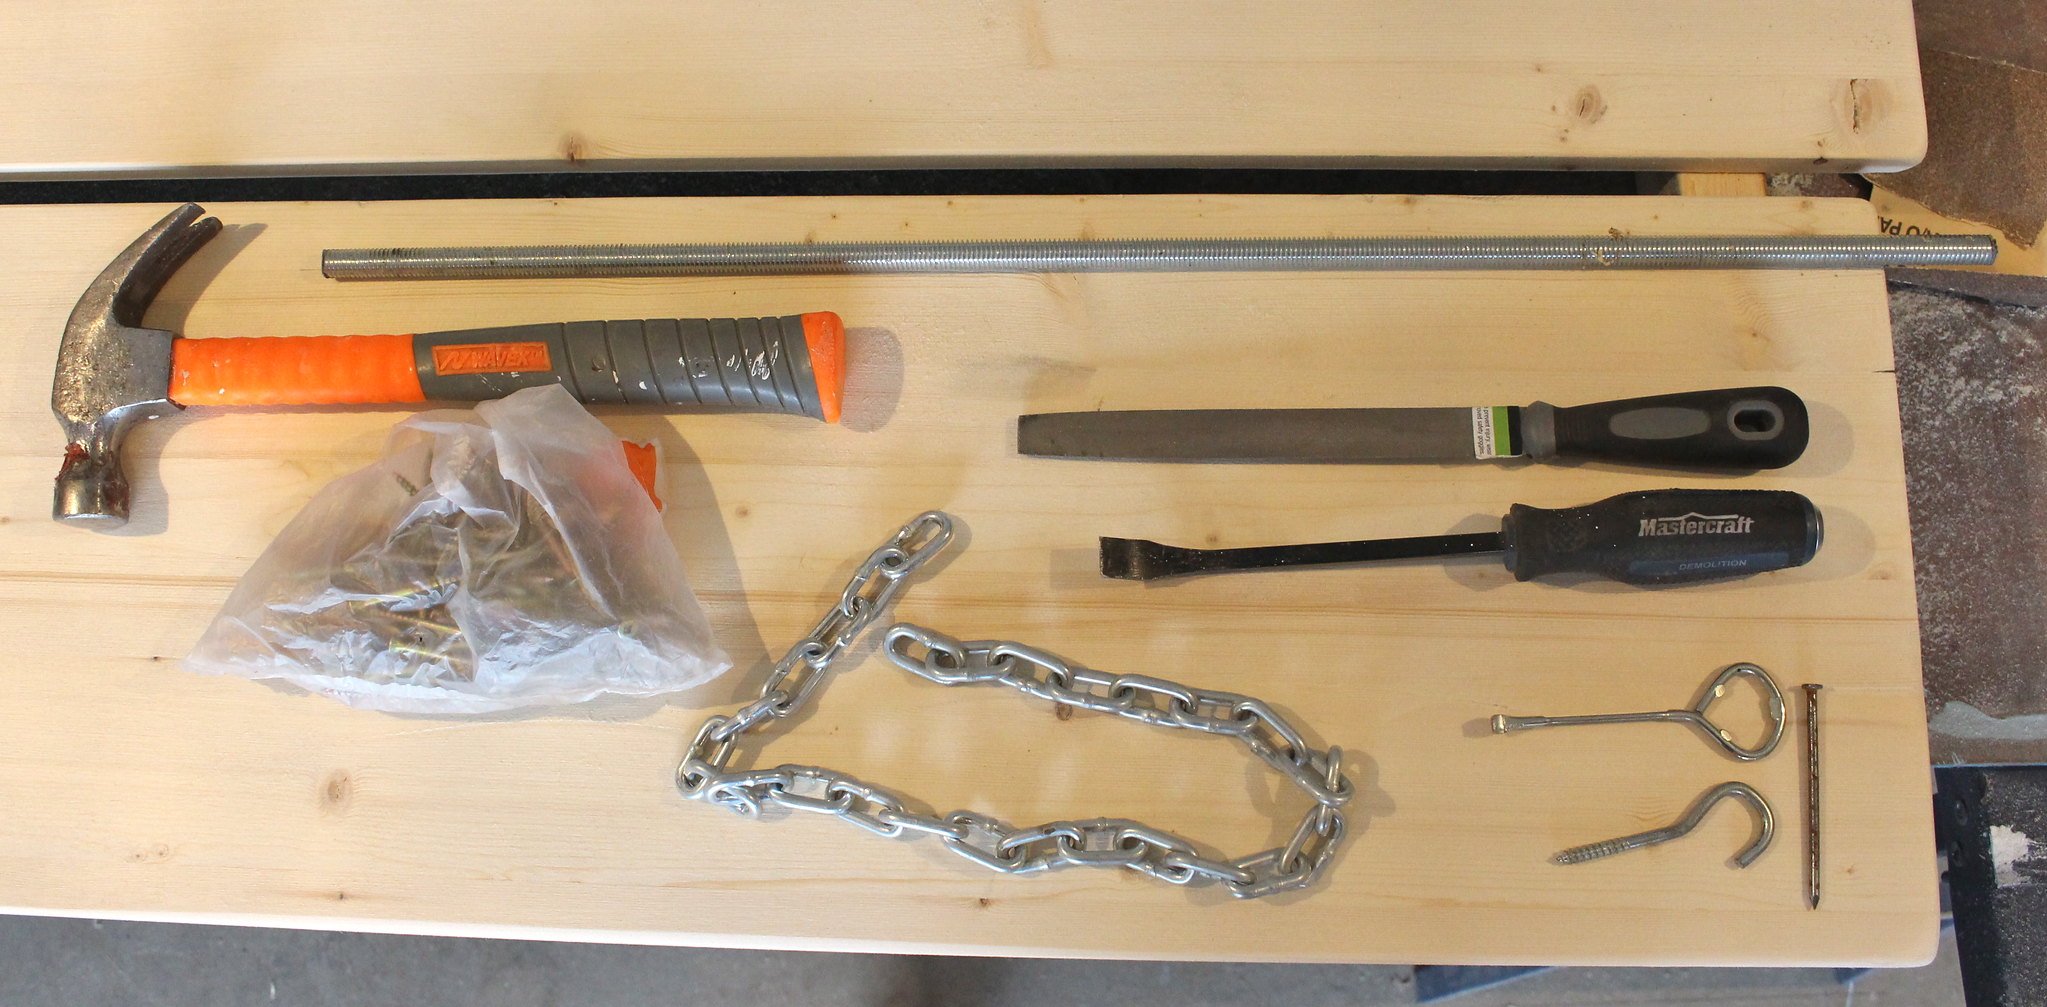
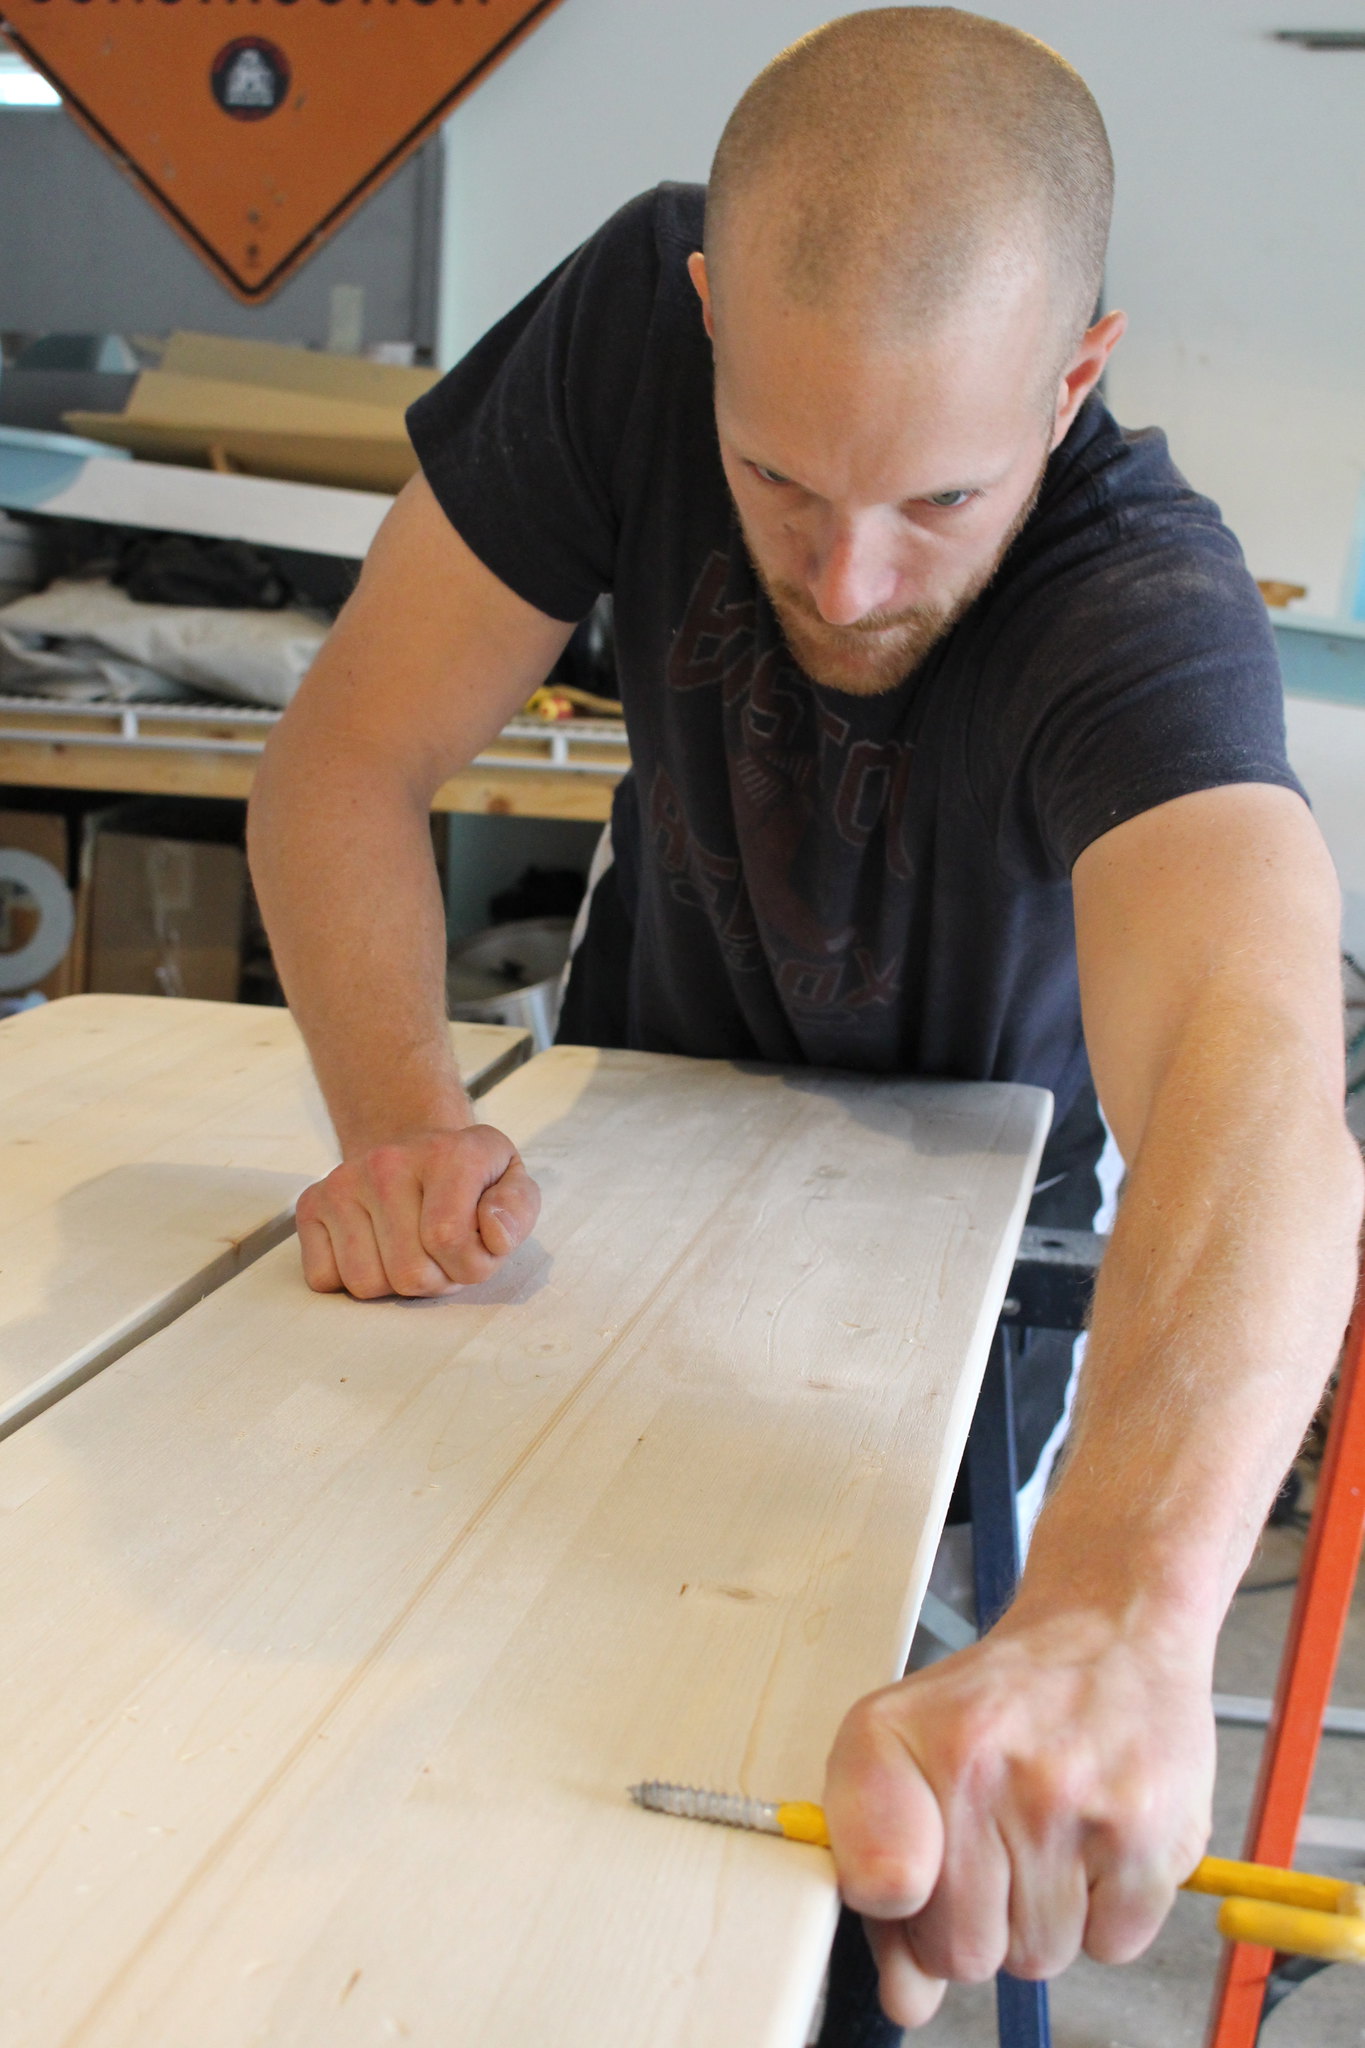
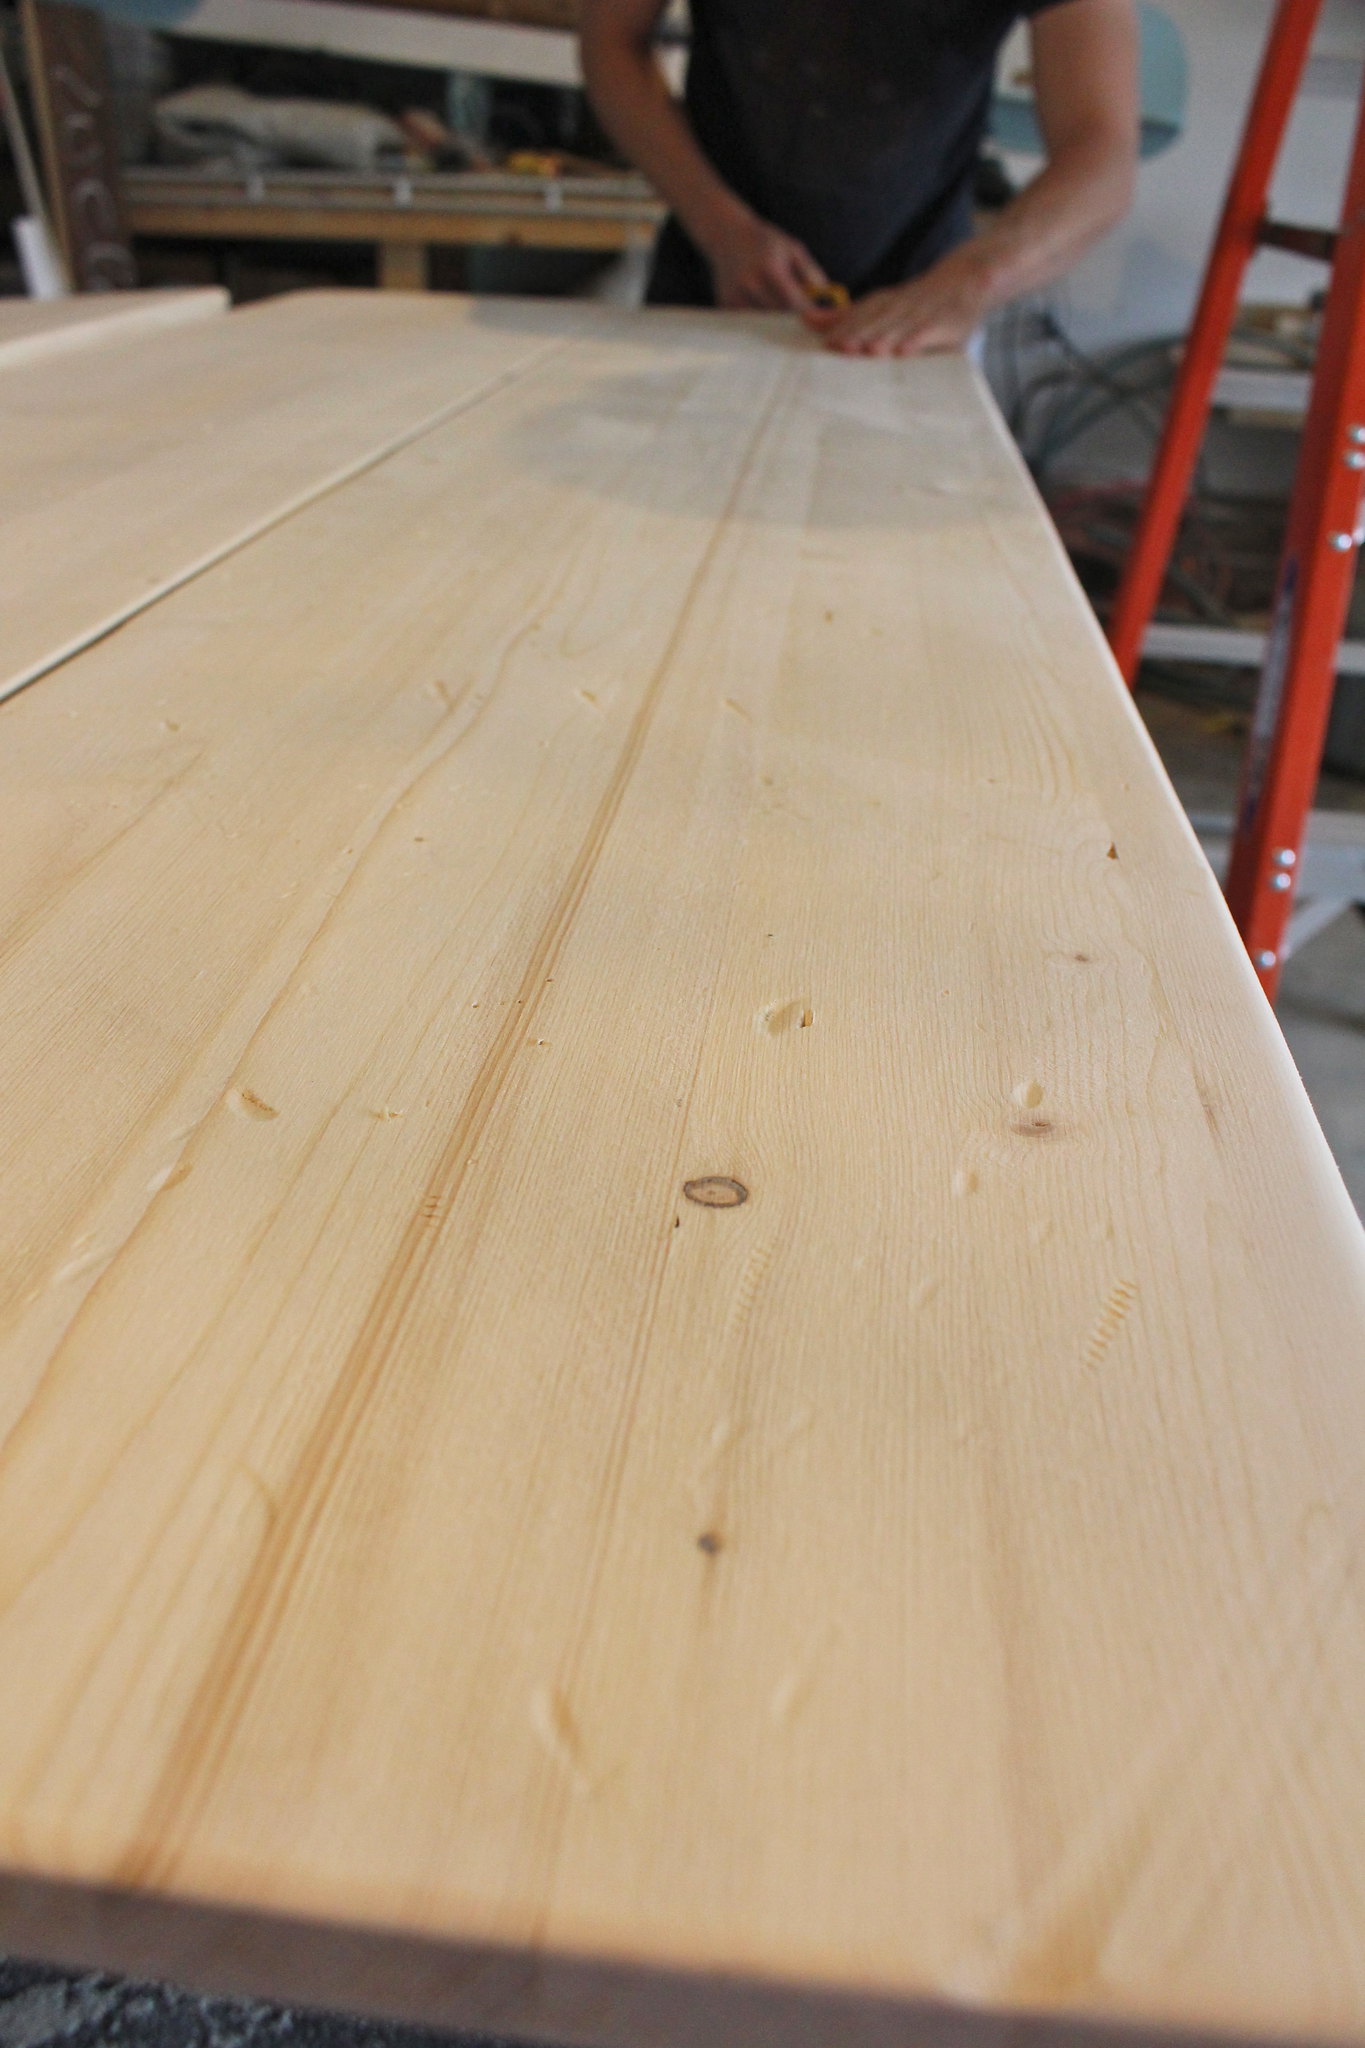
With our plans in place, our first step was the most fun! After B sanded the wood down (so we wouldn't have sharp edges) we got to beat up and "age" those pine boards. Our weapons of destruction?

DIY Console Table

Basically anything from B's shop that we could use to scrape, dent, gouge or cut the wood with. We threw a bag of screws at them, wacked them with chain, a hammer, a file... whatever we had, we used it.

DIY Console Table

DIY Console TableDIY Console Table

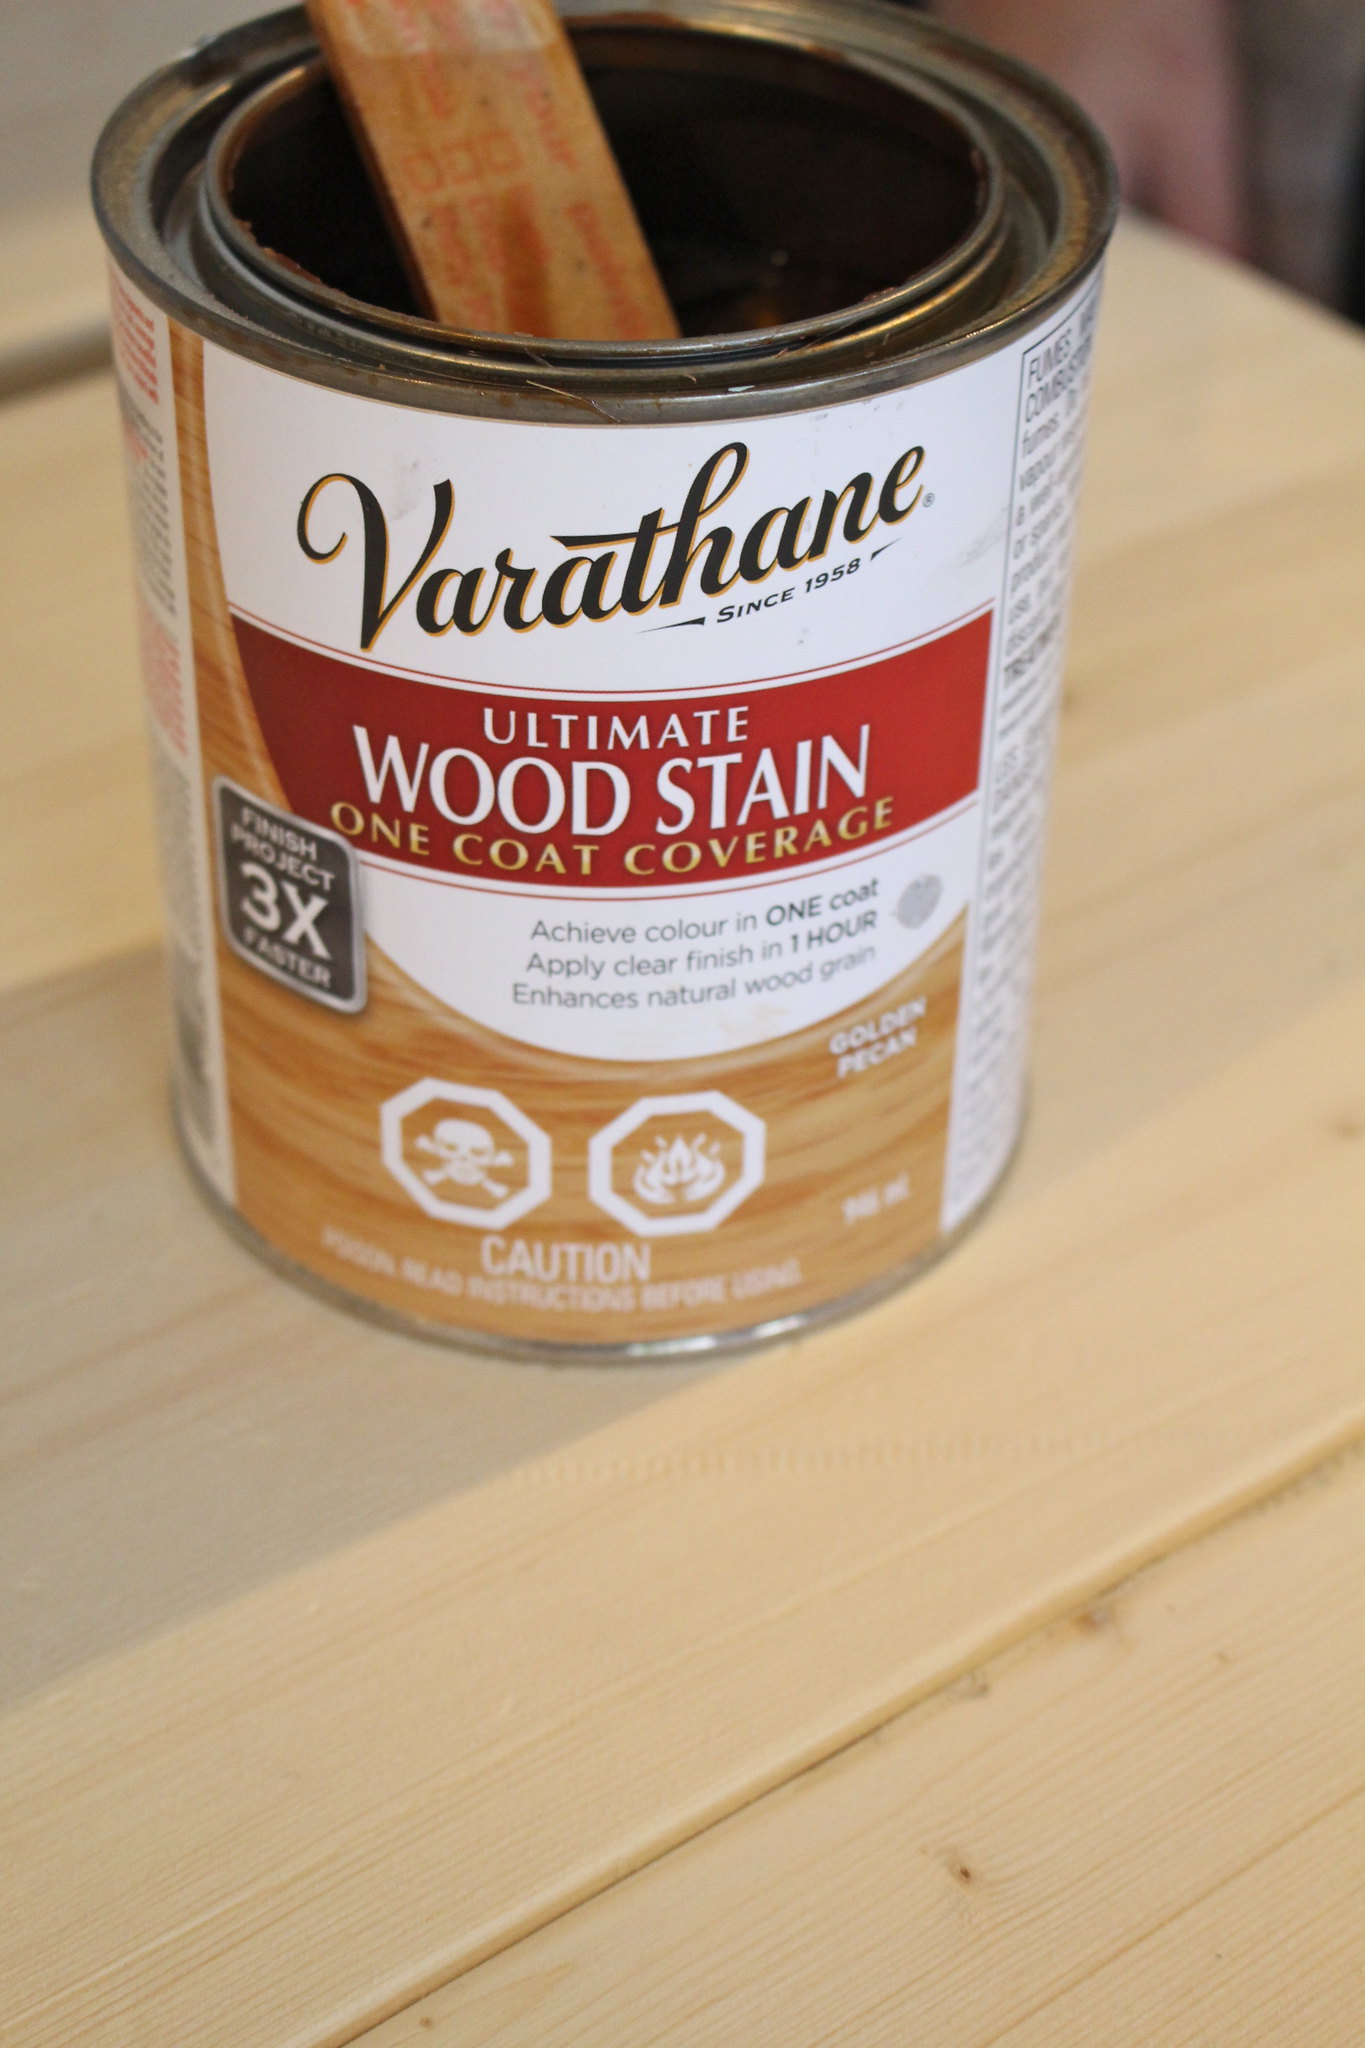
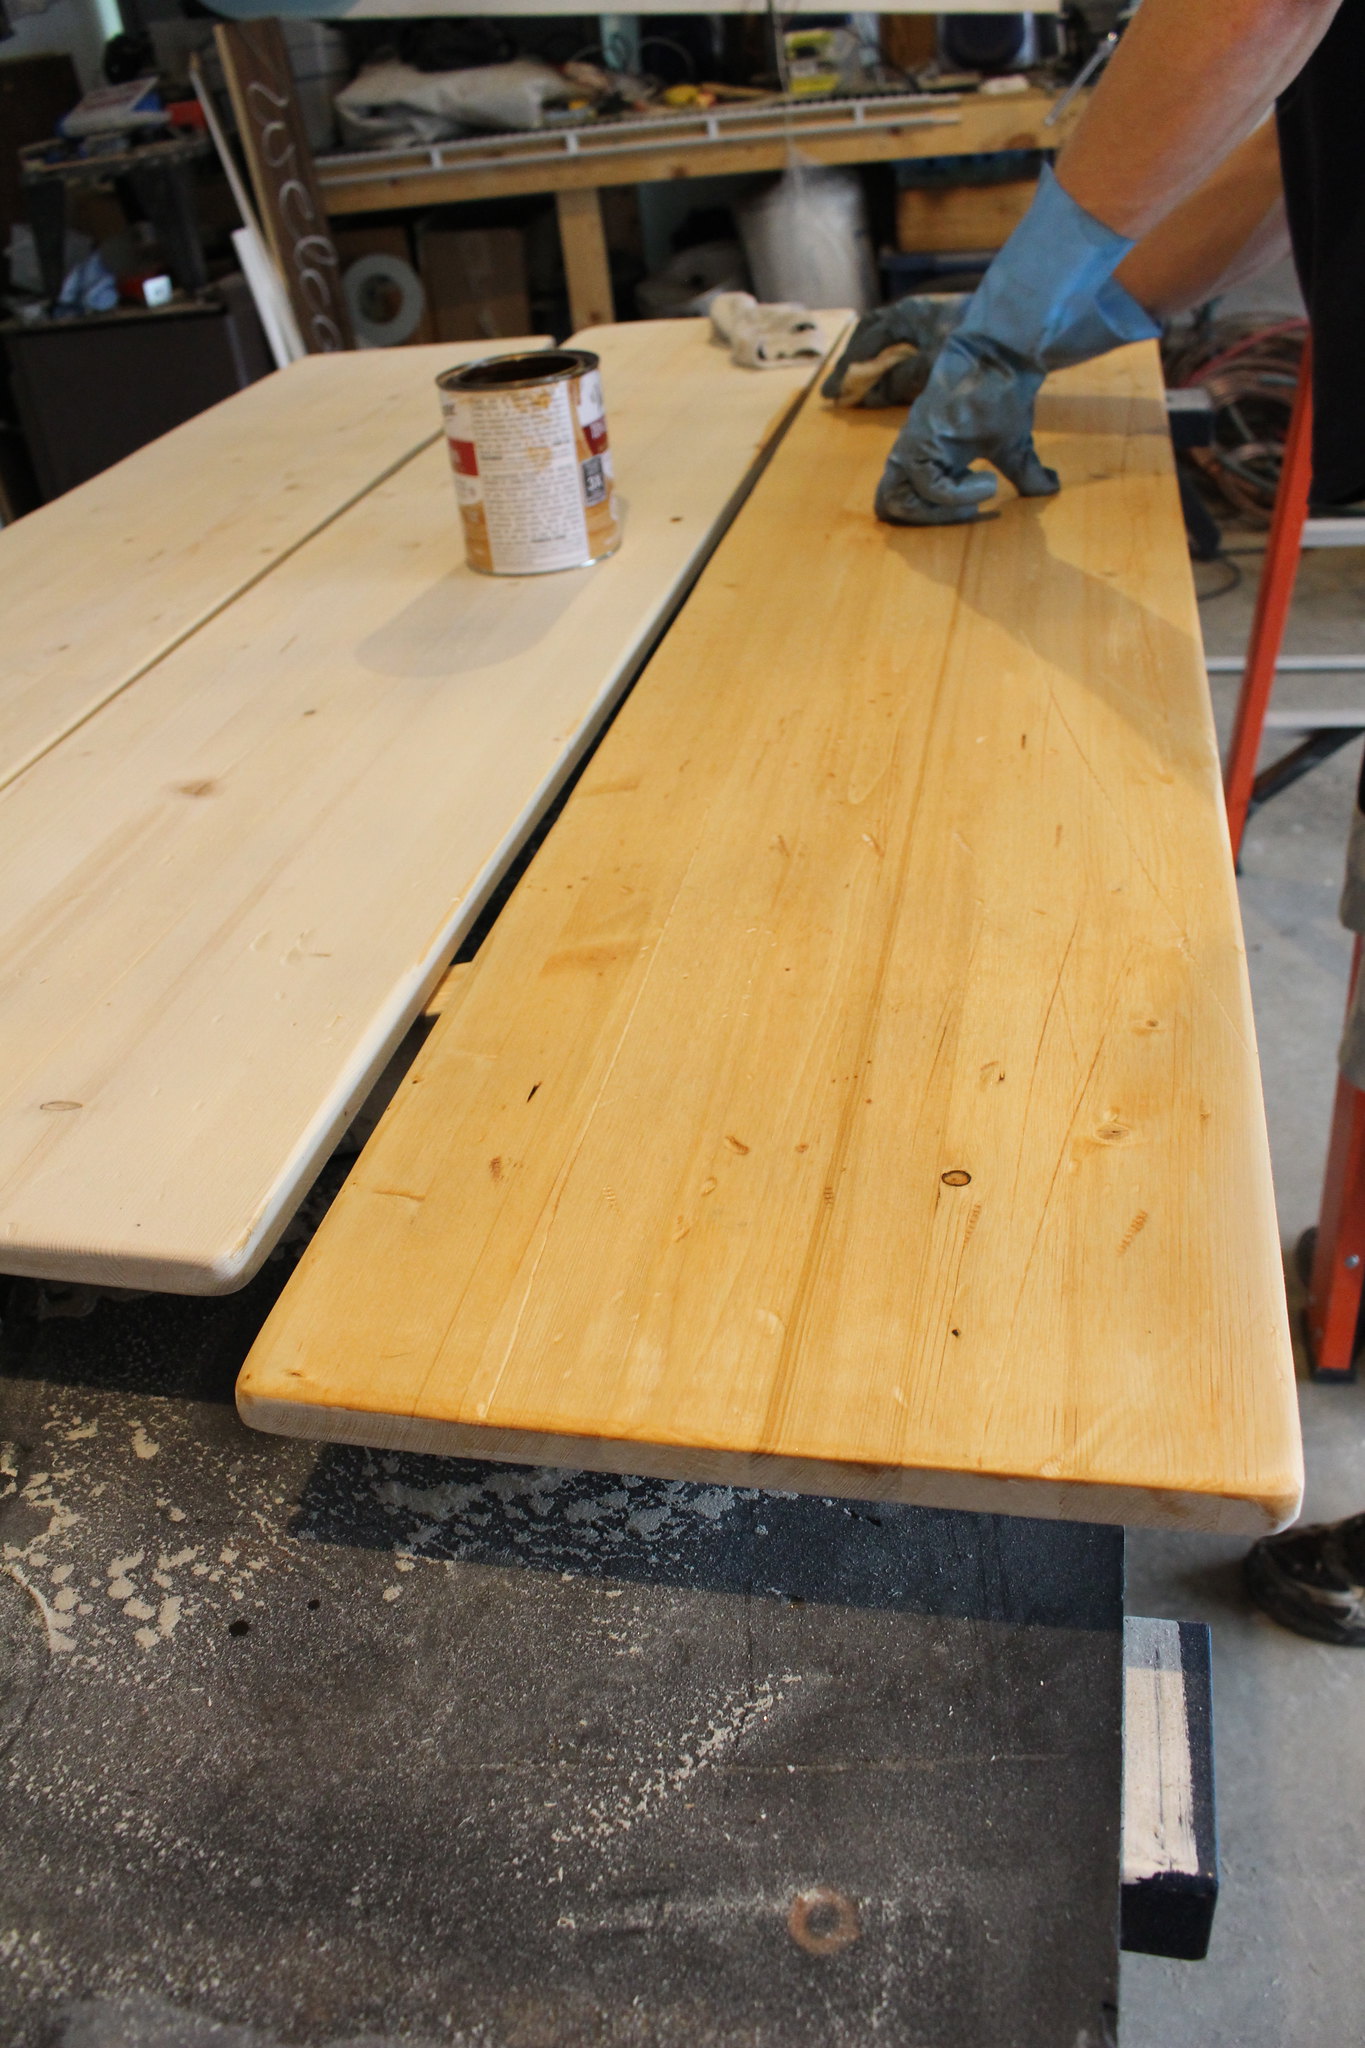
Once we thought that they good and beat up, it was time for our first coat of stain. We started with Varathane's Ultimate Wood Stain in Golden Pecan (which we used for the Love Your Wood Challenge last month). B applied it lightly and wiped it off quickly since we didn't want it to be too orange. Next, we put on some of the Varathane Ultimate Wood Stain in Weathered Grey (also used in the Love Your Wood Project). Again, it was applied lightly just to bring some aging to the wood.

DIY Console TableDIY Console Table

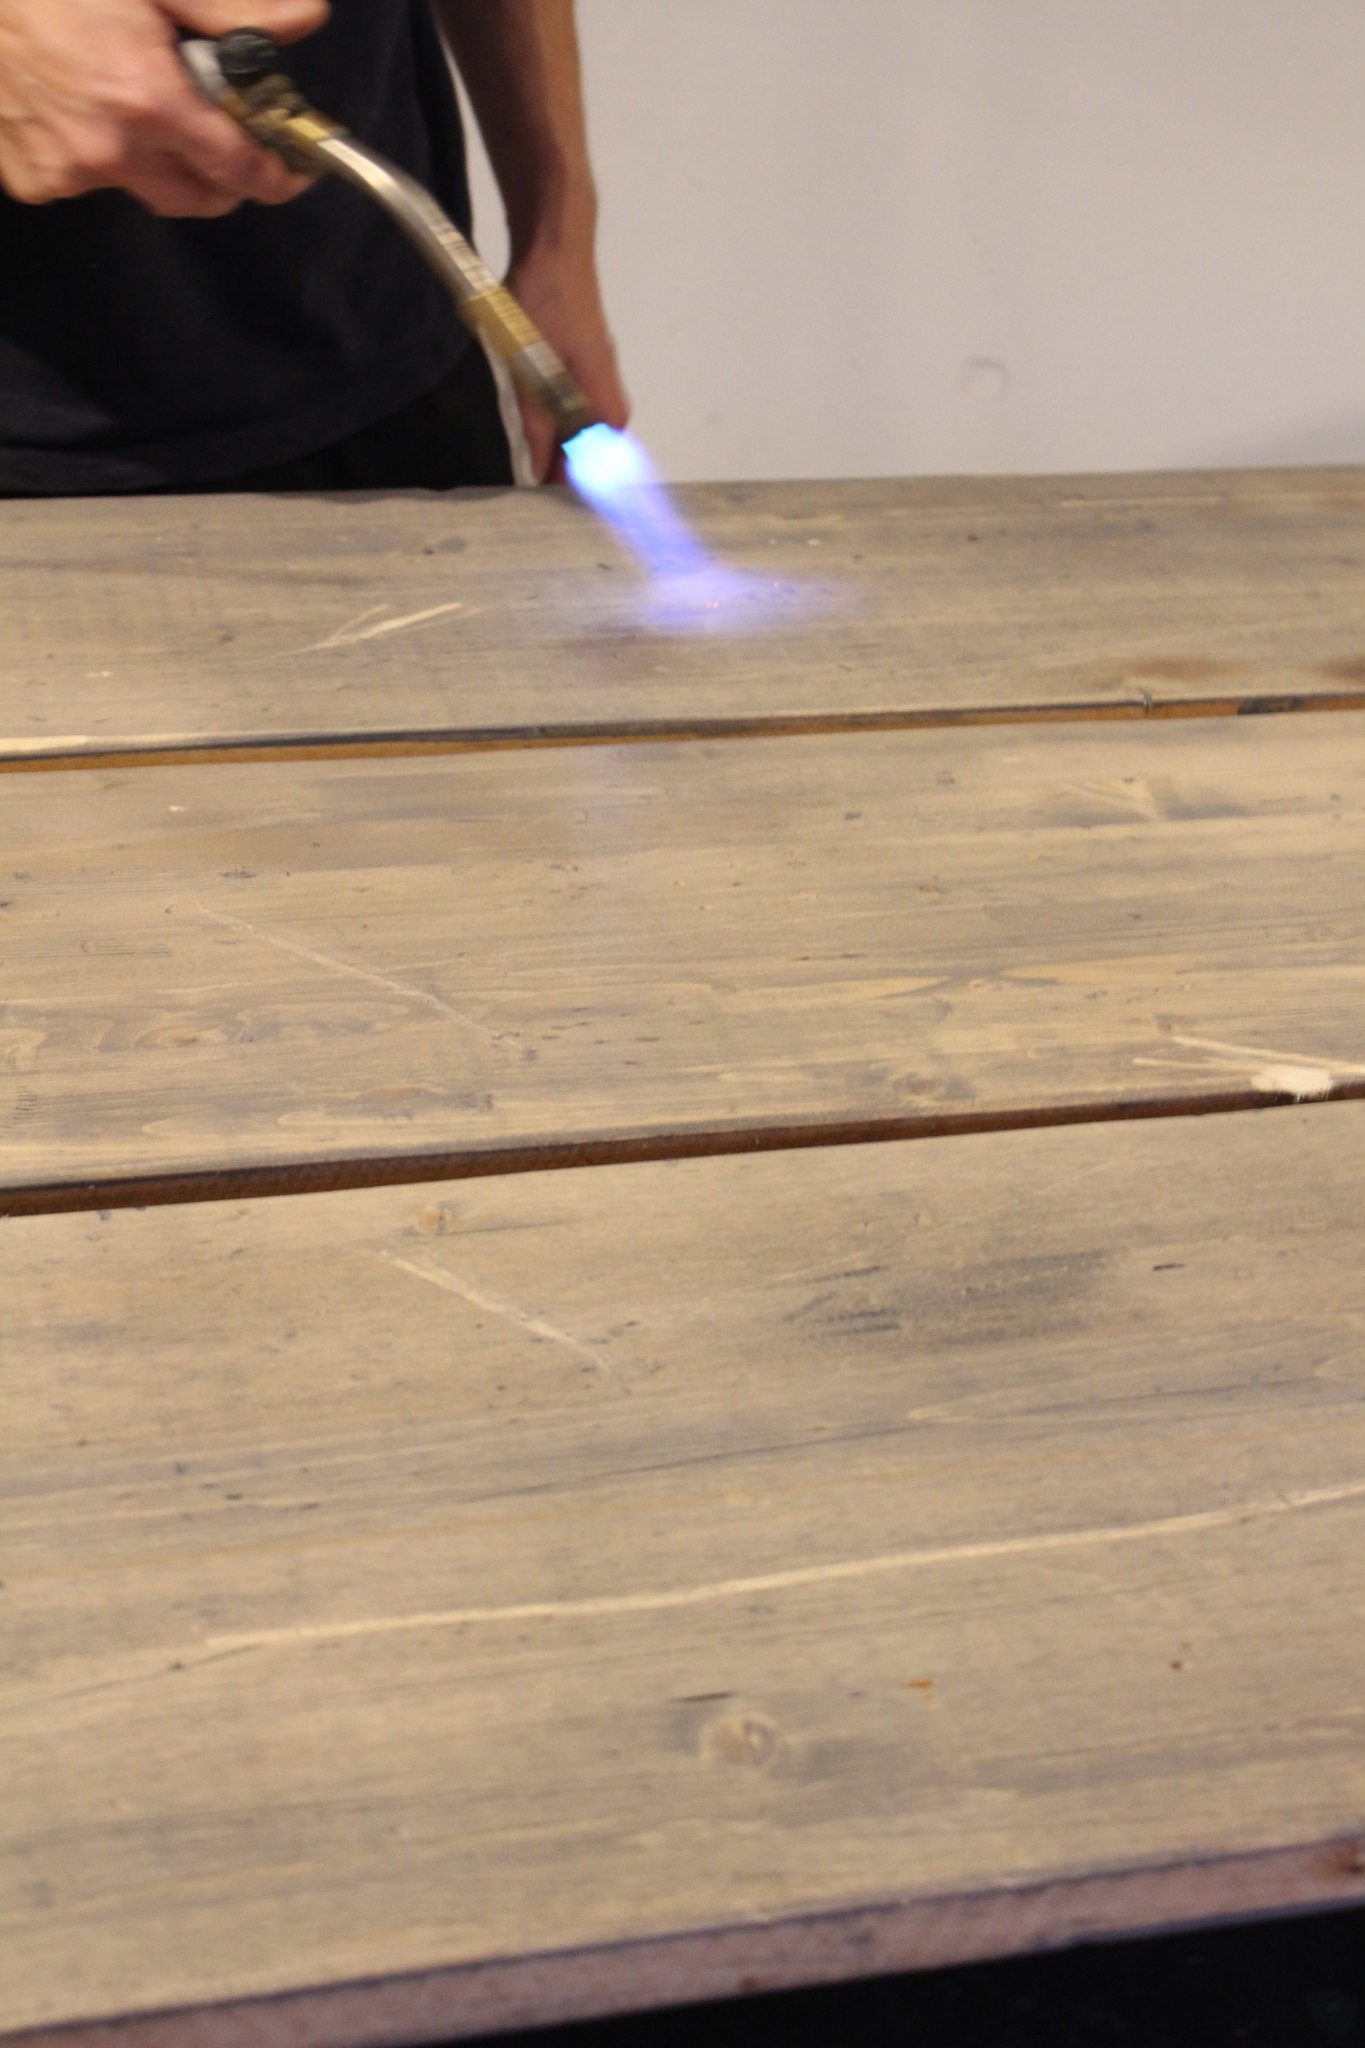
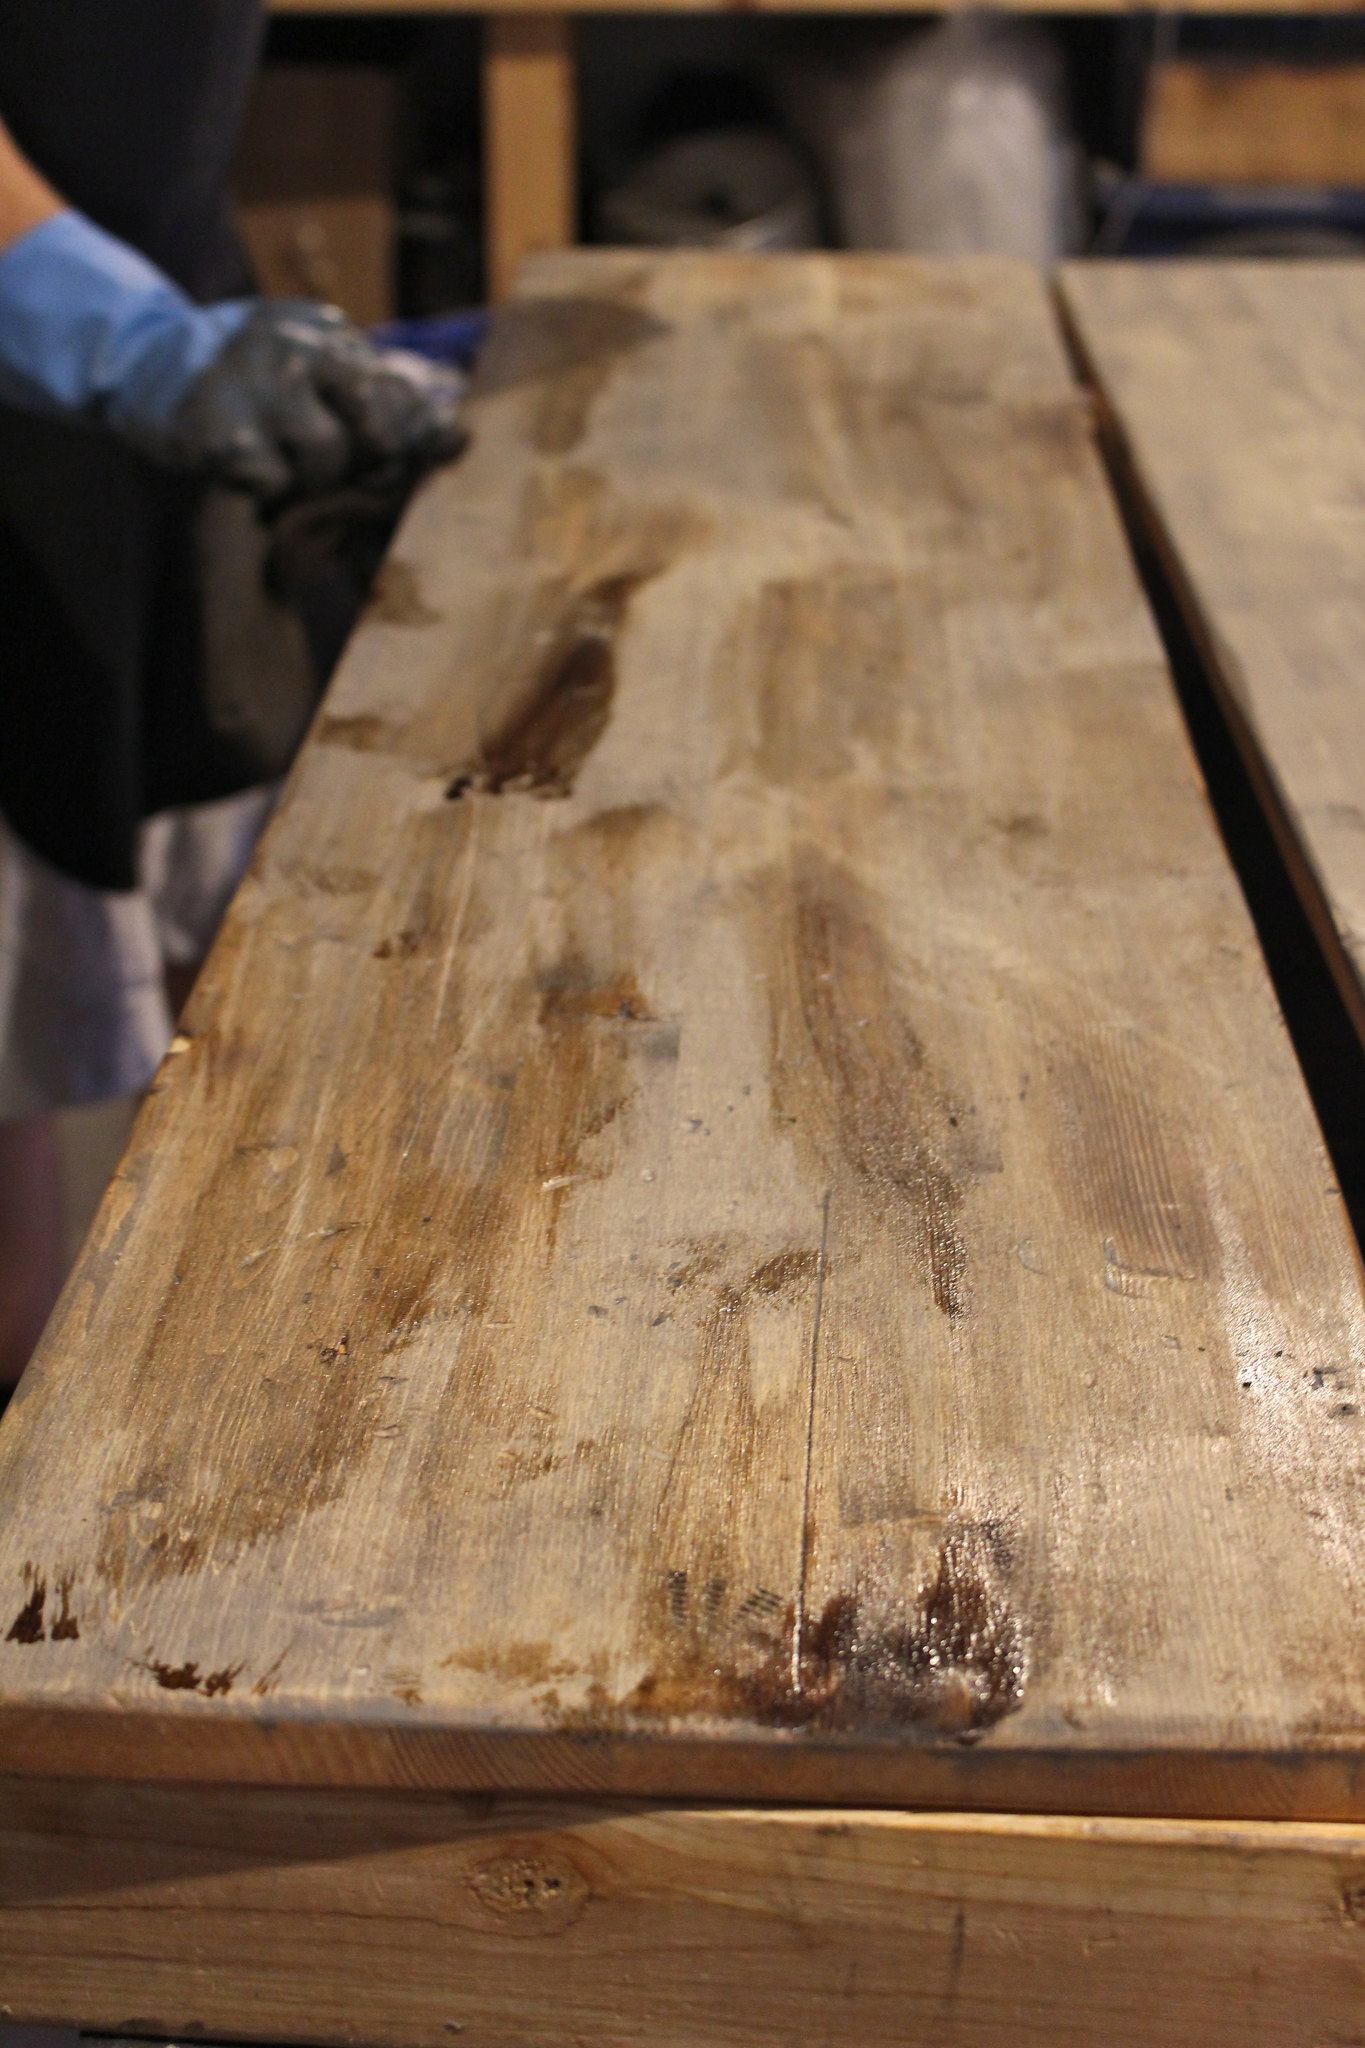
Once both stains dried, we beat up the wood a little more. More gauges, cuts and scrapes, but we also upped our game and B brought out his blow torch so we could burn it as well. Our last step in aging the boards was adding dark brown stain to random sections of the boards (which we used on our dining table that B built). This toned down the grey and really helped to complete the aged look of our boards.

DIY Console TableDIY Console Table

DIY Console Table

DIY Console Table
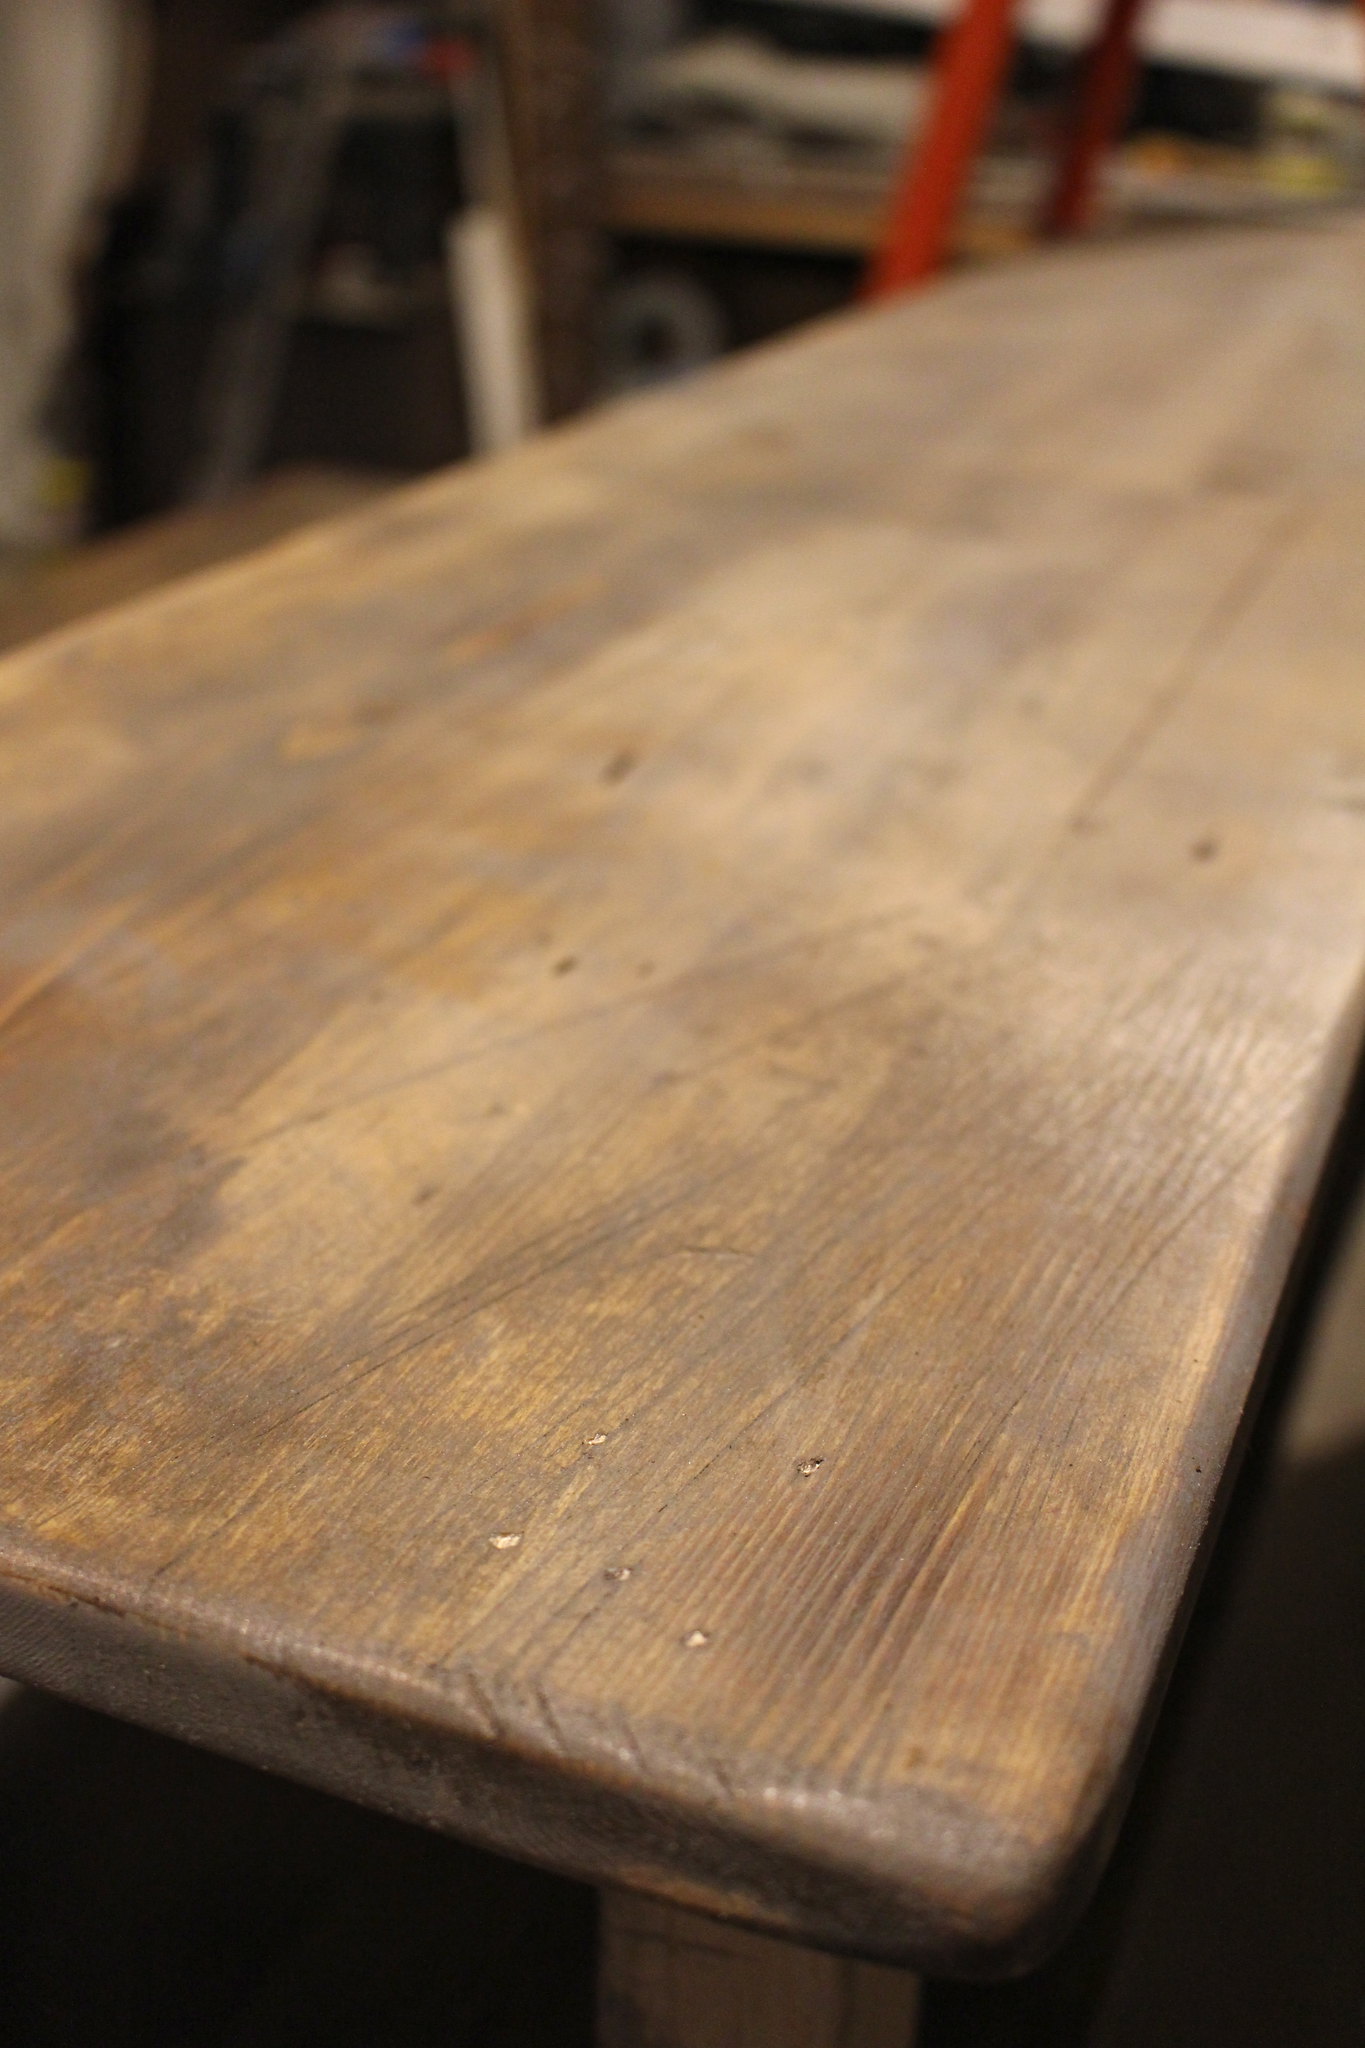
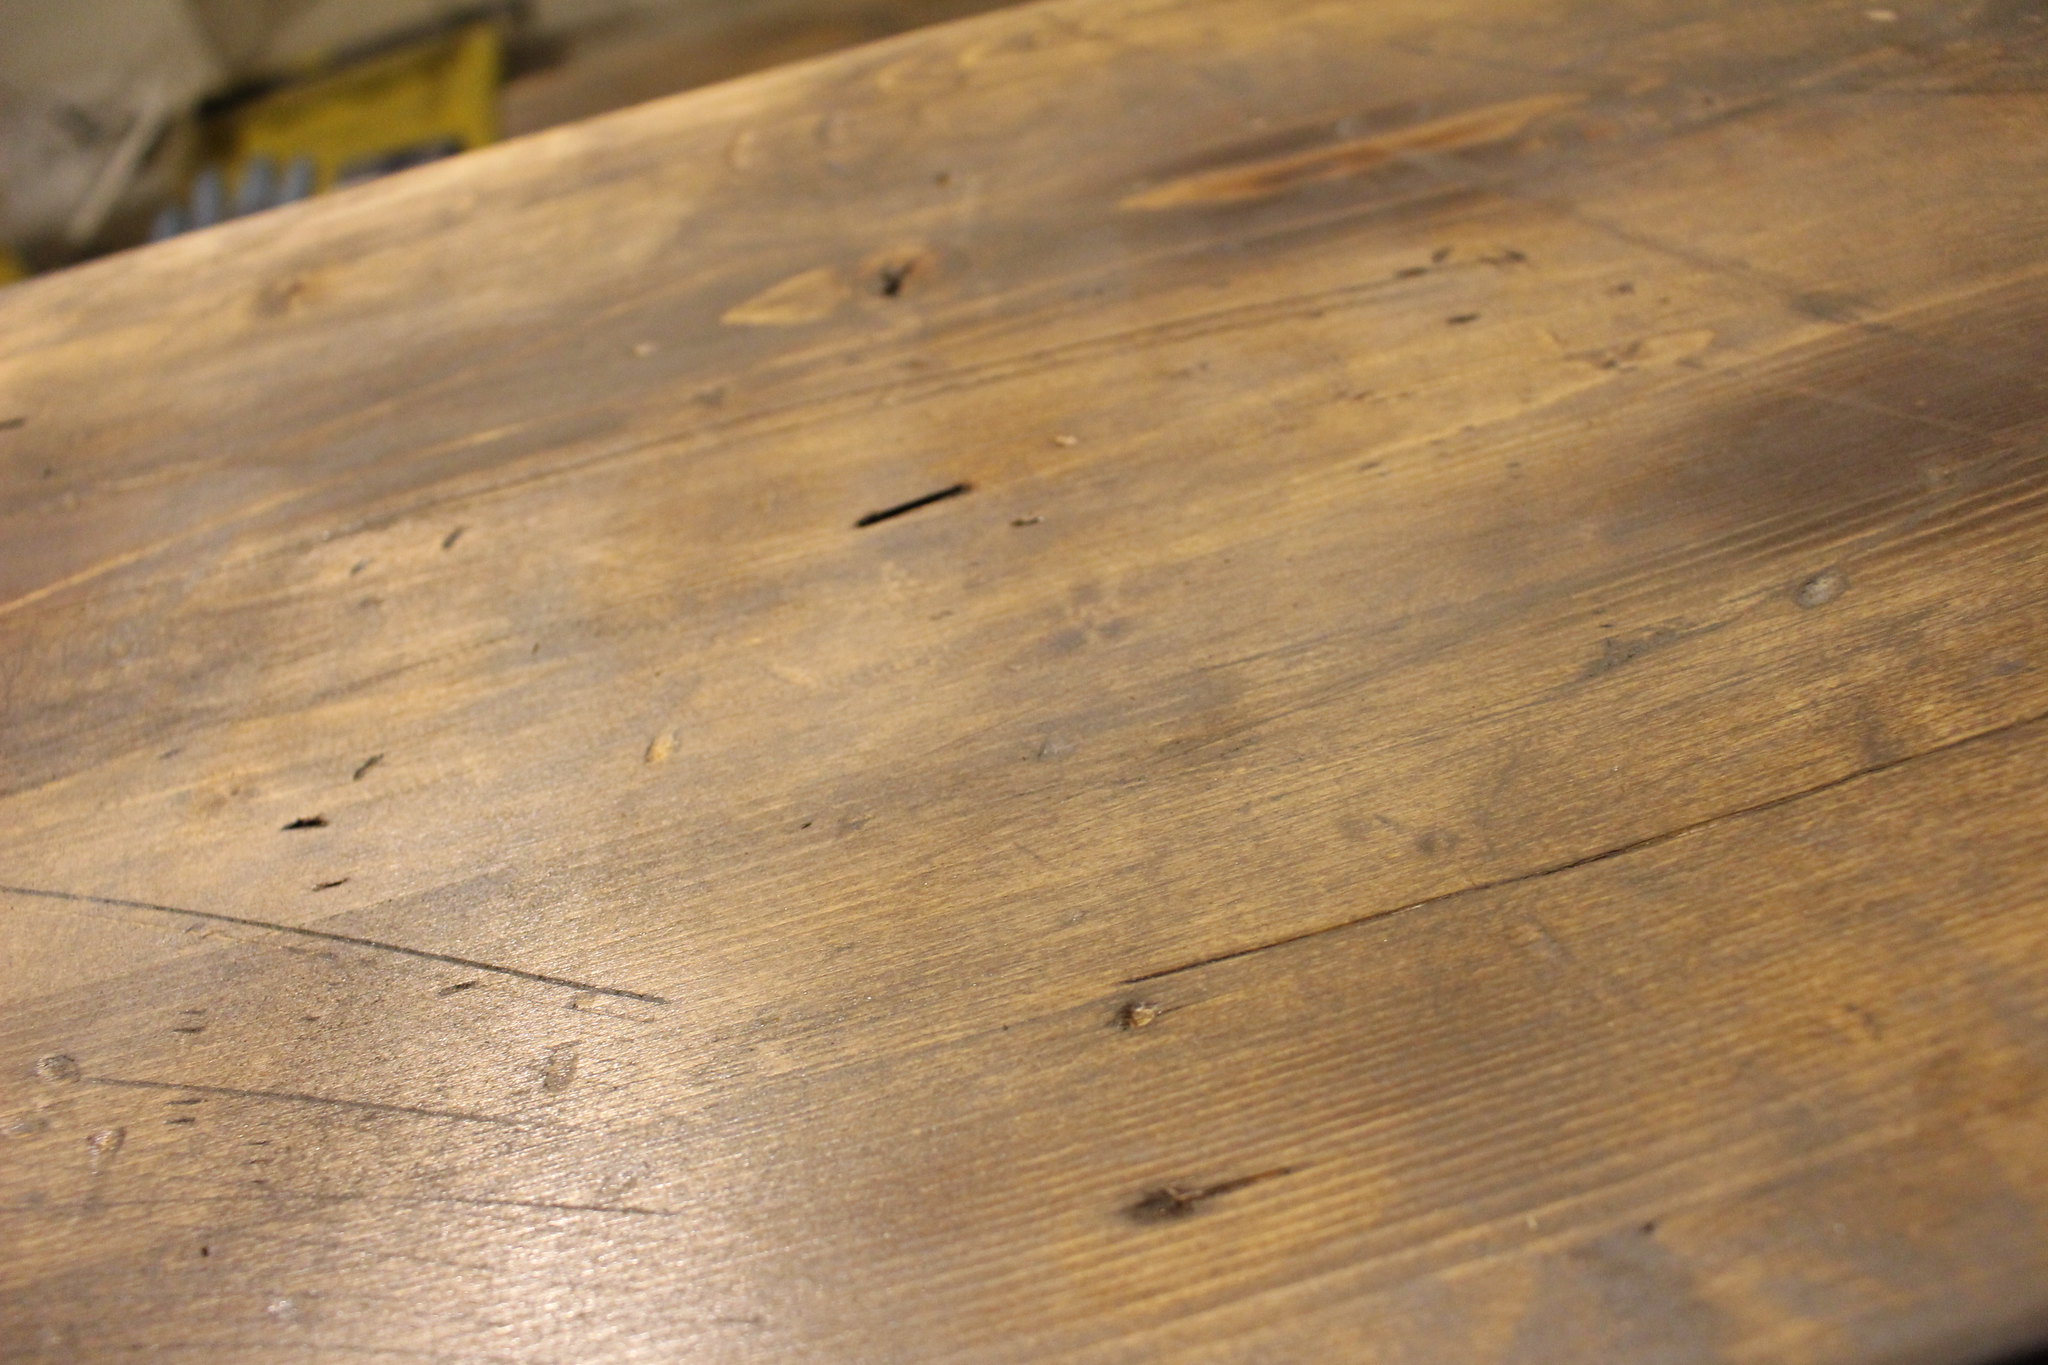
You'd never guess that we started with plain pine boards, would you?

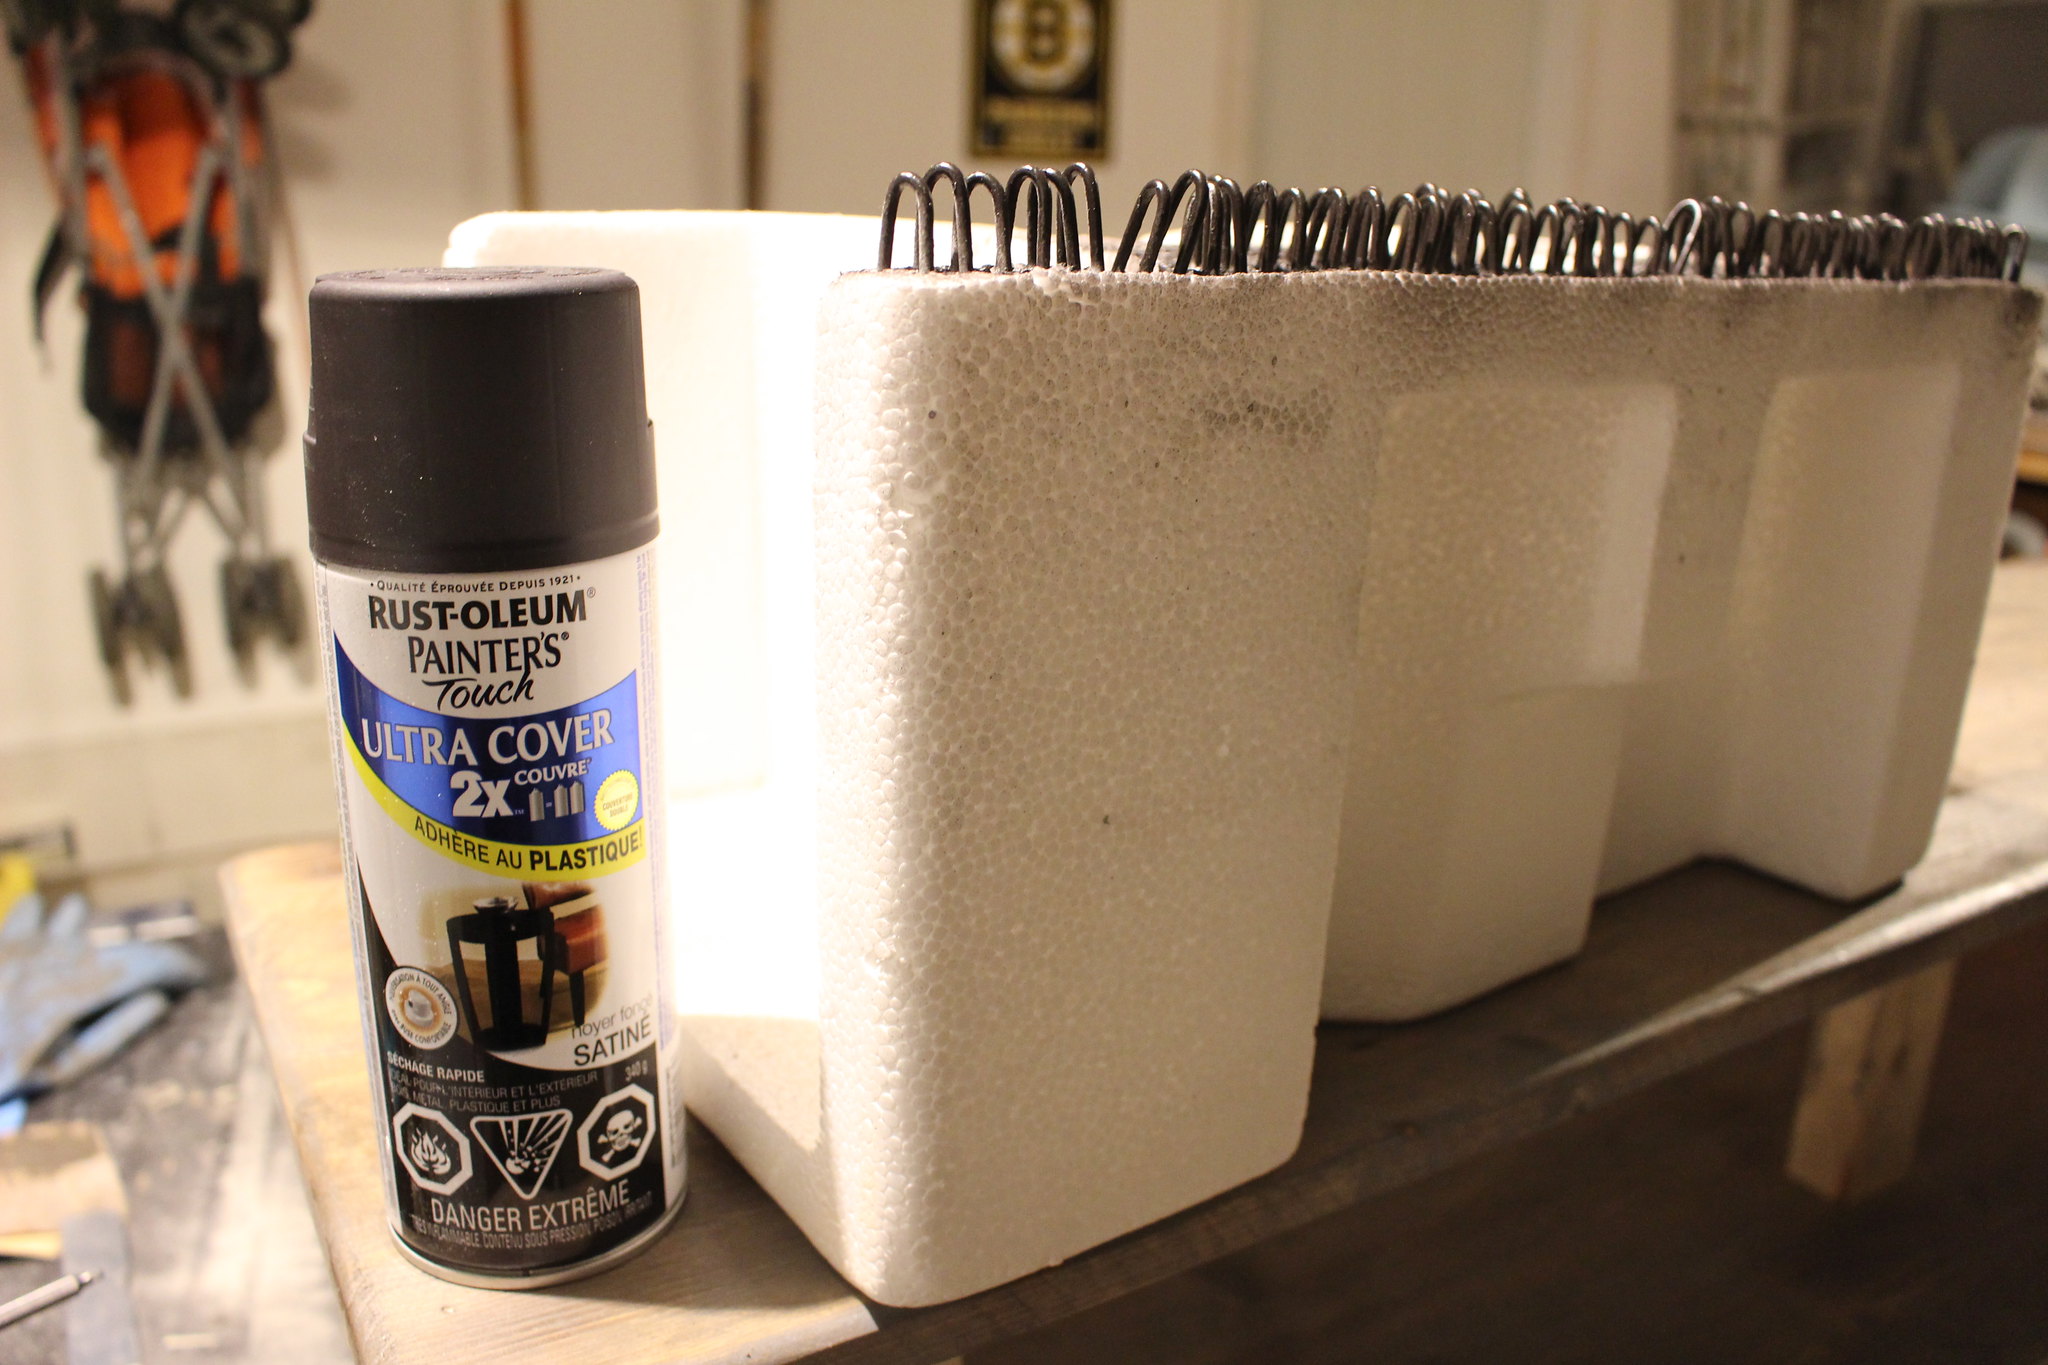
With our wood ready, it was time to start preparing the other parts of our table. Using Rust-Oleum's Painters Touch 2x The Coverage spray paint in Dark Walnut, we sprayed the galvanized fencing and fencing staples.

DIY Console Table

DIY Console Table

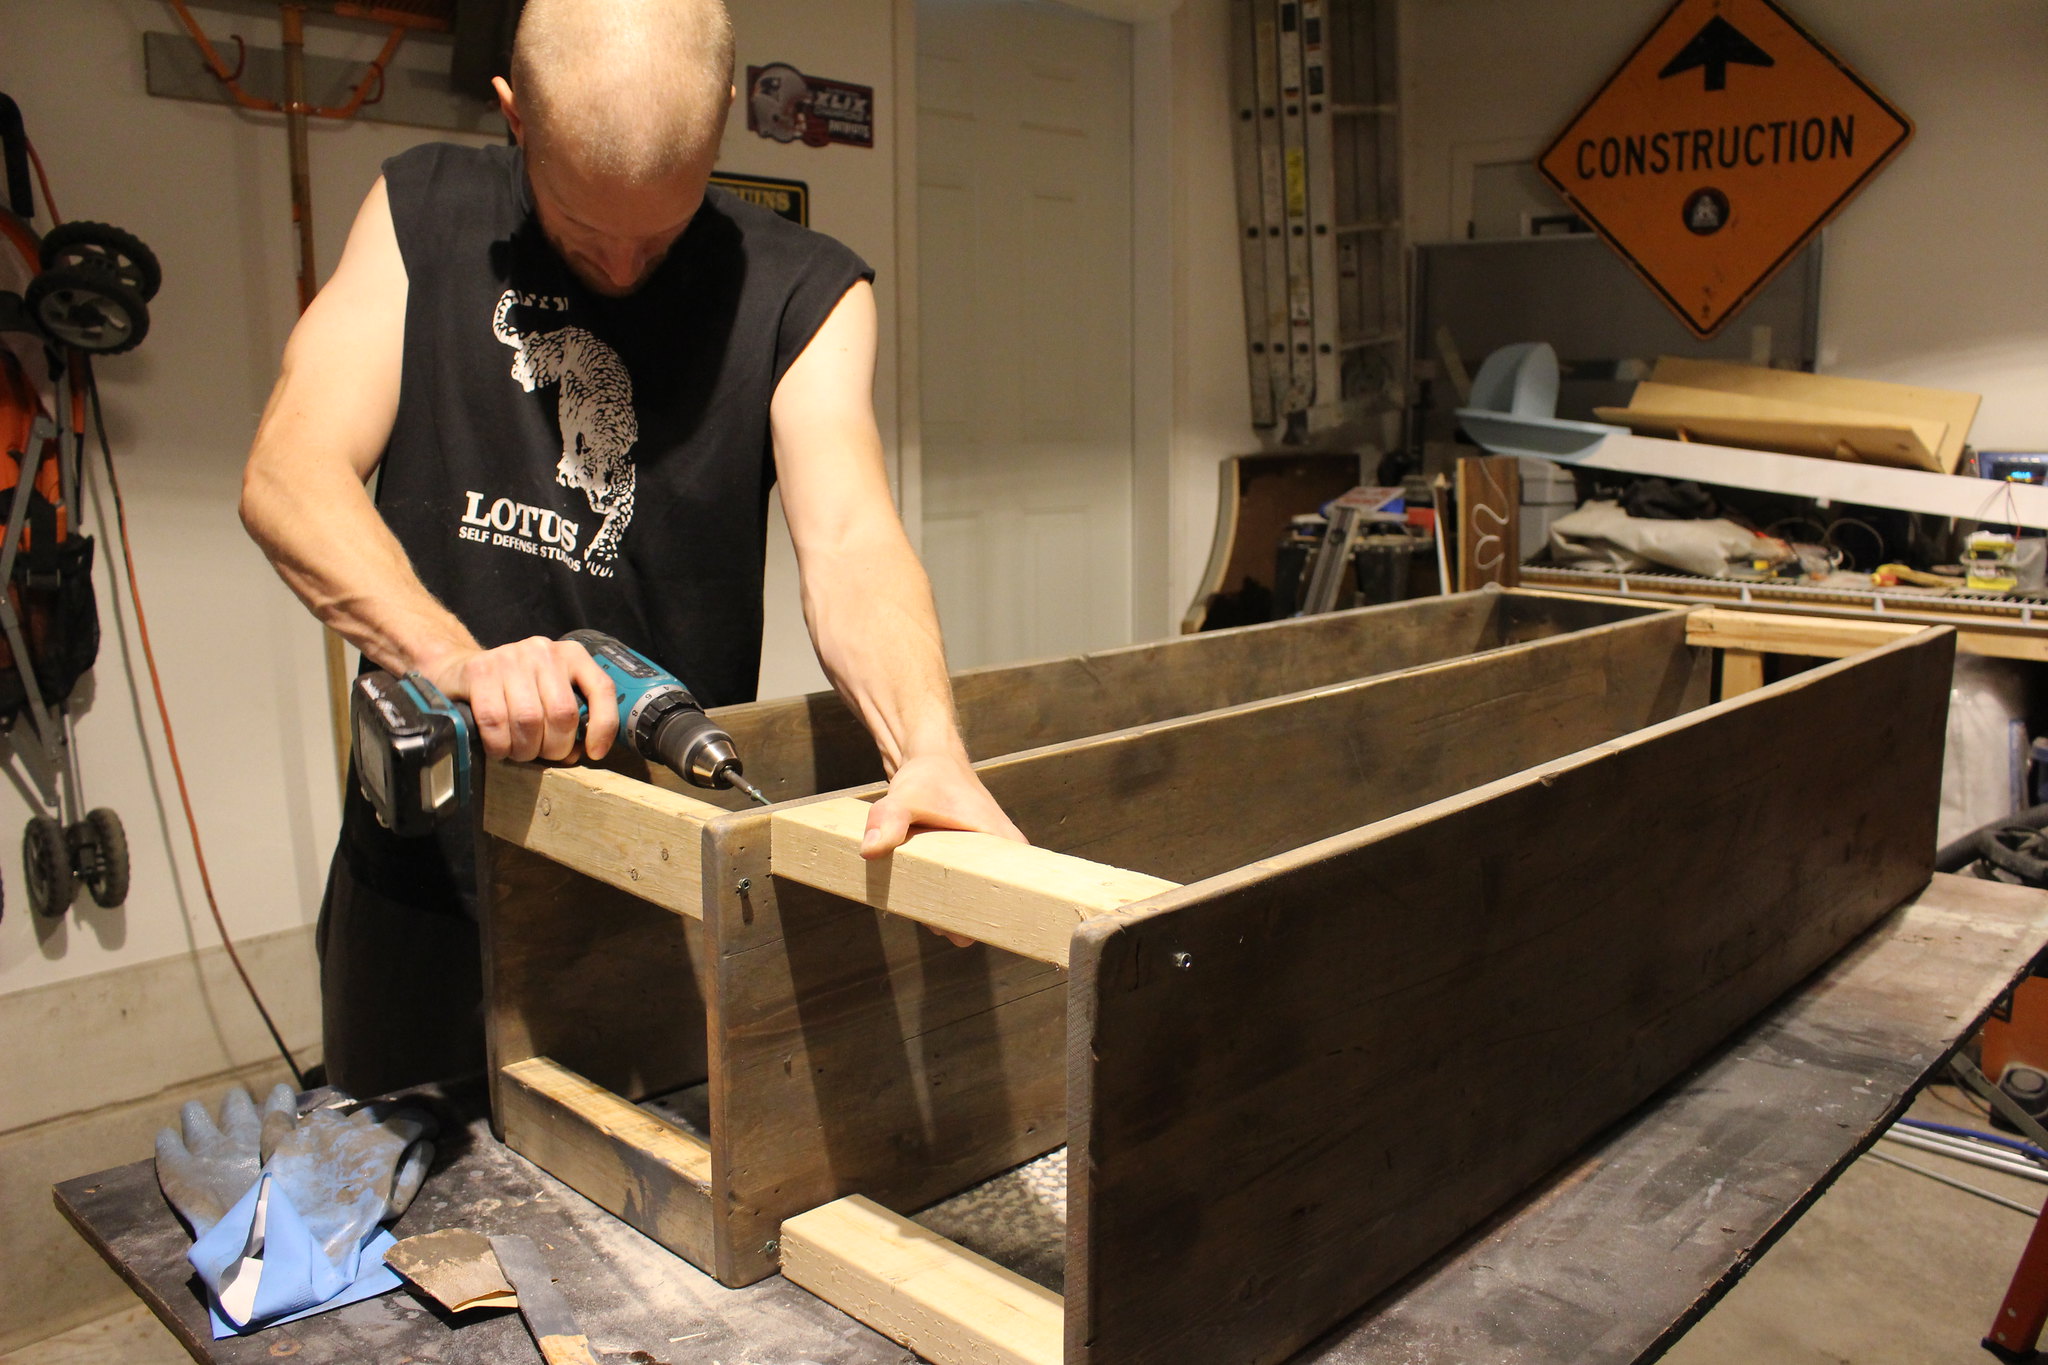
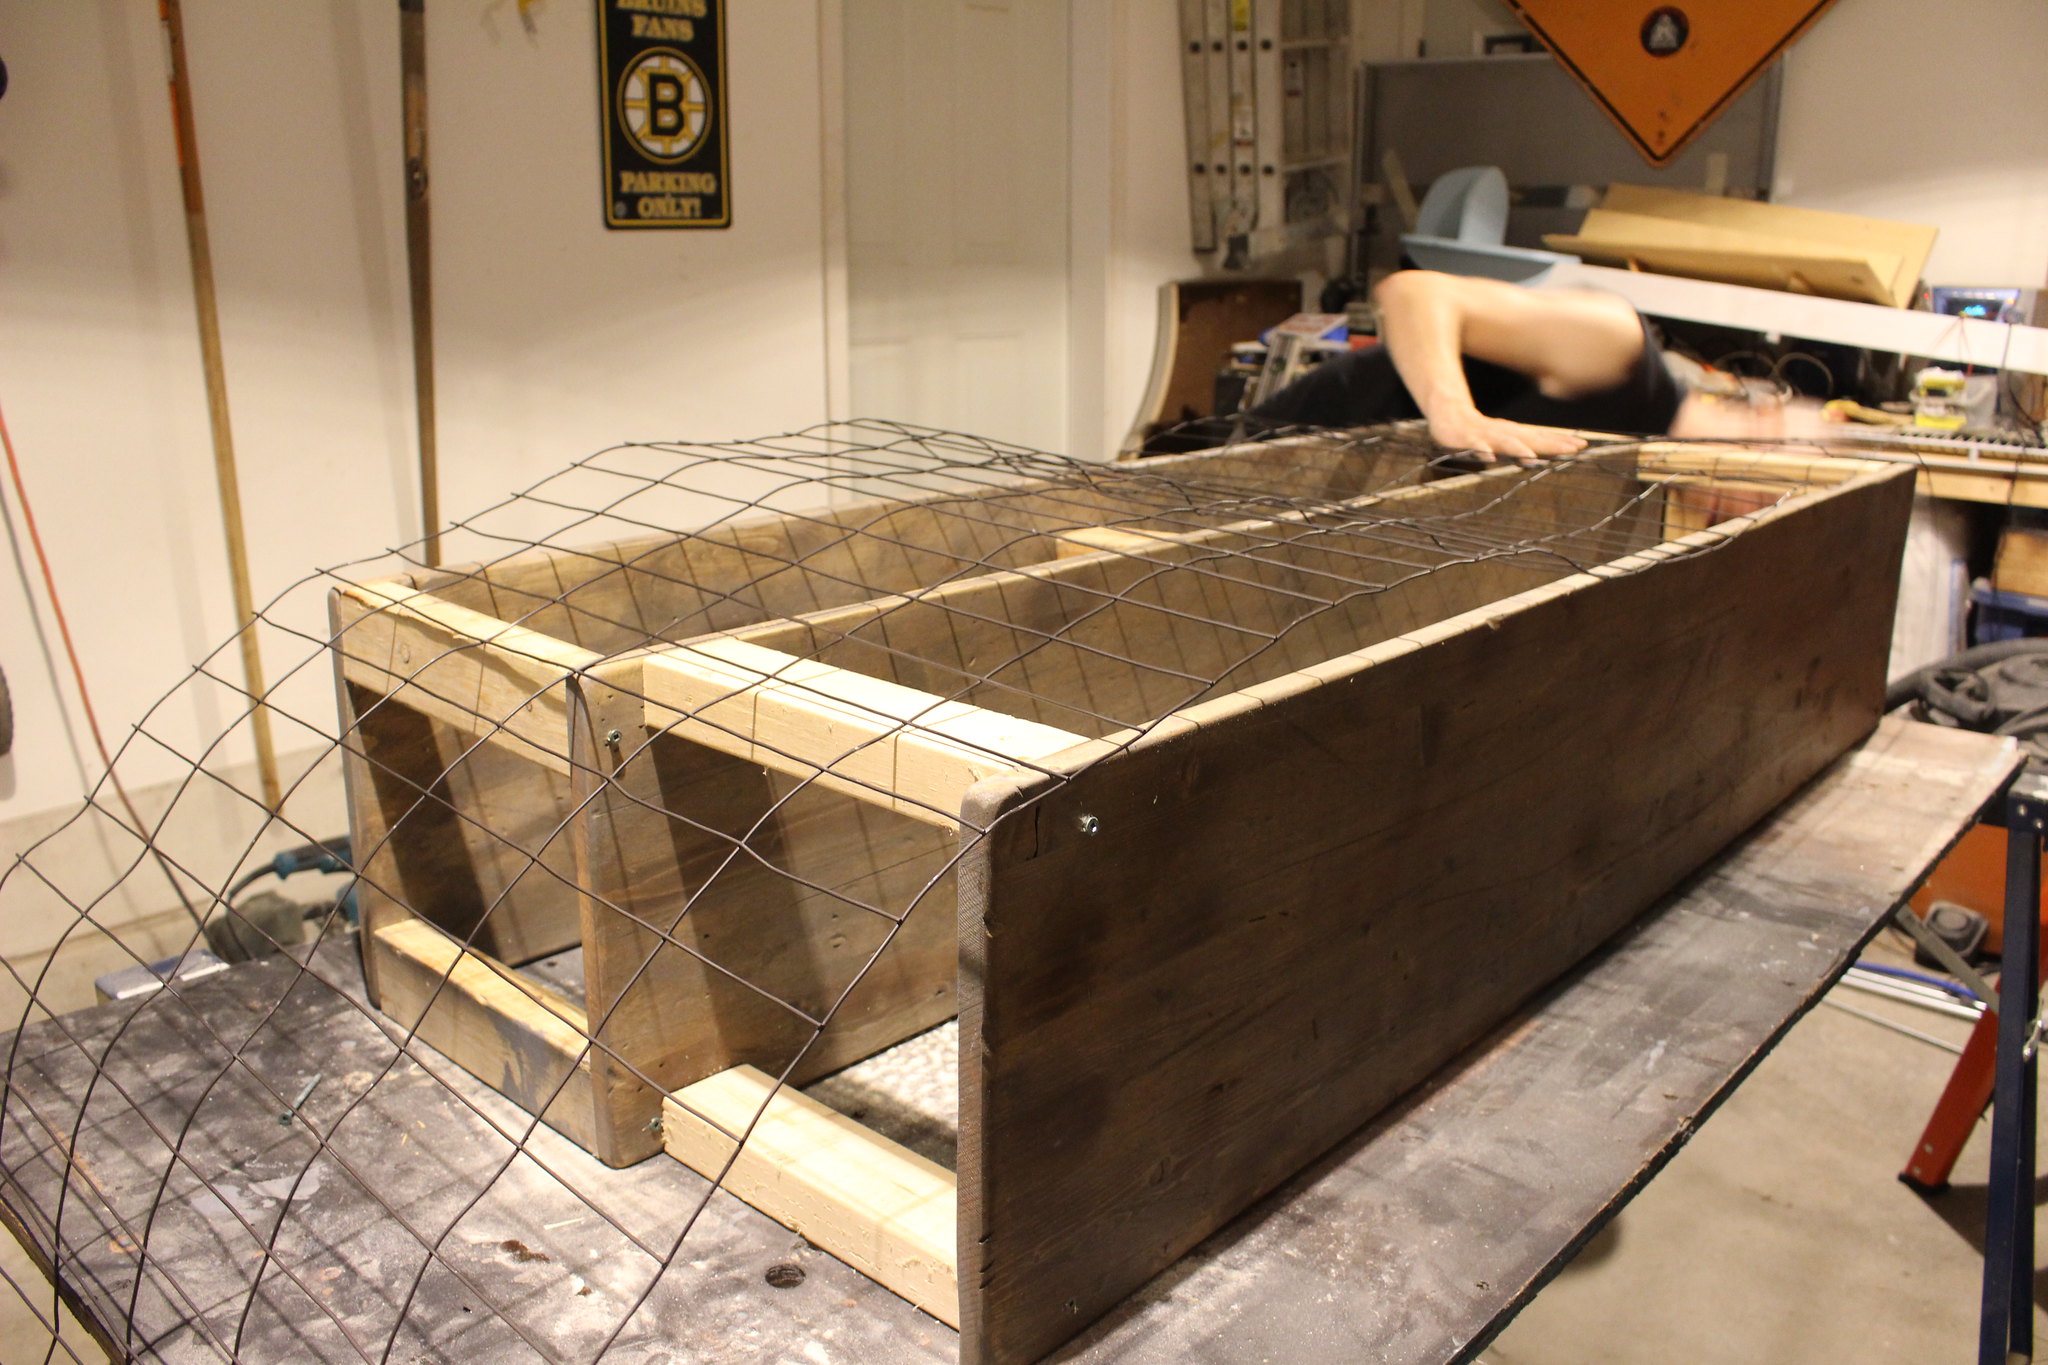
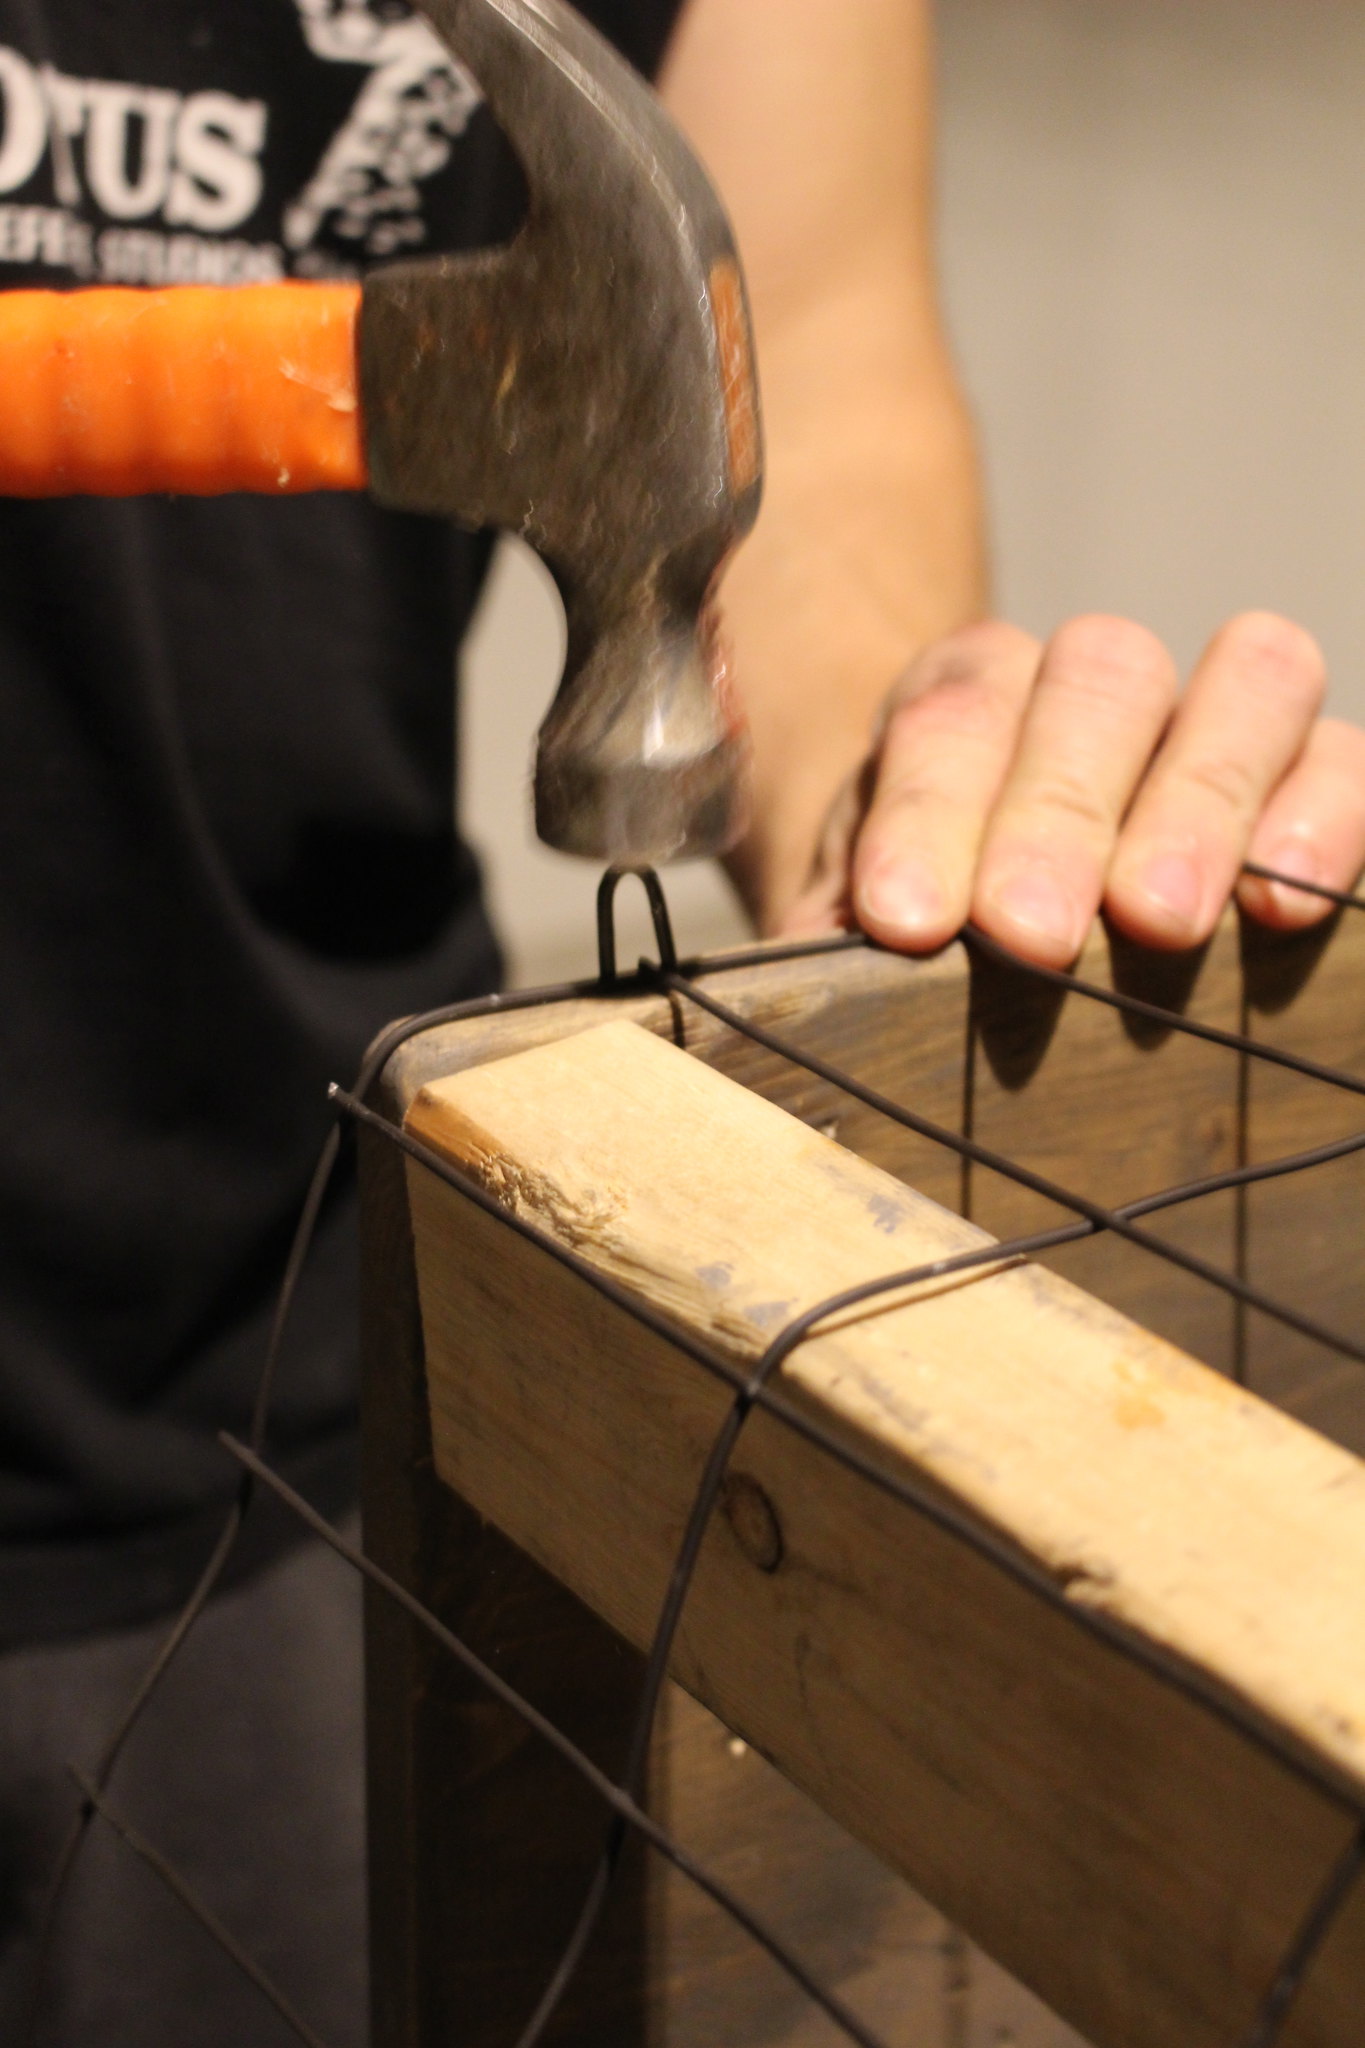
In order to start assembling our table, B created 8 spacers from scrap wood that were 12" tall to  match the spacing on the galvanized fencing. We had four spacers between each shelf, screwed into the corners to hold the shelves sturdy. Then, using a hammer B nailed the fencing to the shelves using the fencing staples. This step took the longest, as he put a fencing staple at every other cross section of the fencing to keep it sturdy. We had a few staples split the wood, but it really just added to the aged/beat up look of our barn board (and they were on the bottom or back side of the table, which was good). 

DIY Console Table

DIY Console Table

DIY Console Table

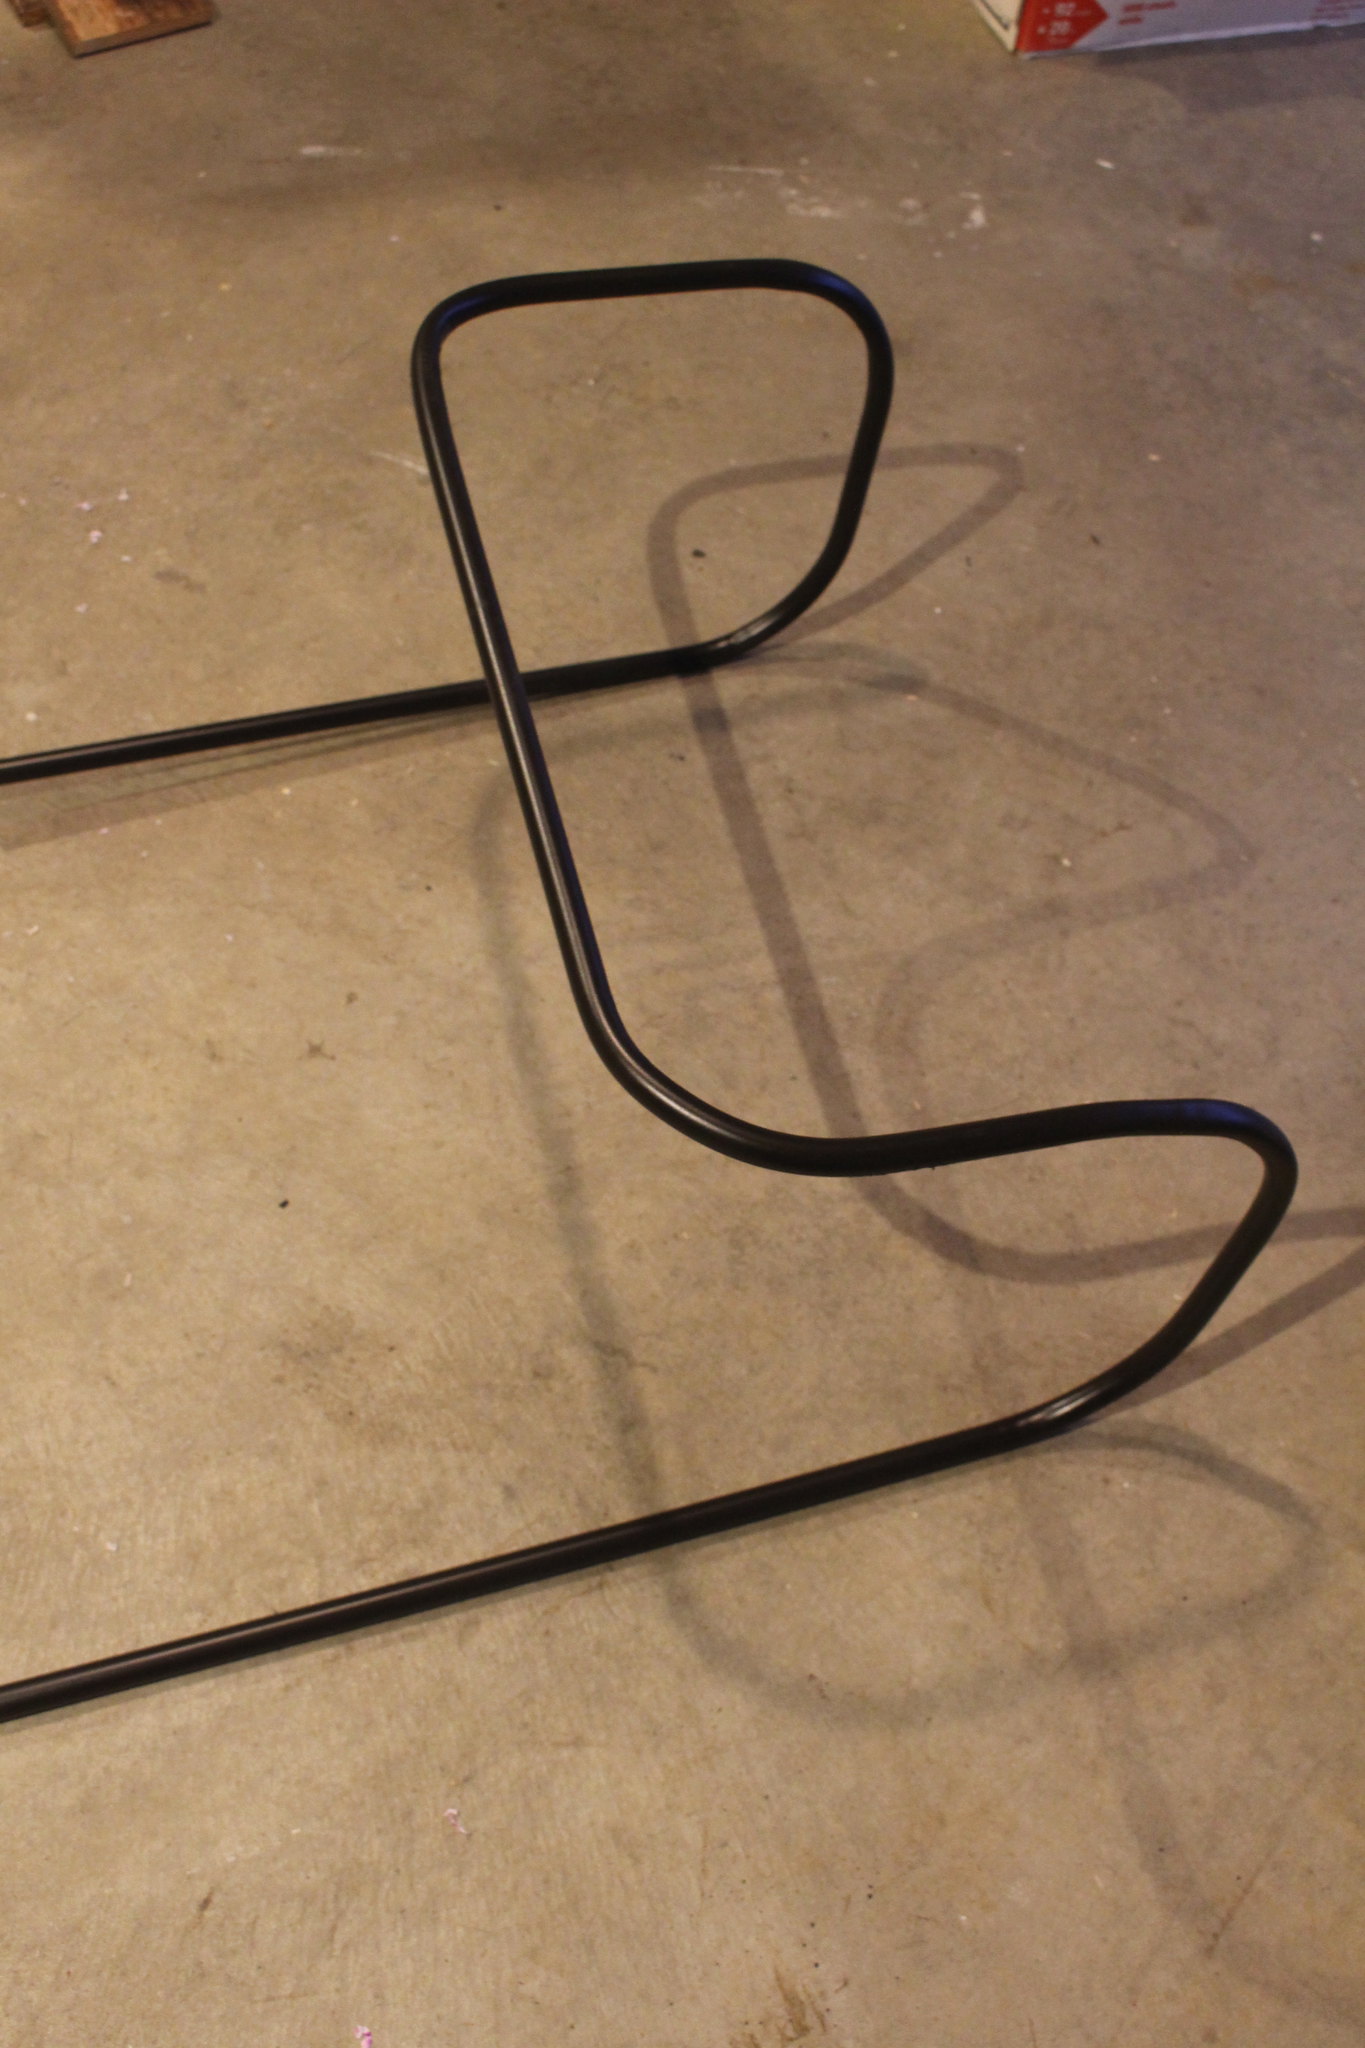
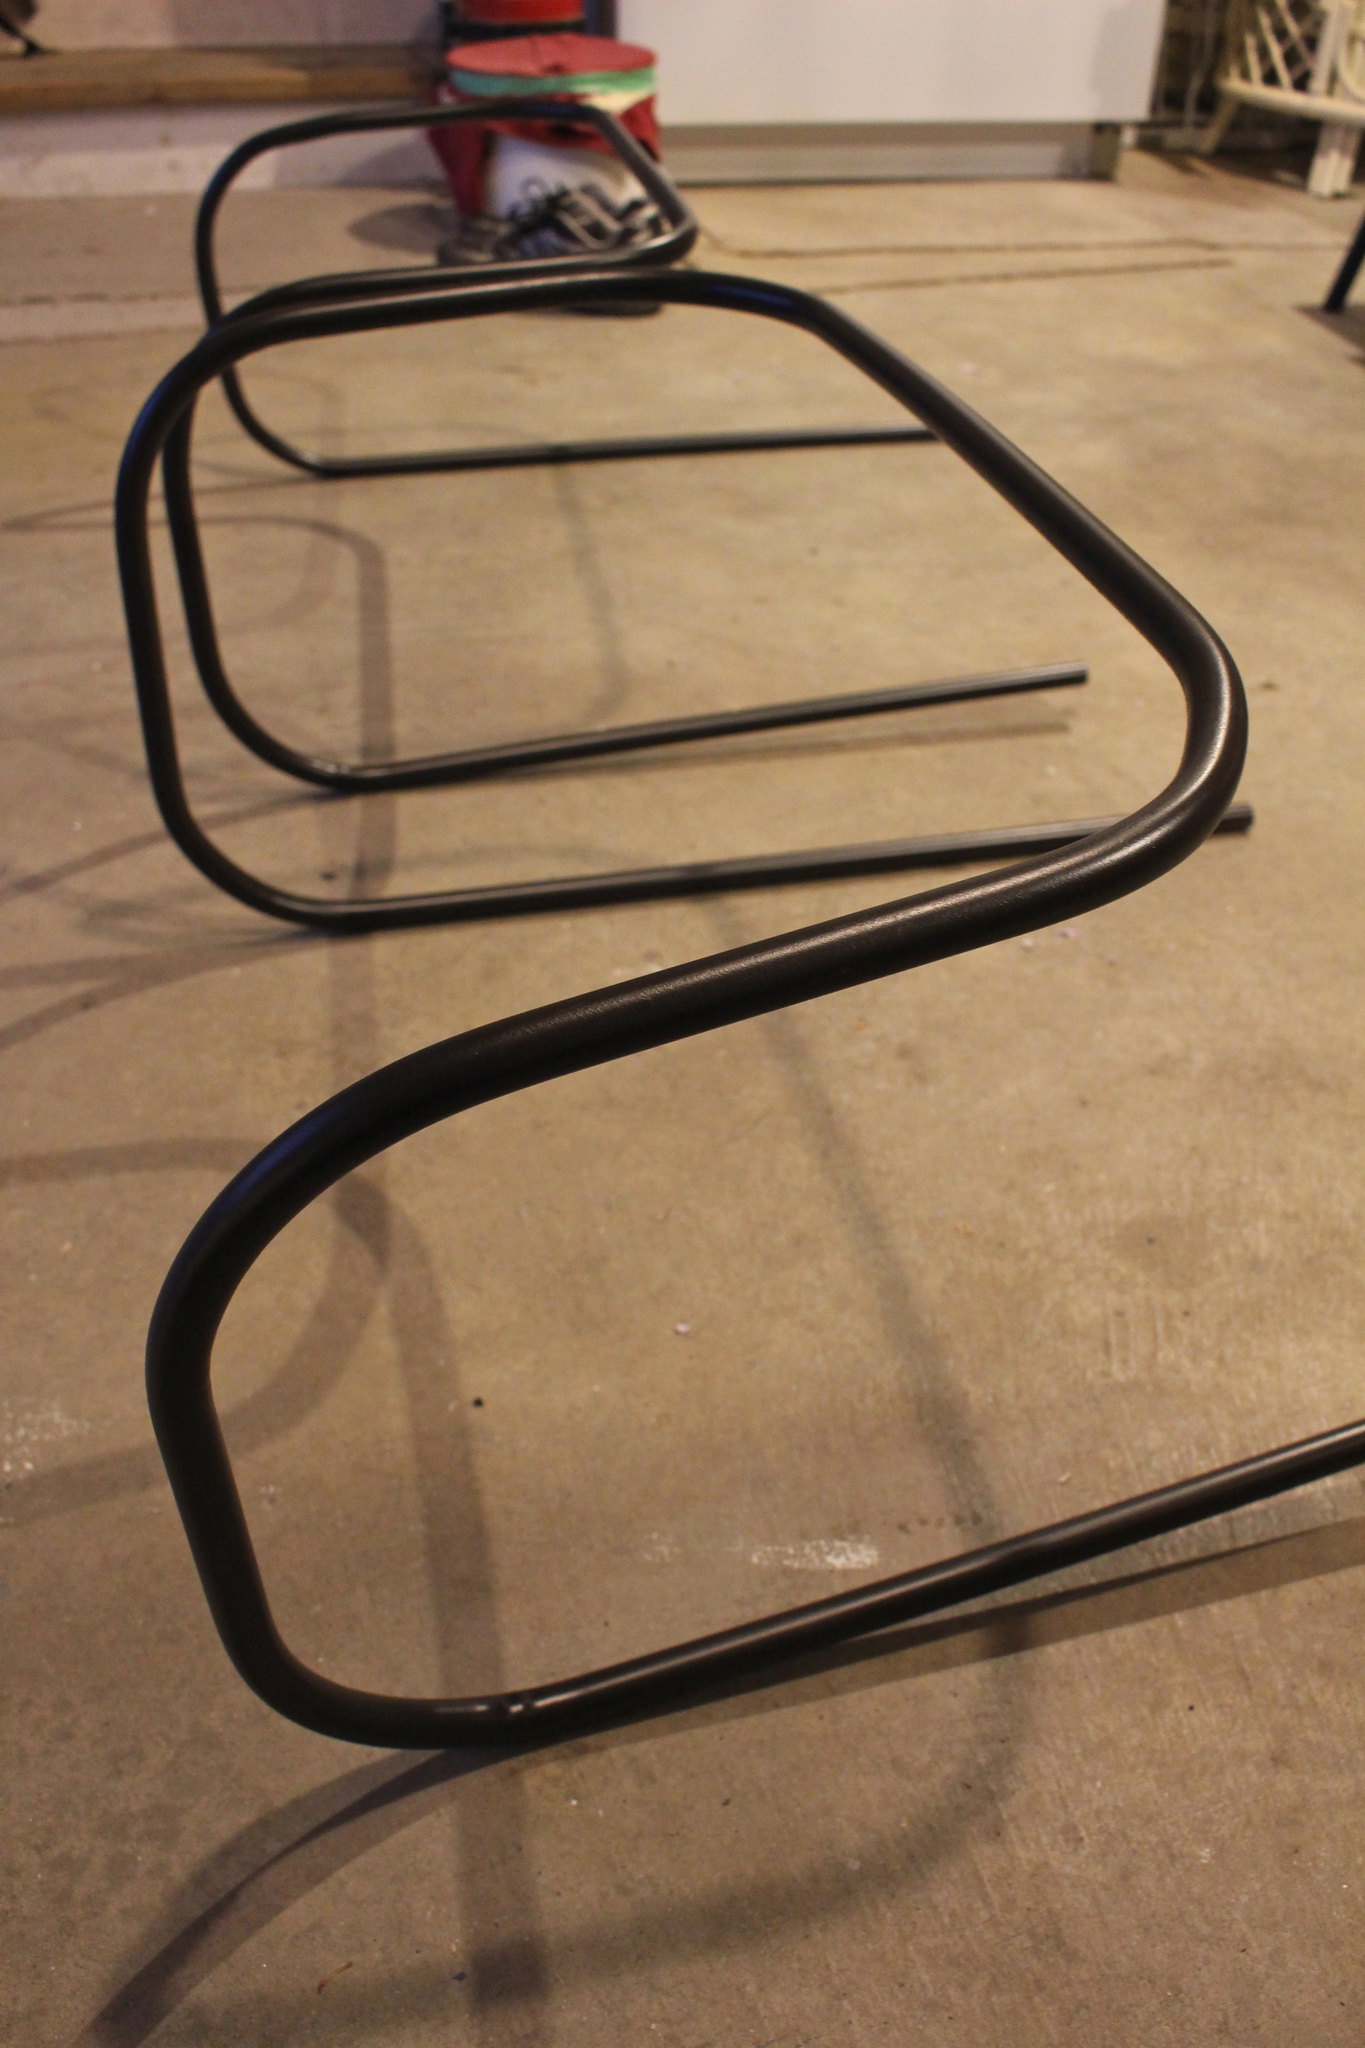
Next, B needed to bend the conduit pipe. Using a manual conduit bender that he picked up from Home Depot, he made 90 degree bends in the piping. This part proved to be the most difficult to mimic from the inspiration table. B mentioned to me quite a few times that with the conduit bender he wouldn't be able to get the pipe to wrap right around the wood, but rather we would end up with it winged out, more like handles on a bar cart. I was totally okay with this change in design and actually liked it more. 

Console Table Project - October 2015Console Table Project - October 2015

To attach the conduit to the table he drilled 1/4" holes halfway through the piping in order to hide the screw heads and then drilled a 1/16" pilot hole through the other side of the pipe and into the wood. He then used 2 1/2" screws to attach the piping to the wood. 

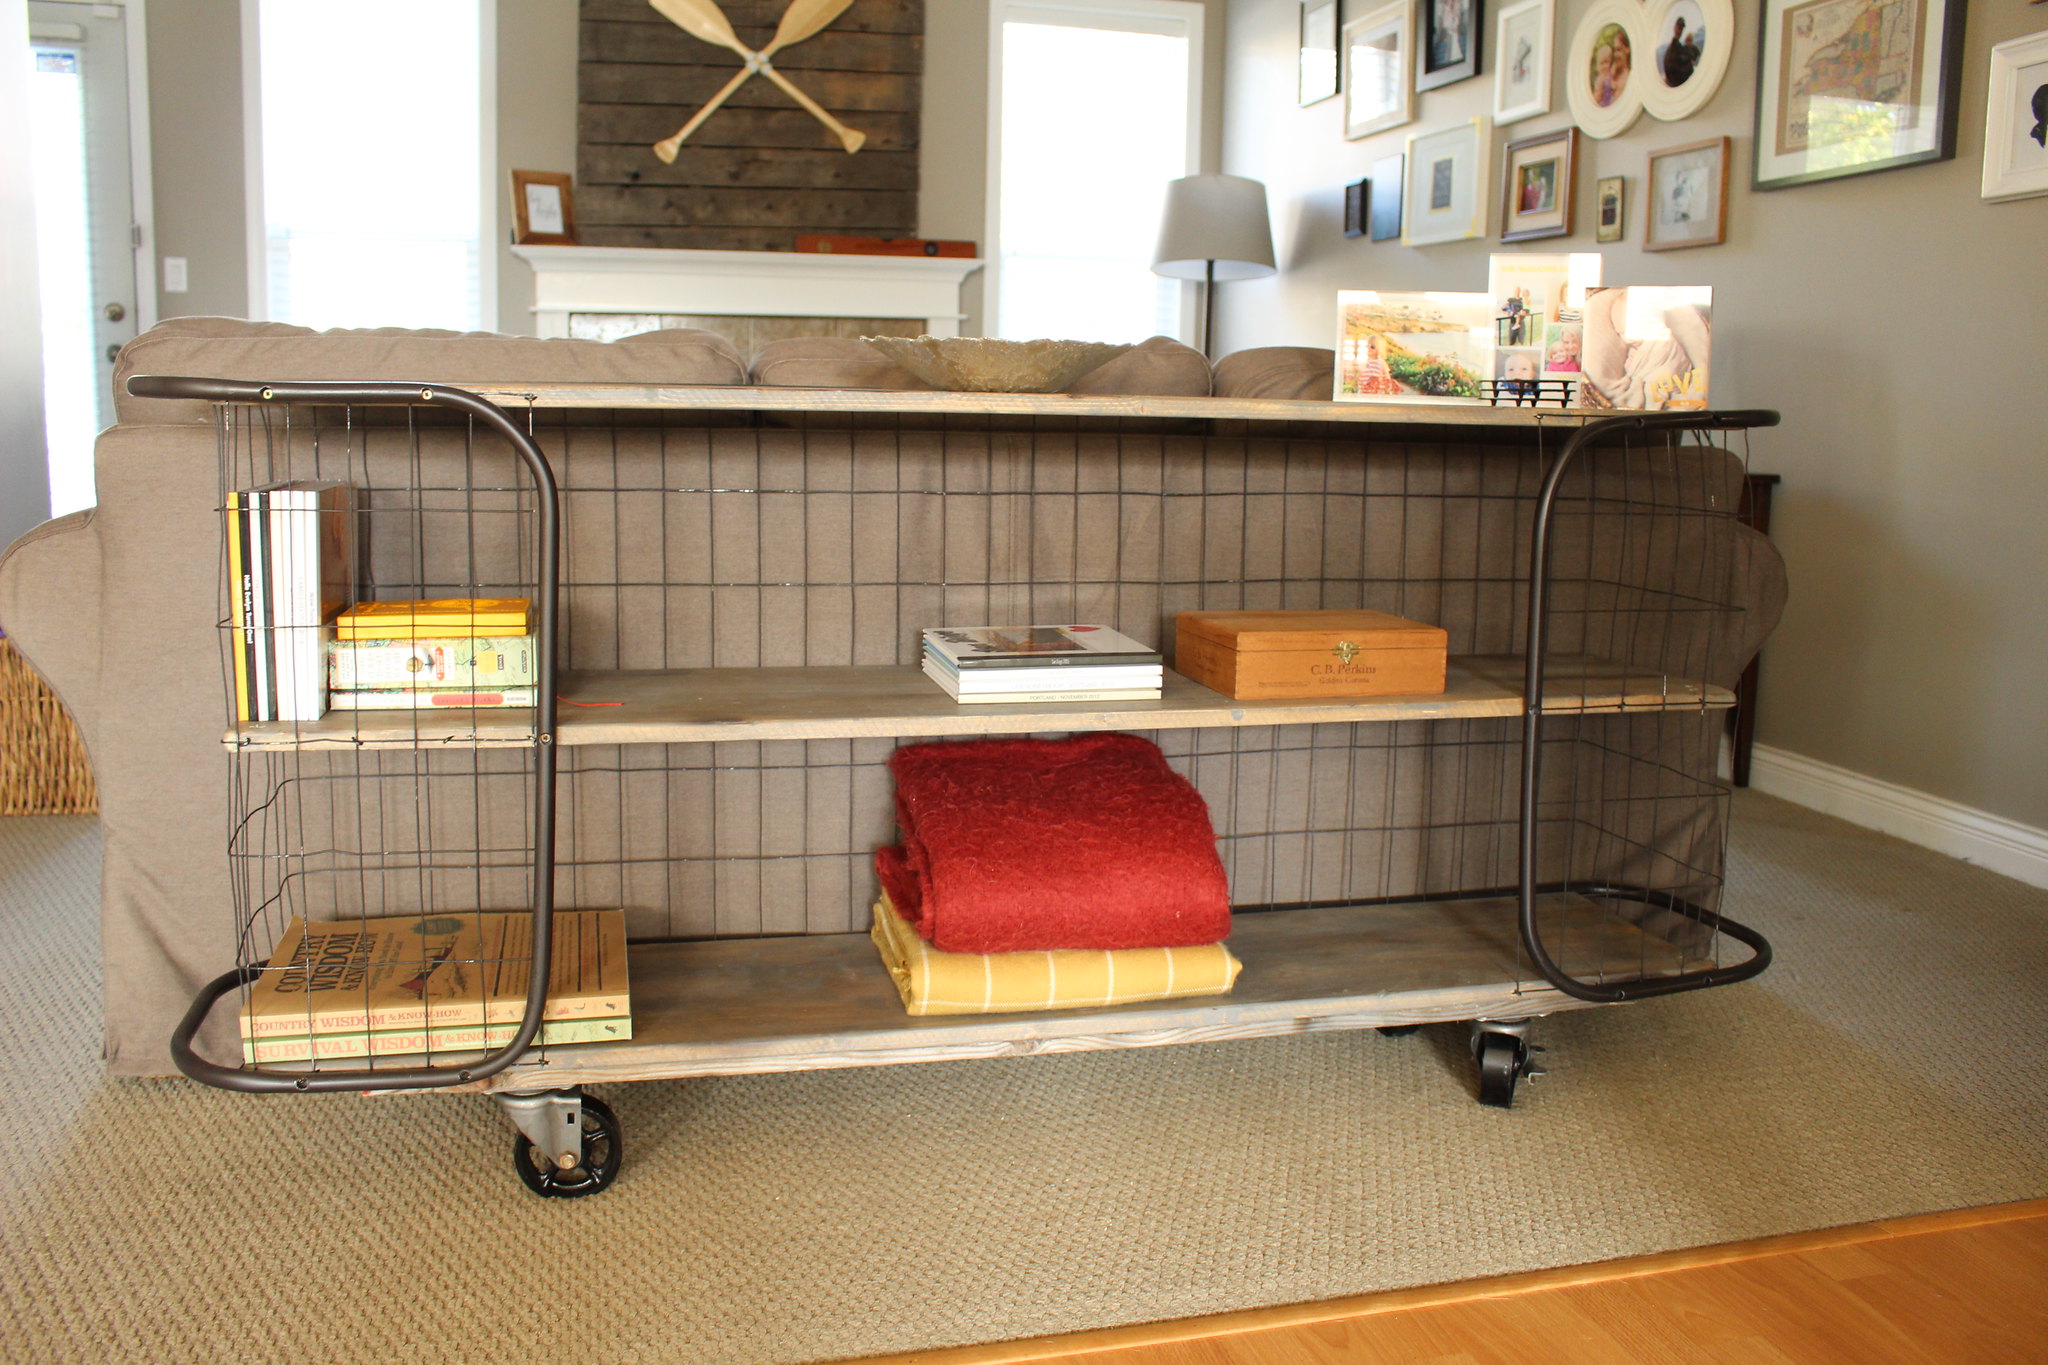
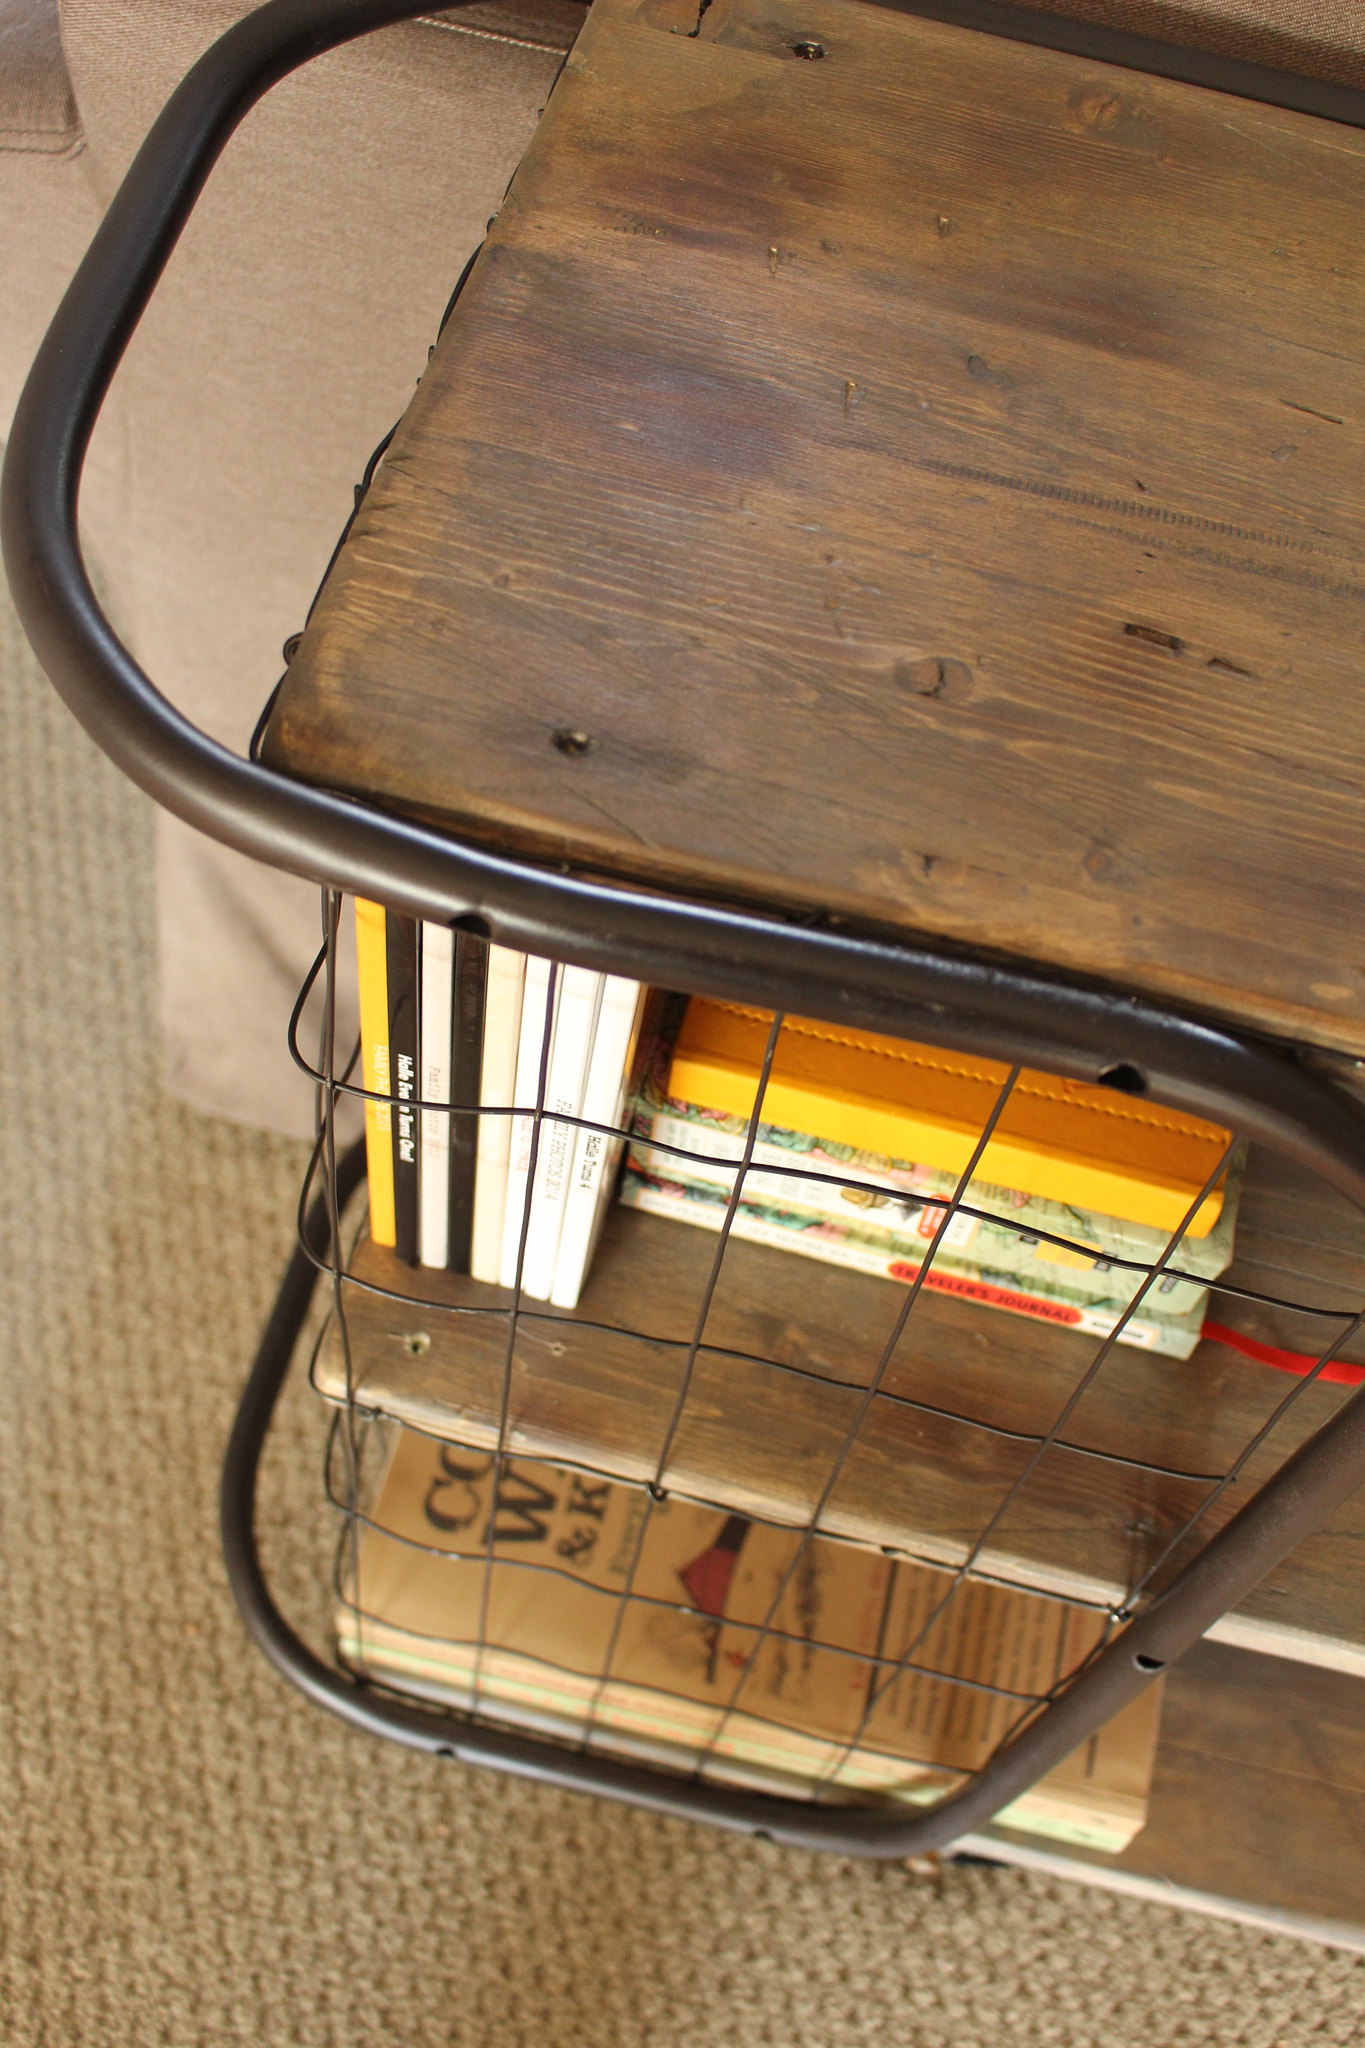
The final step was adding the heavy duty cast iron casters that we ordered from Caster Connection. He screwed the castors to some  6" x 3/4" x 4'-4" aged scrap wood that he had, and then screwed that wood to the bottom shelf... and we now have this table!

Console Table Project - October 2015

Console Table Project - October 2015

Console Table Project - October 2015Console Table Project - October 2015

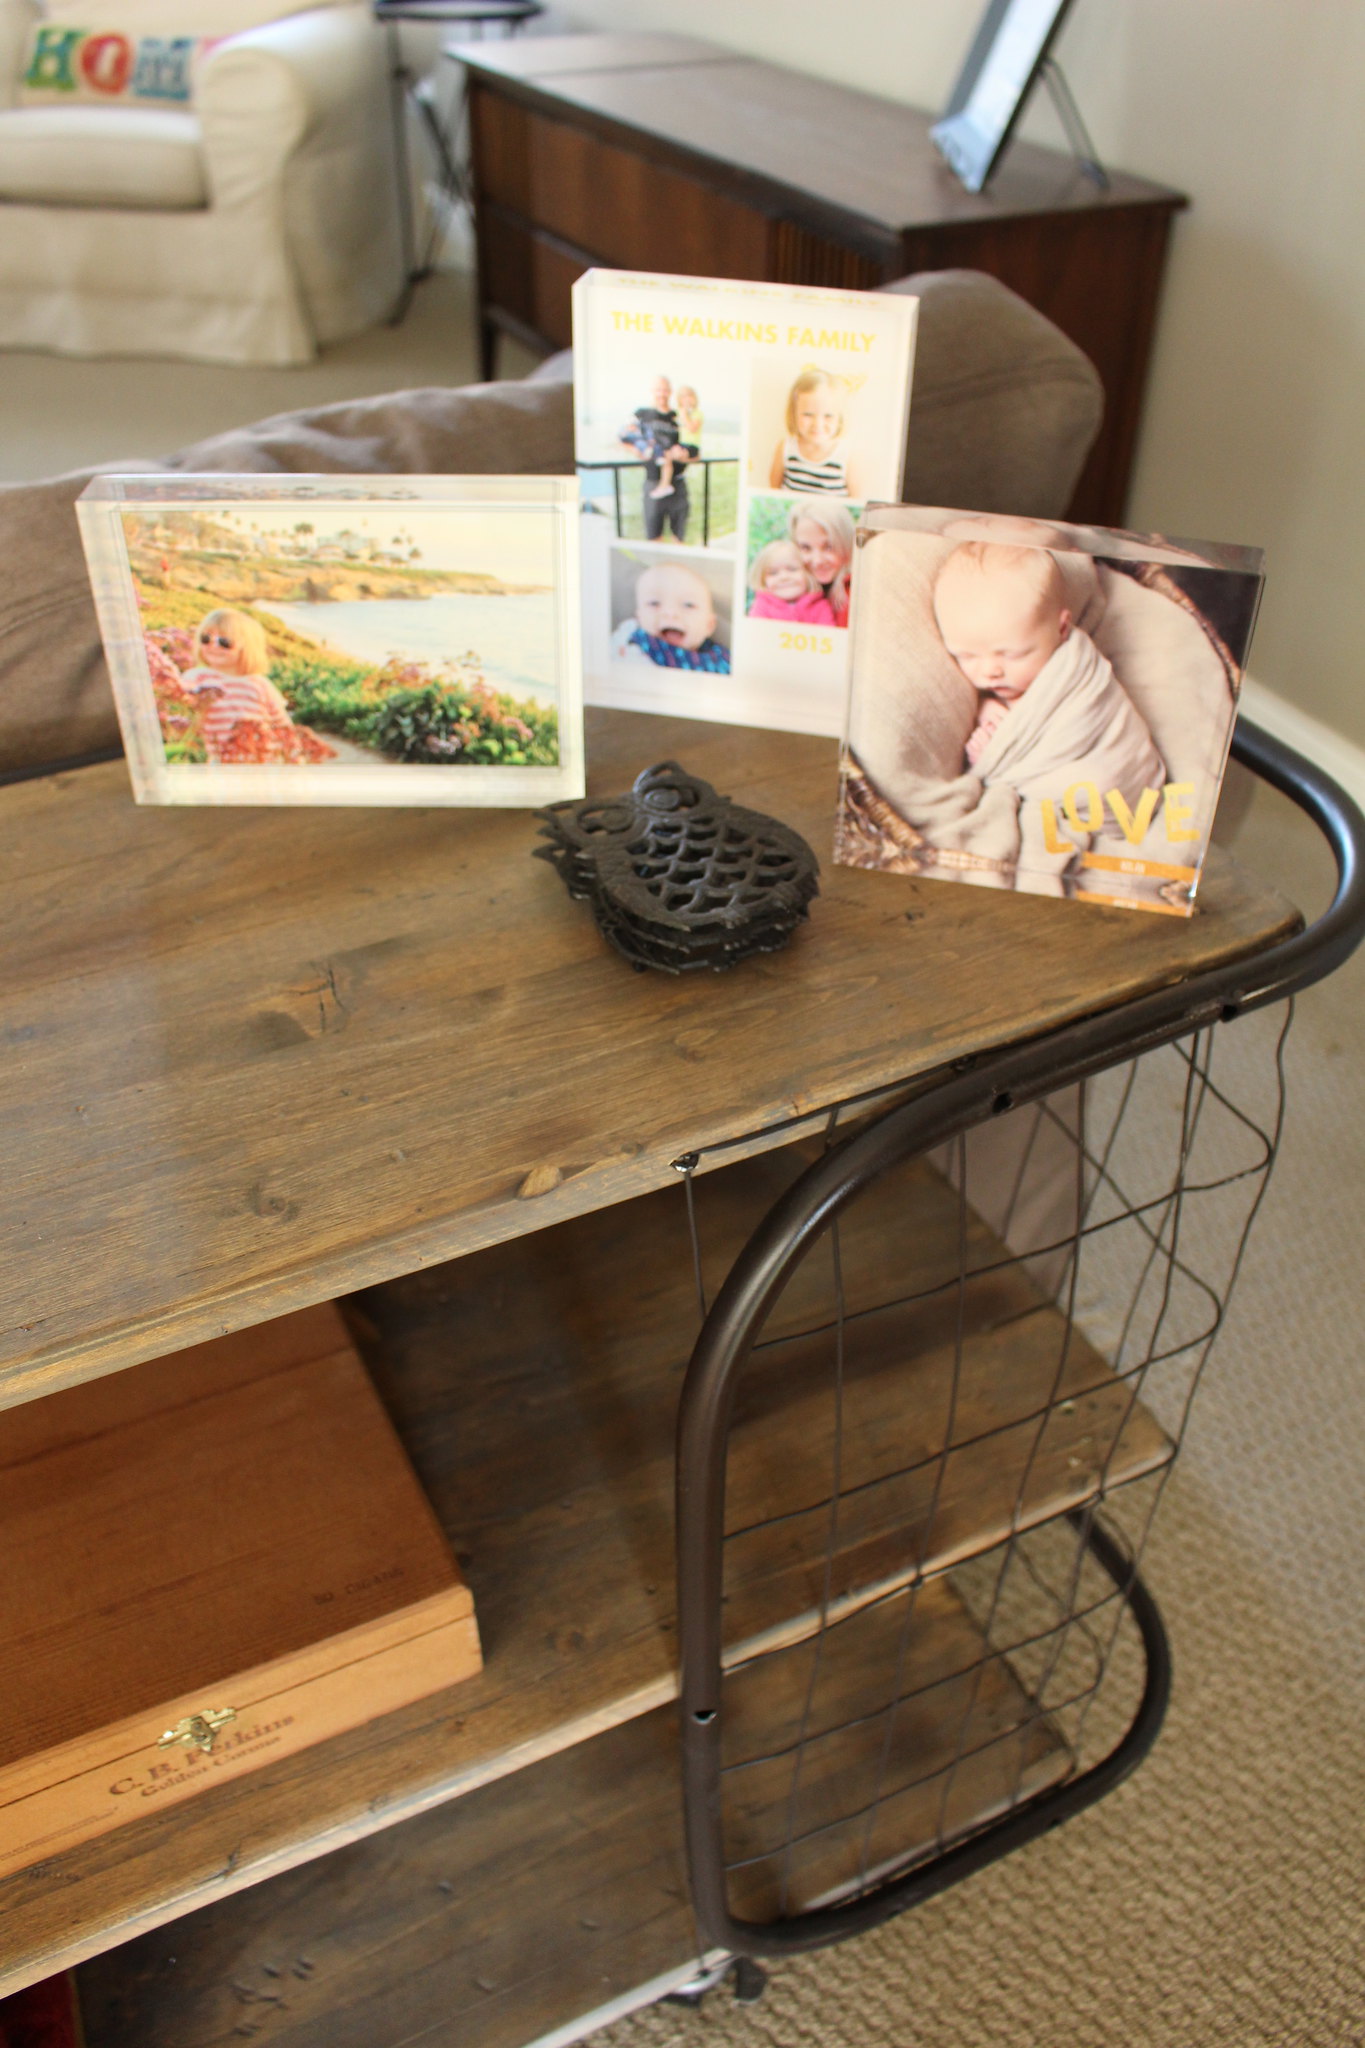
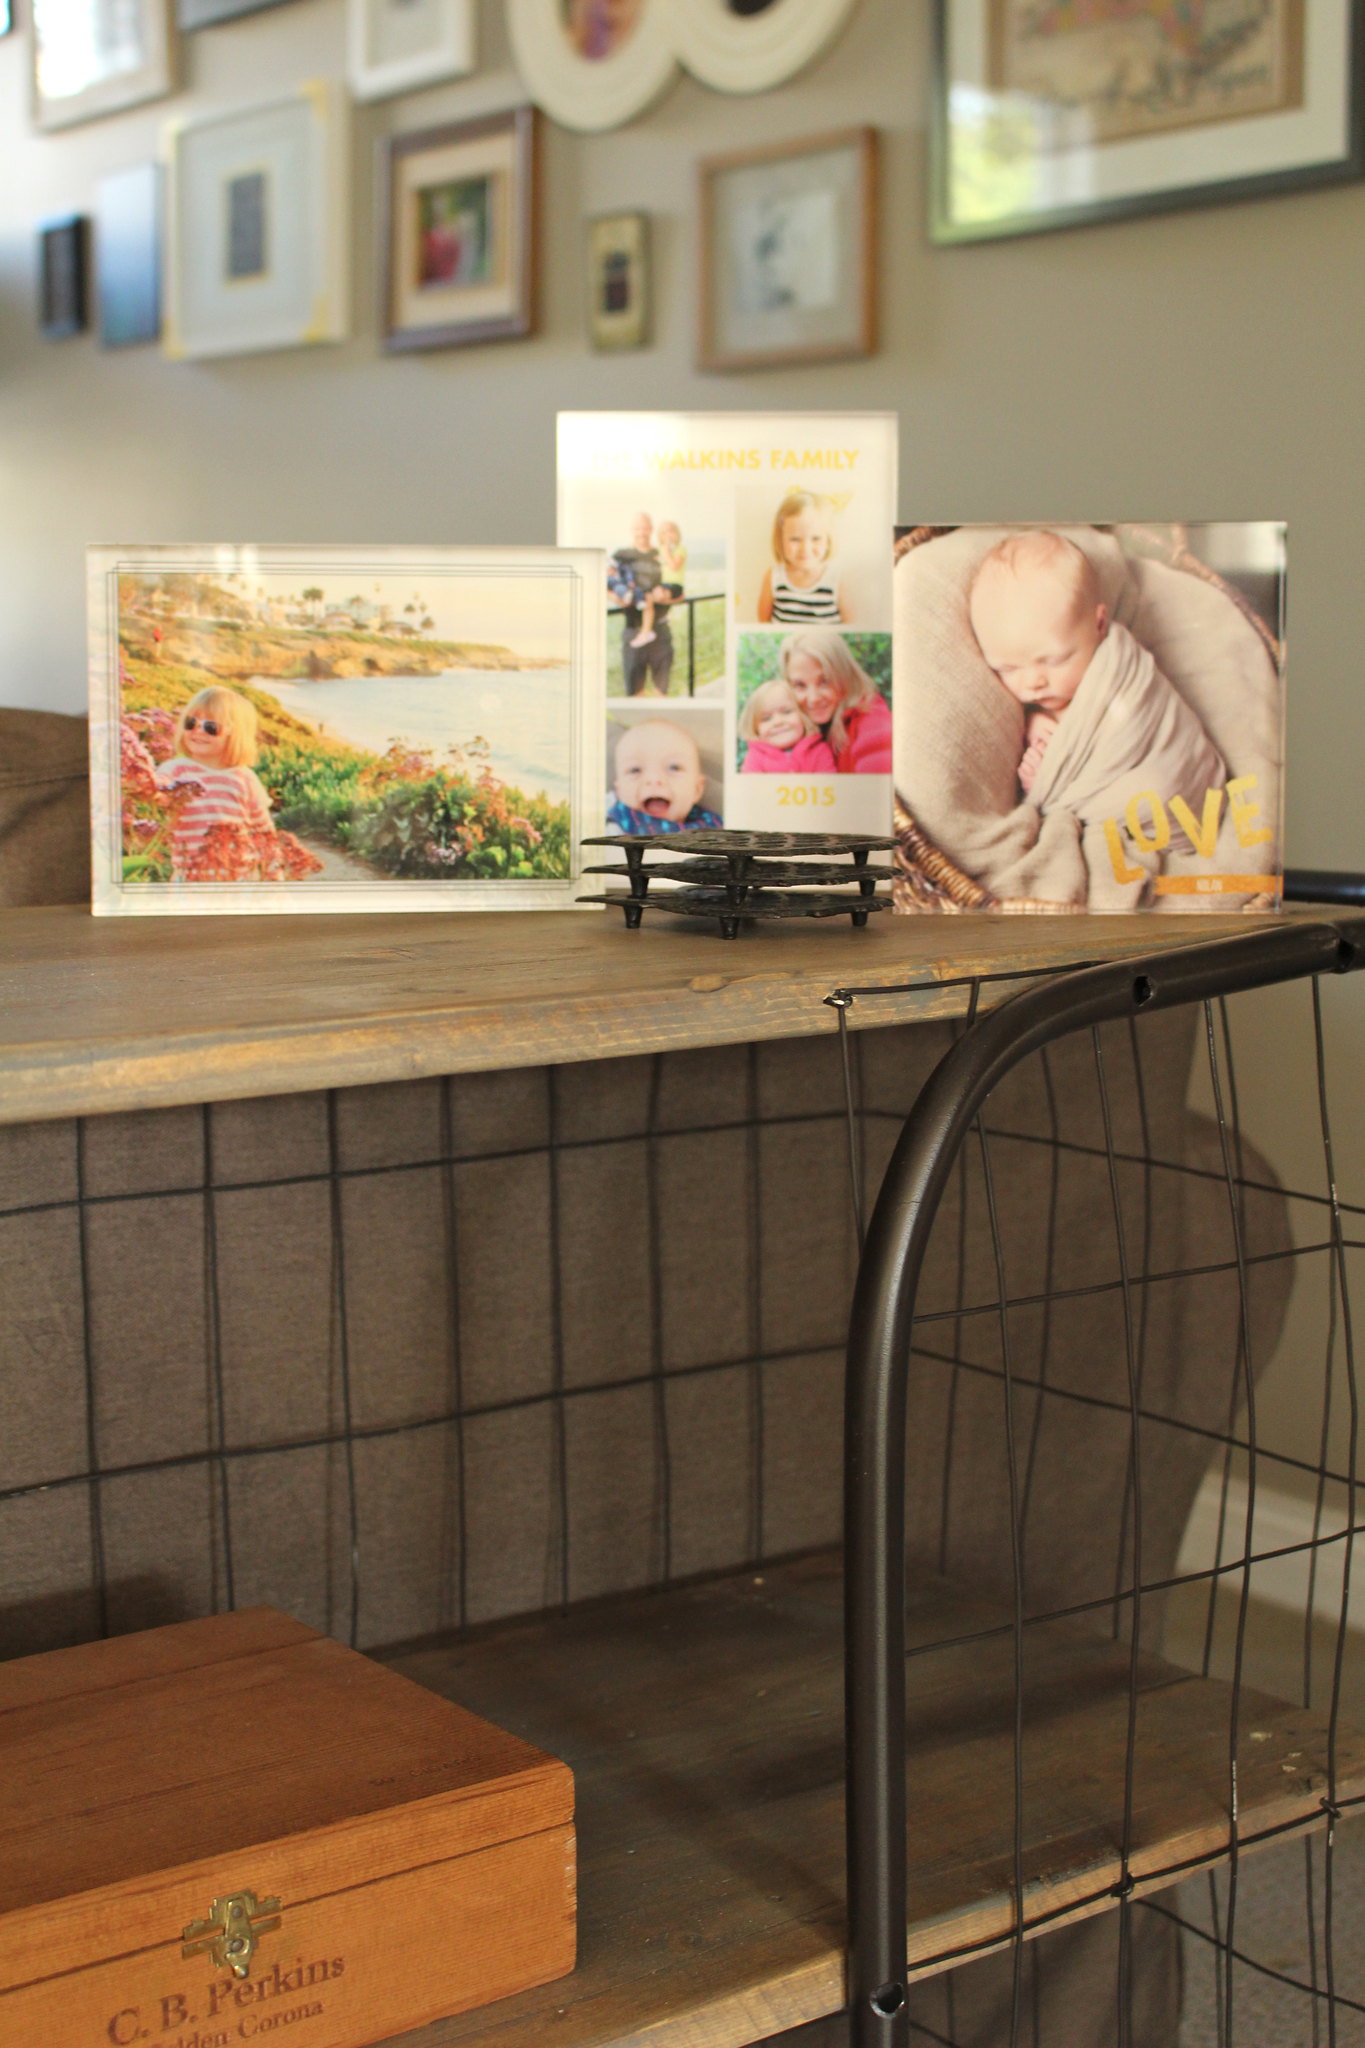
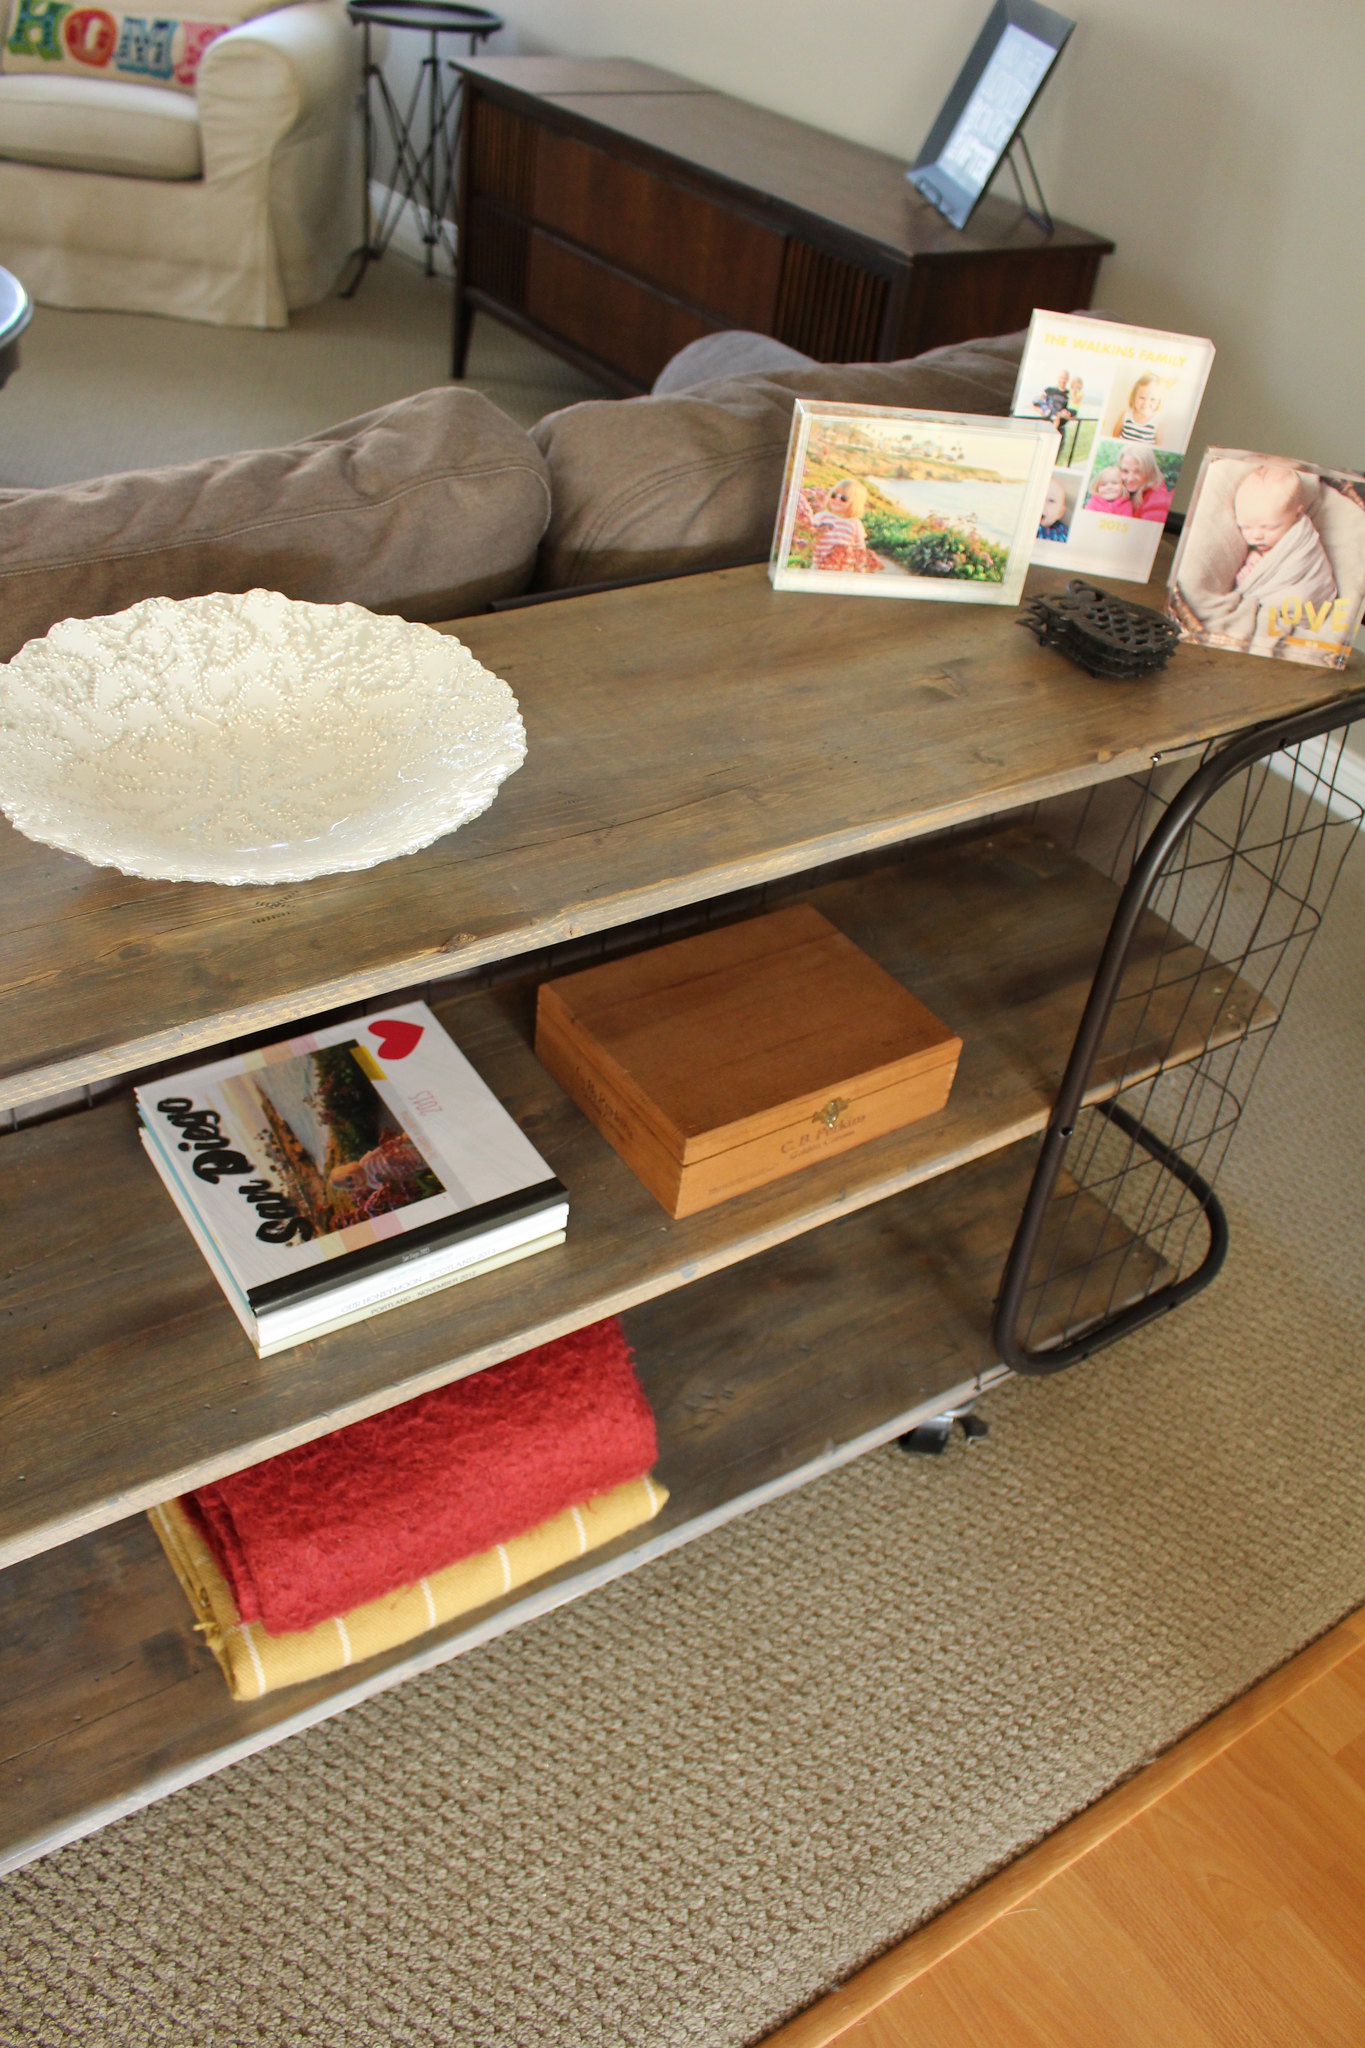
This is the perfect spot for my vintage owl trivets, as well as our new Acrylic Photo Blocks from Tiny Prints. I love them because they are such a beautiful and different way to display some of our favourite photos and memories! 

Console Table Project - October 2015

Console Table Project - October 2015

Though I would like to build a blanket ladder for this room, at the moment the bottom shelf is the perfect spot to keep a couple of my favourite throws from Penney & Company.

Console Table Project - October 2015Console Table Project - October 2015

I'm so in love with this table and thrilled that we decided to challenge ourselves to work with more than just wood to create a new piece for our home. Yes, B did the constructing but we collaborated on how to age our boards and what products to use for the look we wanted - we do make a pretty good team, if I do say so myself.

Have you been working on anything new that challenges you to think outside the box? Or maybe you've just acquired a really great piece of furniture that has made you look at your home in a new way!? We'd love to hear about it! 

SHARE:

Monday, June 9, 2014

I've Been Benched

First off, I need to thank everyone for their input on my last post. There were some really great suggestions, including one that has really started to evolve in my head... so we'll see where that goes!

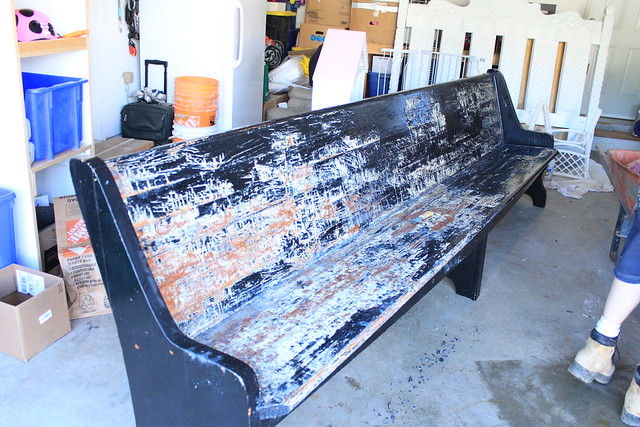
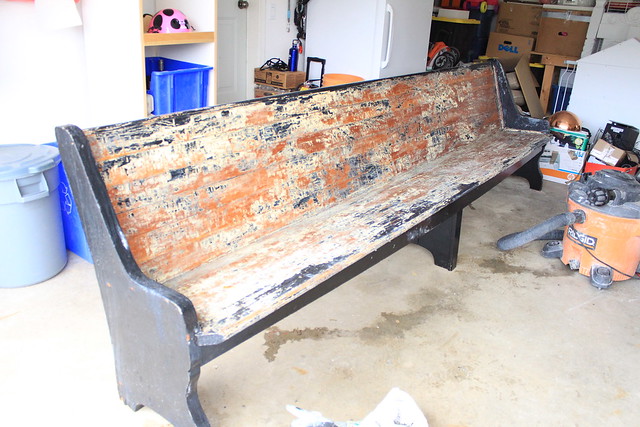
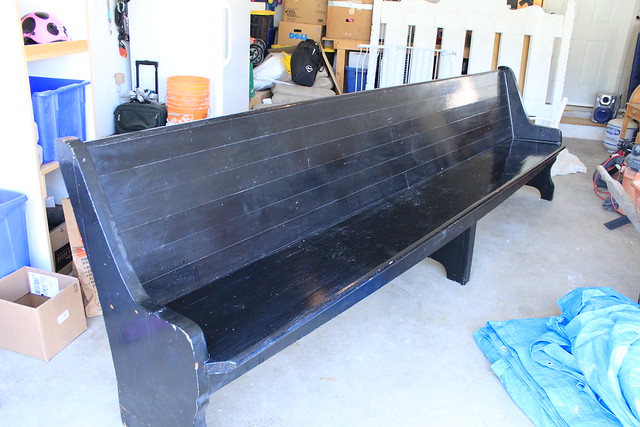
Now, for an update on the pew. The last I showed you, our bench was looking like this...


Dining Room Pew - Stripping

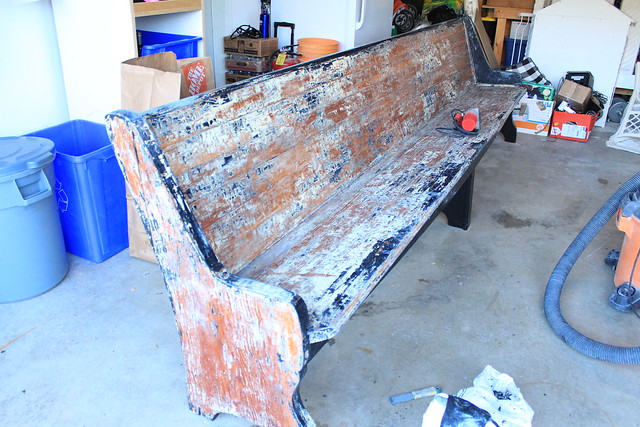
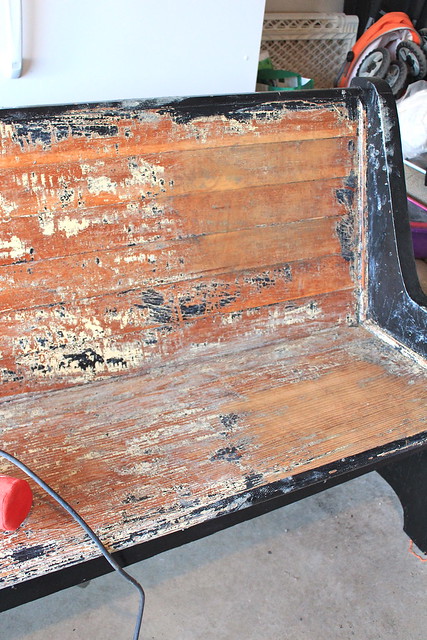
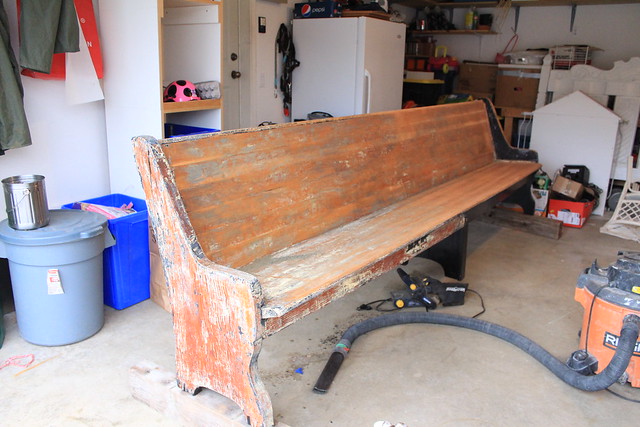
Well, I've been a busy bee, taking every opportunity that I can to get out there and strip it clean of the two layers of paint. 

Church Pew

Church Pew

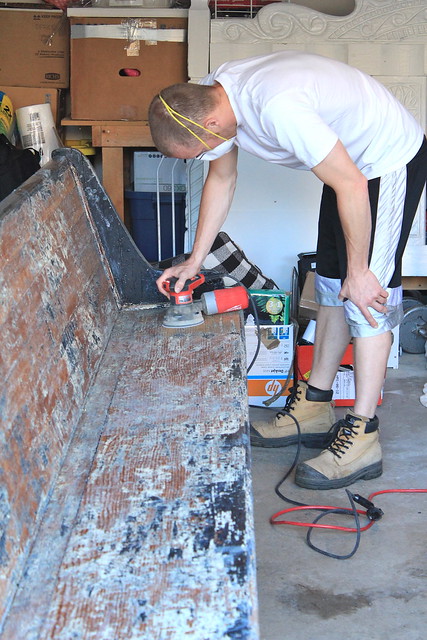
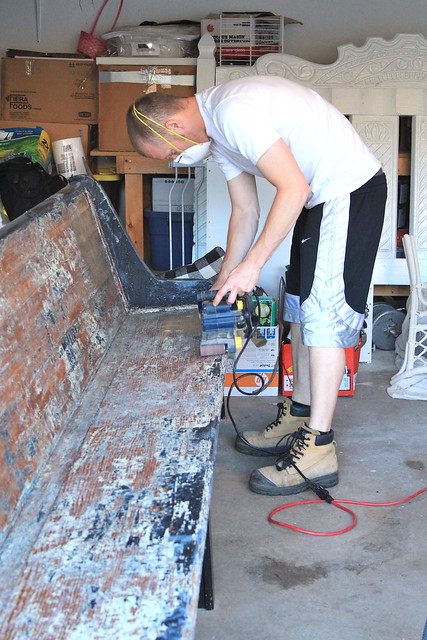
After some stripping and then letting it dry out, B went at it with a random orbital sander and a belt sander to get rid of some of the leftover paint.

Church PewChurch Pew

Church Pew

What did we discover when B hit some of the parts of the pew that had not been touched by the stripper? The paint would've come straight off really easily had we just sanded it from the start and skipped stripping completely. Yeaaaa.... so had we done that, we would've saved some money AND probably have all of the paint sanded off by now. However, as it currently sands, we still have some work ahead of us to get the rest of the paint off...

Church Pew

I am frustrated knowing that we could be in the refinishing stage already if we (read: I!) had just attempted sanding before stripping.

While sanding B also discovered that the back of our pretty pew is solid cedar - a very nice cedar, and he's intent on staining it. I on the other hand, am not completely convinced. After reading Jen's comment on my last post, I'm pretty sure I'd like to do something two toned (pulling colours from our end chairs at the dining table). Something along the lines of this pew, or this one. B and I will continue to discuss this.

So, with the progress we have made so far I am still hoping to have this project (as well as a few others I have started), completed before our house guests arrive later this month! I also believe that now that we've been in our West Coast home for over a year, I owe you some updated pictures of our spaces! Hope to start snapping some photos one space at a time once I get them cleaned up. 

Have you been working on any projects recently that seem never ending? Maybe you've had a frustrating experience with something you are trying to tackle? 
SHARE:

Thursday, June 5, 2014

How I Got My Blog Groove Back

Well... it's been far too long since I've been around these parts. I've just been busy being a Mom, keeping home, doing fun things with the family and small projects around the house. Nothing has really given me that spark recently to write... even when B began building Halle's playhouse in the backyard, or started working on tiered vegetable garden (all of which there will be photos of.... soon). Then, the other week, I was doing my usual craiglist creep when I struck gold!


Dining Room Pew - Before

That my friends is an 11 foot church pew... which I paid $100 for. Yes... ONE HUNDRED DOLLARS! I was thrilled that I was able to score this (and so thankful to our wonderful friend who helped me out and loaded it into the pack of his pickup truck and moved it to our place while B was away). It's going to be the perfect addition for seating at our 12 foot dining table...


First Time Fancy Dining Room - DIY Dining Table & Light Fixture

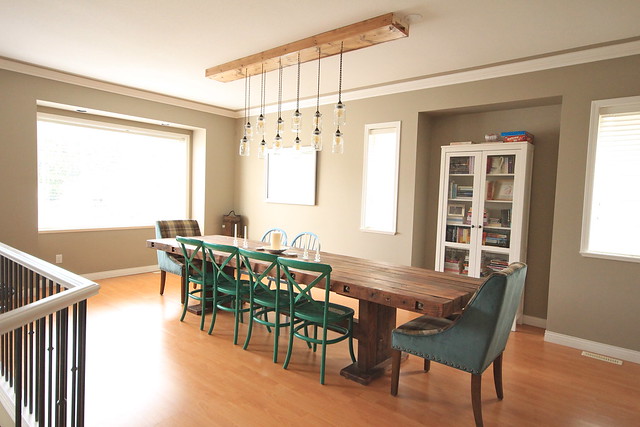
The pew will go on the far side of the table where the two blue chairs are. However, I'm still stuck on what to do with the pew. I'm in the middle of stripping the paint off...

Dining Room Pew - Stripping

I've made some more progress since this photo was taken, but I still have a lot left to do. The wood seems to be in okay condition, but I'm not sure I want to stain it. Even if we use the same stain as we used on the table and light fixture, it would come out a different colour (just like the table and light fixture did). I'm concerned that it will be too many types of woods and tones competing in the space (especially since we also have our wine rack and a new little wood table that I scored at the Salvation Army. 

So, I guess I'm looking for a little input. While I strip and sand this big old pew down, I want to know - What would you do? What do you think I should do? Stain it? Paint it? I'm thinking maybe a cream colour, similar to the light part of the plaid on our head chairs at the table. At this point, I'm leaning towards painting (which would save me a lot of stripping down the line)... so give it to me! What should I do?
SHARE:

Wednesday, February 19, 2014

Back in Action

Talk about a break from blogging! I don't really have a reason for you as to why it happened, except for maybe I've really been embracing my 2014 motto of "Simplify". After completing our kitchen cabinet transformation project, we took a little break to just enjoy the start of the new year as a family. We've been getting out and enjoying being together (especially since we haven't been slammed with snow and ice like our families back east), and I've also been doing a lot of cleaning and organizing. I've been able to sell some things we don't use as well as donate a few things, and it was nice to purge a little. 

BUT, with B's sister arriving on Friday and a little dinner party planned for Saturday, we needed to whip our dining room into shape for some hosting. We've been busy bee's the last couple of weeks. The last photo I shared on here of our dining room was just after B had finished our dining table...


Our DIY Dining Table

In the last few weeks we've accomplished quite a bit. Here's what our dining room currently looks like...

First Time Fancy Dining Room - DIY Dining Table & Light Fixture

We are getting there! On the far wall we have hung a mirror that B has had since before we even started dating (it sat on the mantel in our home in Toronto). It may not be the forever solution, but for now it fills the wall and really bounces more light around in the space. We like it.

You'll notice I've also started to address our seating issue. Those four green chairs I grabbed at HomeSense for a great deal. I'd been eyeing them since November, but couldn't pull the trigger on them for $99.99 a piece. At the end of January I popped back in and was checking the clearance section, only to discover four were left at $36 each! Of course they had to come home and they are perfect. The two blue chairs on the opposite side of the table will be painted the same green colour in time. 

First Time Fancy Dining Room - DIY Dining Table & Light Fixture

By far, the biggest and best addition is the light fixture that B put together for us. Of course this style is all over Pinterest, but I wasn't in love with the idea until we went to Scotland and saw a huge light fixture made from Mason jars at the Super Dry store in Glasgow. So when we got back and needed a big idea for over the dining table, this seemed the best and most affordable solution. The whole thing cost us under $300 - not bad considering the impact it makes. 

First Time Fancy Dining Room - DIY Dining Table & Light Fixture

We bought the pine and the wiring and junction boxes from The Home Depot, using a gift card my parents gave us for Christmas. For the stain, we used leftover stain from the table. The woods are different (pine for the light fixture and douglas fir for the table), so the stain appears slightly different. I like that they don't match exactly, but have the same tone! 

The jars I bought off of someone local for $8 (for all 12), which was a great snag. We bought the fabric covered wire and sockets from a Massachusetts based company called Sundial Wire - definitely recommend them if you are looking to do something like this! Finally, the amber coloured filament bulbs top off the whole project. We bought 16 for $5/each from Restoration Hardware when they were having their lighting sale in early January.

First Time Fancy Dining Room - DIY Dining Table & Light Fixture

I feel like it makes the most impact when it's all lit up at night. The amber lights were the perfect choice, and we're happy with how much light 12, 30W bulbs give off. The perfect ambiance for dining!

First Time Fancy DIY Dining Room Light Fixture

First Time Fancy DIY Dining Room Light Fixture

There's still much to be done around here. B and I have agreed the next big thing will be the built-in in that nook currently occupied by the far too small bookcase. The good thing about the built-in is we will be able to build it slowly. Start with a lower cabinet and had uppers afterwards. Just something to add some extra storage and character to this slowly evolving room. 

I'm just thrilled with how quickly we've been checking things off of our to-do list so far. The bedroom has had some progress as well, and I hope that today I can finally finish getting paint on our walls. It's a much slower process now that I have a two-year old underfoot at all times! She is one busy and curious little girl!

What have you been doing to keep yourselves busy? Anyone been hibernating inside and making big changes to their homes?
SHARE:

Monday, January 13, 2014

Our Kitchen's Dark Side

From the first time that we saw our house, we knew that the kitchen here was not exactly our style, but it sure had a lot of potential in there.

IMG_1413

IMG_1414

One of my biggest issues was the colour of those cabinets. It wasn't awful by any means, just not what we wanted. So, when the people over the The Home Depot got in touch and asked if we would be interested in renovating our kitchen quickly and on our own, we jumped right on board! A few weeks later this big bin of fun arrived on our front door step, with everything we would need to take our kitchen to the next level.

Kitchen Reno In A Box

It took us a little longer than anticipated to get started due to both B and I getting sick, but by the time Black Friday hit (yup, it was that long ago that this started) I was ready to get moving! (Just as a foot note, we had to break the rules a little. Our kitchen is quite large and the weather was a little cool, so we had to do half of our kitchen first and then jump to the other half afterwards). I began by sketching out the cabinets we were removing and numbering them all. 

Kitchen Cupboard Transformation

I then used some blue painters tape to put the coordinating numbers of each of our cupboard doors. This part ended up being a little silly. We ended up losing the tape while working on the doors since the tape had to come off and things got a little mixed up. Good thing all of the doors are different sizes, so matching them back to their proper spots was not an issue at all for us! 

Kitchen Cabinet Transformation

Next, B removed all of the doors and I wiped them all down with a green multi-purpose cleaner before bringing them out to the garage for the de-glossing phase. B helped with this. I did the de-glossing and he followed along behind me to wipe off all of the de-glosser. It was a little slow going, but much quicker having two sets of hands (as I would later learn). It was really important here to have lint-free cloths, so I highly recommend you make sure you have those on hand for this project.

Kitchen Cabinet Transformation

Kitchen Cabinet Transformation

Before we de-glossed, B also filled any holes (mostly on the drawers where the new pulls would fit completely different), and drilled all of the holes for our new hardware. We decided to change them all since the knobs were far too small for many of our oversized cabinet doors. They just weren't balanced, and the new chrome pulls we have really help to update the look of the kitchen.

So, with all of our cabinets spread out in the garage, new holes drilled and de-glossed, I got to work on the tinted bond coat (don't mind our garage mess).

Kitchen Cabinet Transformation

Kitchen Cabinet Transformation

Kitchen Cabinet Transformation
{After the first coat of colour}

One important thing I learned during the process was to make sure you invest in some really good quality synthetic brushes. The one's we had kept loosing bristles into this coat, so I spent a lot of time trying to carefully lift them out. Sadly, a few got stuck and are still on our doors, but aren't that visible with the darker colour.

Getting the tinted bond coat was quite a tedious process. Each door needs two coats front and back, and you can't forget the edges of the doors either. I had a hard time getting around the small edge of our recessed panel doors, so even after two coats I still had to go back and do some touch-ups before the next step. Honestly, this part would have gone a lot faster if I had an extra set of hands, but it was always me going solo since B needed to watch Halle. It also meant not accomplishing much during the days while B was off at work. This meant the project stretched on much longer than it would normally take if two people were able to give their full attention to it!
Once all of the doors had two coats on each side, we approached the decorative glaze step. At first, B and I were convinced we needed to do this in order to get a more professional look. So, when I headed out to the garage to attempt this coat I started by putting a bit of the glaze on the back of one of the drawers and seeing how it turned out. Just as the instructions stated, it was subtle... VERY subtle. Actually, so subtle that neither B or I could see a huge difference on our dark cupboard doors. With the amount of time required for this step and the subtle change, we opted to skip the decorative glaze and move right onto the protective top coat.

The doors and cupboards only required one application of the top coat which was nice, but at this stage of the game it's the drying process that takes the most time. You need two hours for each coat to properly dry, but they recommend waiting 72 hours before using your cupboards regularly! The waiting game was long but by the end we had a good rhythm and I was lucky to have B taping off the cupboards since he was a lot more precise than I would be. It all took longer than we anticipated (again, because I did the majority of it on my own during the Christmas season), but it was very much worth all of the extra effort!

Here's the side by side of our kitchen on our second walk through and how it looks now:

IMG_1410

Refinished Cabinets - January 2014

IMG_1413

Refinished Cabinets - January 2014


IMG_1414

Refinished Cabinets - January 2014

Refinished Cabinets - January 2014

Refinished Cabinets - January 2014

Refinished Cabinets - January 2014

Refinished Cabinets - January 2014


Here are my top tips for a successful kitchen transformation with the Cabinet Transformation Kit:

1. Measure! PLEASE Measure! We had one kit to start and after B took all of the measurements (as per the kit instructions), it said we would need two kits. This is important because you need to mix all of your tinted base coat together to ensure a consistent colour on all of your cabinets! We're glad we got the second kit because although we didn't use a lot from it, we did need it! We also have some leftover now that we can use when we put in a seating bench in our dining nook!
2. Make sure you have two people who can devout their full attention to this project! If you can do that and give yourself a few days to do EVERYTHING at once (not broken up like we did), you can have this project done really quickly!
3. Invest in GOOD brushes and make sure you have lint free cloths! These will ensure that your cabinets look their best!

4. Be very careful when applying the topcoat. Make sure you aren't stingy when applying the top coat to the door fronts, but also be careful on the edges of your doors. I missed a few spots where the top coat dripped and collected and we had some bubbled edges we needed to sand down and touch up! Not pretty and very annoying. To go along with that, I found it worked best when I applied the top coat to the backs of the doors first and once those dried, I did the front of the doors and edges of the doors at the same time! At least if it dripped a little, it wasn't on the front (and most visible) part of the doors!

5. BE PATIENT! The project can feel tedious at times, doing the same thing over and over, but it's well worth it in the end.

Yup, it took us much longer than we expected BUT the best part was we never lost of the use of our kitchen! Yeah, the doors were off for a while leaving us with our "behind the cupboard door mess" visible to all of our house guests, but it could've been much worse! We never had to pack anything into boxes or not have use of the sink or stove! We could still cook at home and wash our dishes no problem! We could not thank the kind folks over at The Home Depot enough for giving us the chance to try this kit out - and we hope our experience encourages you to try it out as well! It was nice that this update cost us nothing (thanks to The Home Depot, and a friend who gifted us those nice new pulls), but even if we had paid for the kits and supplies ourselves, it wouldn't have cost us much more than $350!

Have you been making any big changes in your home? Anyone else thinking of trying out the Rust-Oleum Cabinet Transformation Kit?
SHARE:
Related Posts with Thumbnails
© Life on Misneach Ridge
Blogger Designs by pipdig