Trending

Monday, October 5, 2015

A Copycat Sofa Table

One thing that we have always been slow to add to our home is furniture. We try to be careful when bringing in pieces and we are always very conscience of our budget. We don't really splurge on pieces, and if we know what we want, B would rather build it for us. The best part about building our own furniture is that we can always get the end result that we desire, taking away or adding details as we please, and it saves us a ton of money. Of course, when I decided that I wanted a sofa table for our family room it was time for us to flex our DIY muscles once again.

Before we began to build, I started looking at Pinterest and different big box stores for inspiration. We could've built something simple and straight forward, but I knew that I wanted something different (read not all wood), and provided us with storage space. When I found the Bleached Pine Rolling Console from West Elm, I knew that I had found our next project. It took quite a few weeks of sourcing materials and discussing plans before we started. The finally decided on the following supplies to help us build our table:

- 3 - 12" x 5' pine boards
- 2 - 10' pieces of conduit (1/2" EMT)
- 50' of Galvanized Wire Fencing
- 3/4" Fencing Staples
- 4 - 4 x 1 1/4 Vintage Black Cast Iron Swivel Casters (2 with brakes) (not pictured as they were still being shipped to us)
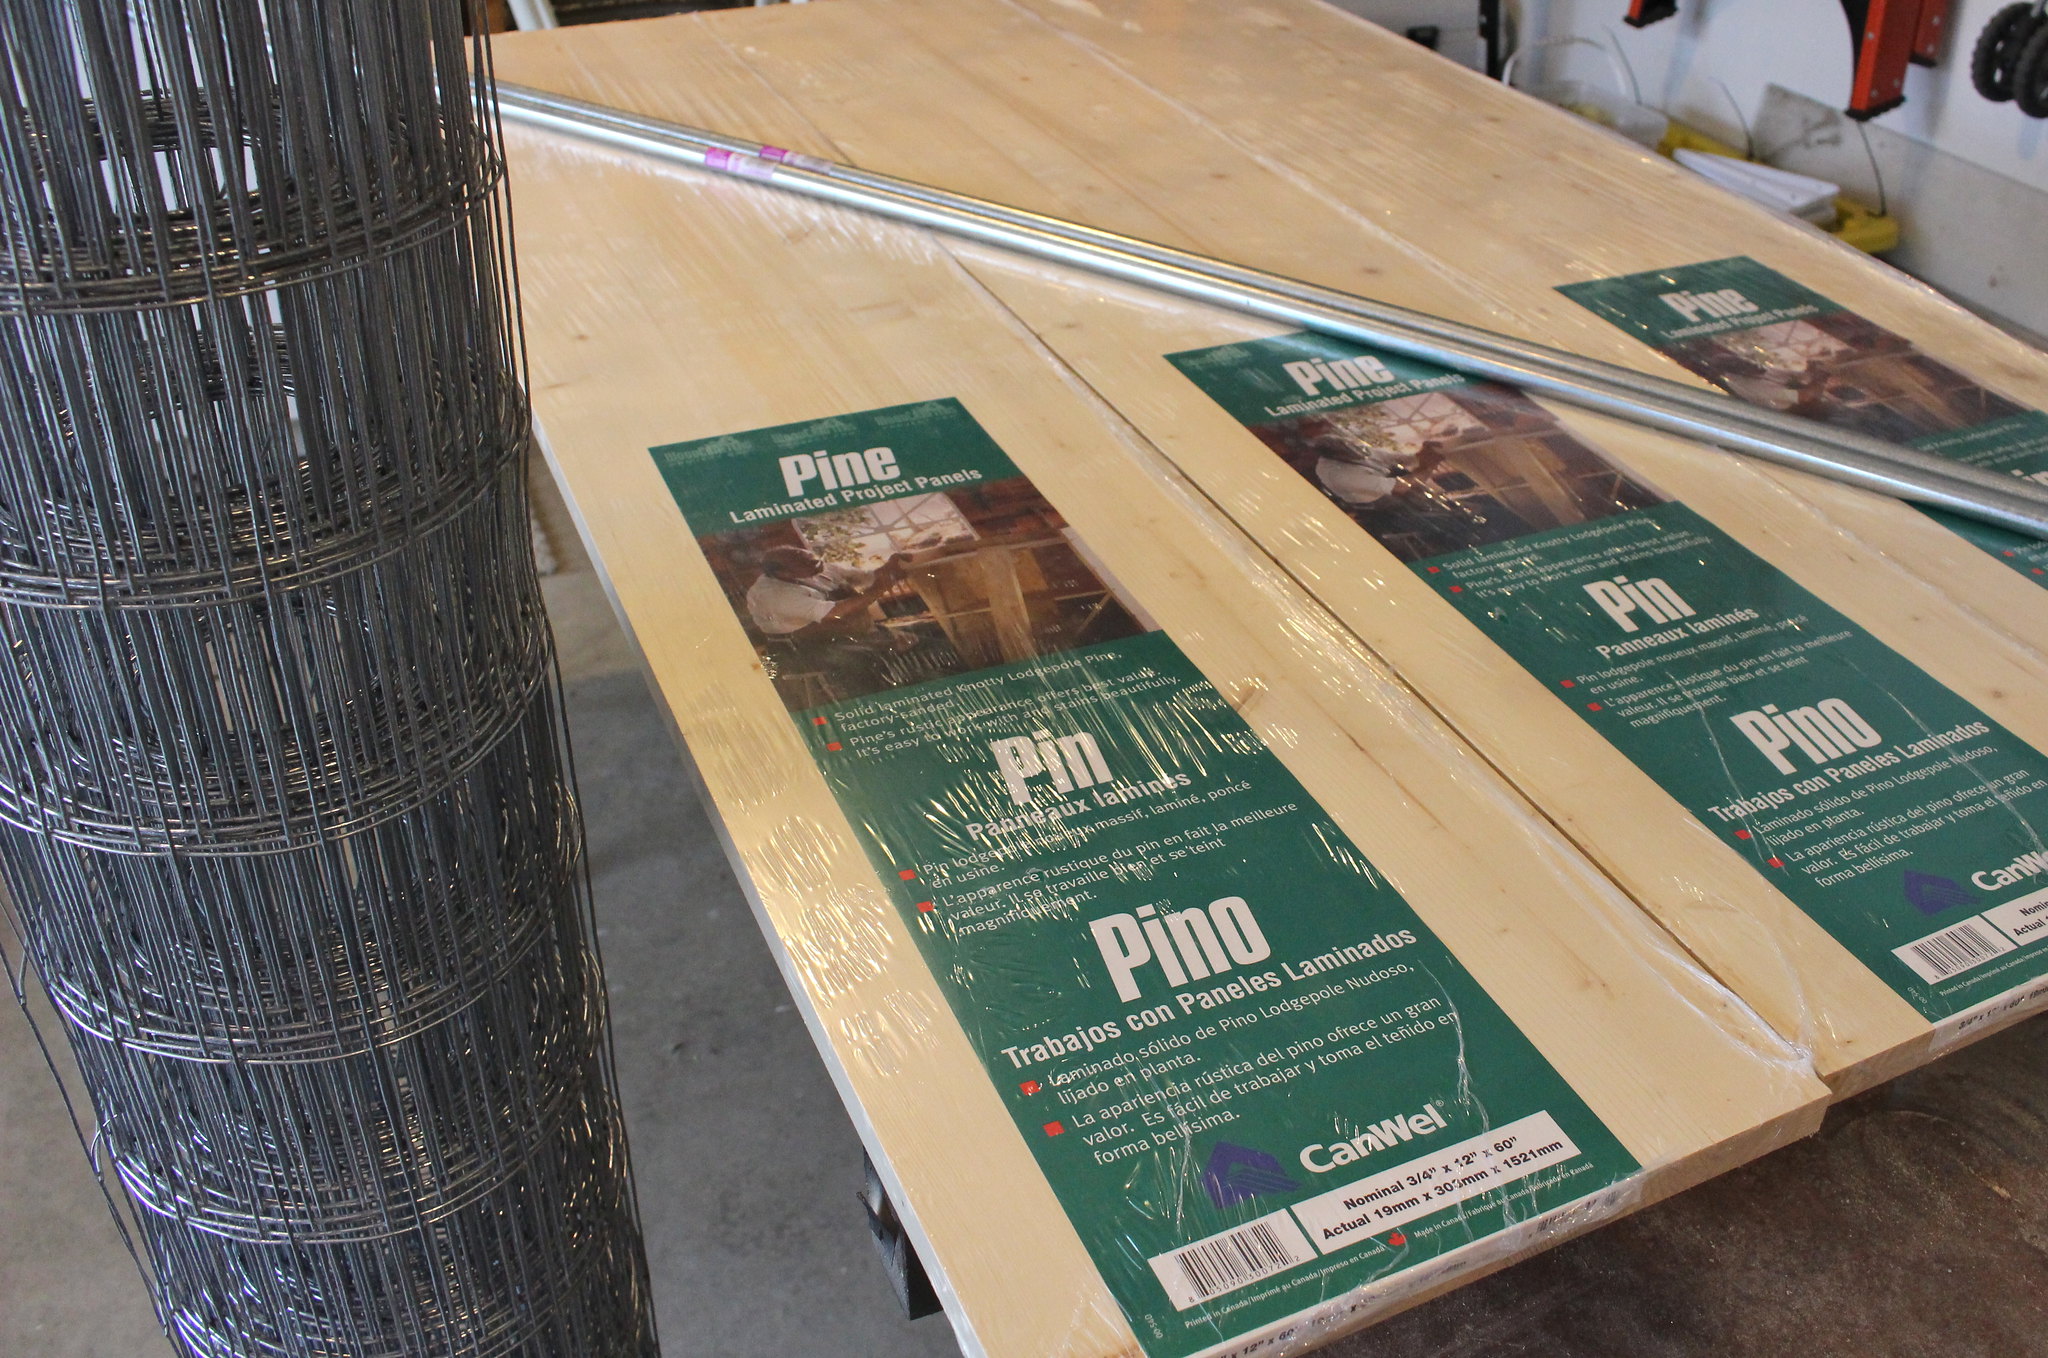

Console Table Supplies

Our plan was to build a similar looking table to West Elm's but with a smaller foot print and aged looking wood. After taking measurements, we decided the table would be 12" deep, 5' long and 2' tall (with the casters on). This would ensure the table would be only slightly shorter than the length of our couch, come up nicely to the back of it, and be deep enough to hold books and photos, without being too deep.
Console Table BuildingConsole Table Building

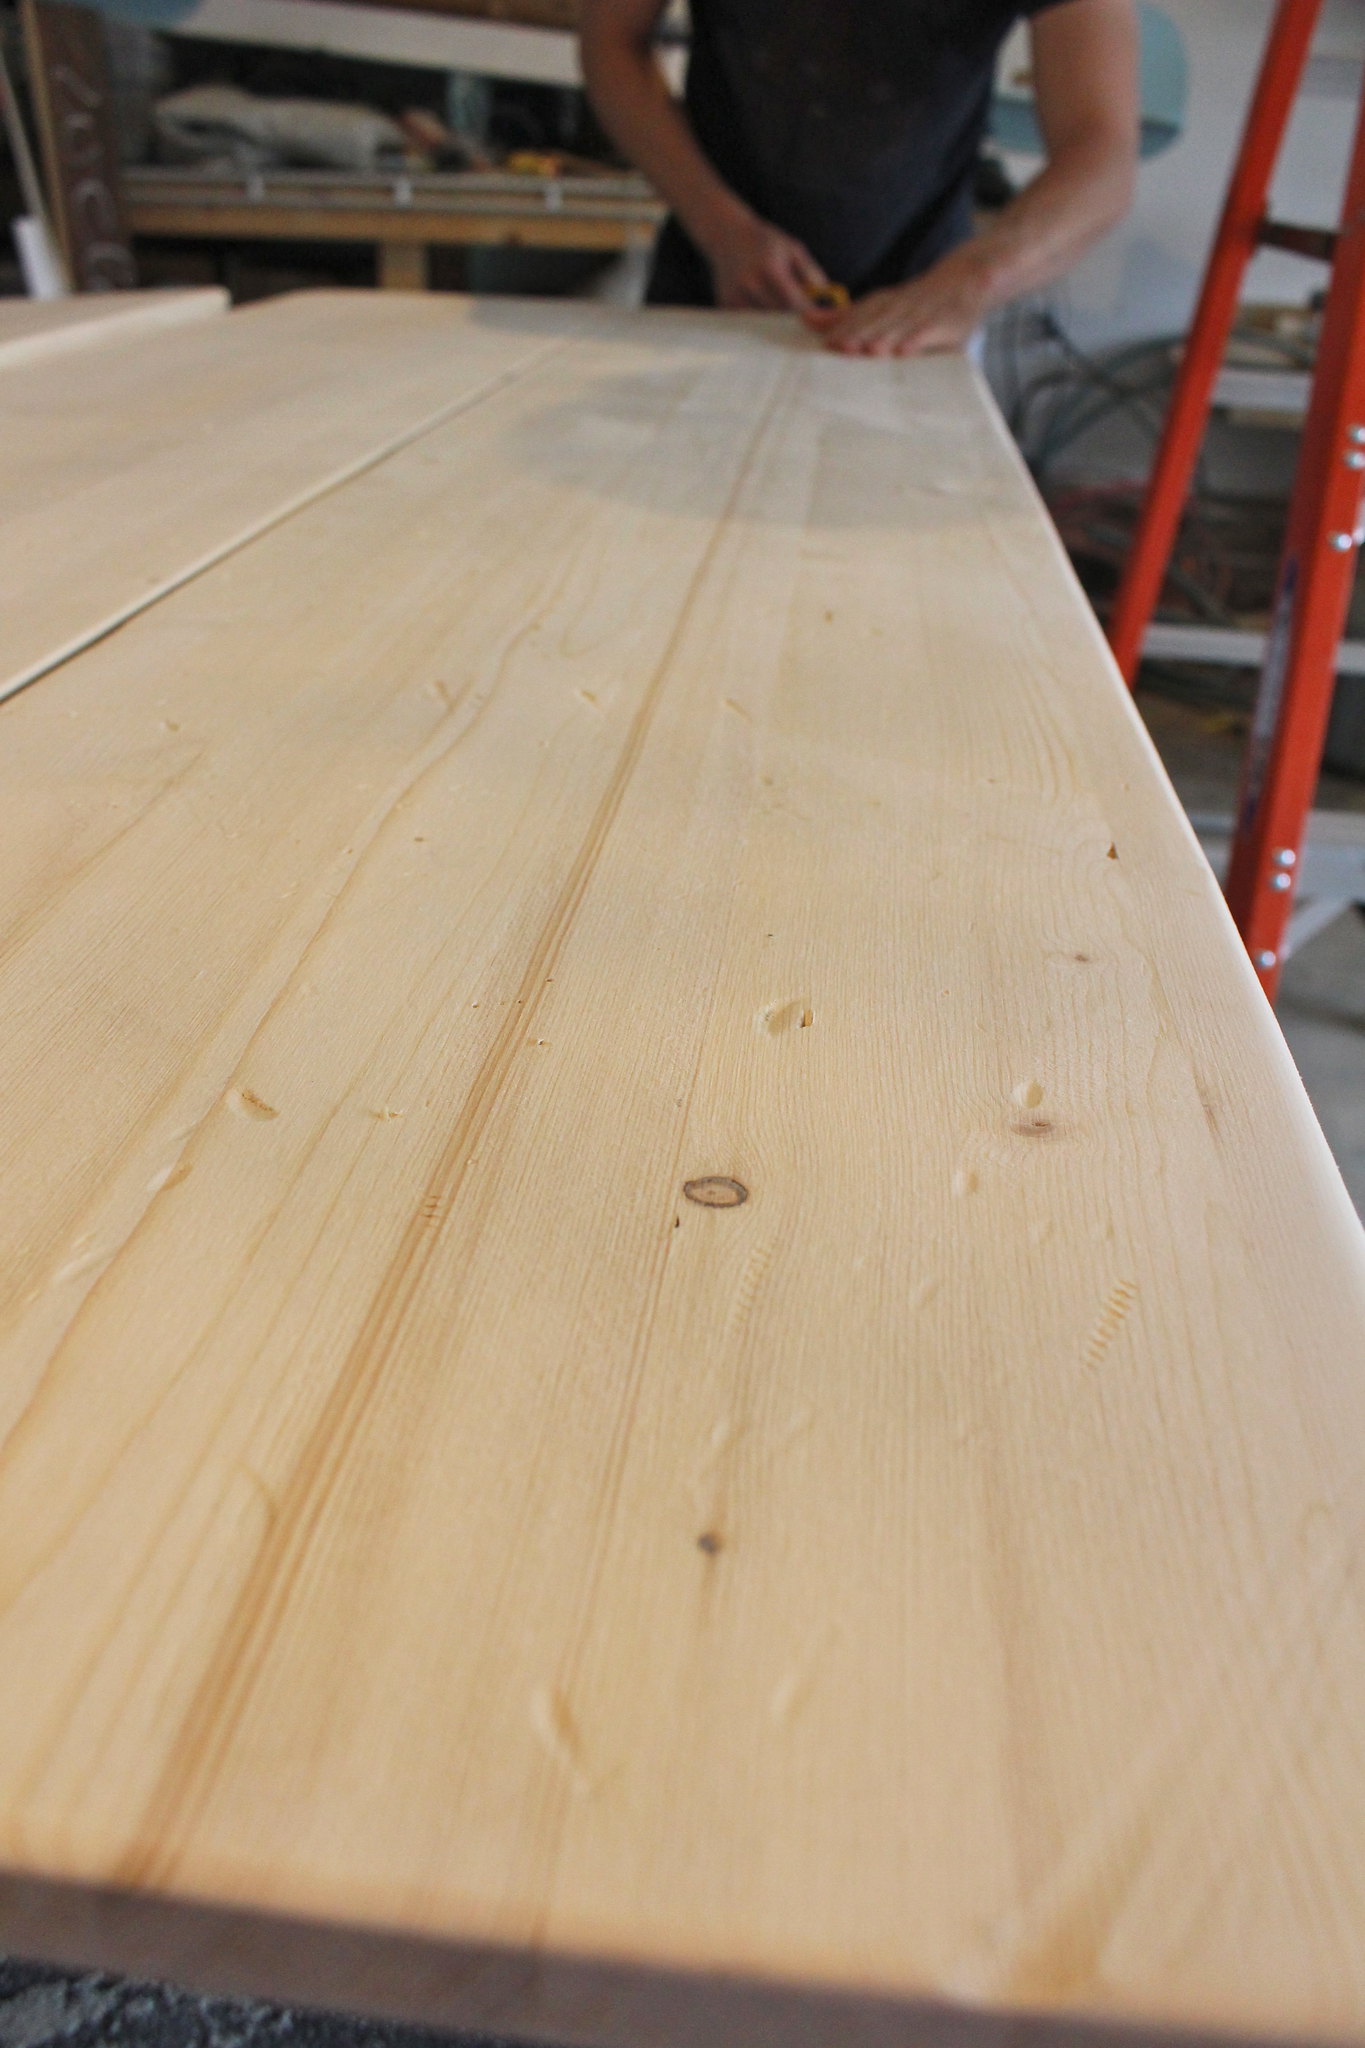
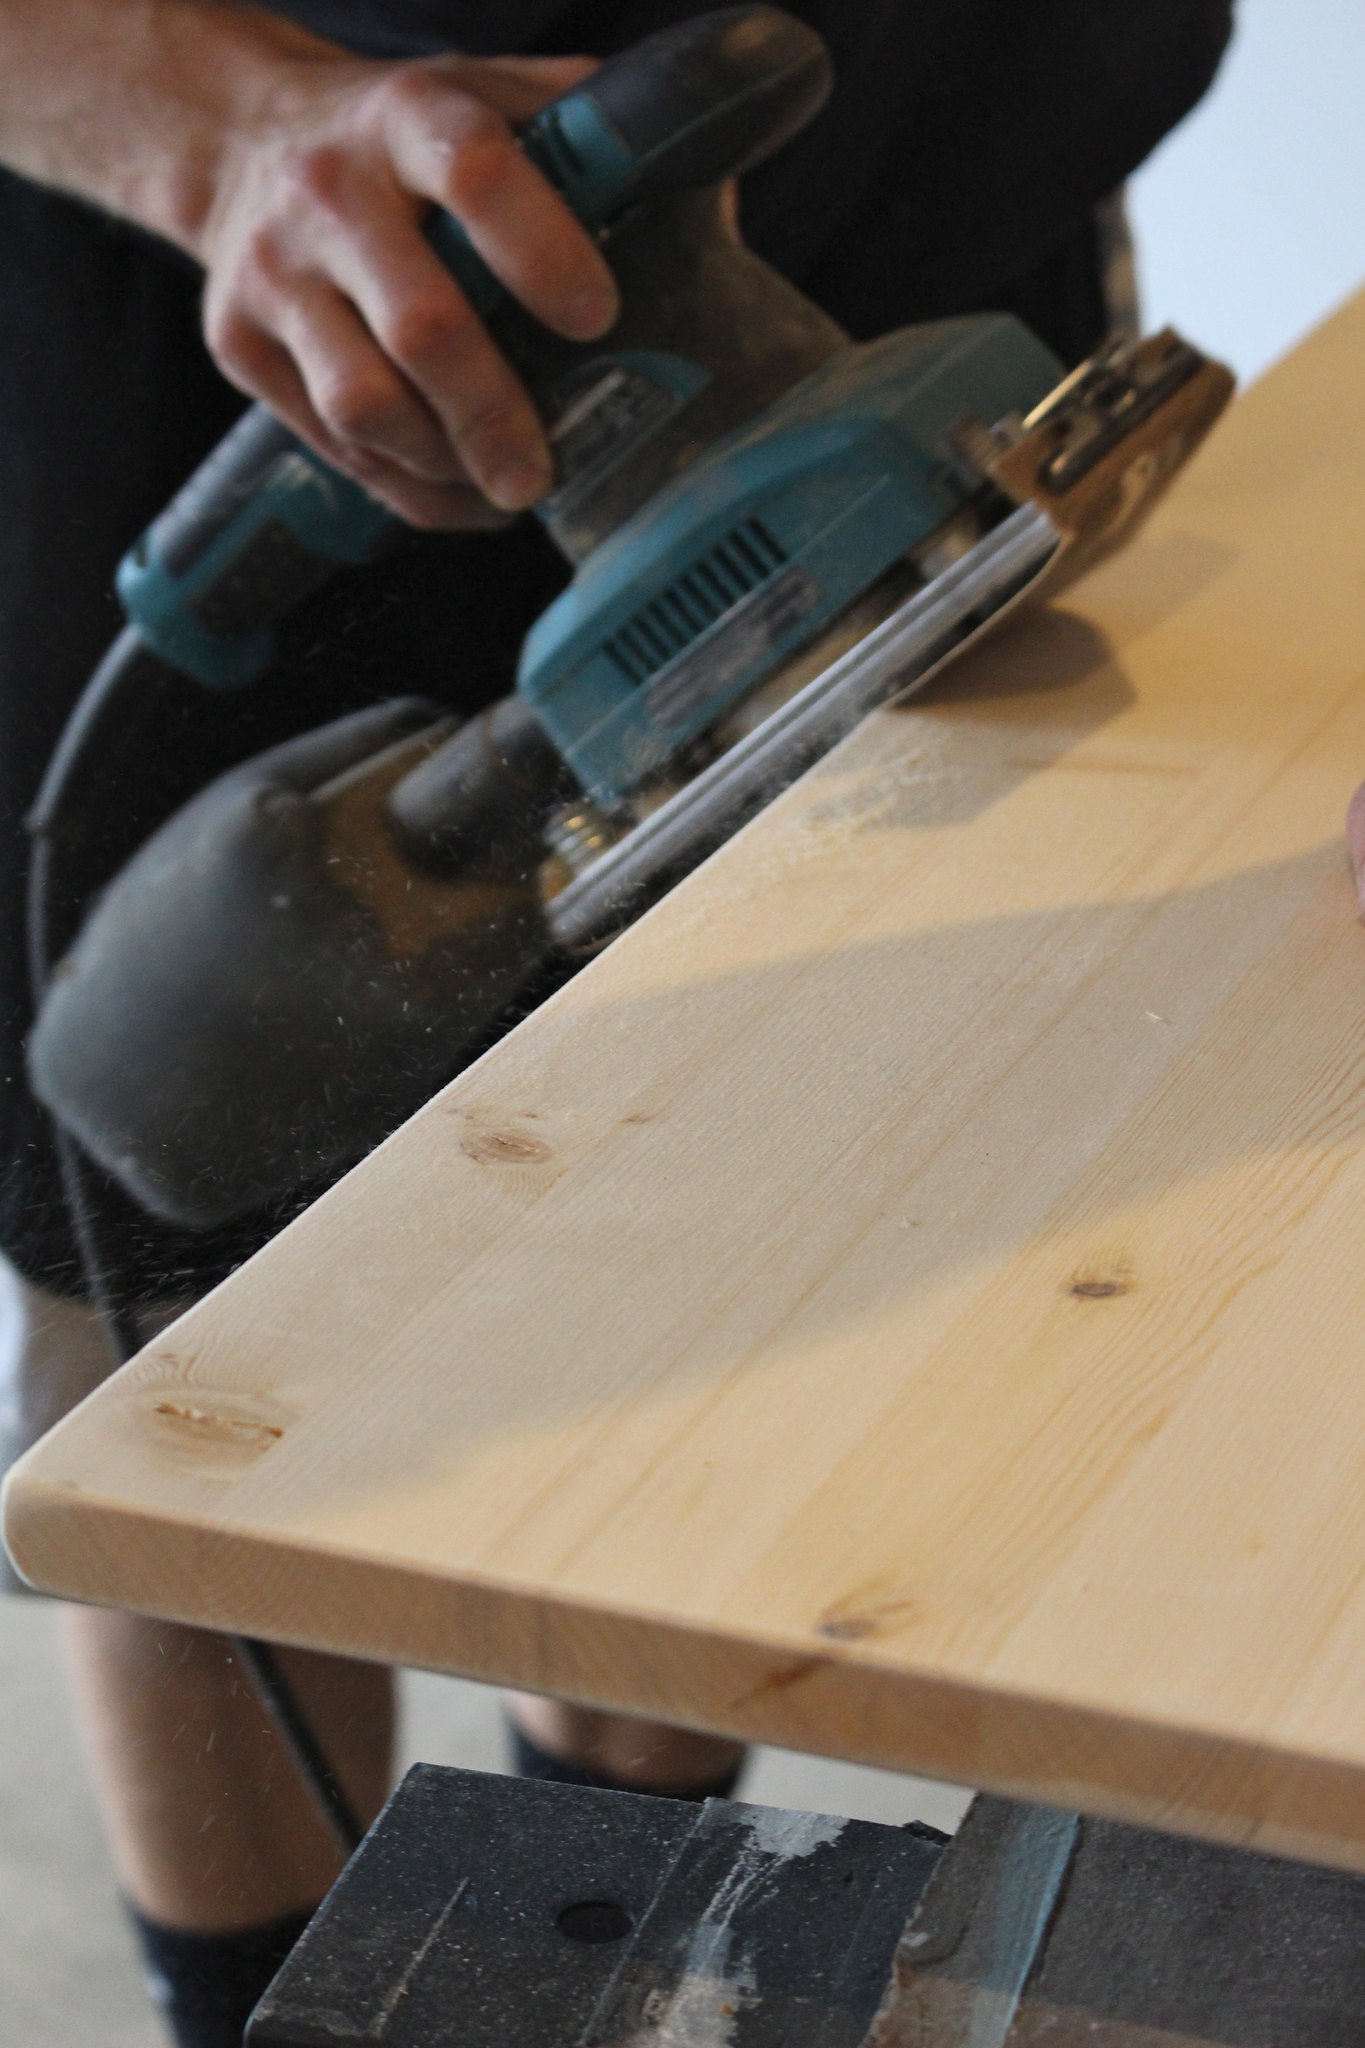
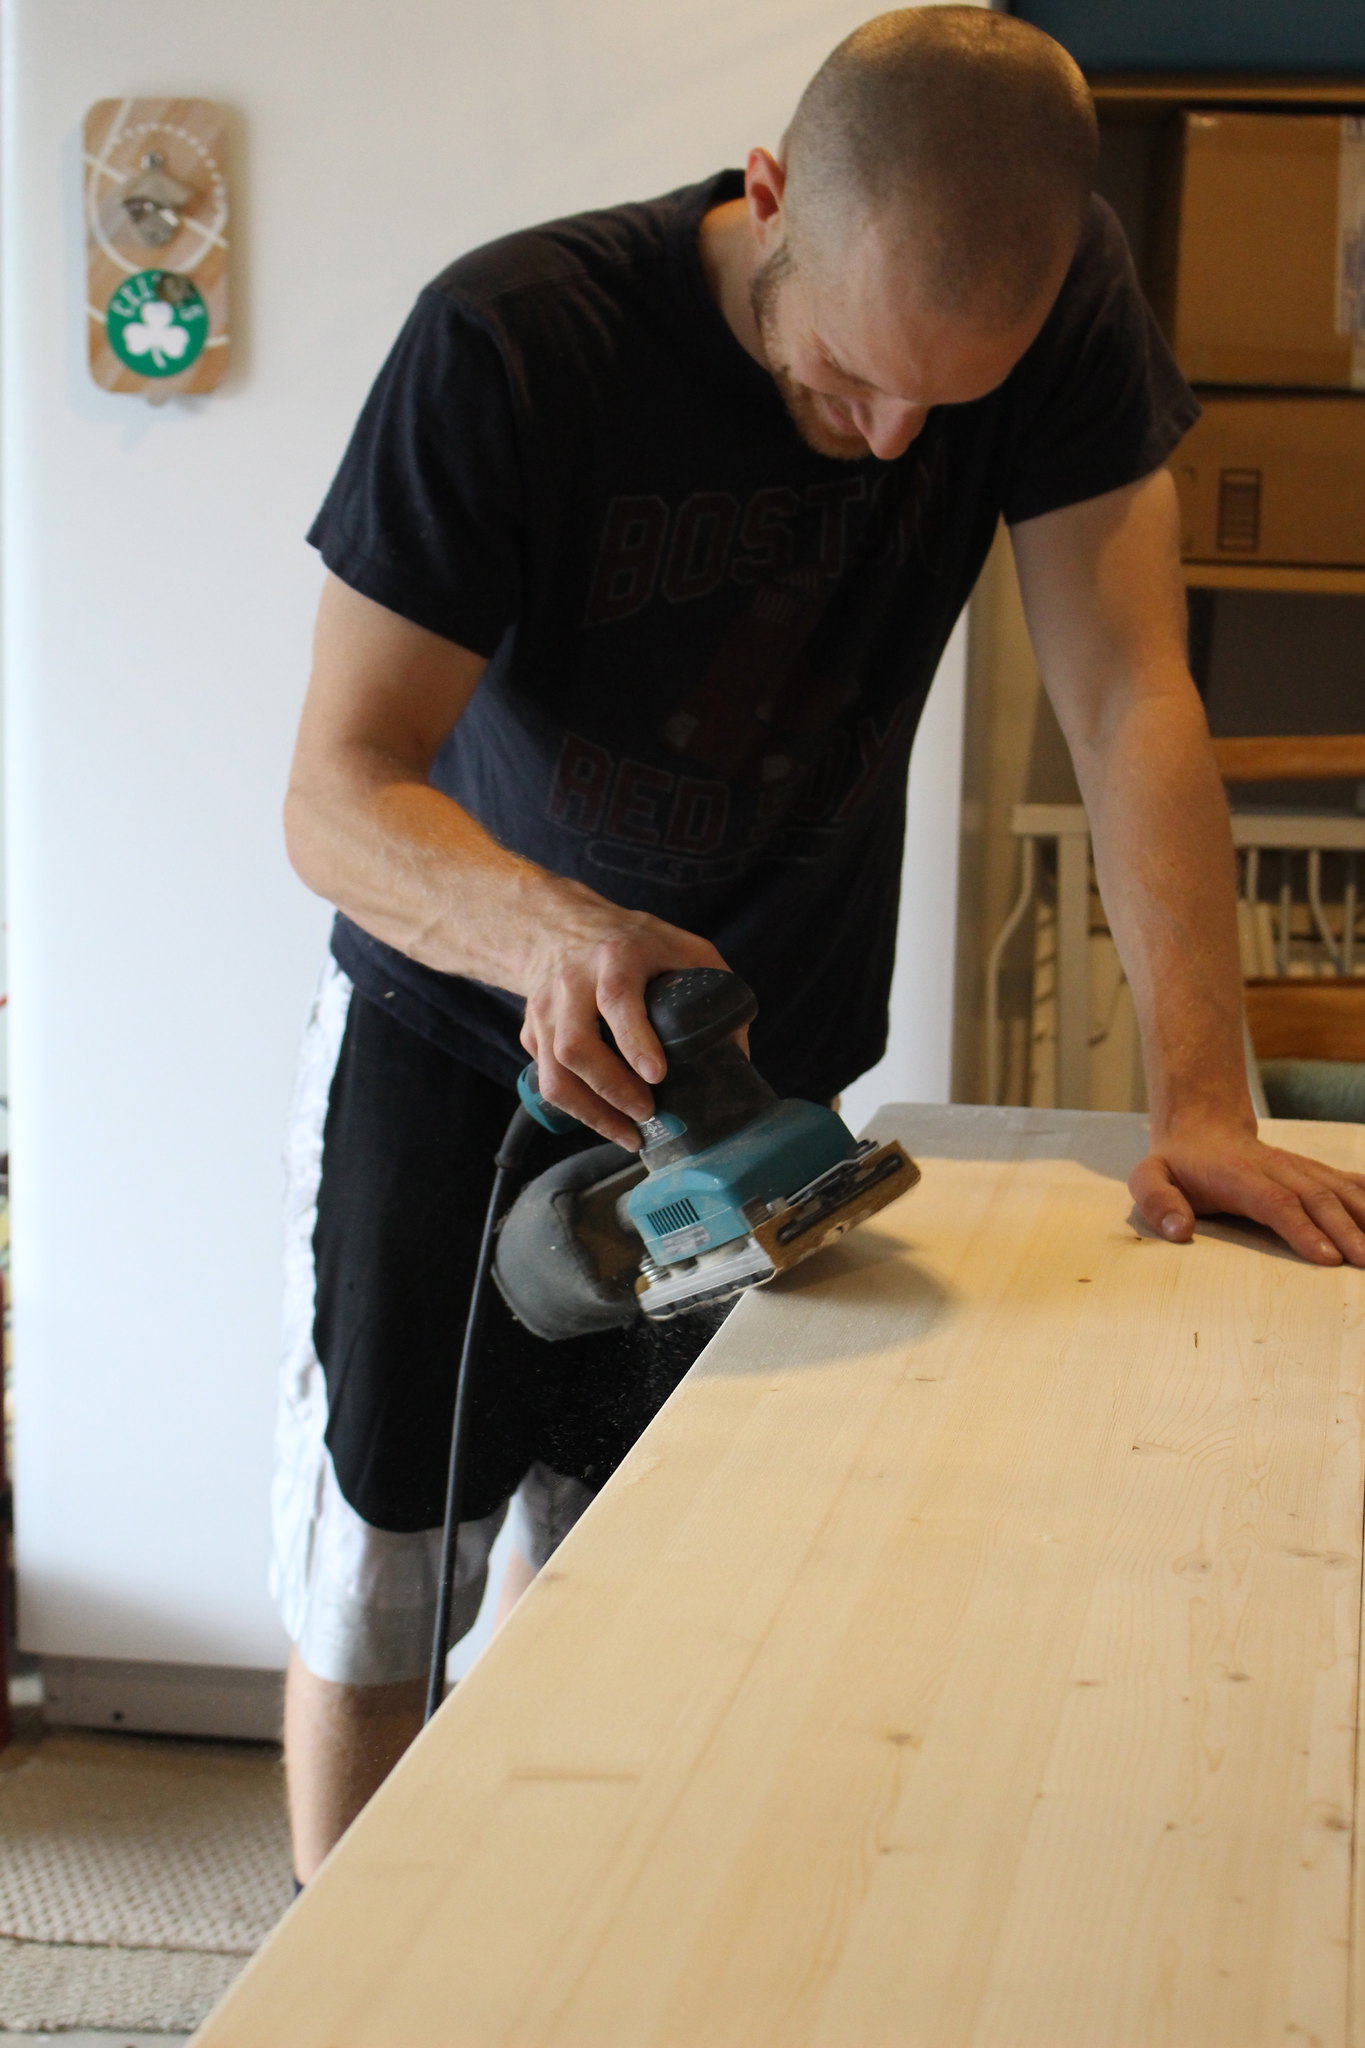
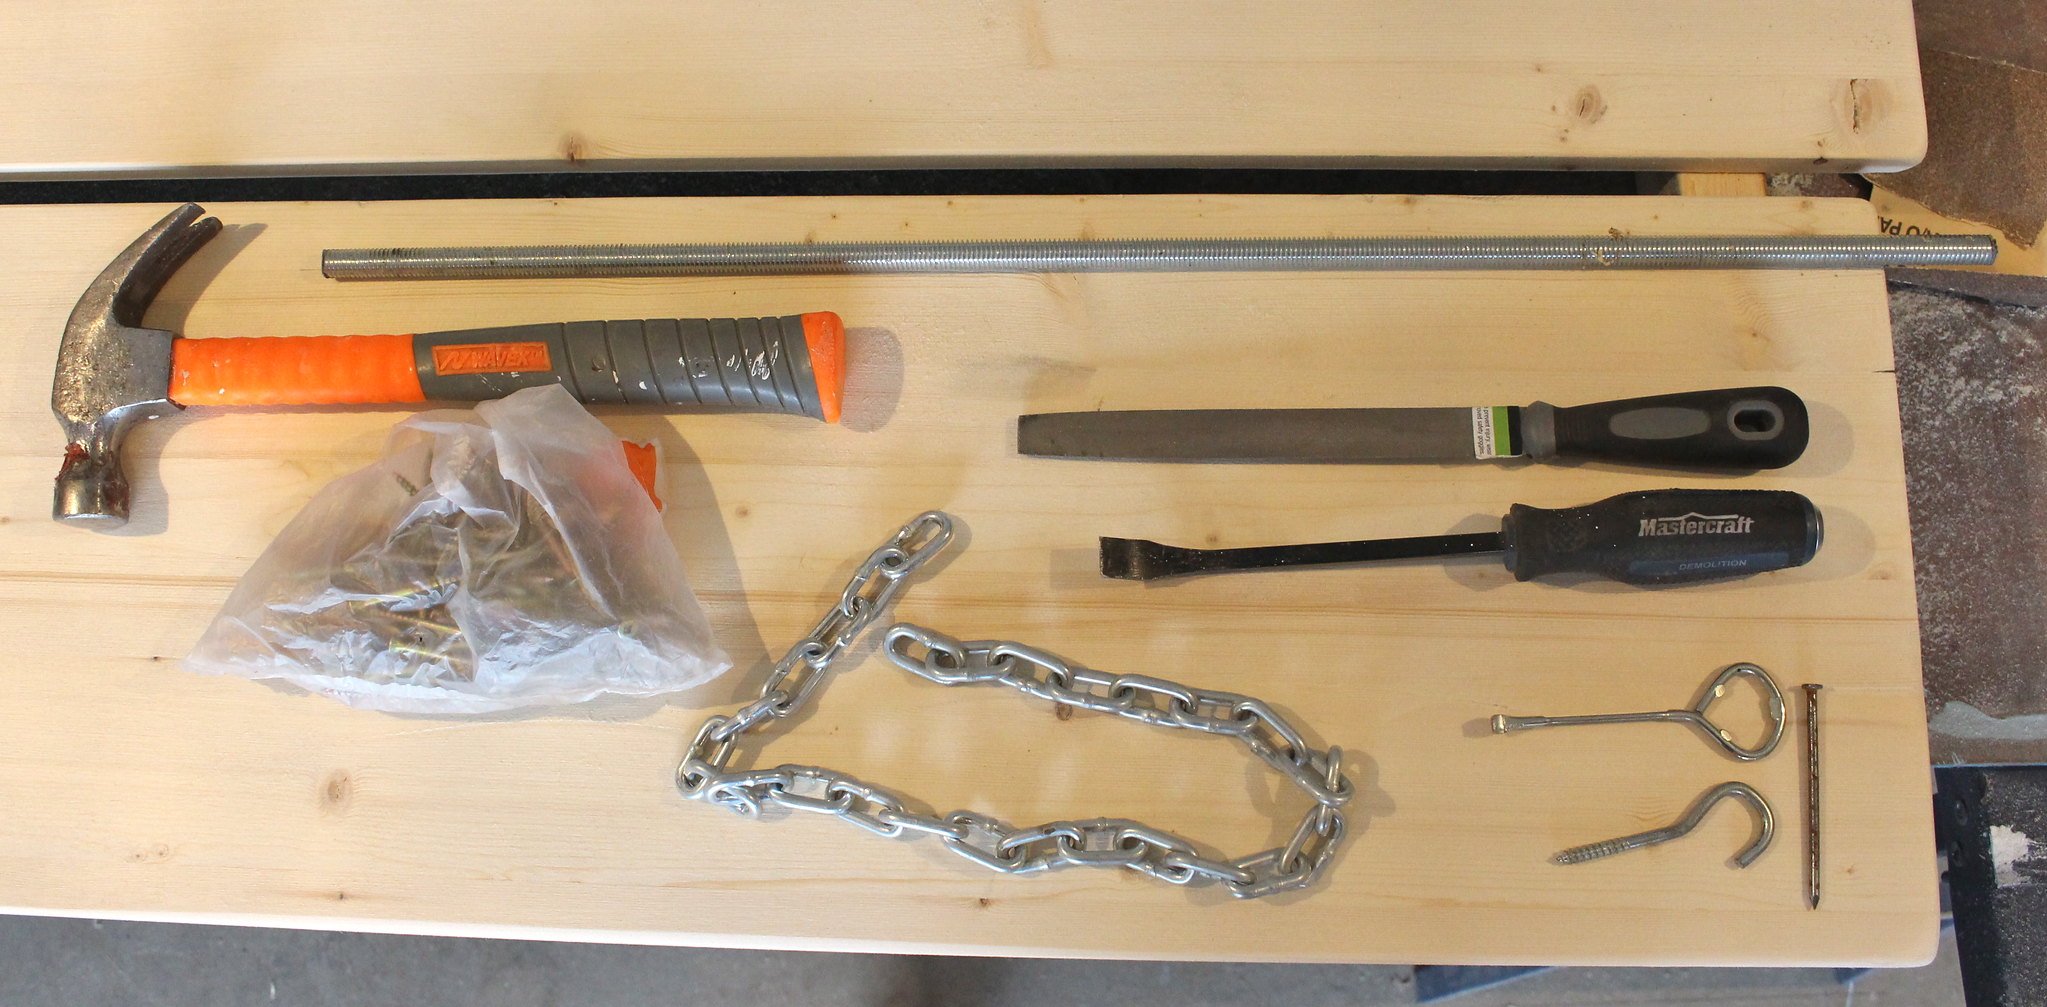
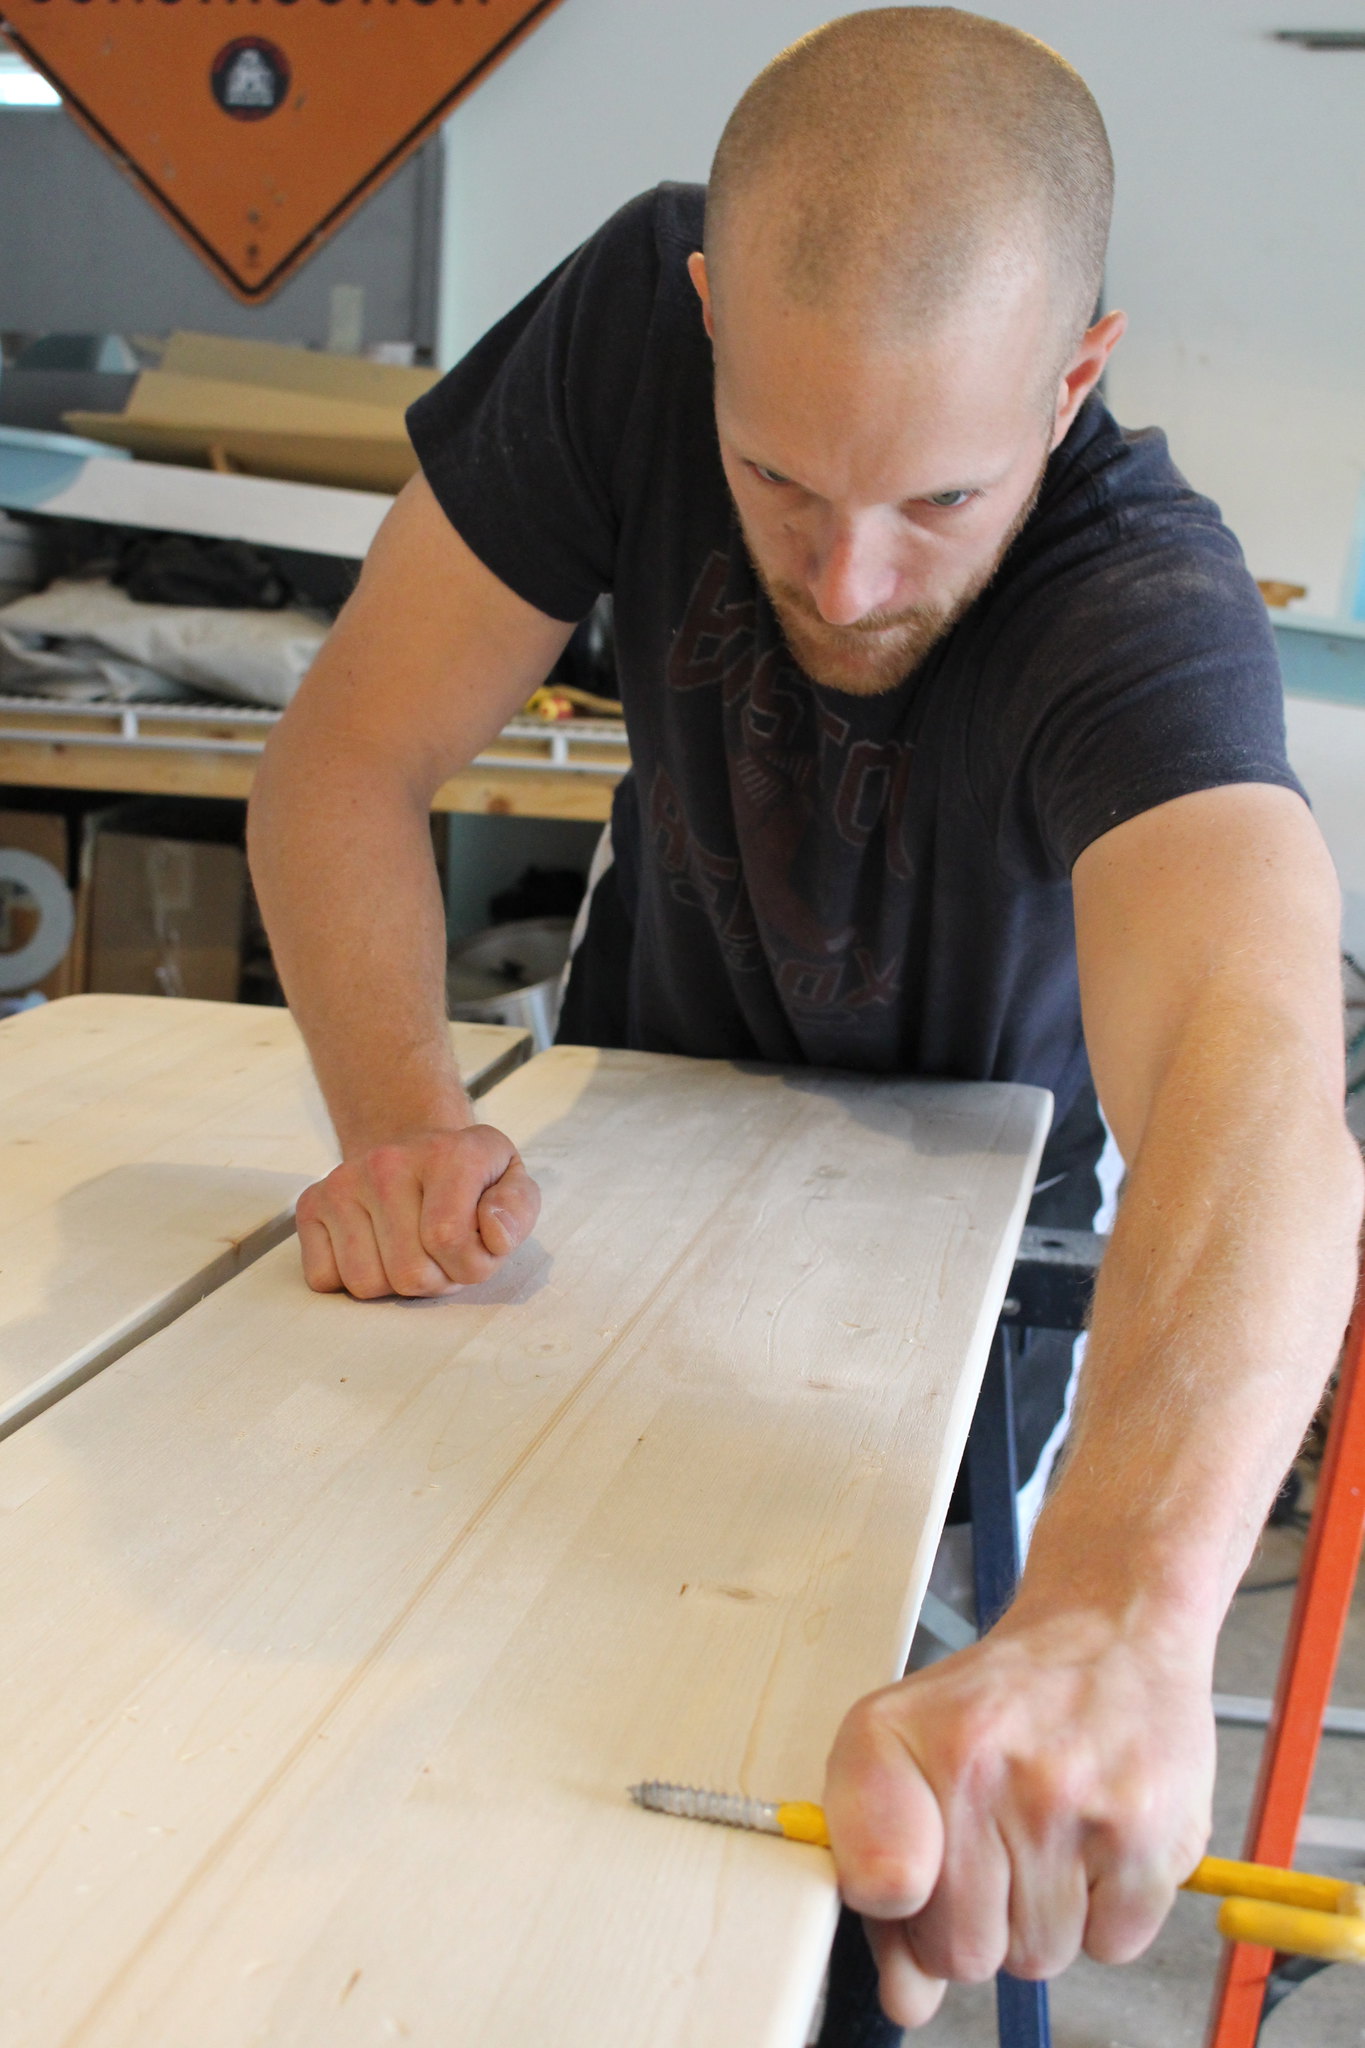
With our plans in place, our first step was the most fun! After B sanded the wood down (so we wouldn't have sharp edges) we got to beat up and "age" those pine boards. Our weapons of destruction?
DIY Console Table

Basically anything from B's shop that we could use to scrape, dent, gouge or cut the wood with. We threw a bag of screws at them, wacked them with chain, a hammer, a file... whatever we had, we used it.

DIY Console Table

DIY Console TableDIY Console Table

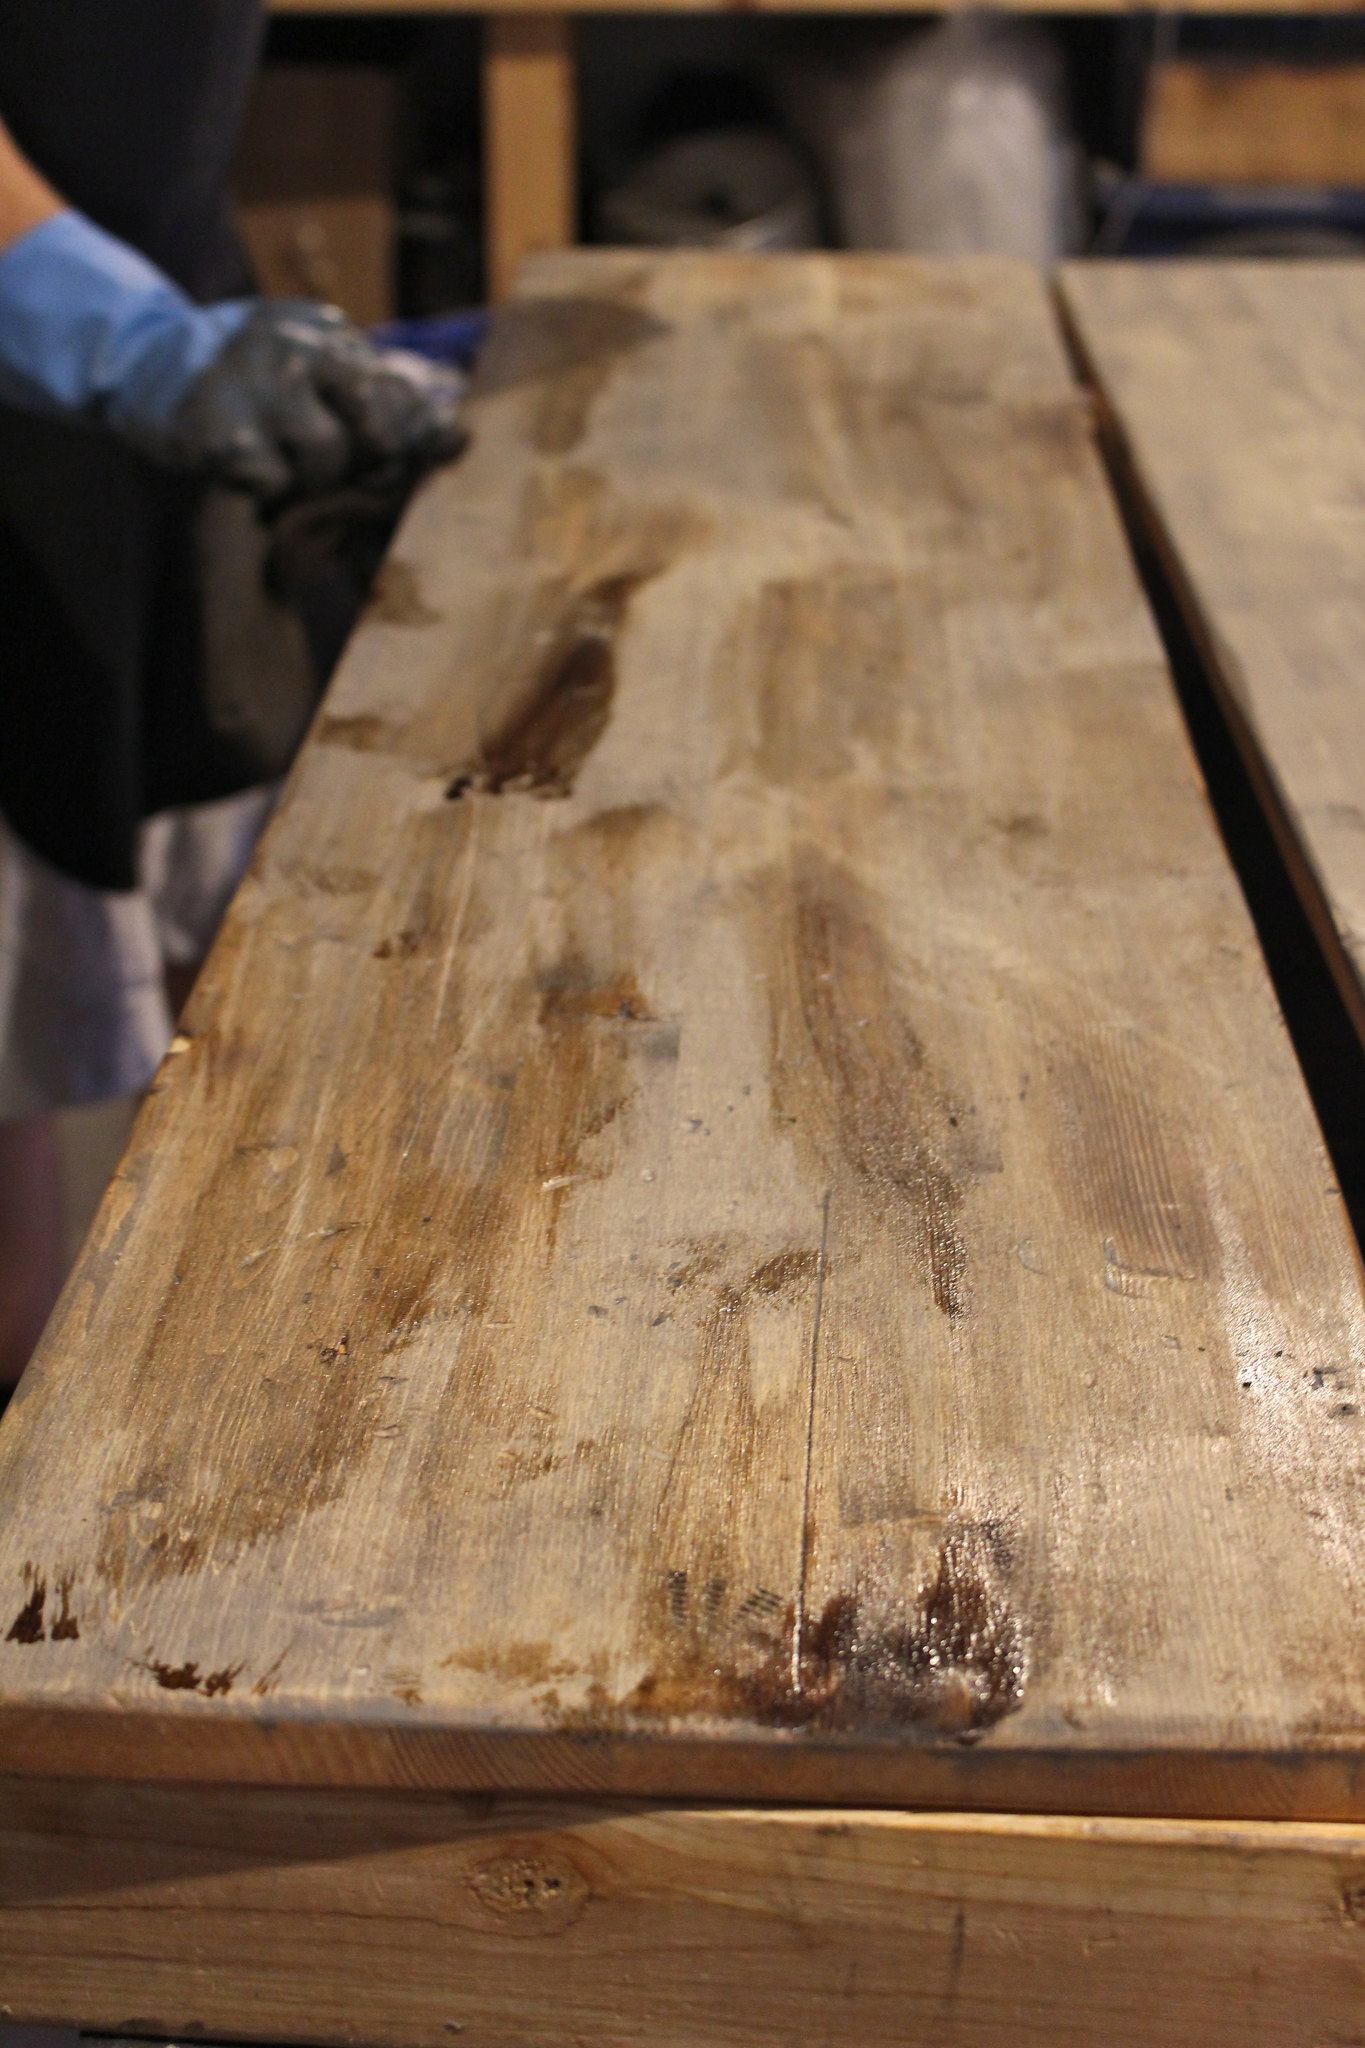
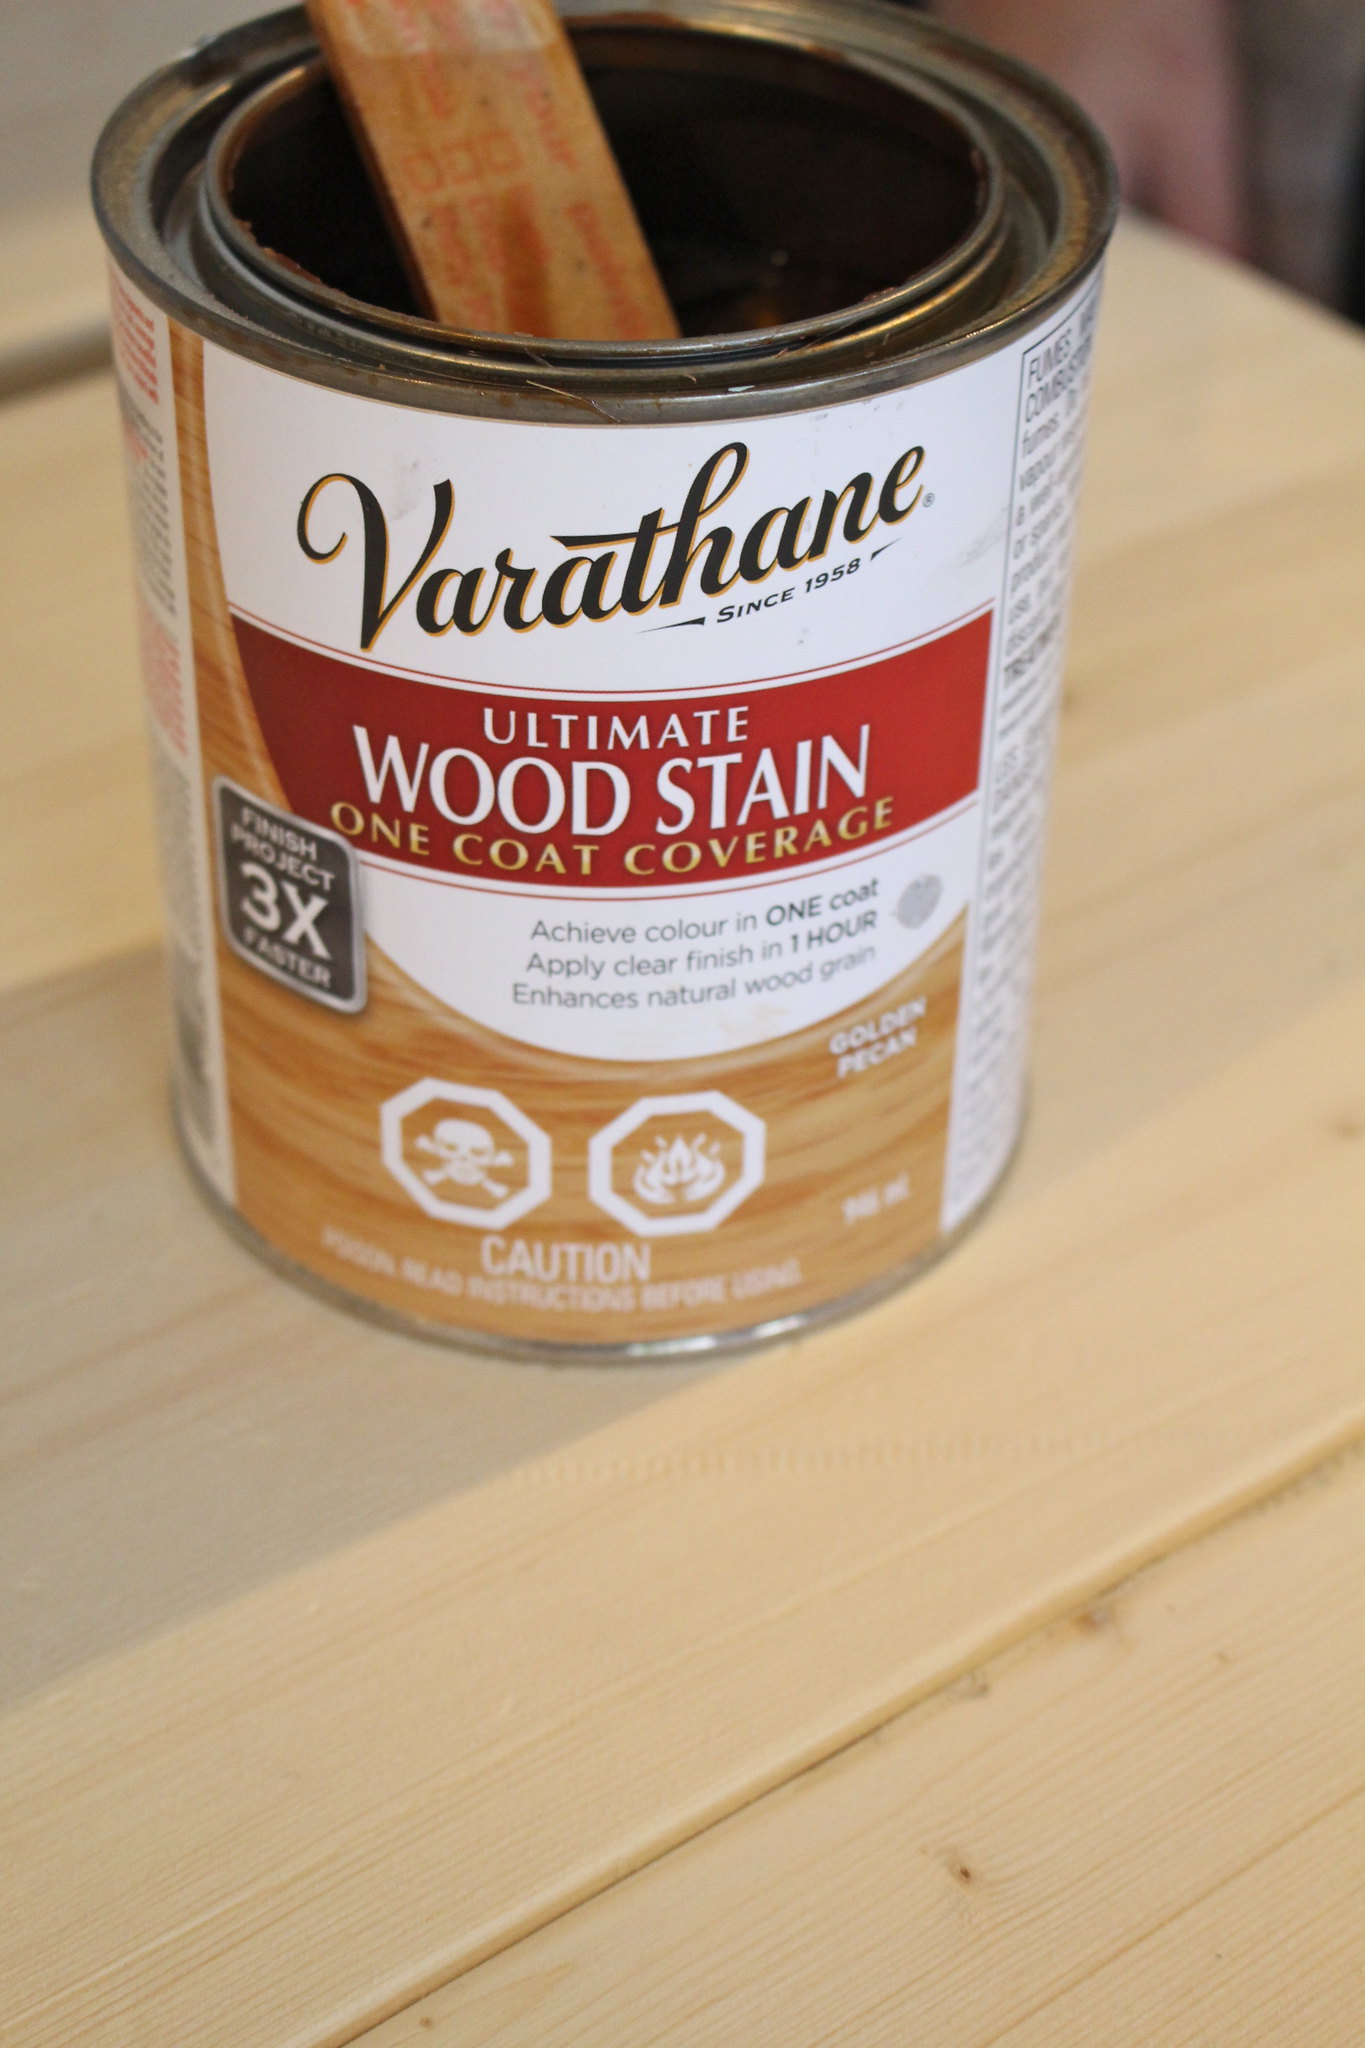
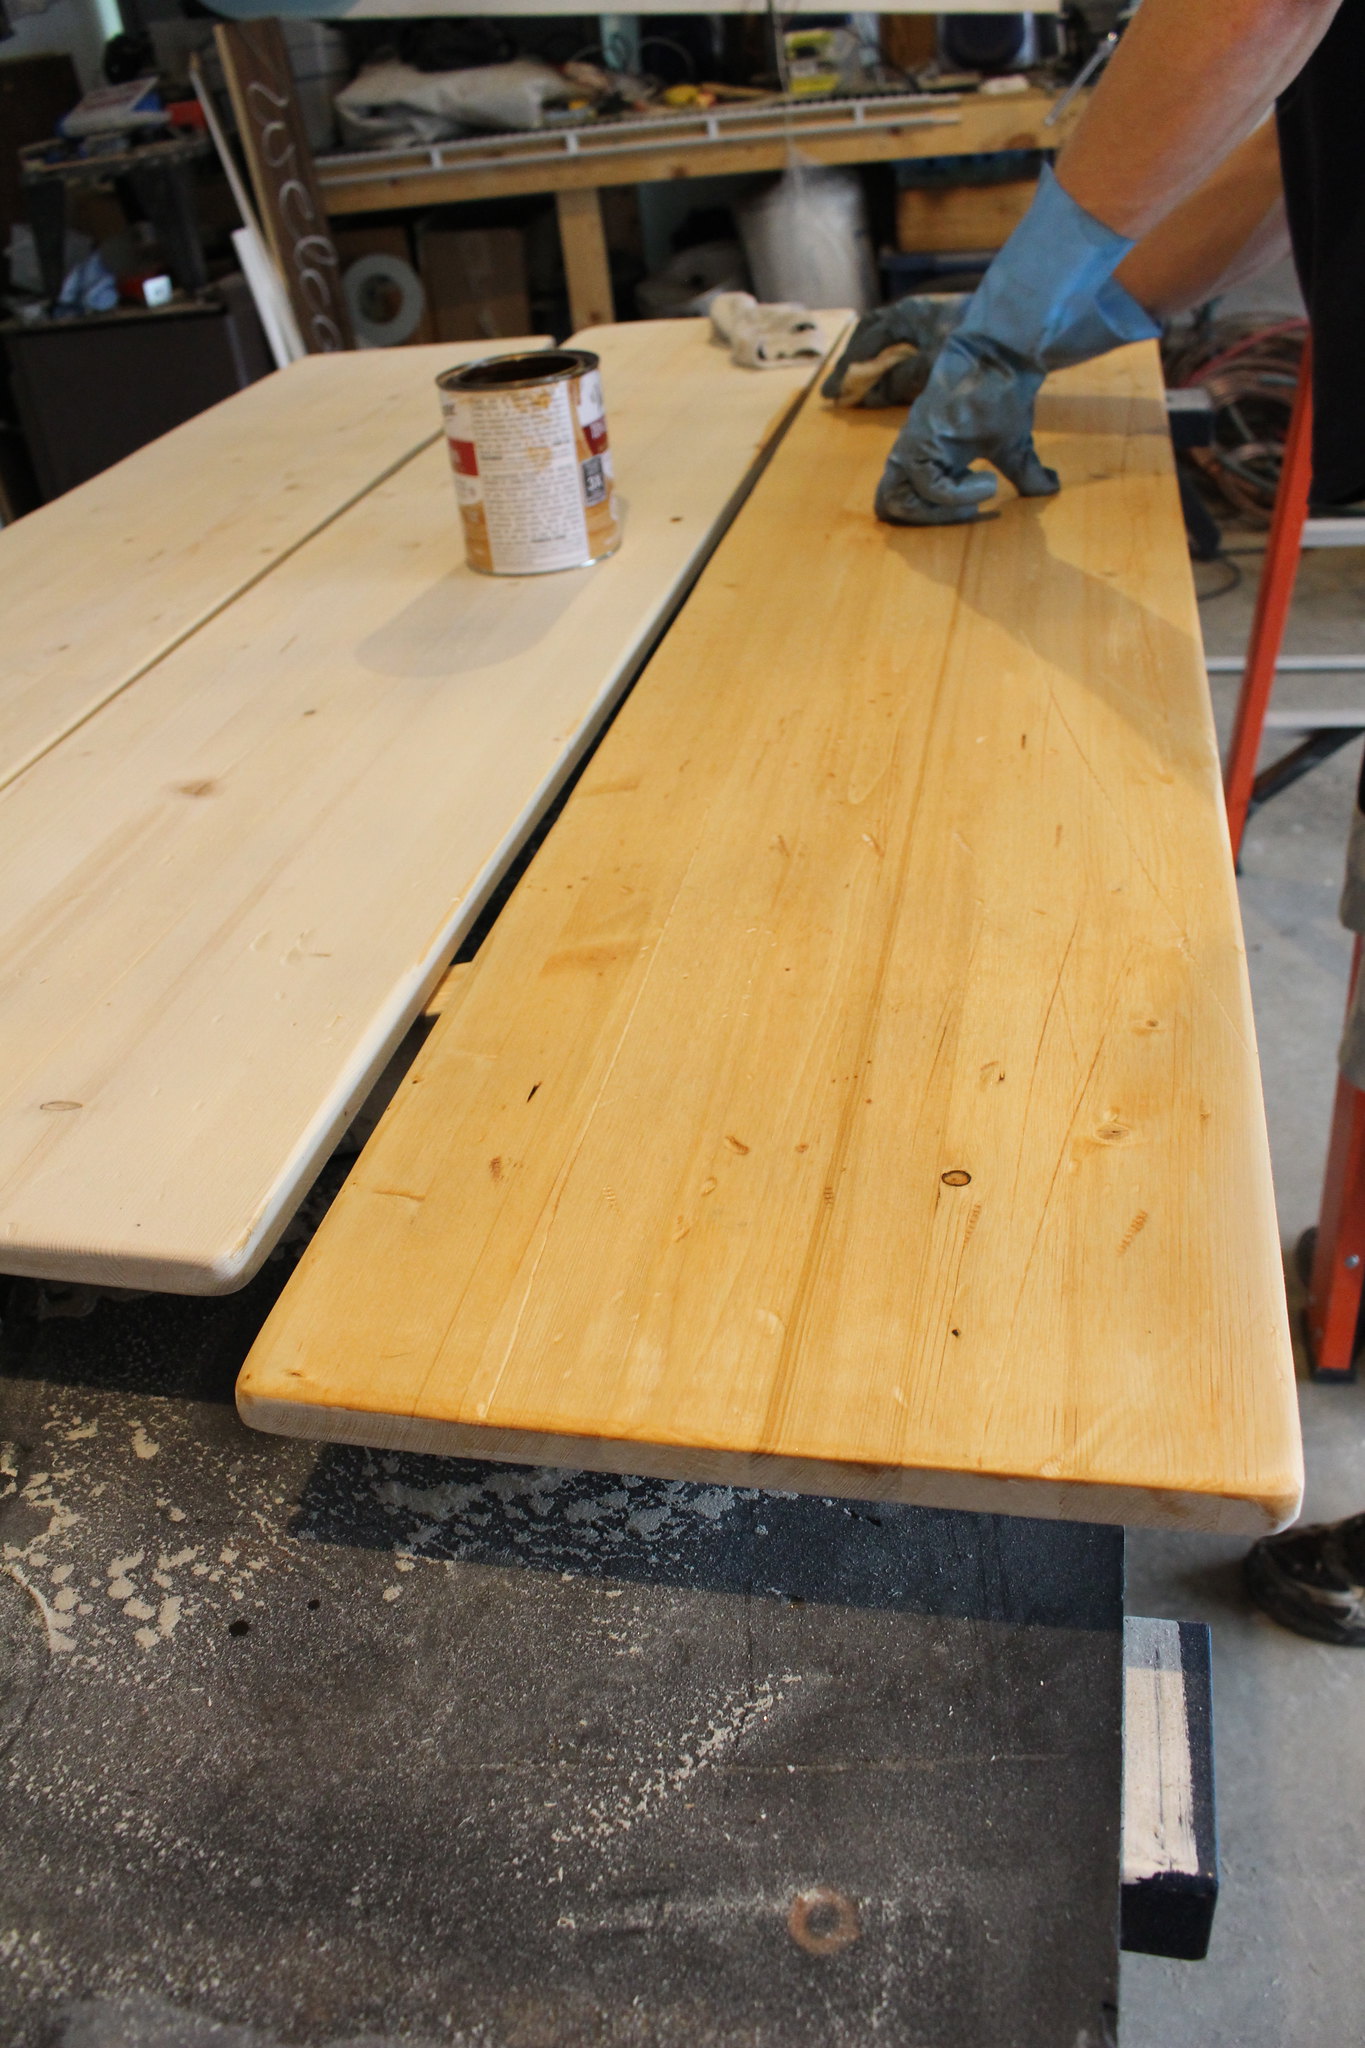
Once we thought that they good and beat up, it was time for our first coat of stain. We started with Varathane's Ultimate Wood Stain in Golden Pecan (which we used for the Love Your Wood Challenge last month). B applied it lightly and wiped it off quickly since we didn't want it to be too orange. Next, we put on some of the Varathane Ultimate Wood Stain in Weathered Grey (also used in the Love Your Wood Project). Again, it was applied lightly just to bring some aging to the wood.
DIY Console TableDIY Console Table

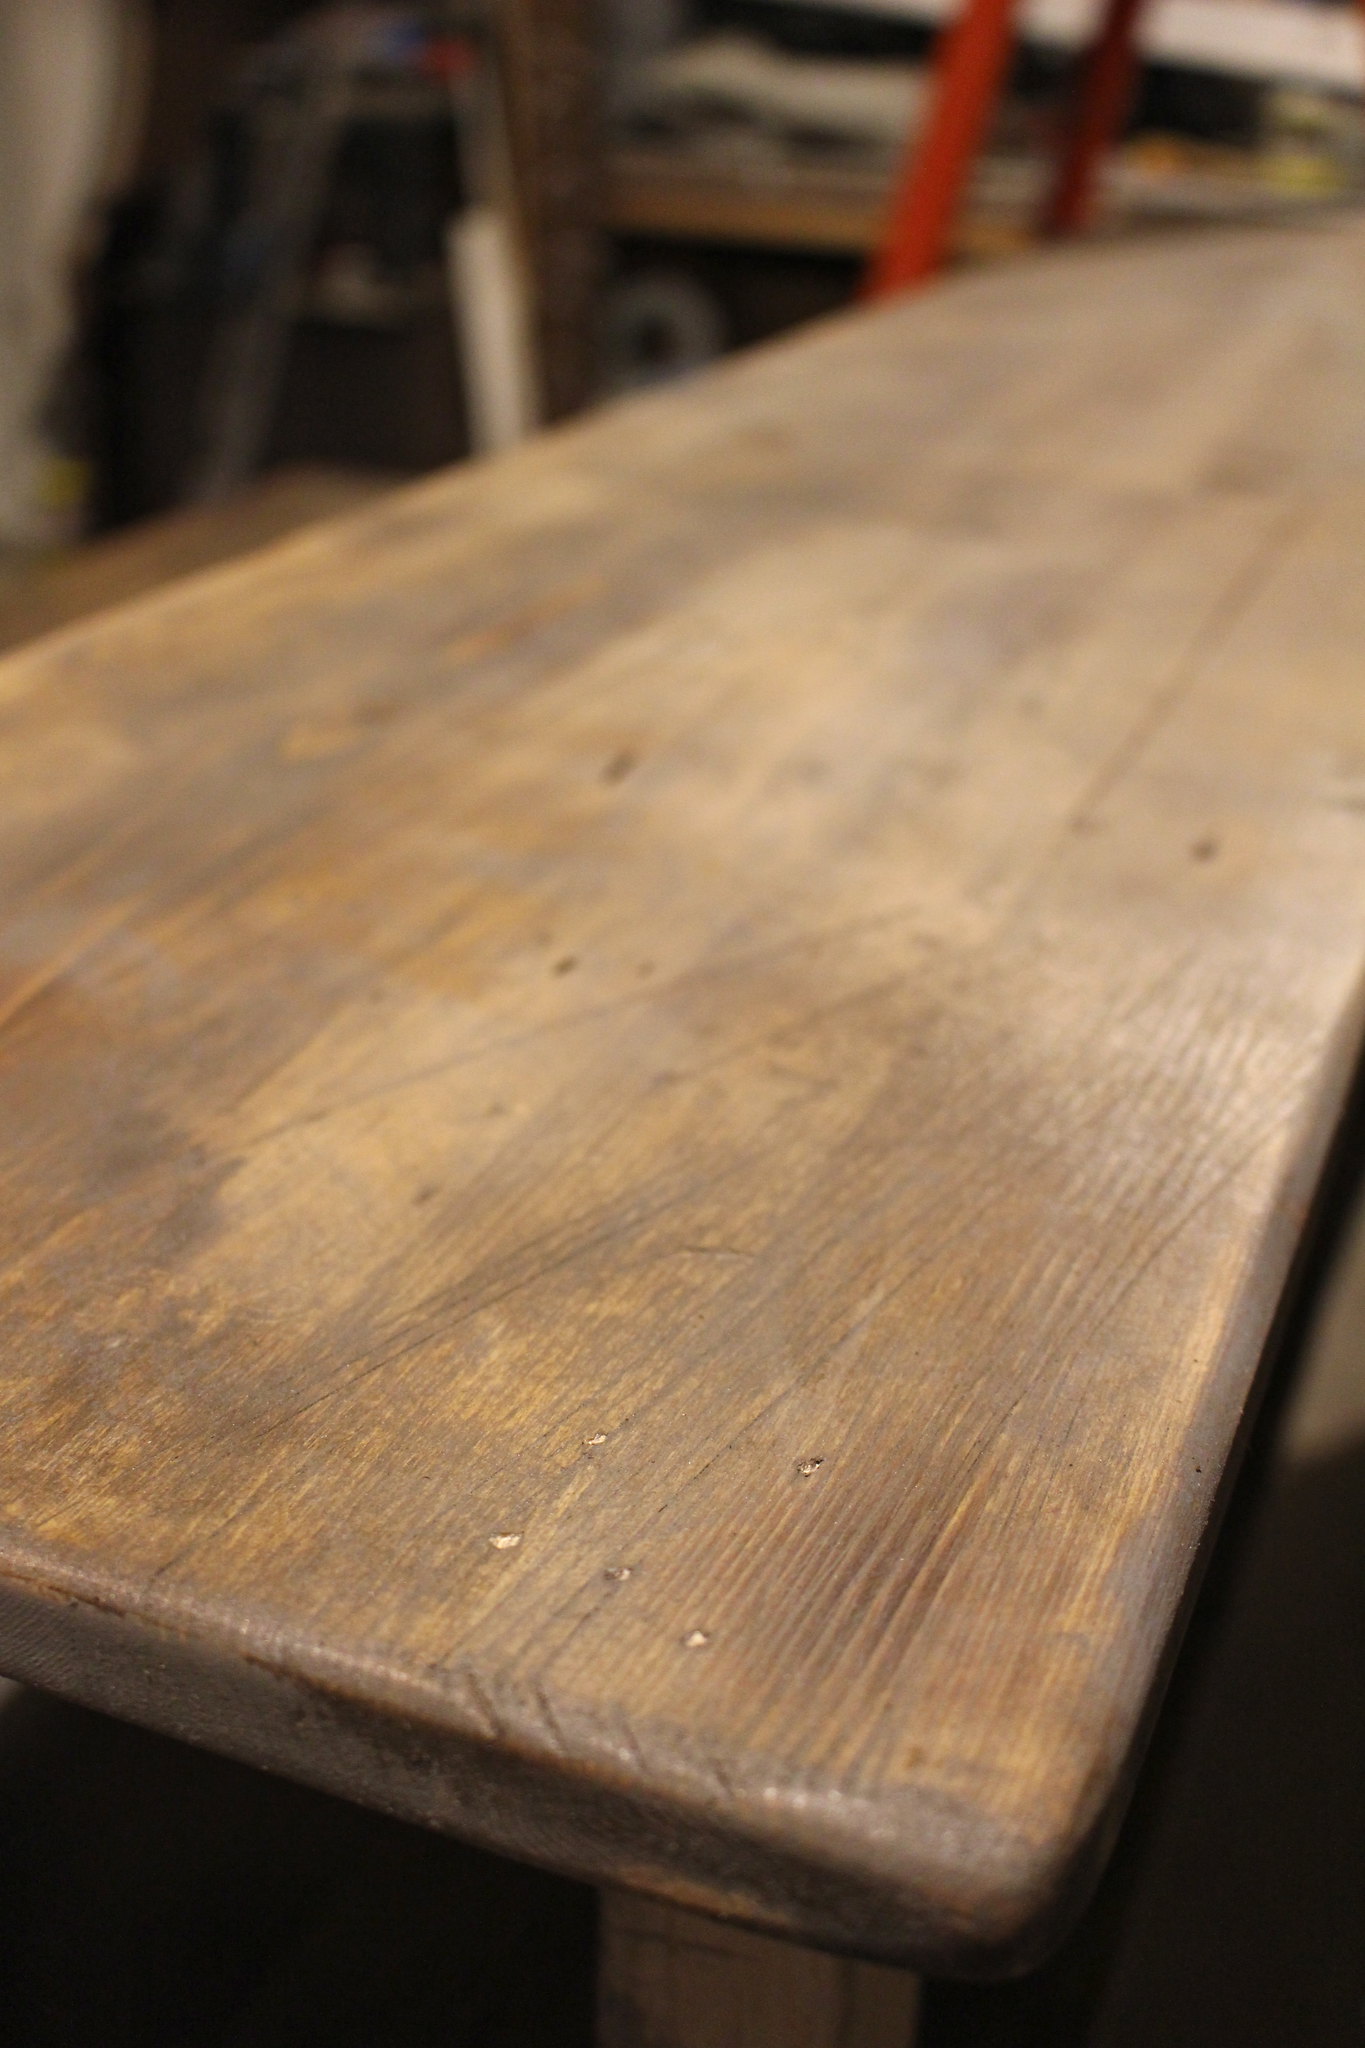
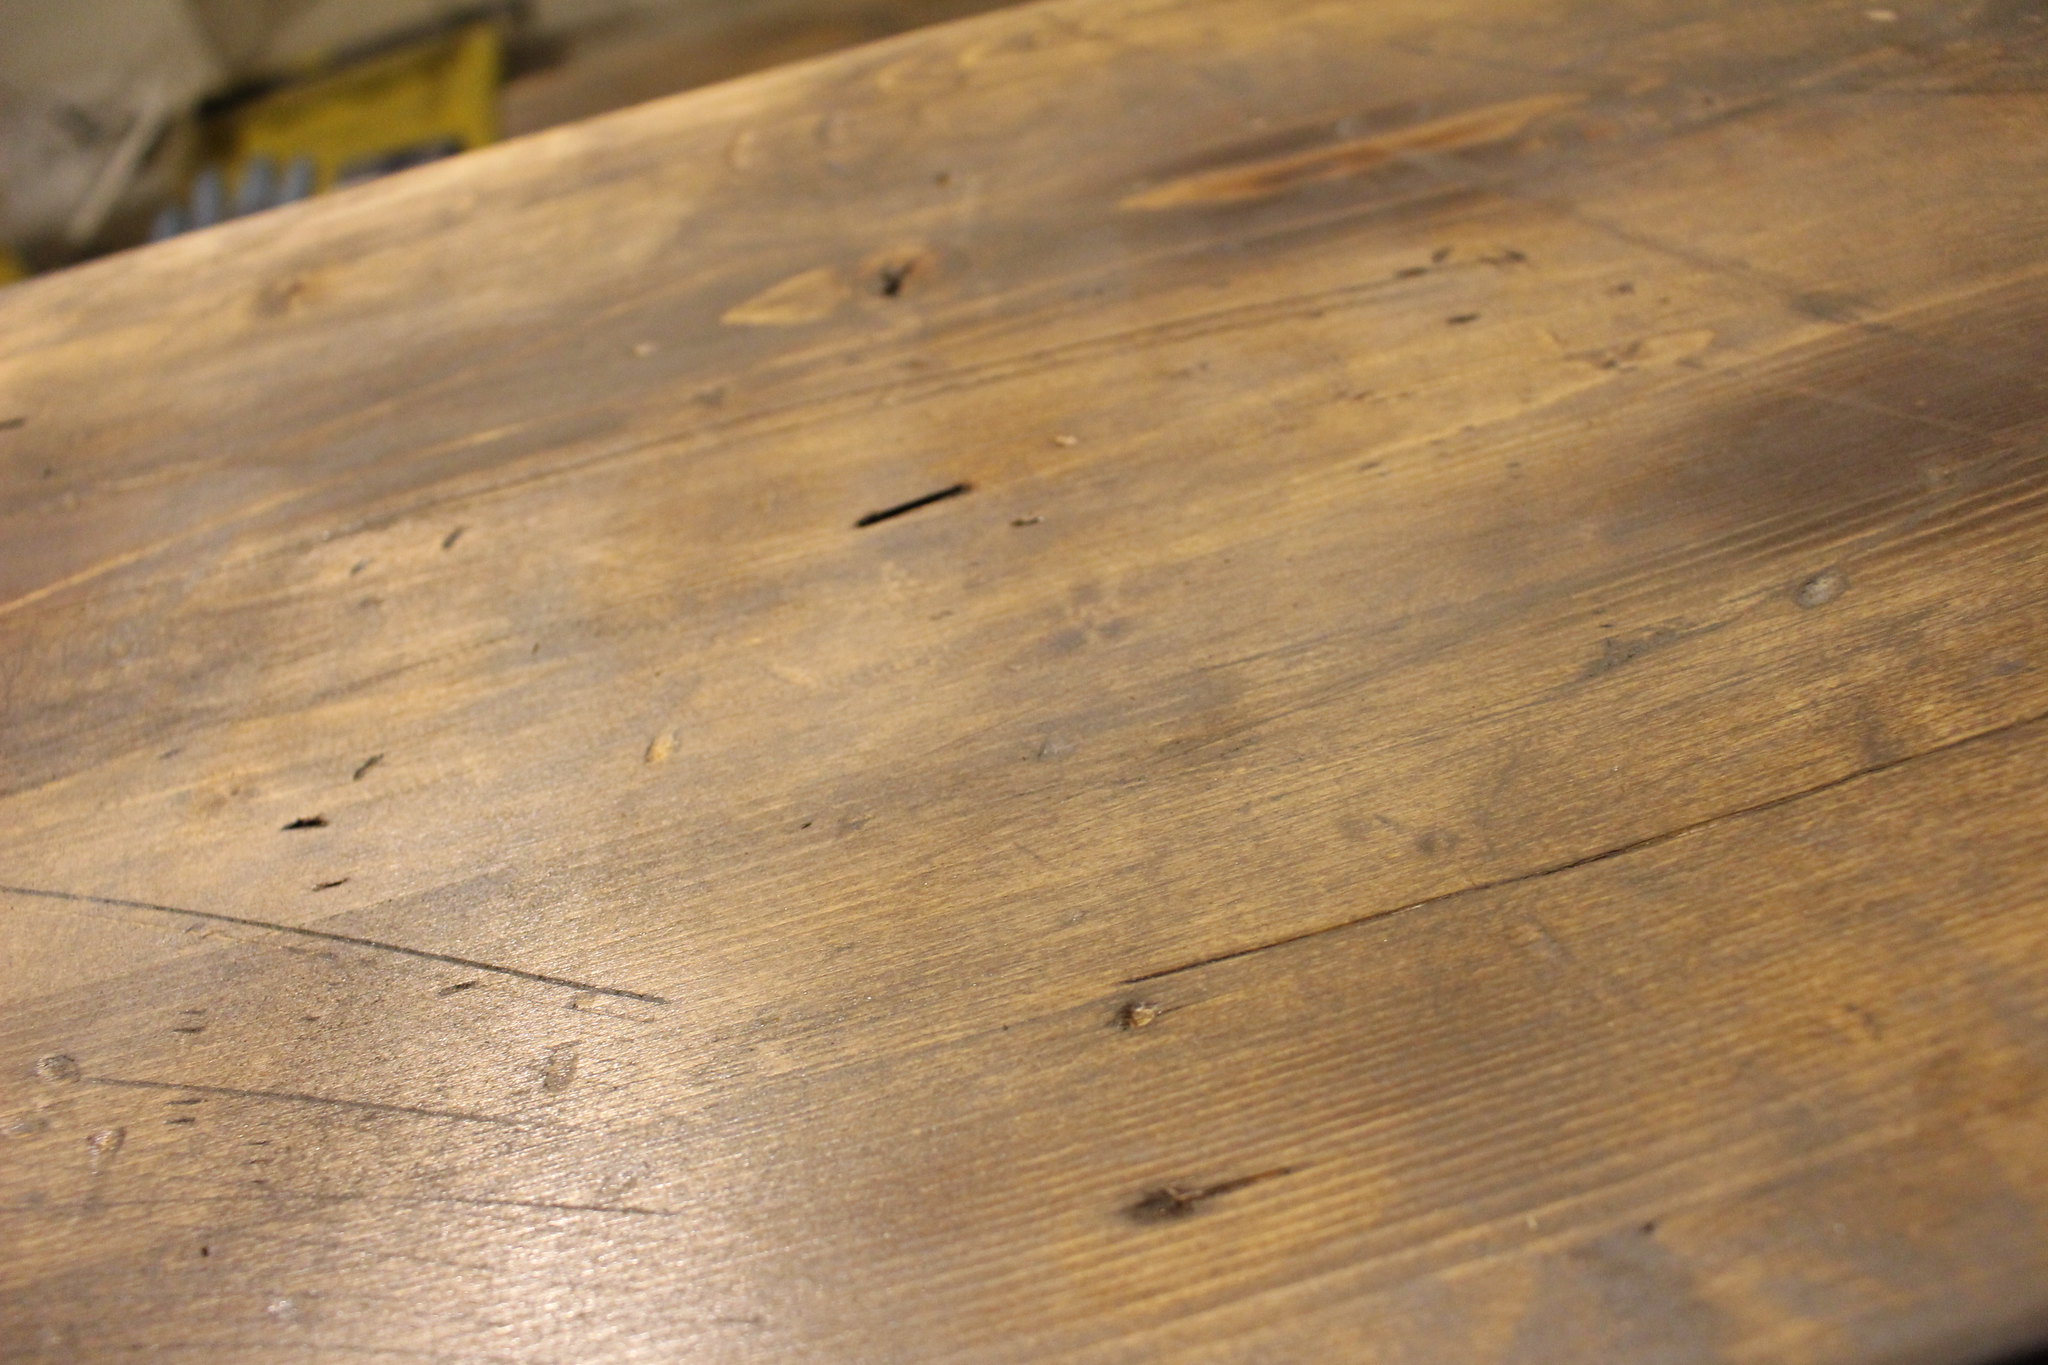
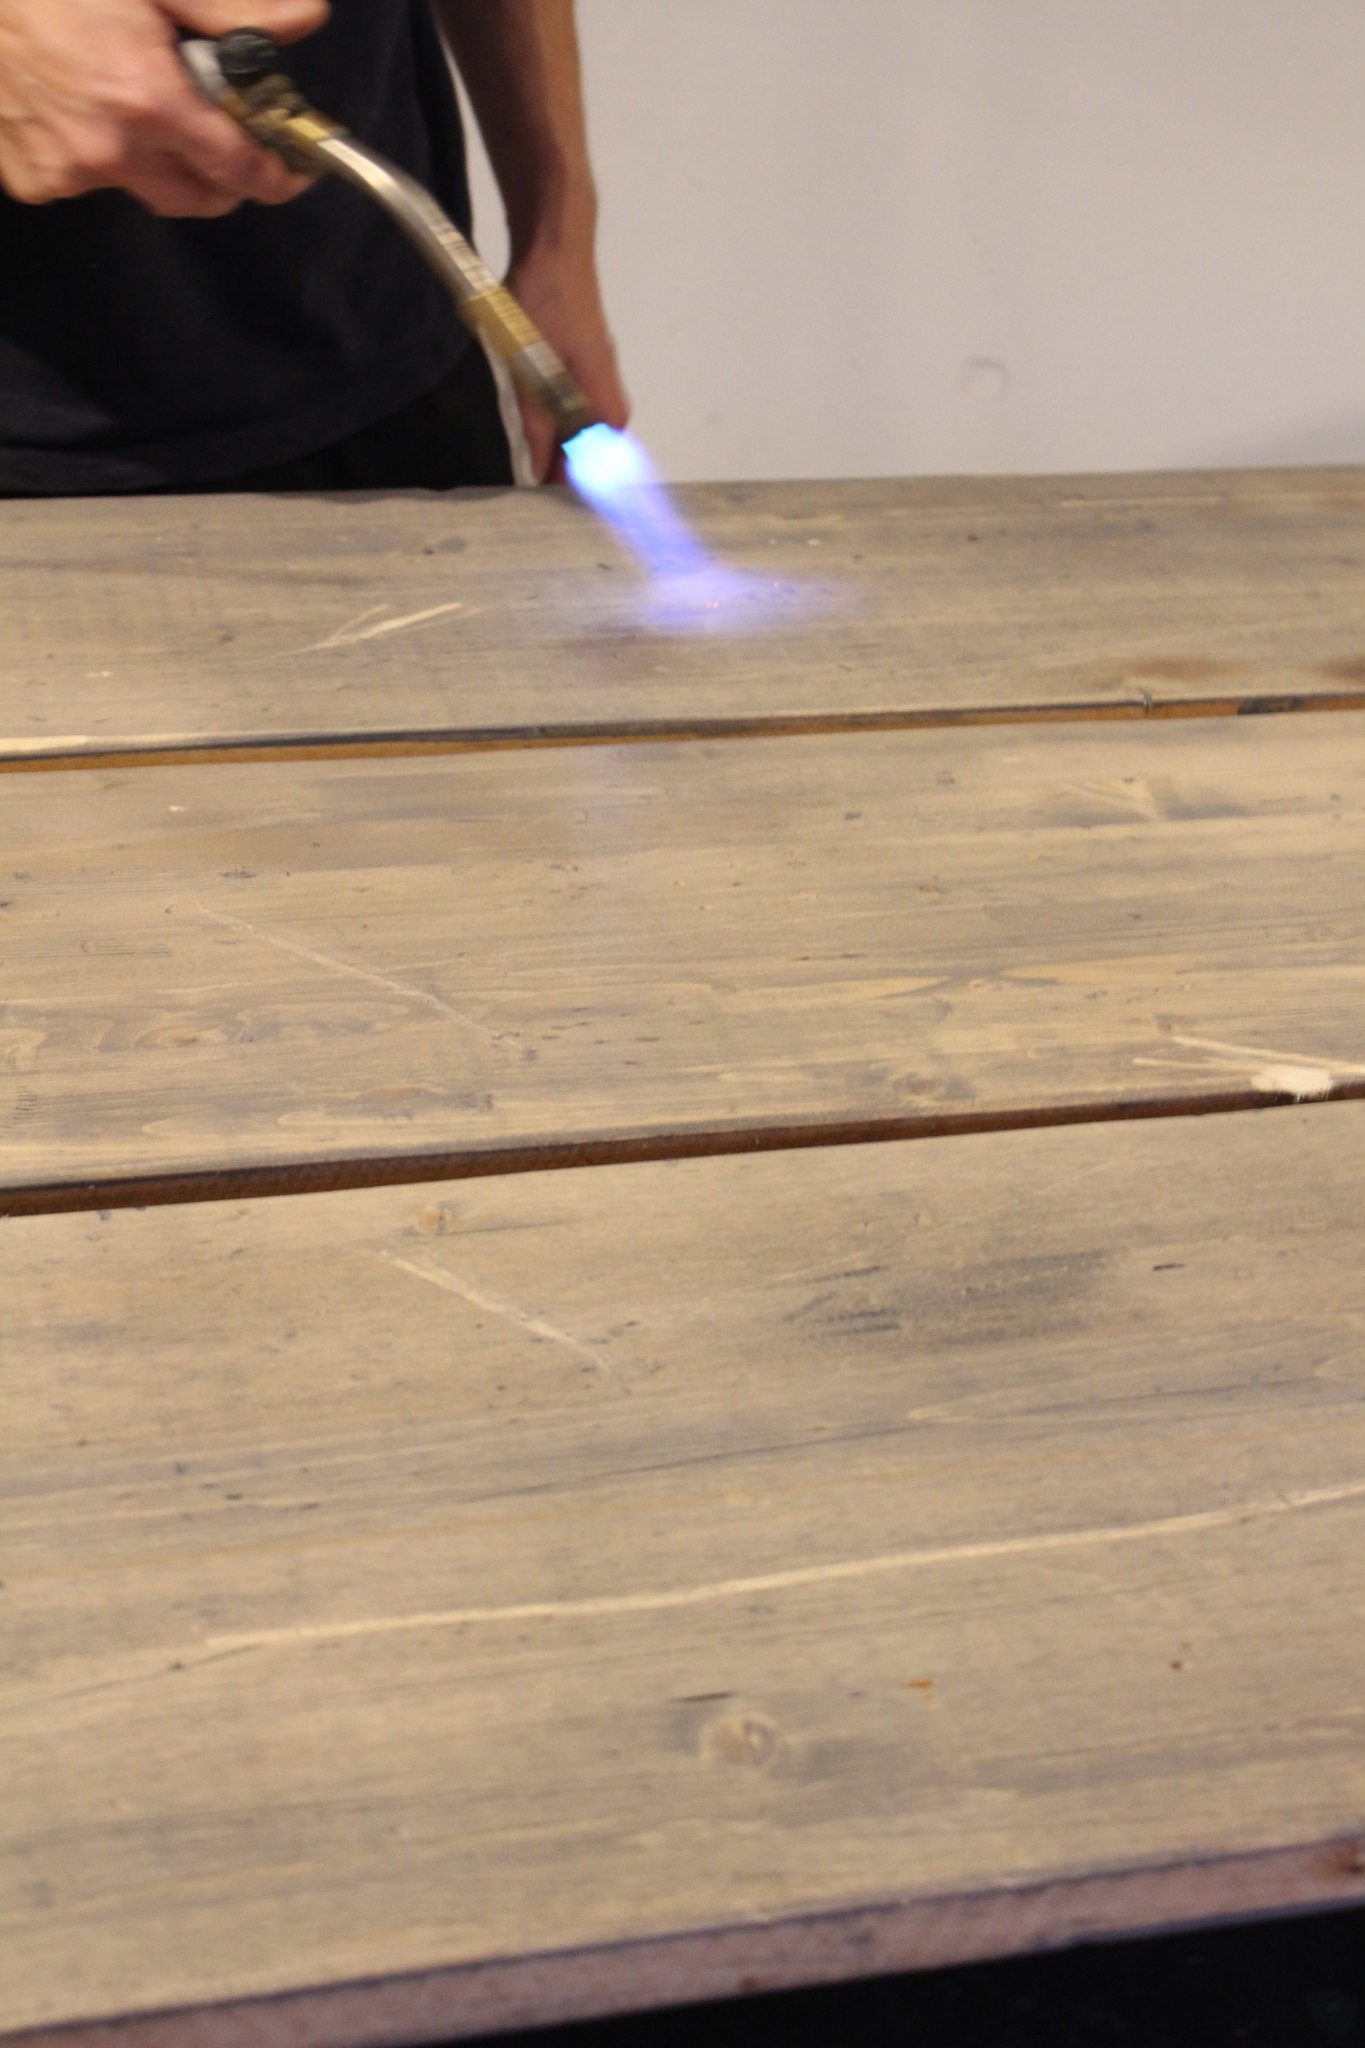
Once both stains dried, we beat up the wood a little more. More gauges, cuts and scrapes, but we also upped our game and B brought out his blow torch so we could burn it as well. Our last step in aging the boards was adding dark brown stain to random sections of the boards (which we used on our dining table that B built). This toned down the grey and really helped to complete the aged look of our boards.
DIY Console TableDIY Console Table

DIY Console Table

DIY Console Table
You'd never guess that we started with plain pine boards, would you?

With our wood ready, it was time to start preparing the other parts of our table. Using Rust-Oleum's Painters Touch 2x The Coverage spray paint in Dark Walnut, we sprayed the galvanized fencing and fencing staples.
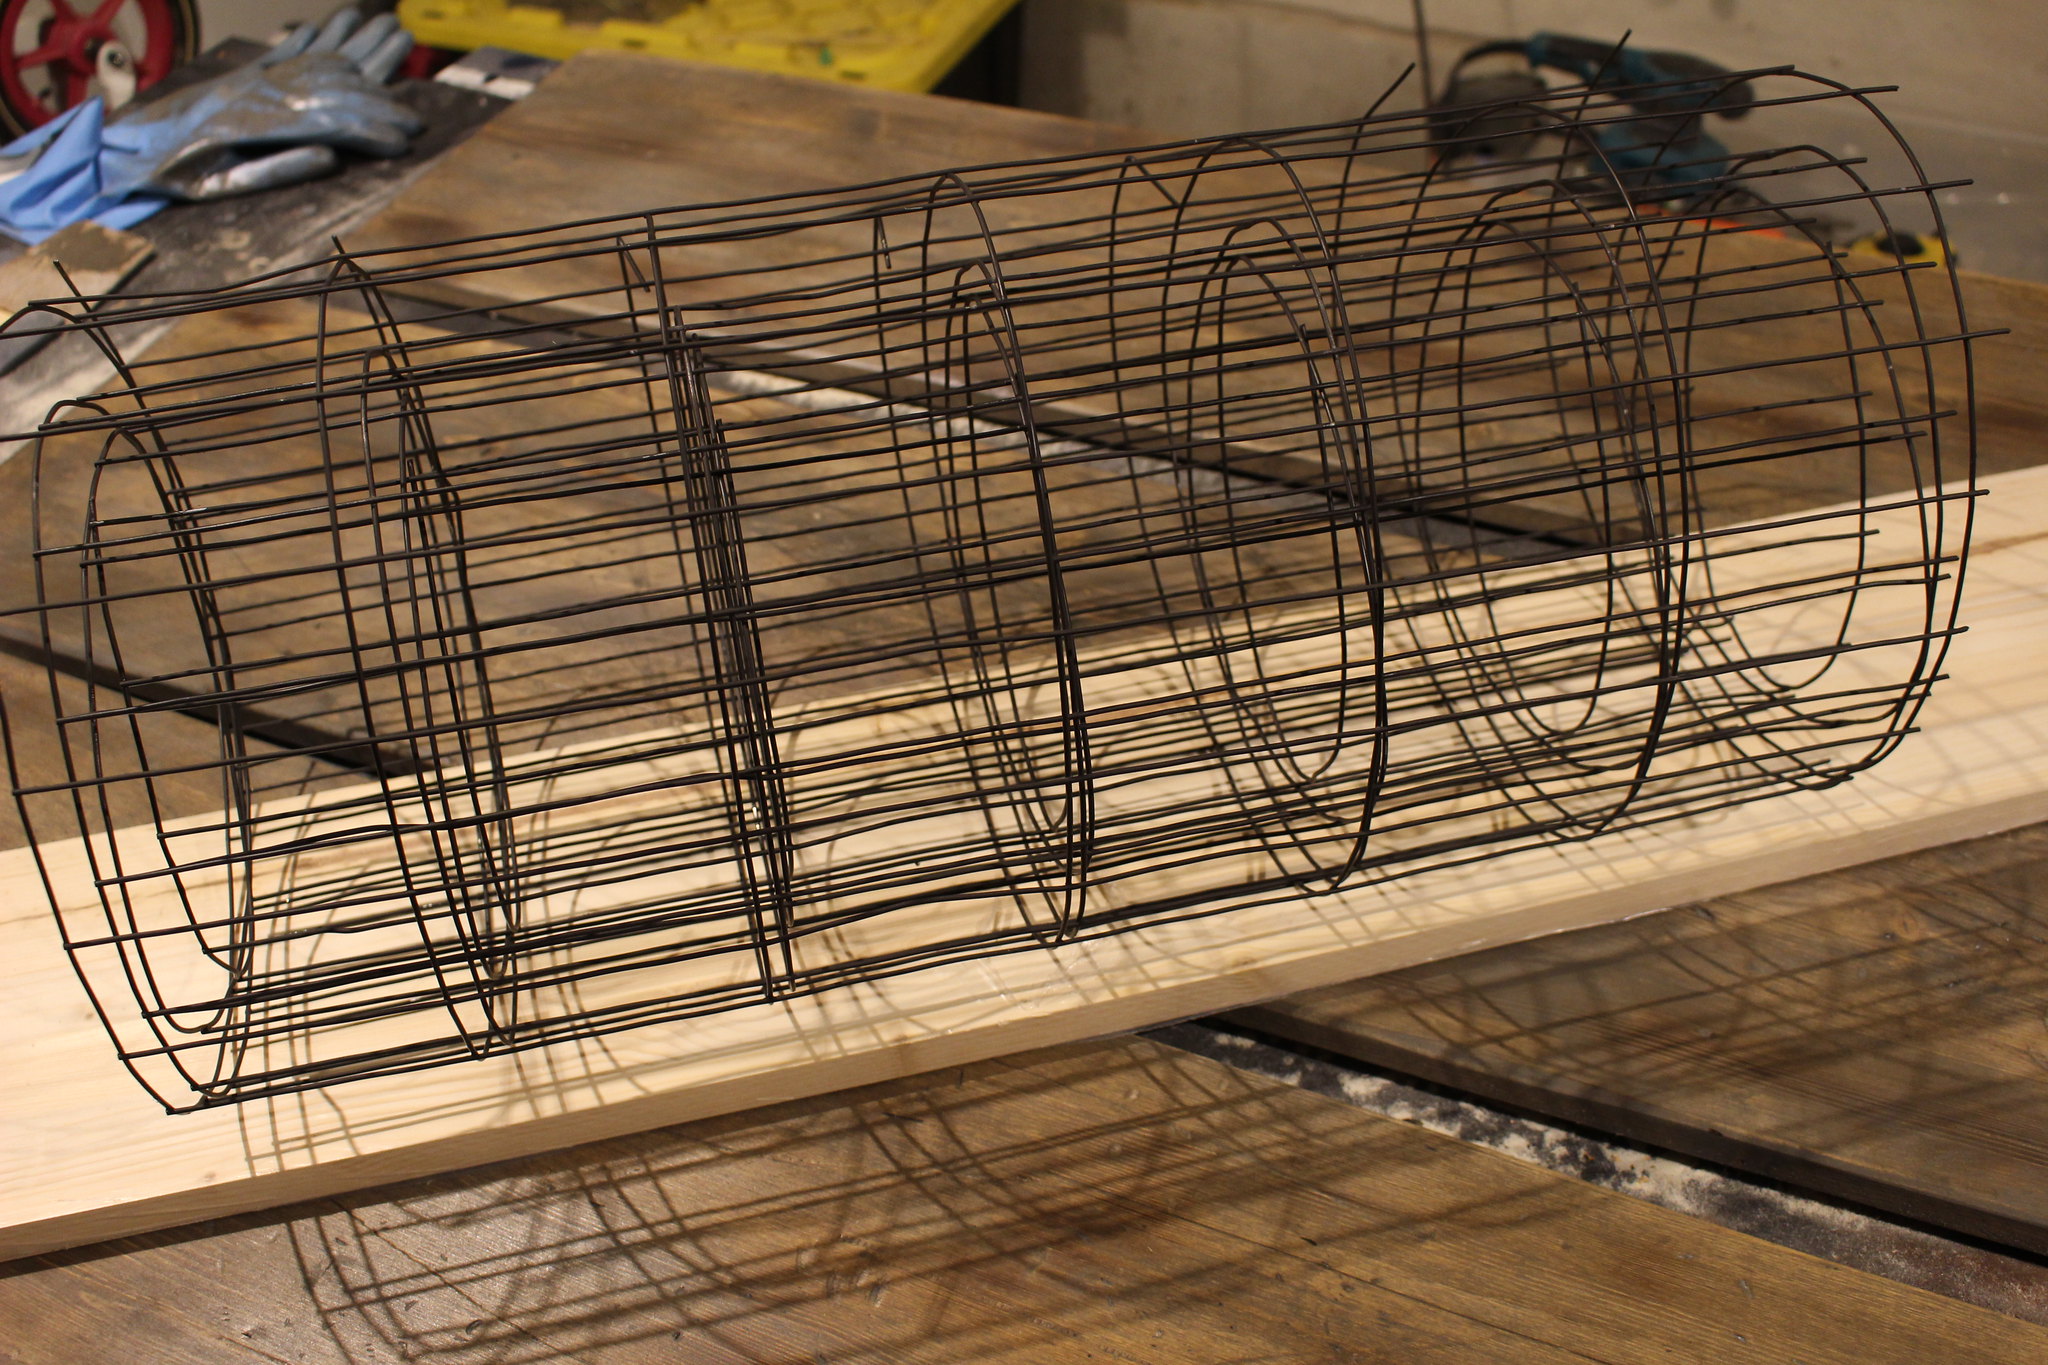
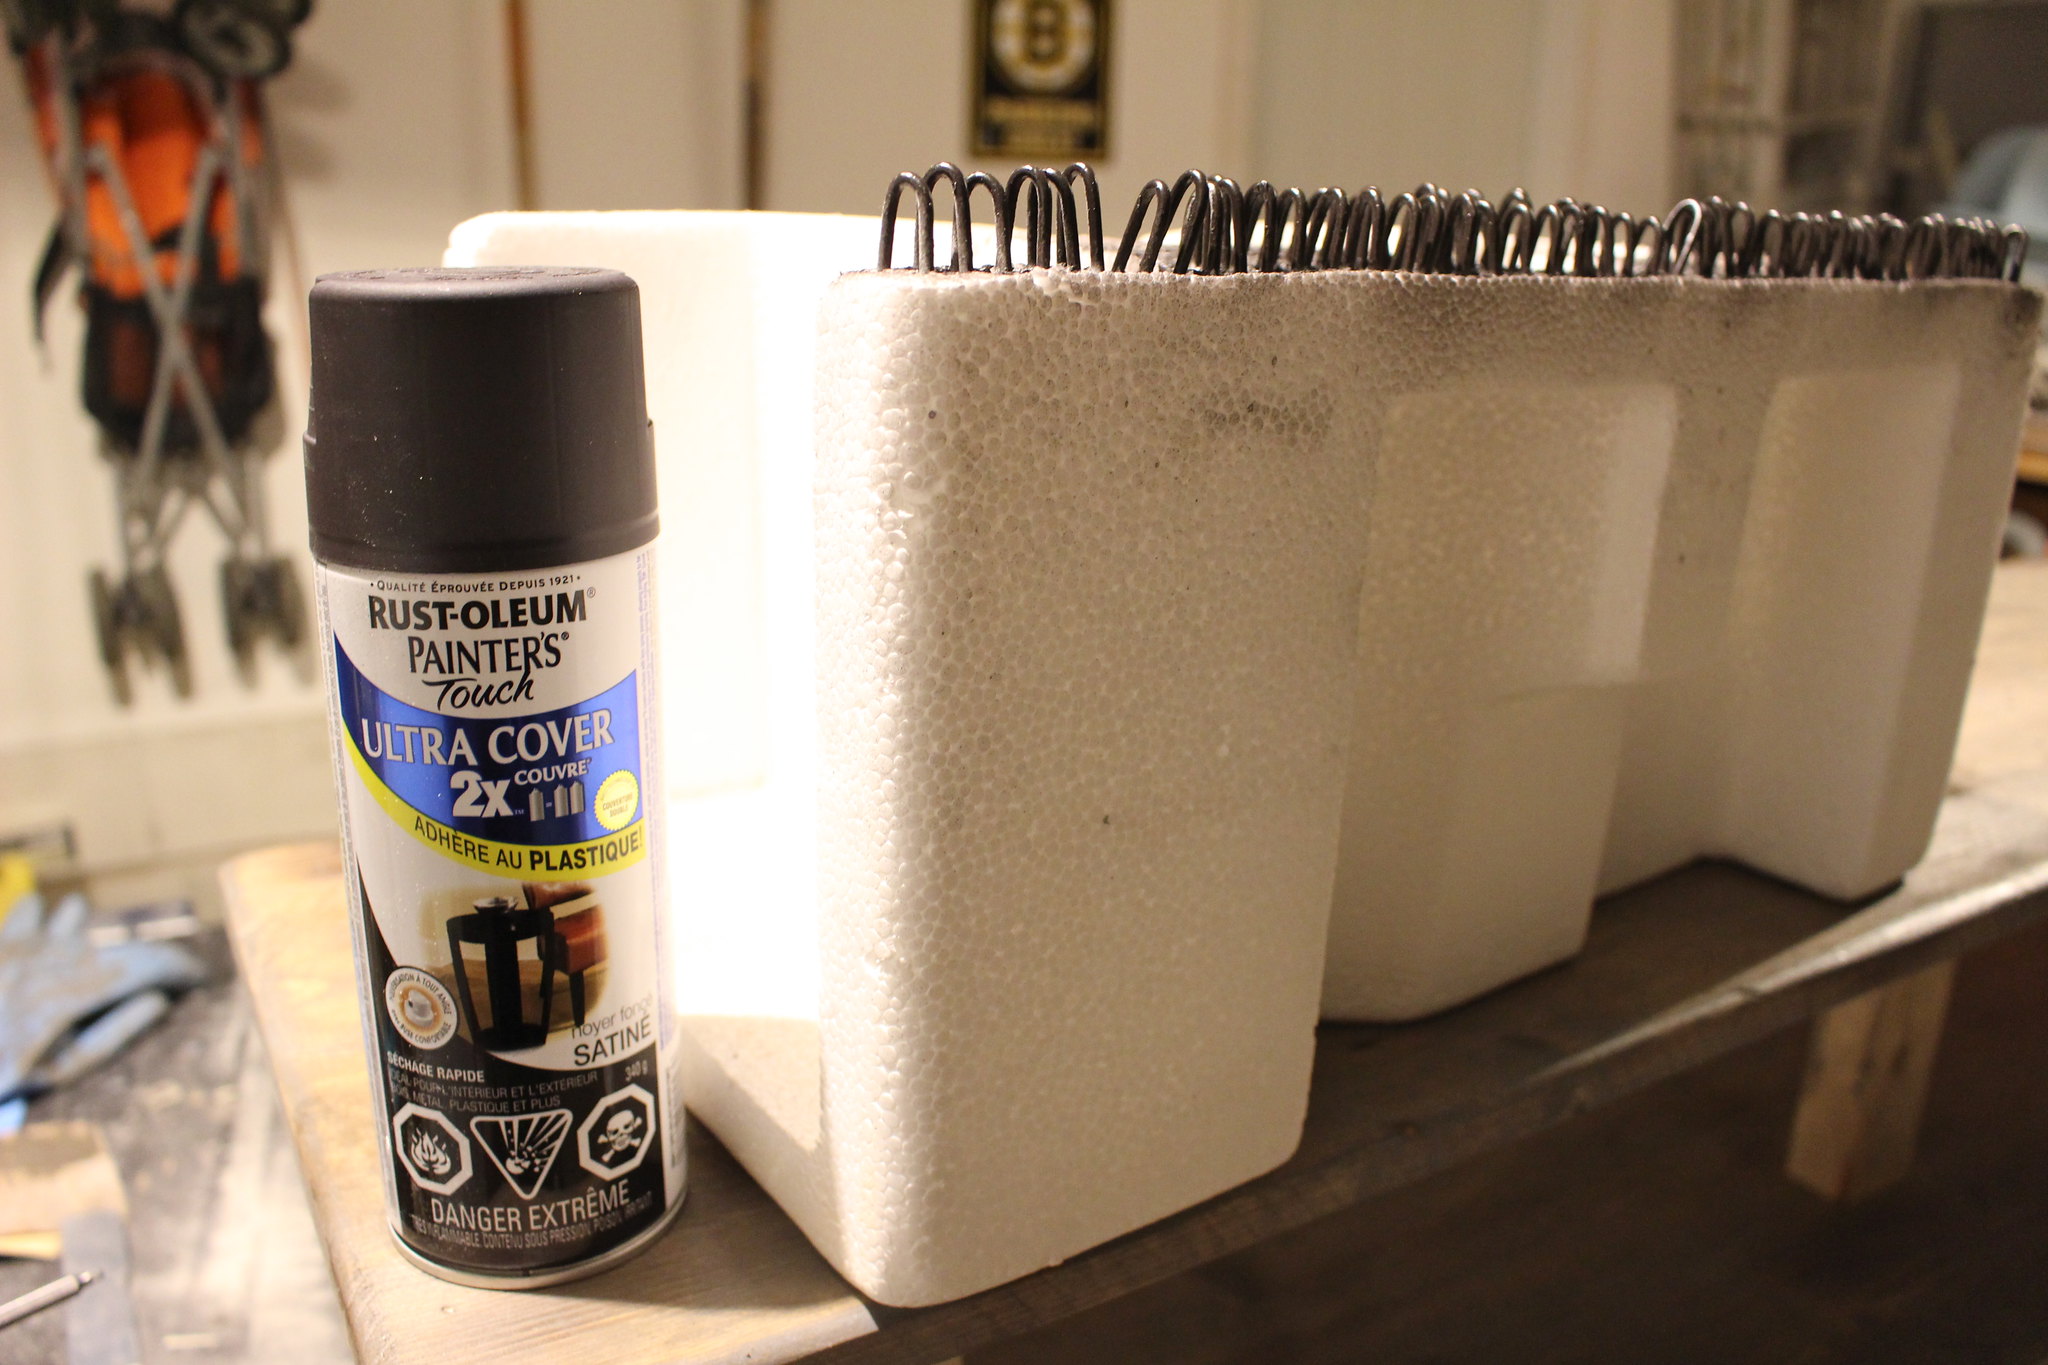
DIY Console Table

DIY Console Table

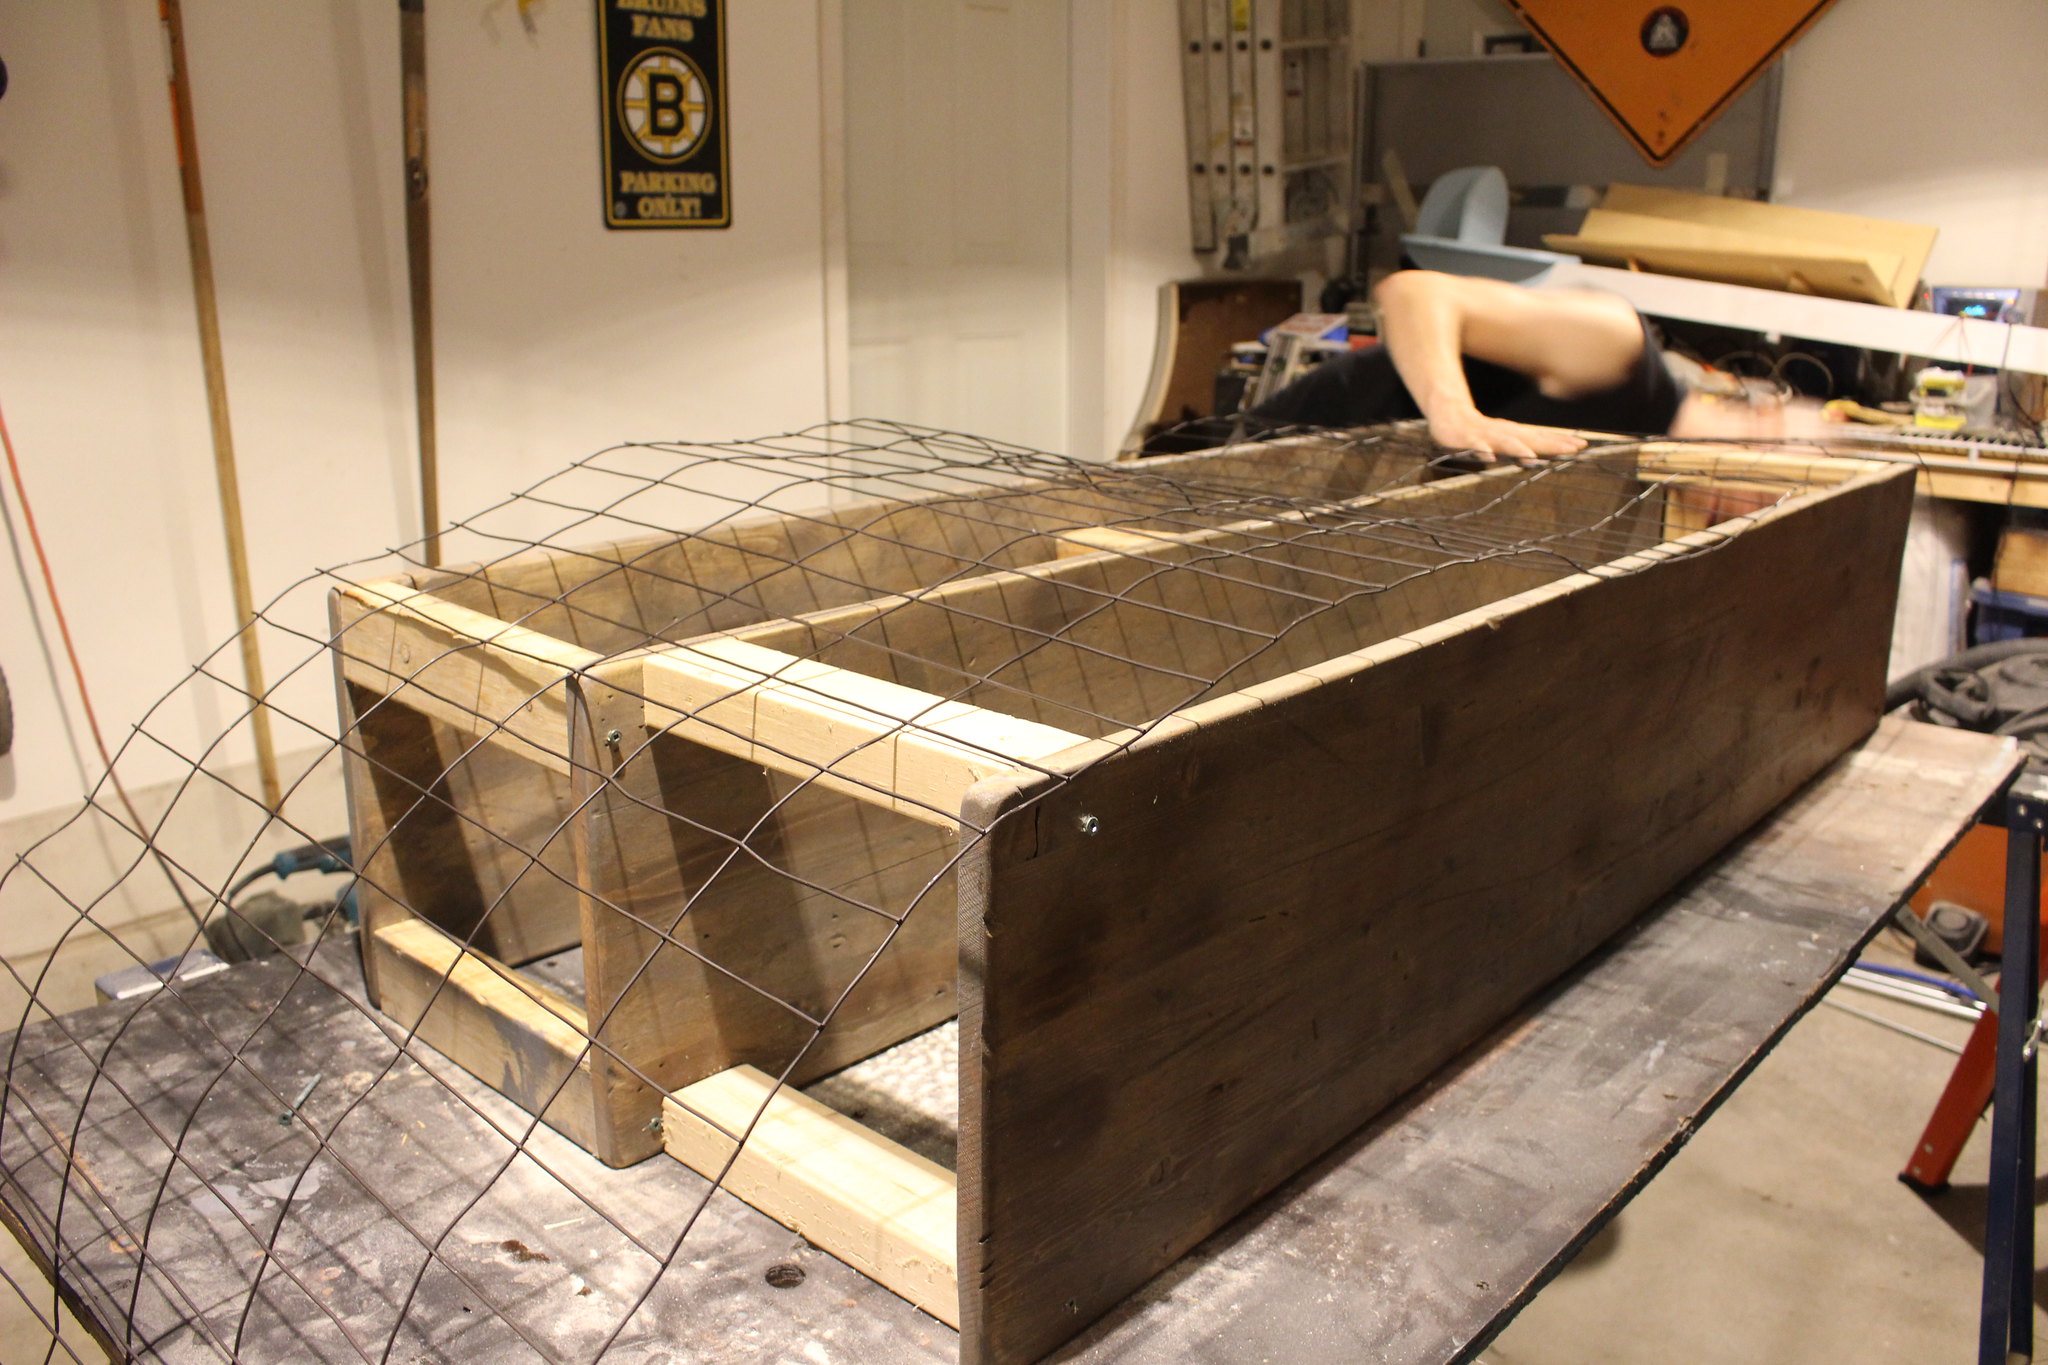
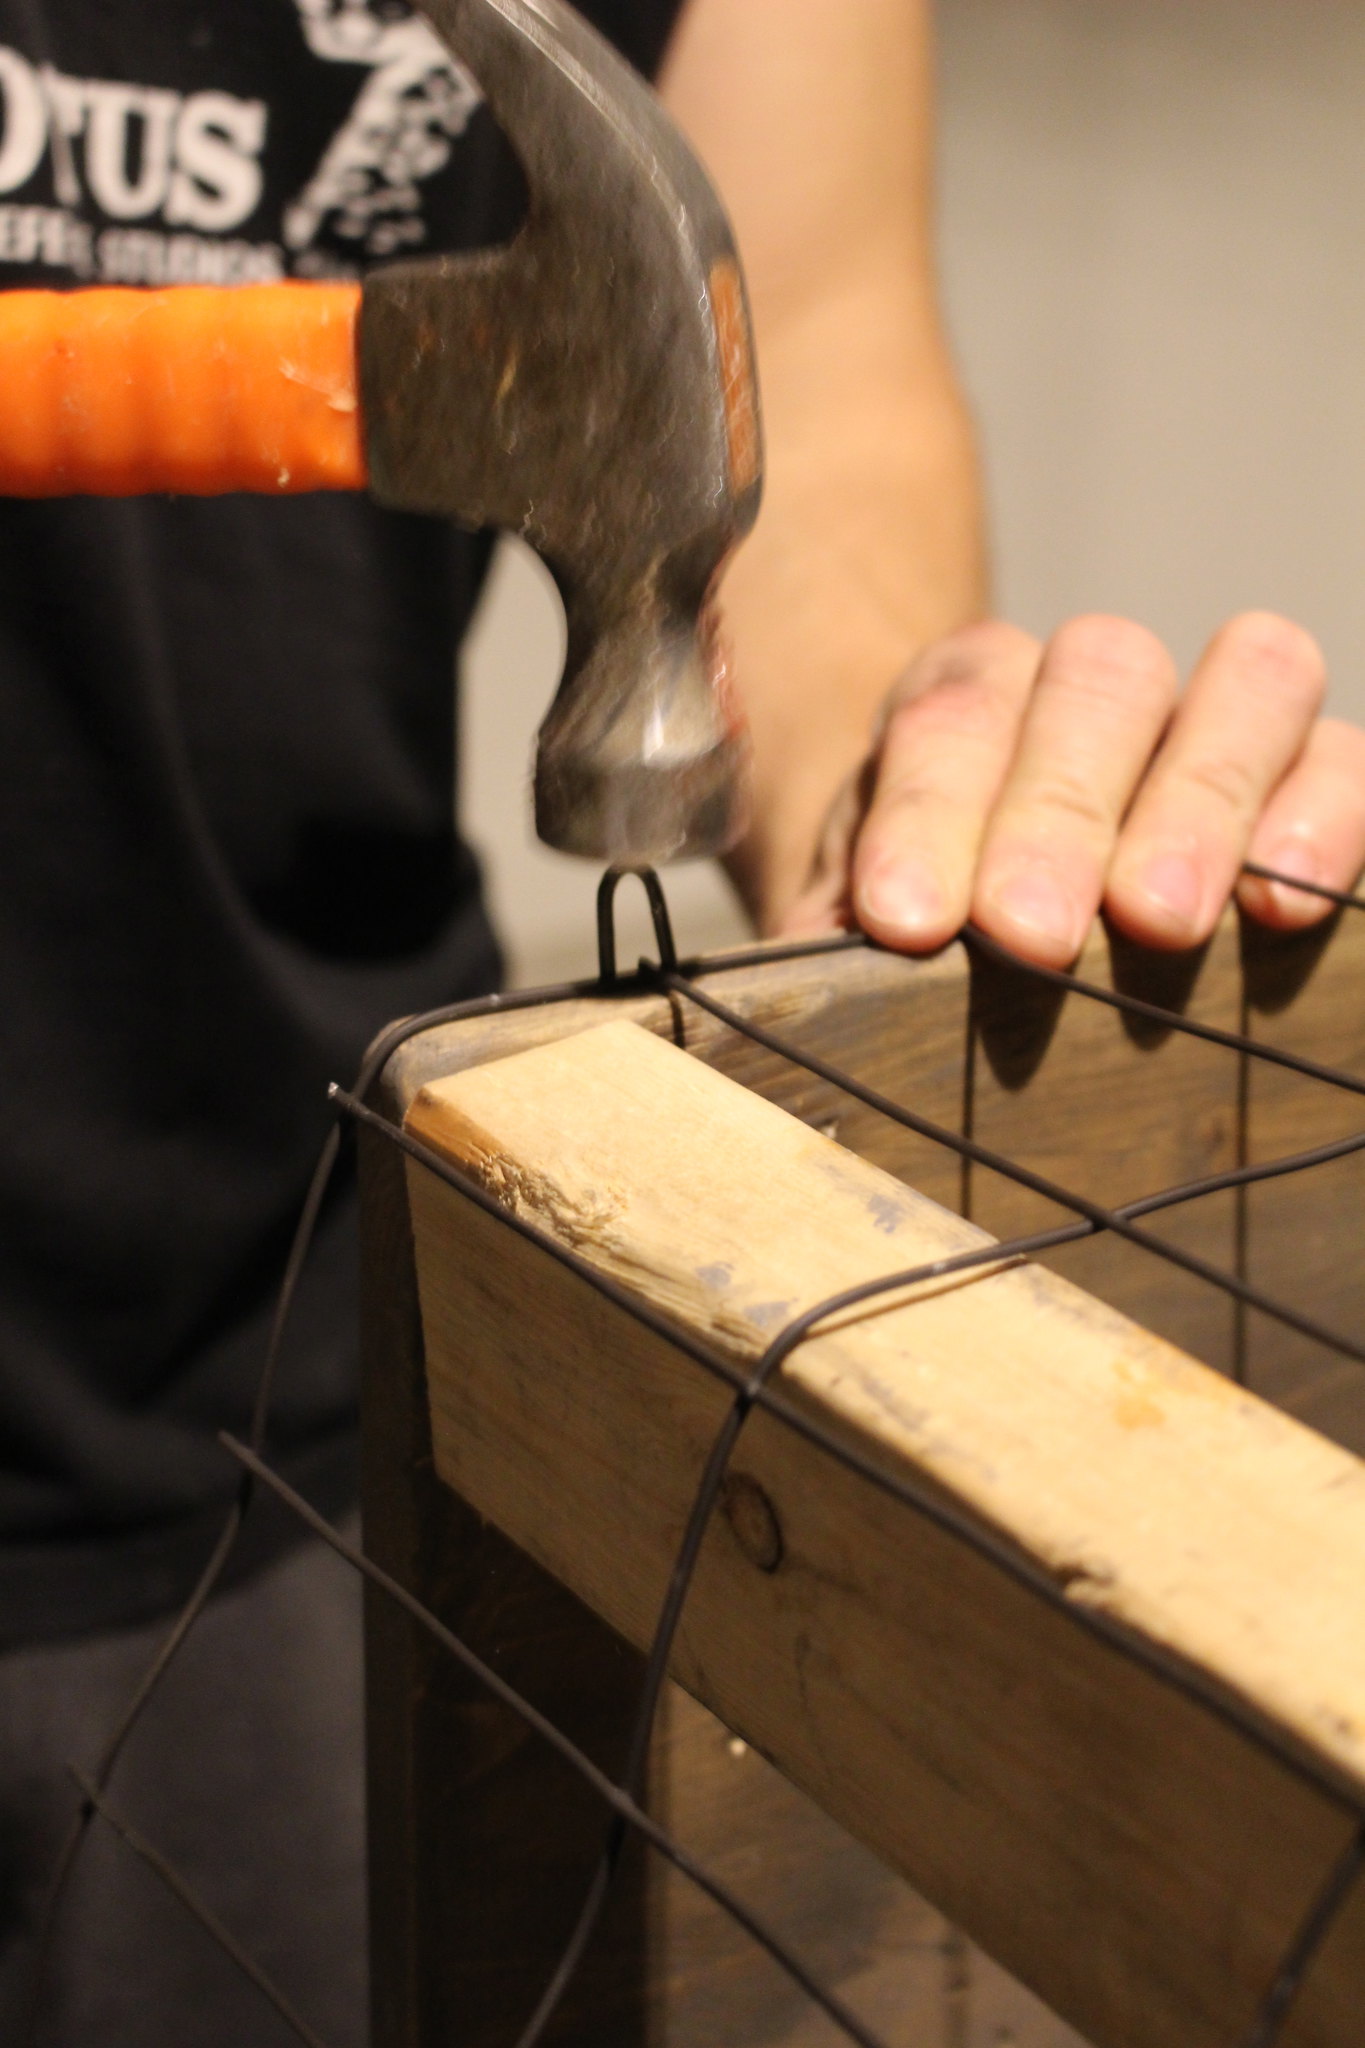
In order to start assembling our table, B created 8 spacers from scrap wood that were 12" tall to  match the spacing on the galvanized fencing. We had four spacers between each shelf, screwed into the corners to hold the shelves sturdy. Then, using a hammer B nailed the fencing to the shelves using the fencing staples. This step took the longest, as he put a fencing staple at every other cross section of the fencing to keep it sturdy. We had a few staples split the wood, but it really just added to the aged/beat up look of our barn board (and they were on the bottom or back side of the table, which was good). 
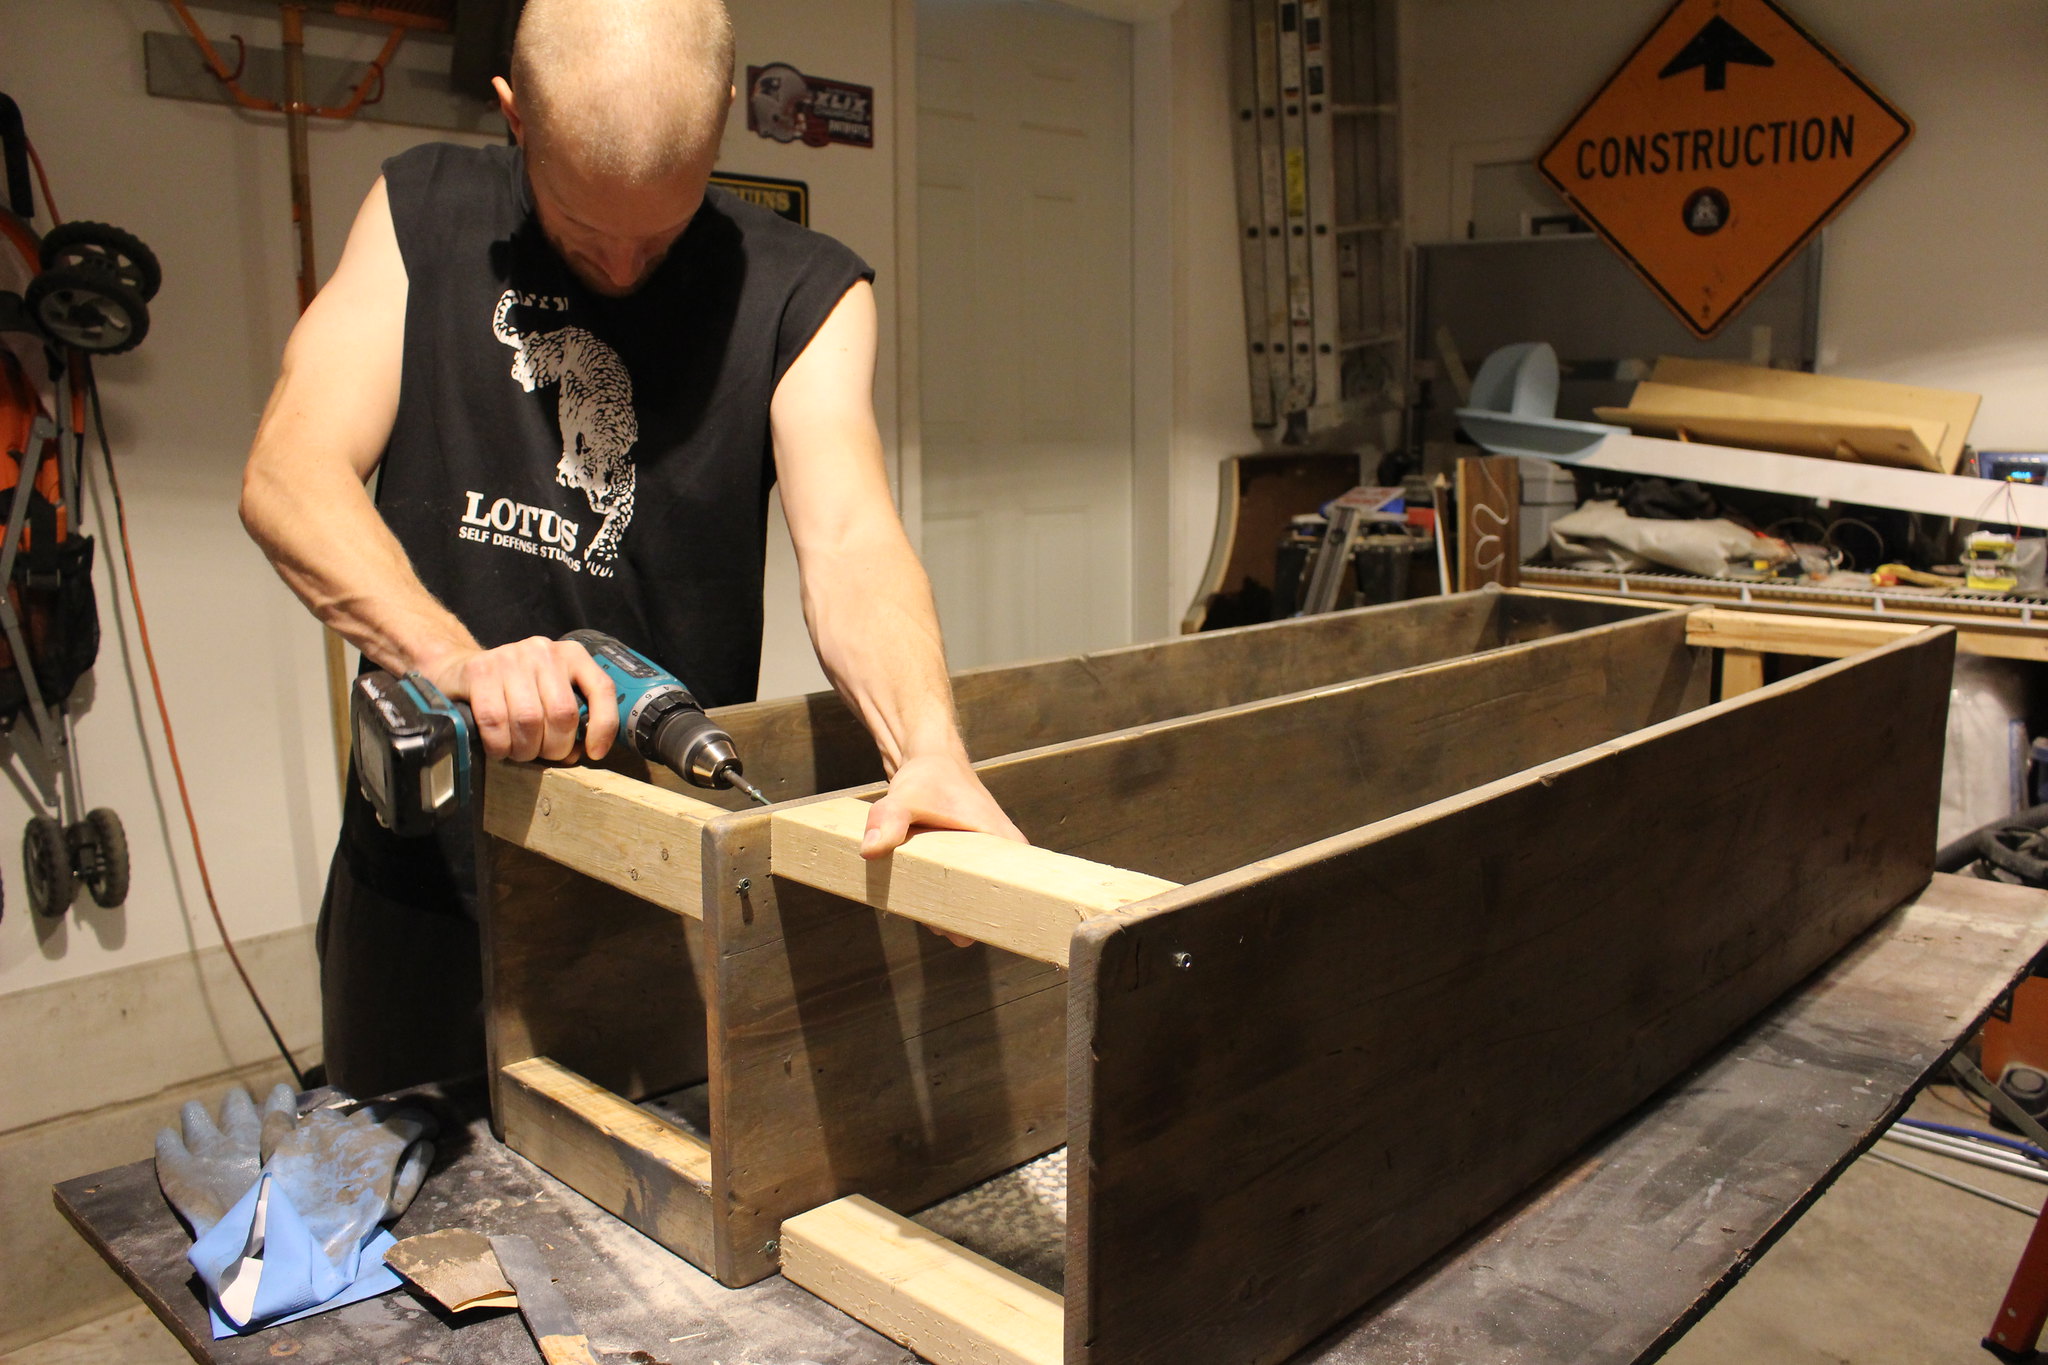
DIY Console Table

DIY Console Table

DIY Console Table

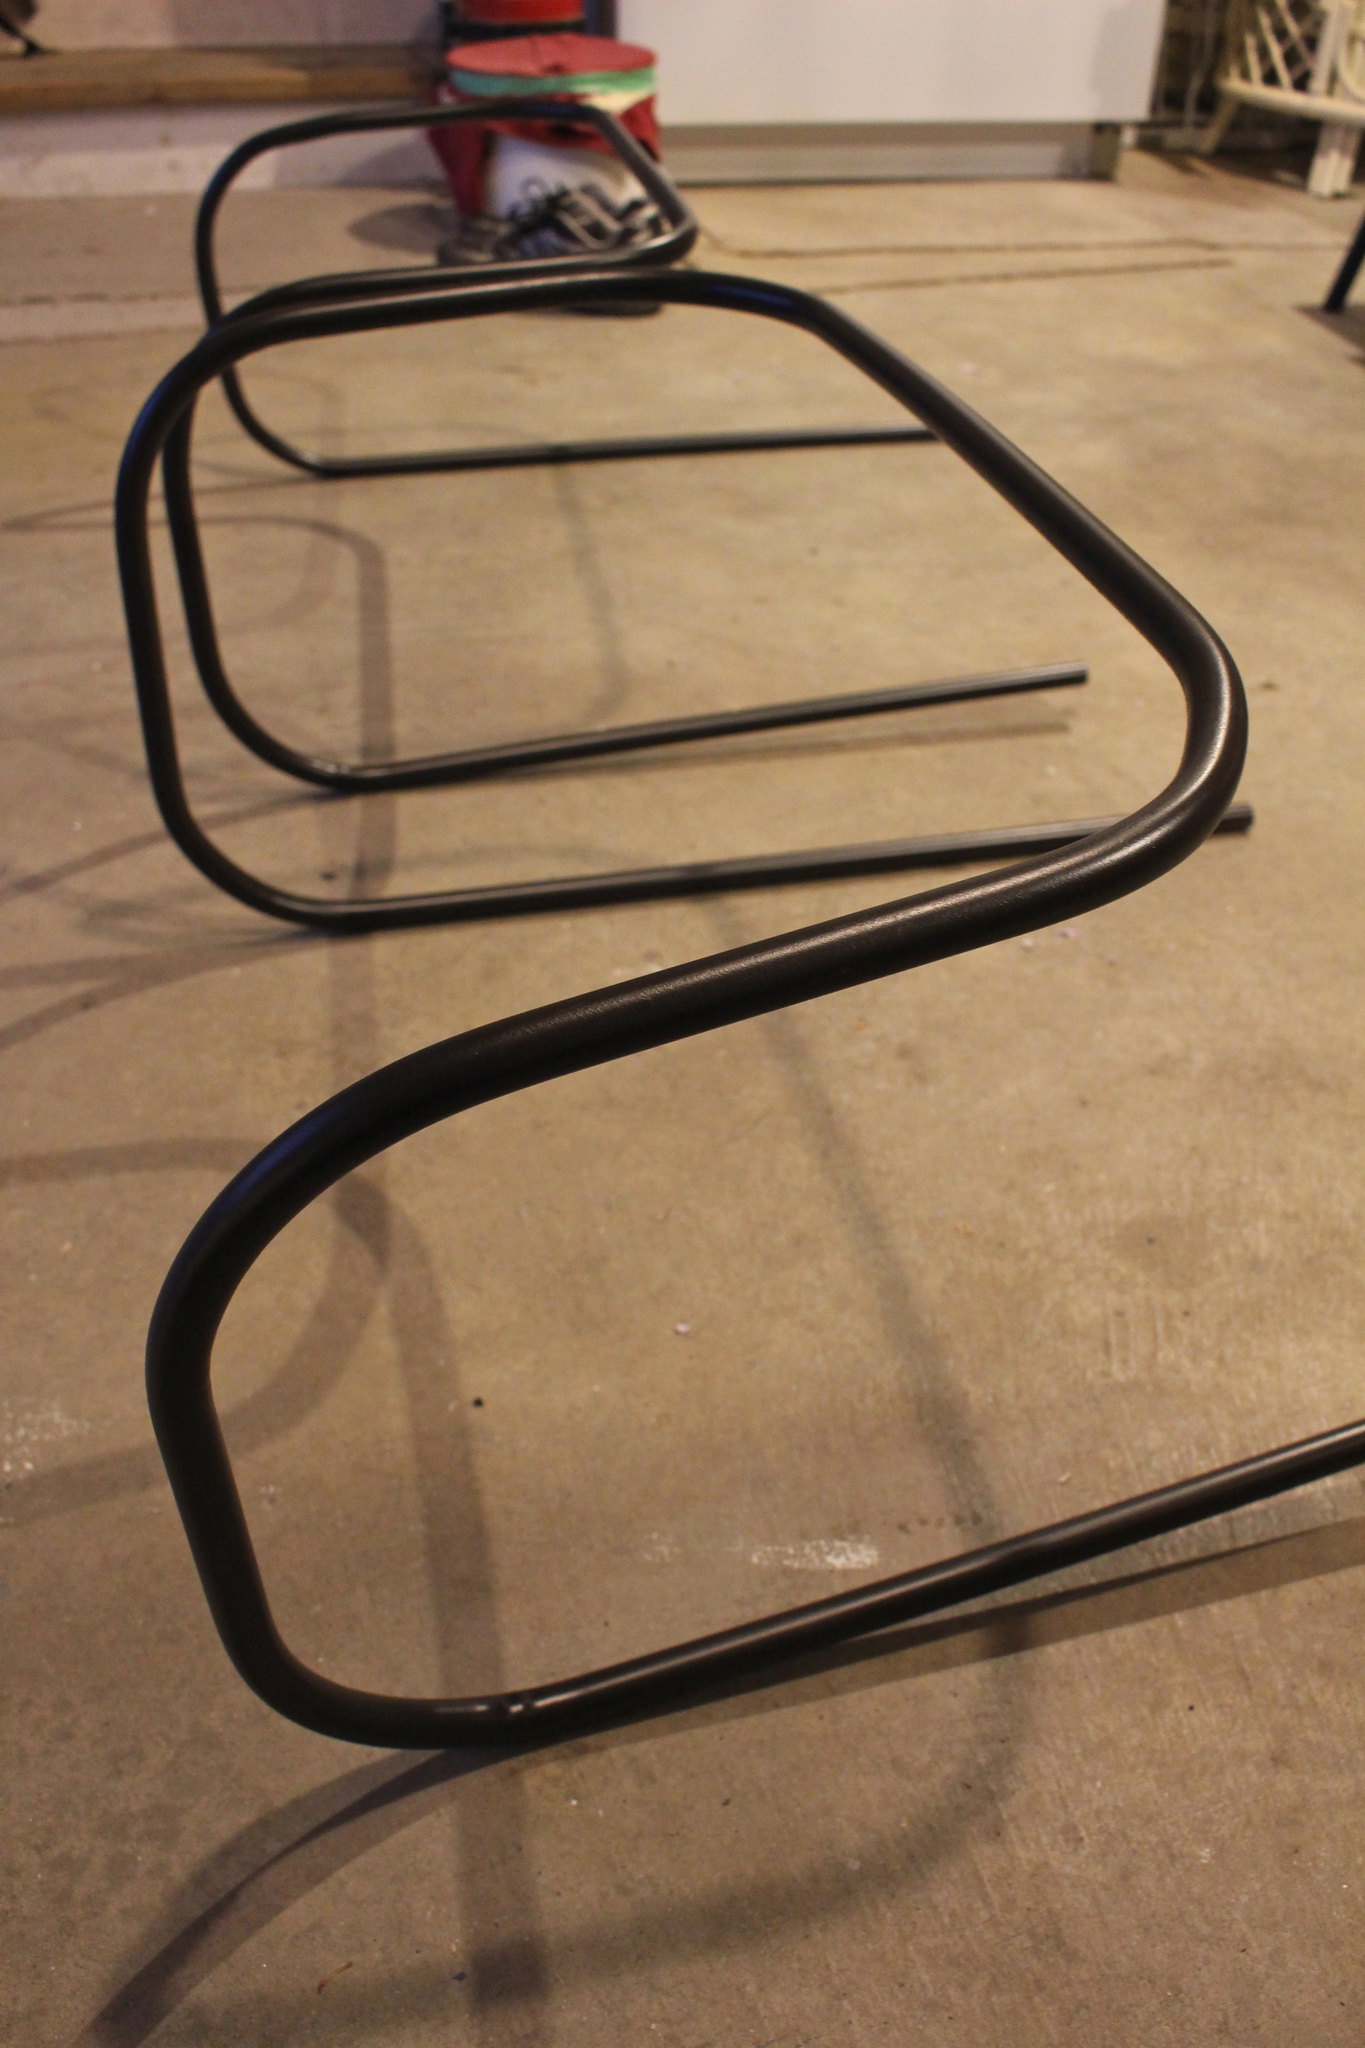
Next, B needed to bend the conduit pipe. Using a manual conduit bender that he picked up from Home Depot, he made 90 degree bends in the piping. This part proved to be the most difficult to mimic from the inspiration table. B mentioned to me quite a few times that with the conduit bender he wouldn't be able to get the pipe to wrap right around the wood, but rather we would end up with it winged out, more like handles on a bar cart. I was totally okay with this change in design and actually liked it more. 
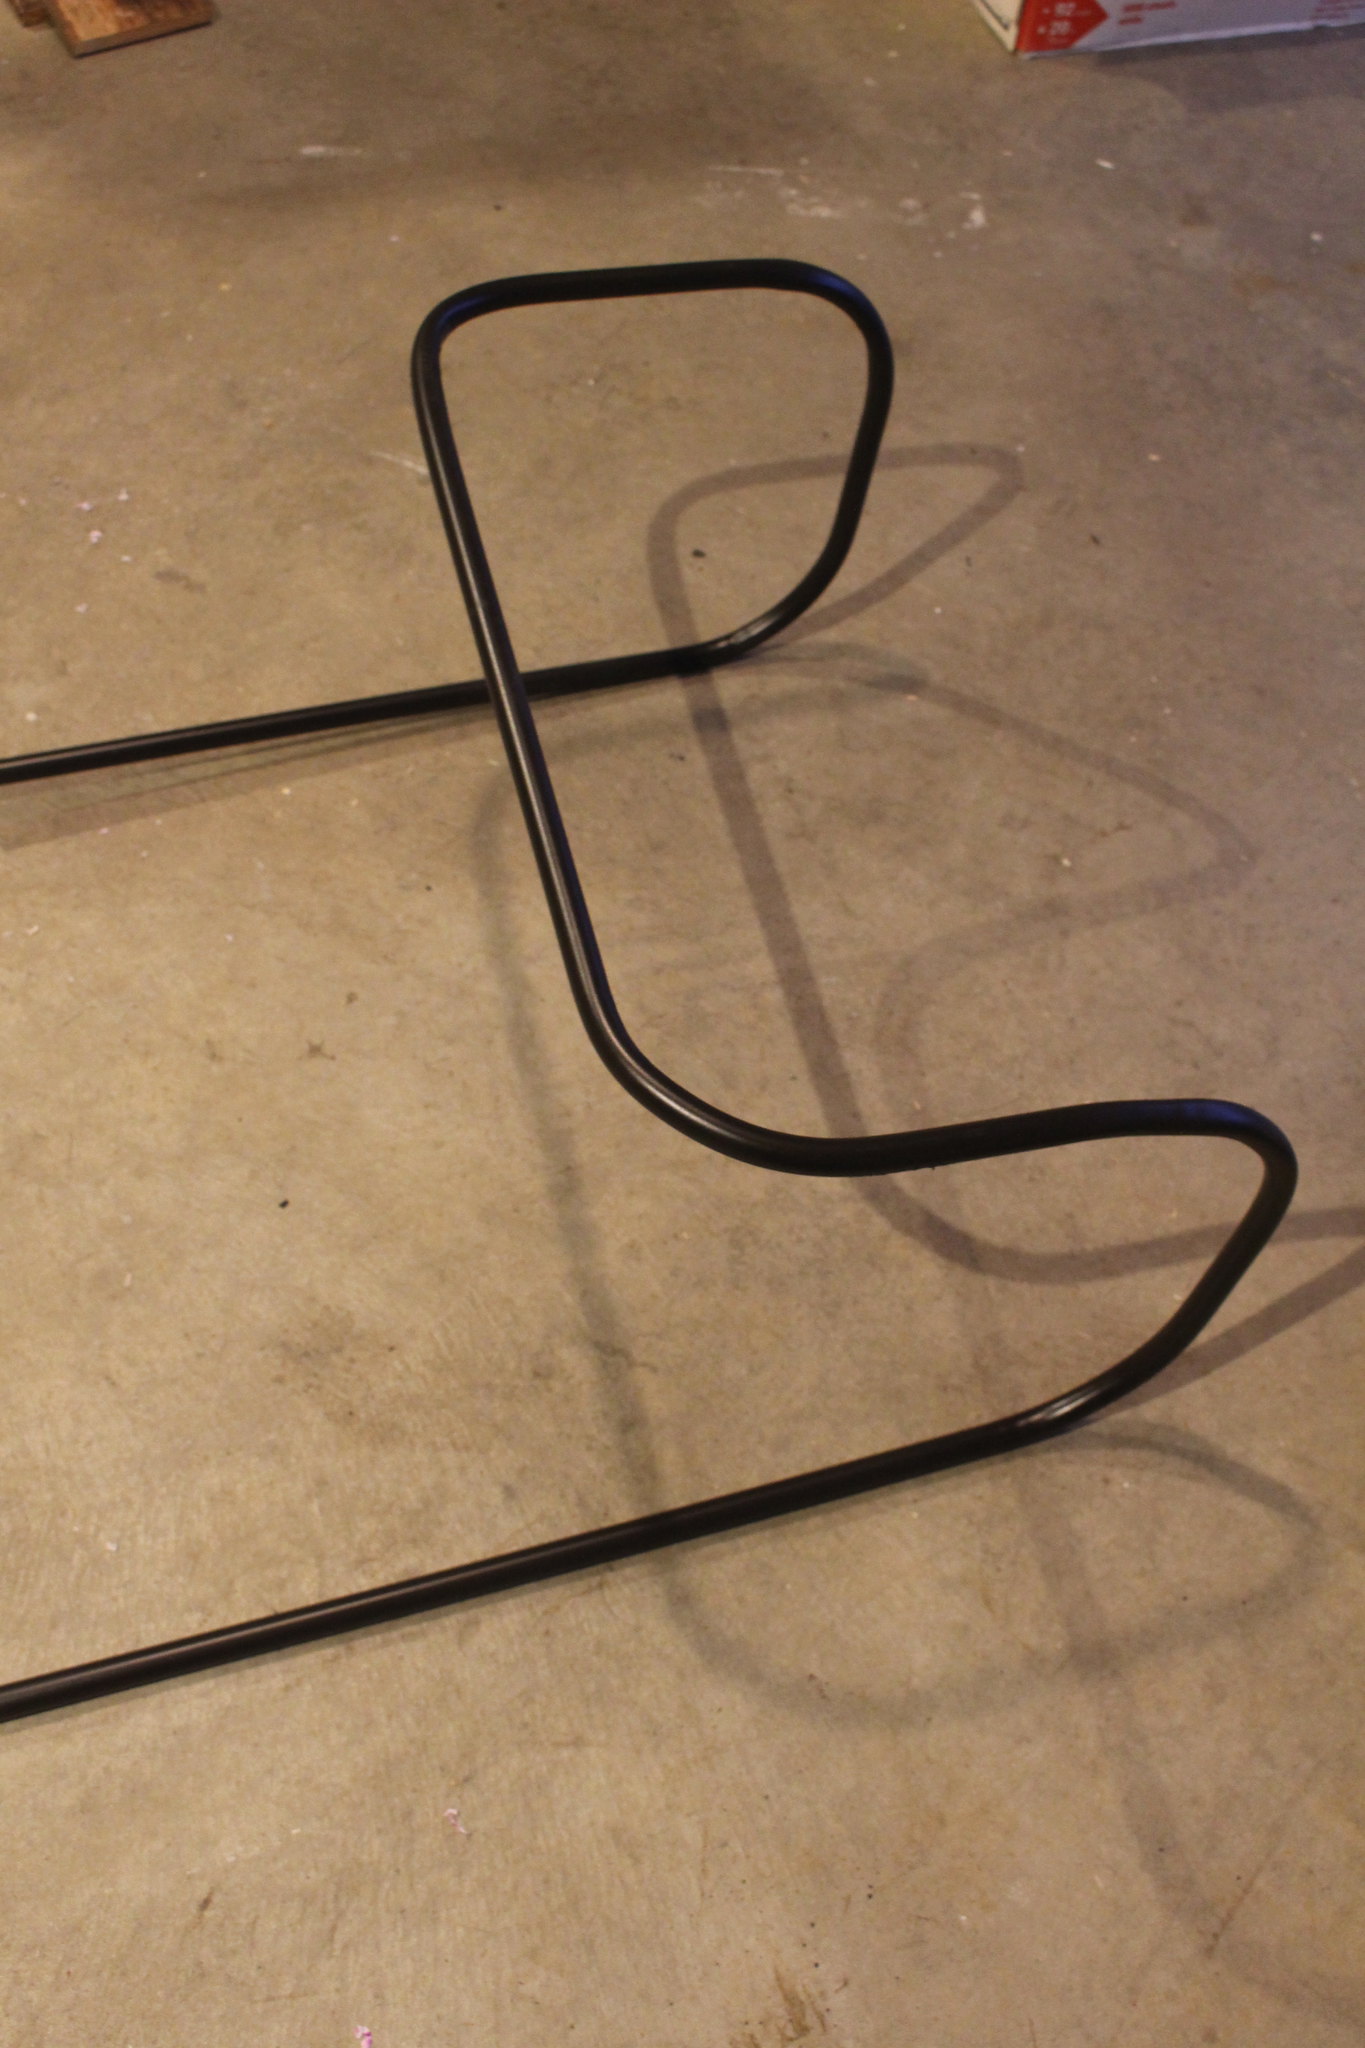
Console Table Project - October 2015Console Table Project - October 2015

To attach the conduit to the table he drilled 1/4" holes halfway through the piping in order to hide the screw heads and then drilled a 1/16" pilot hole through the other side of the pipe and into the wood. He then used 2 1/2" screws to attach the piping to the wood. 

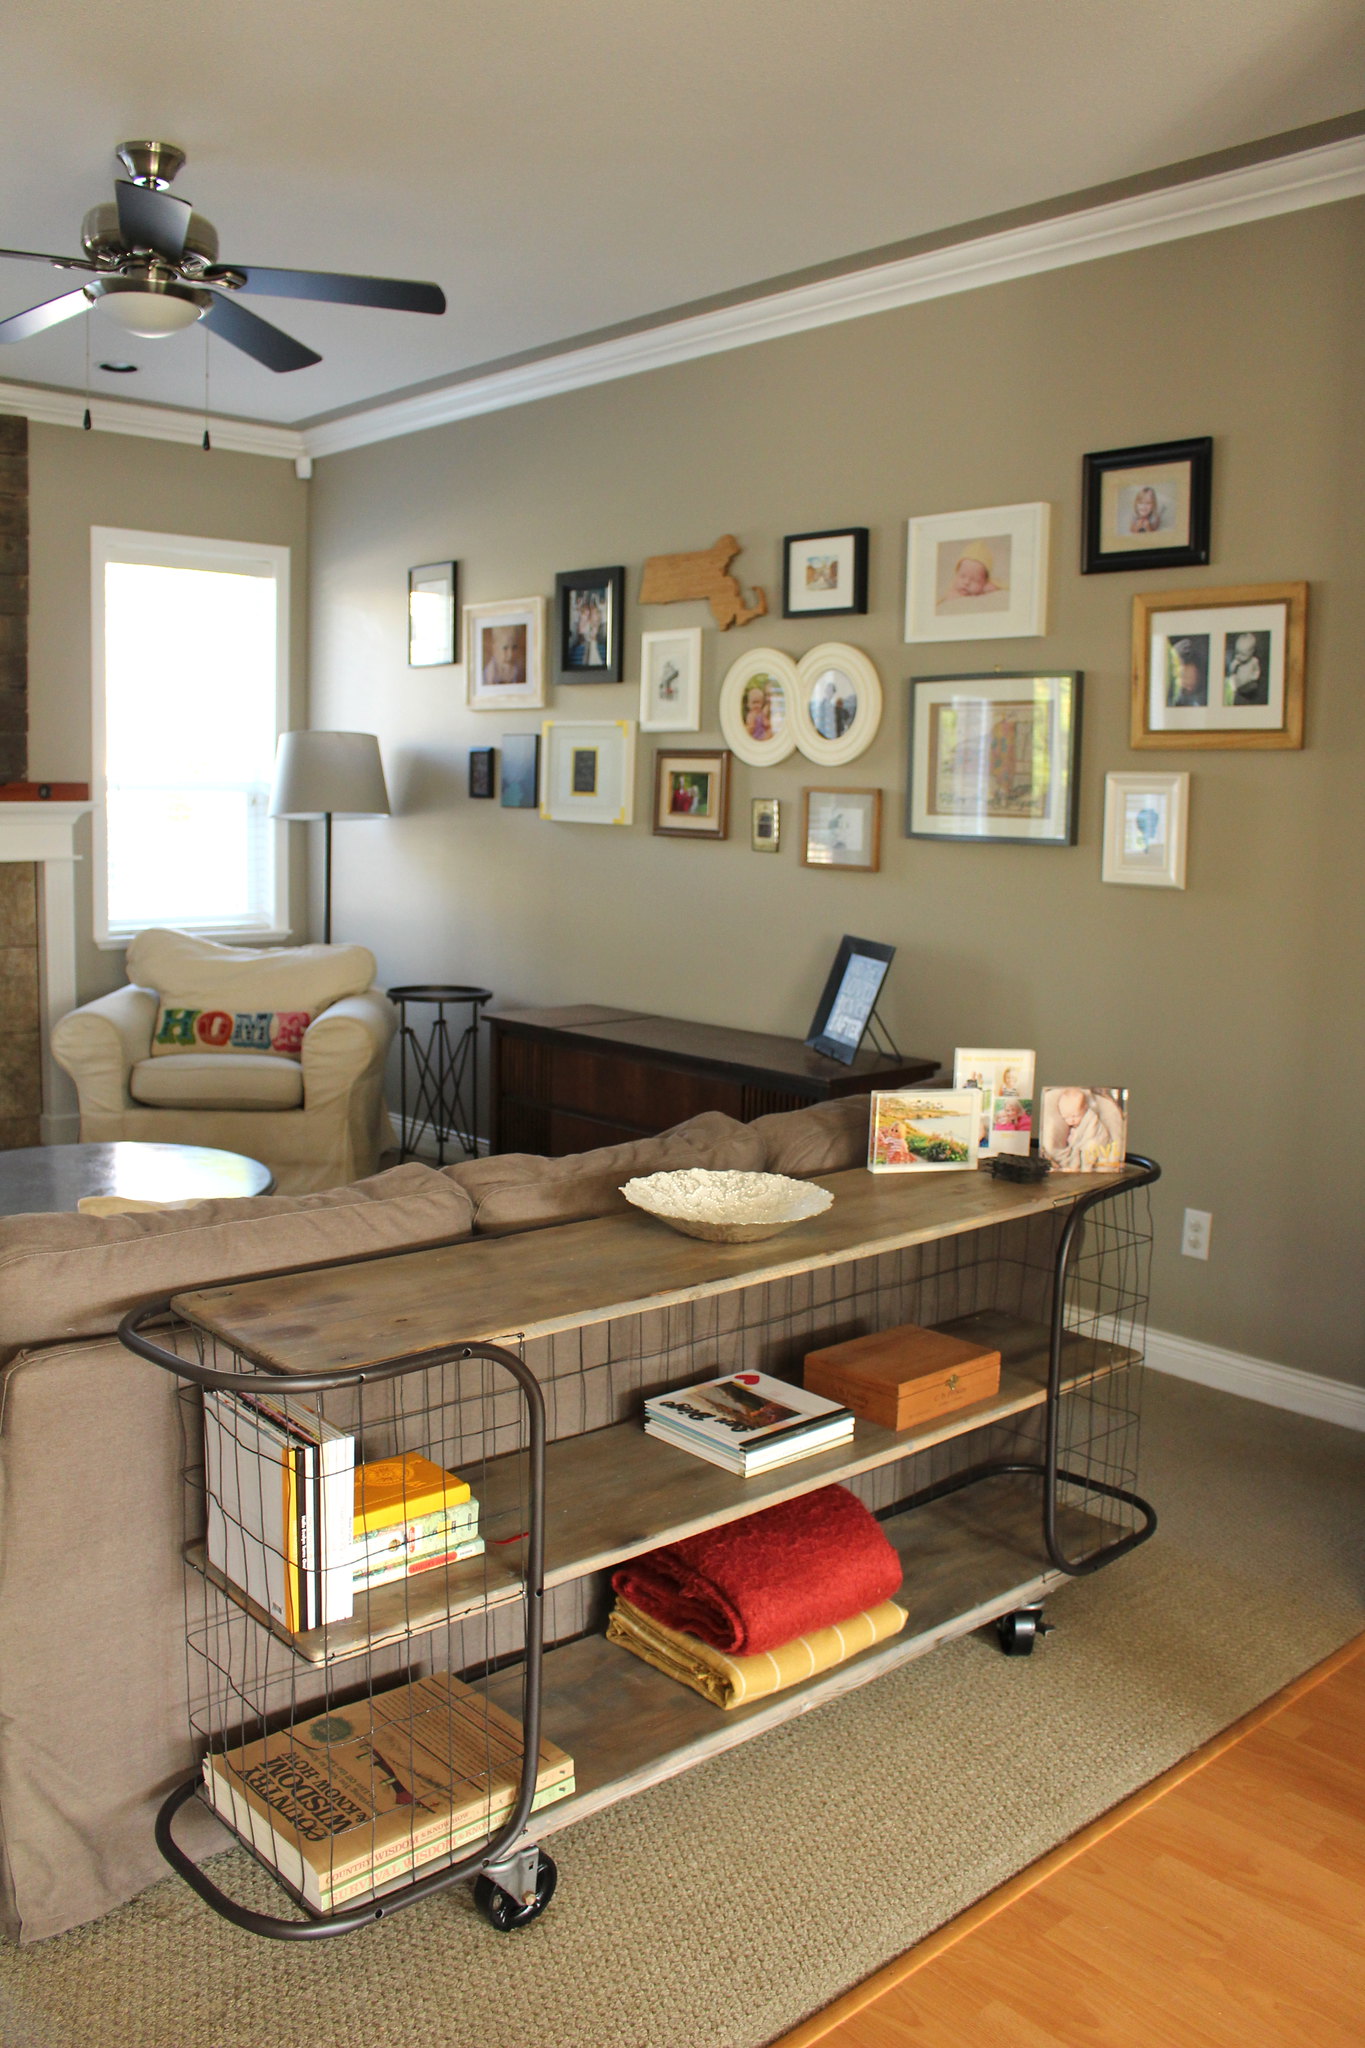
The final step was adding the heavy duty cast iron casters that we ordered from Caster Connection. He screwed the castors to some  6" x 3/4" x 4'-4" aged scrap wood that he had, and then screwed that wood to the bottom shelf... and we now have this table!
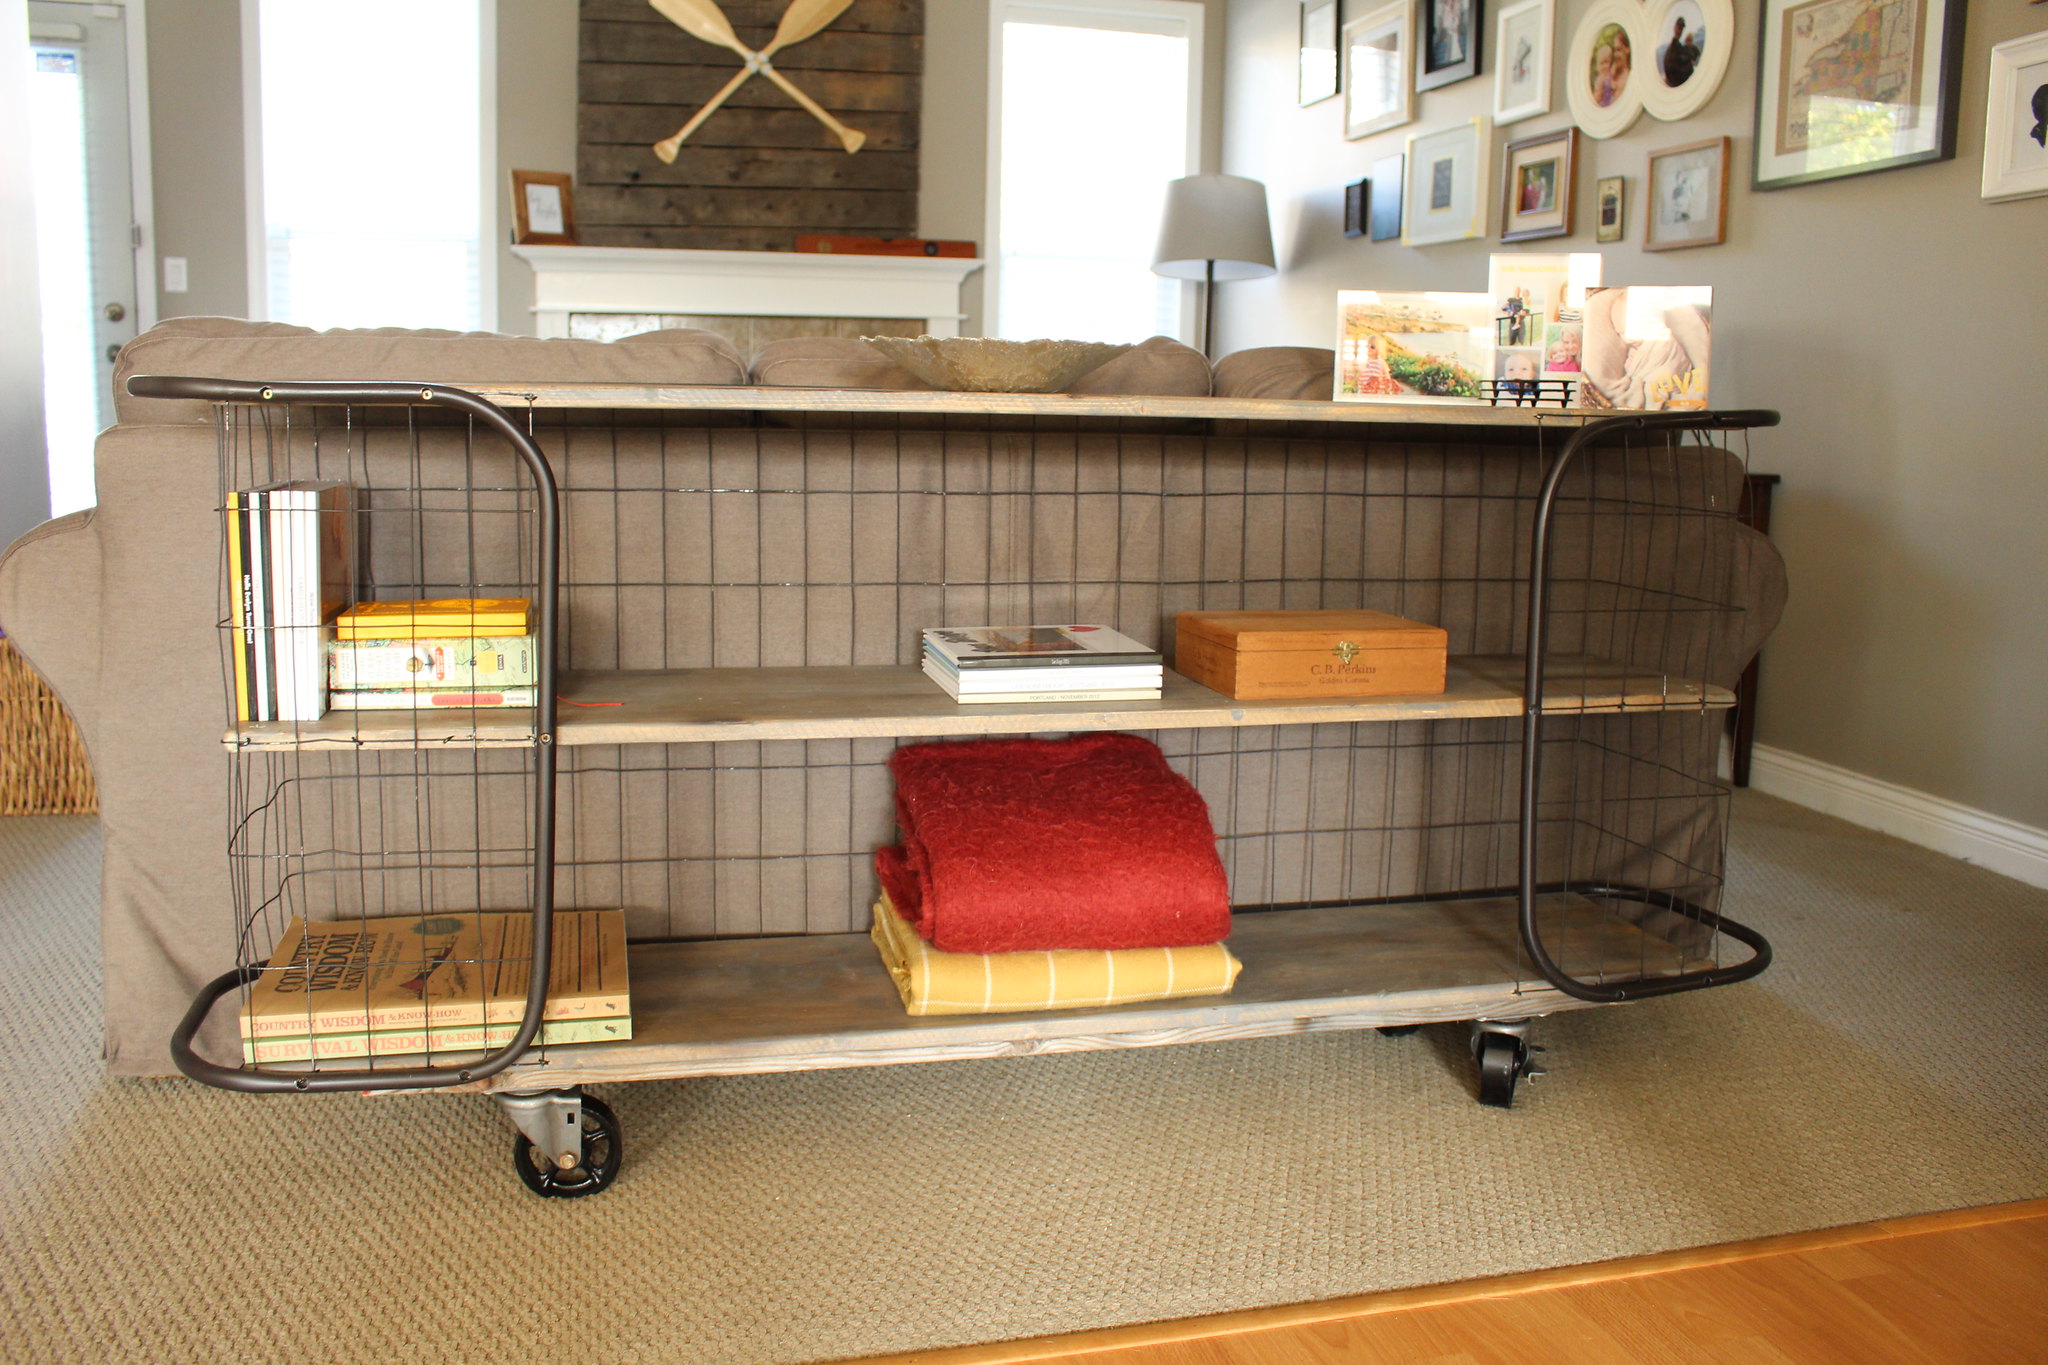
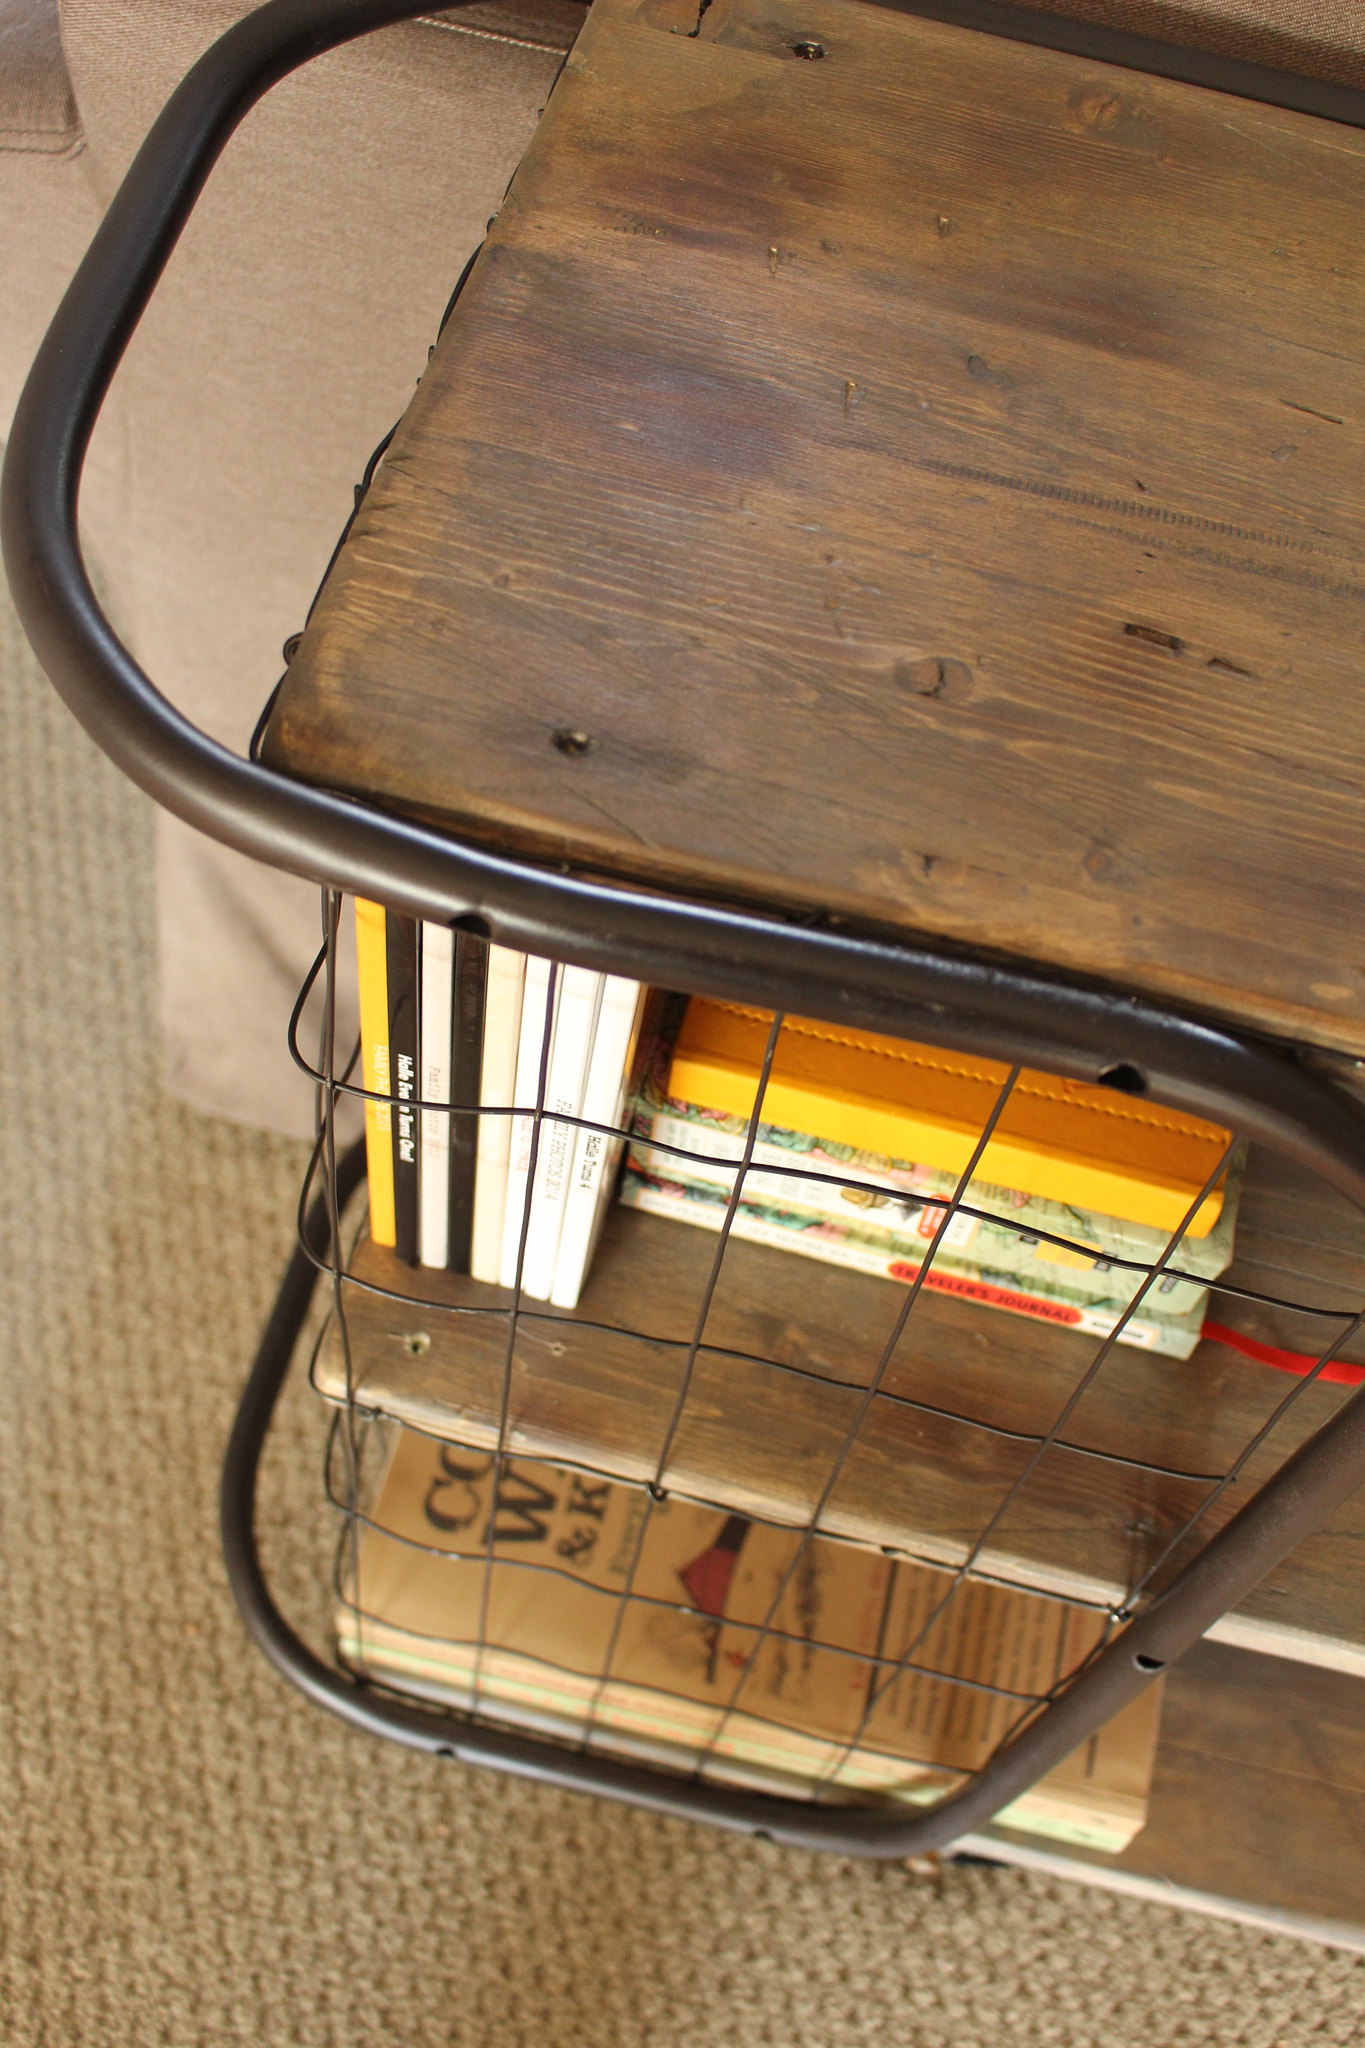
Console Table Project - October 2015

Console Table Project - October 2015

Console Table Project - October 2015Console Table Project - October 2015

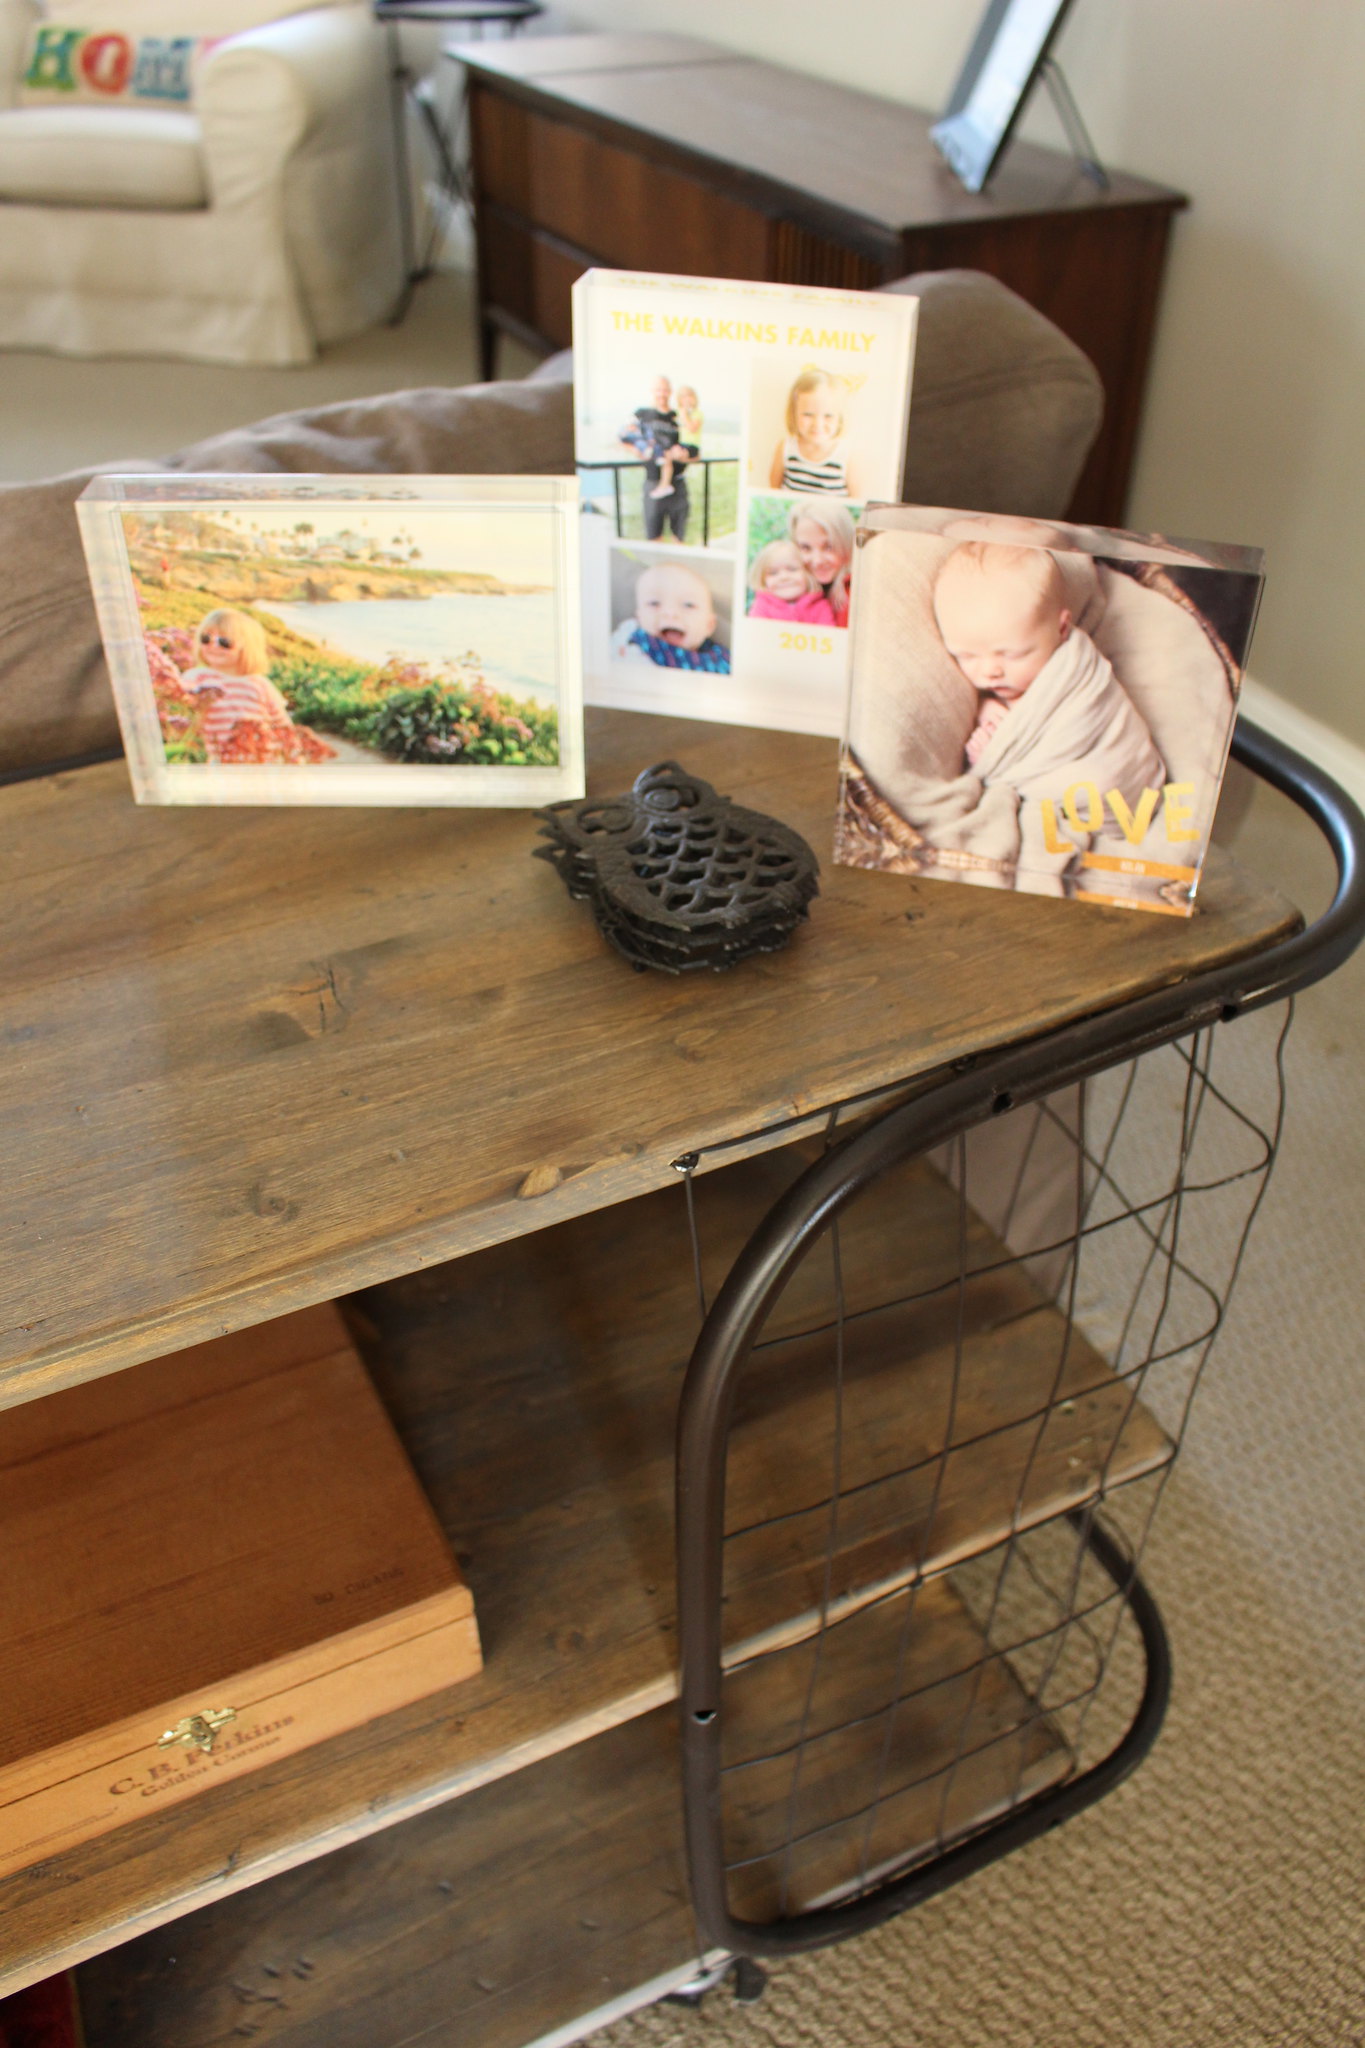
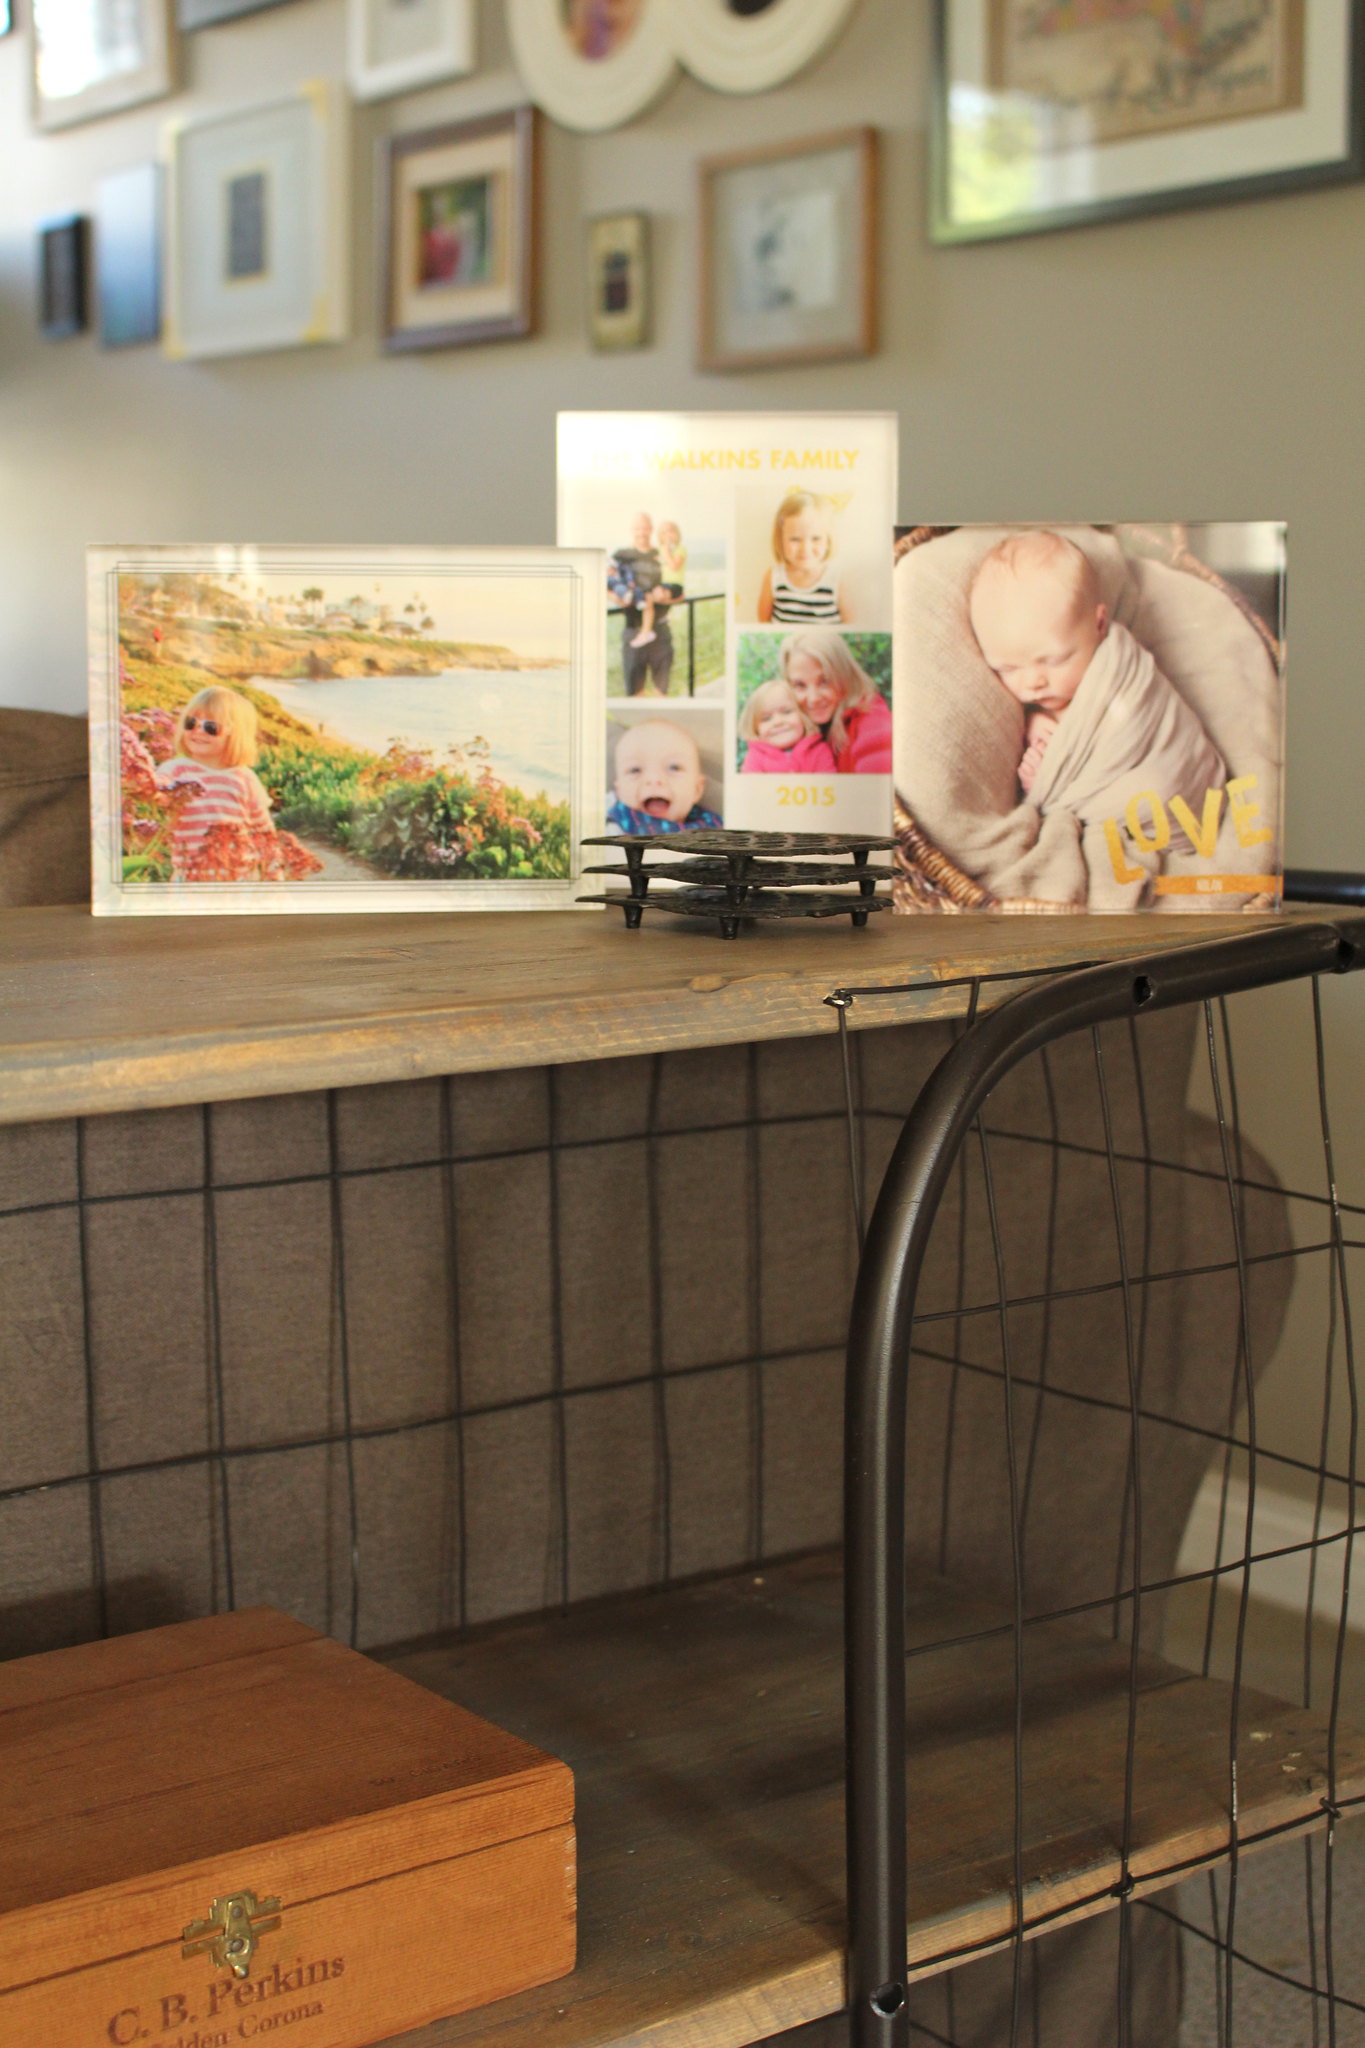
This is the perfect spot for my vintage owl trivets, as well as our new Acrylic Photo Blocks from Tiny Prints. I love them because they are such a beautiful and different way to display some of our favourite photos and memories! 
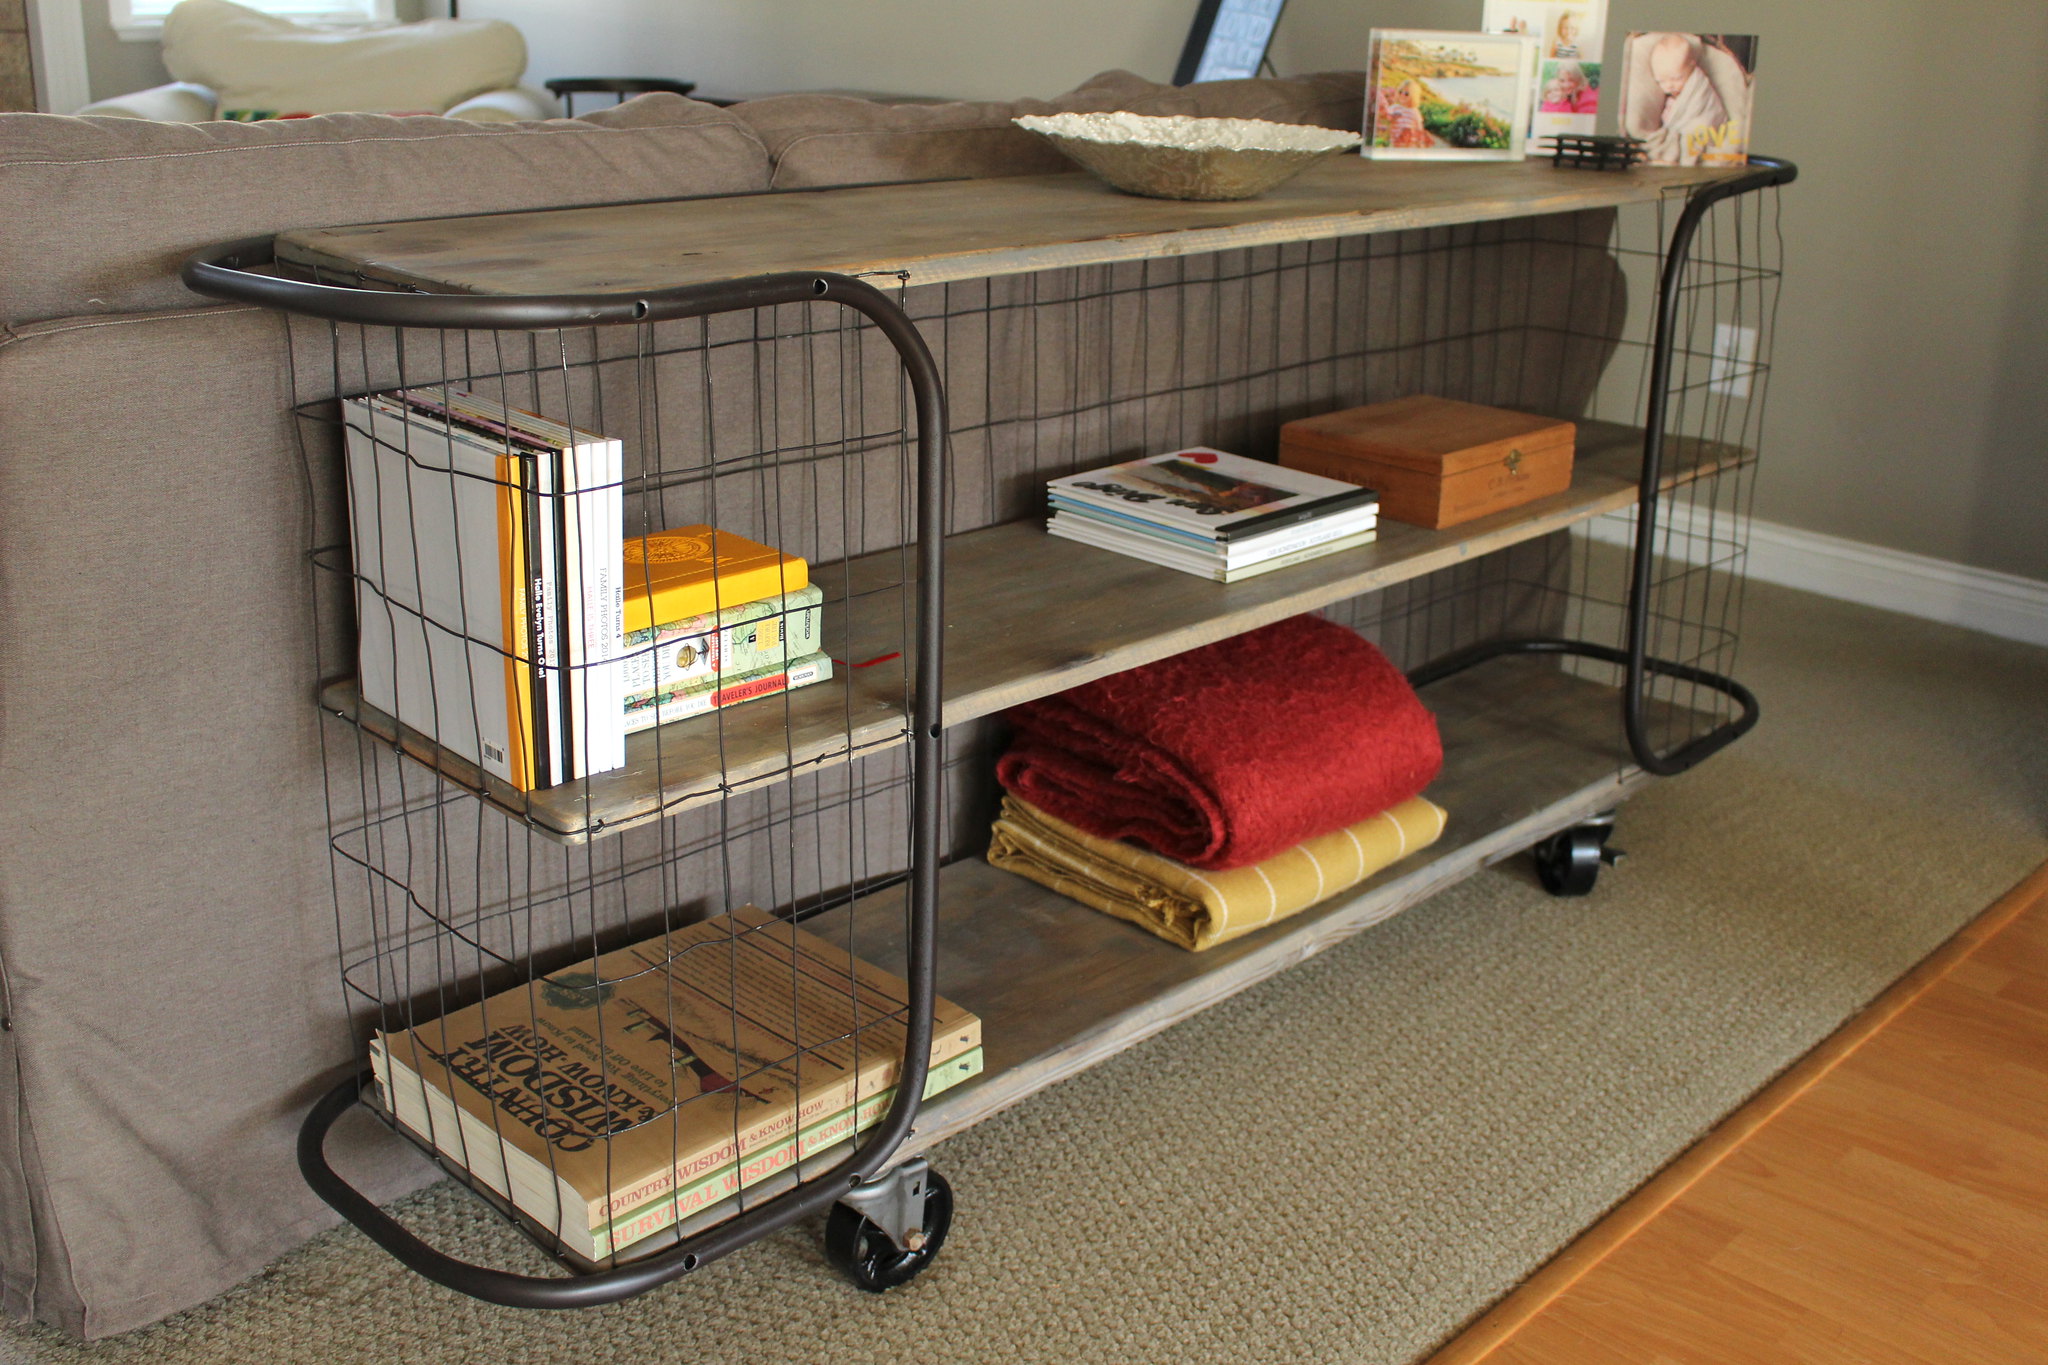
Console Table Project - October 2015

Console Table Project - October 2015

Though I would like to build a blanket ladder for this room, at the moment the bottom shelf is the perfect spot to keep a couple of my favourite throws from Penney & Company.
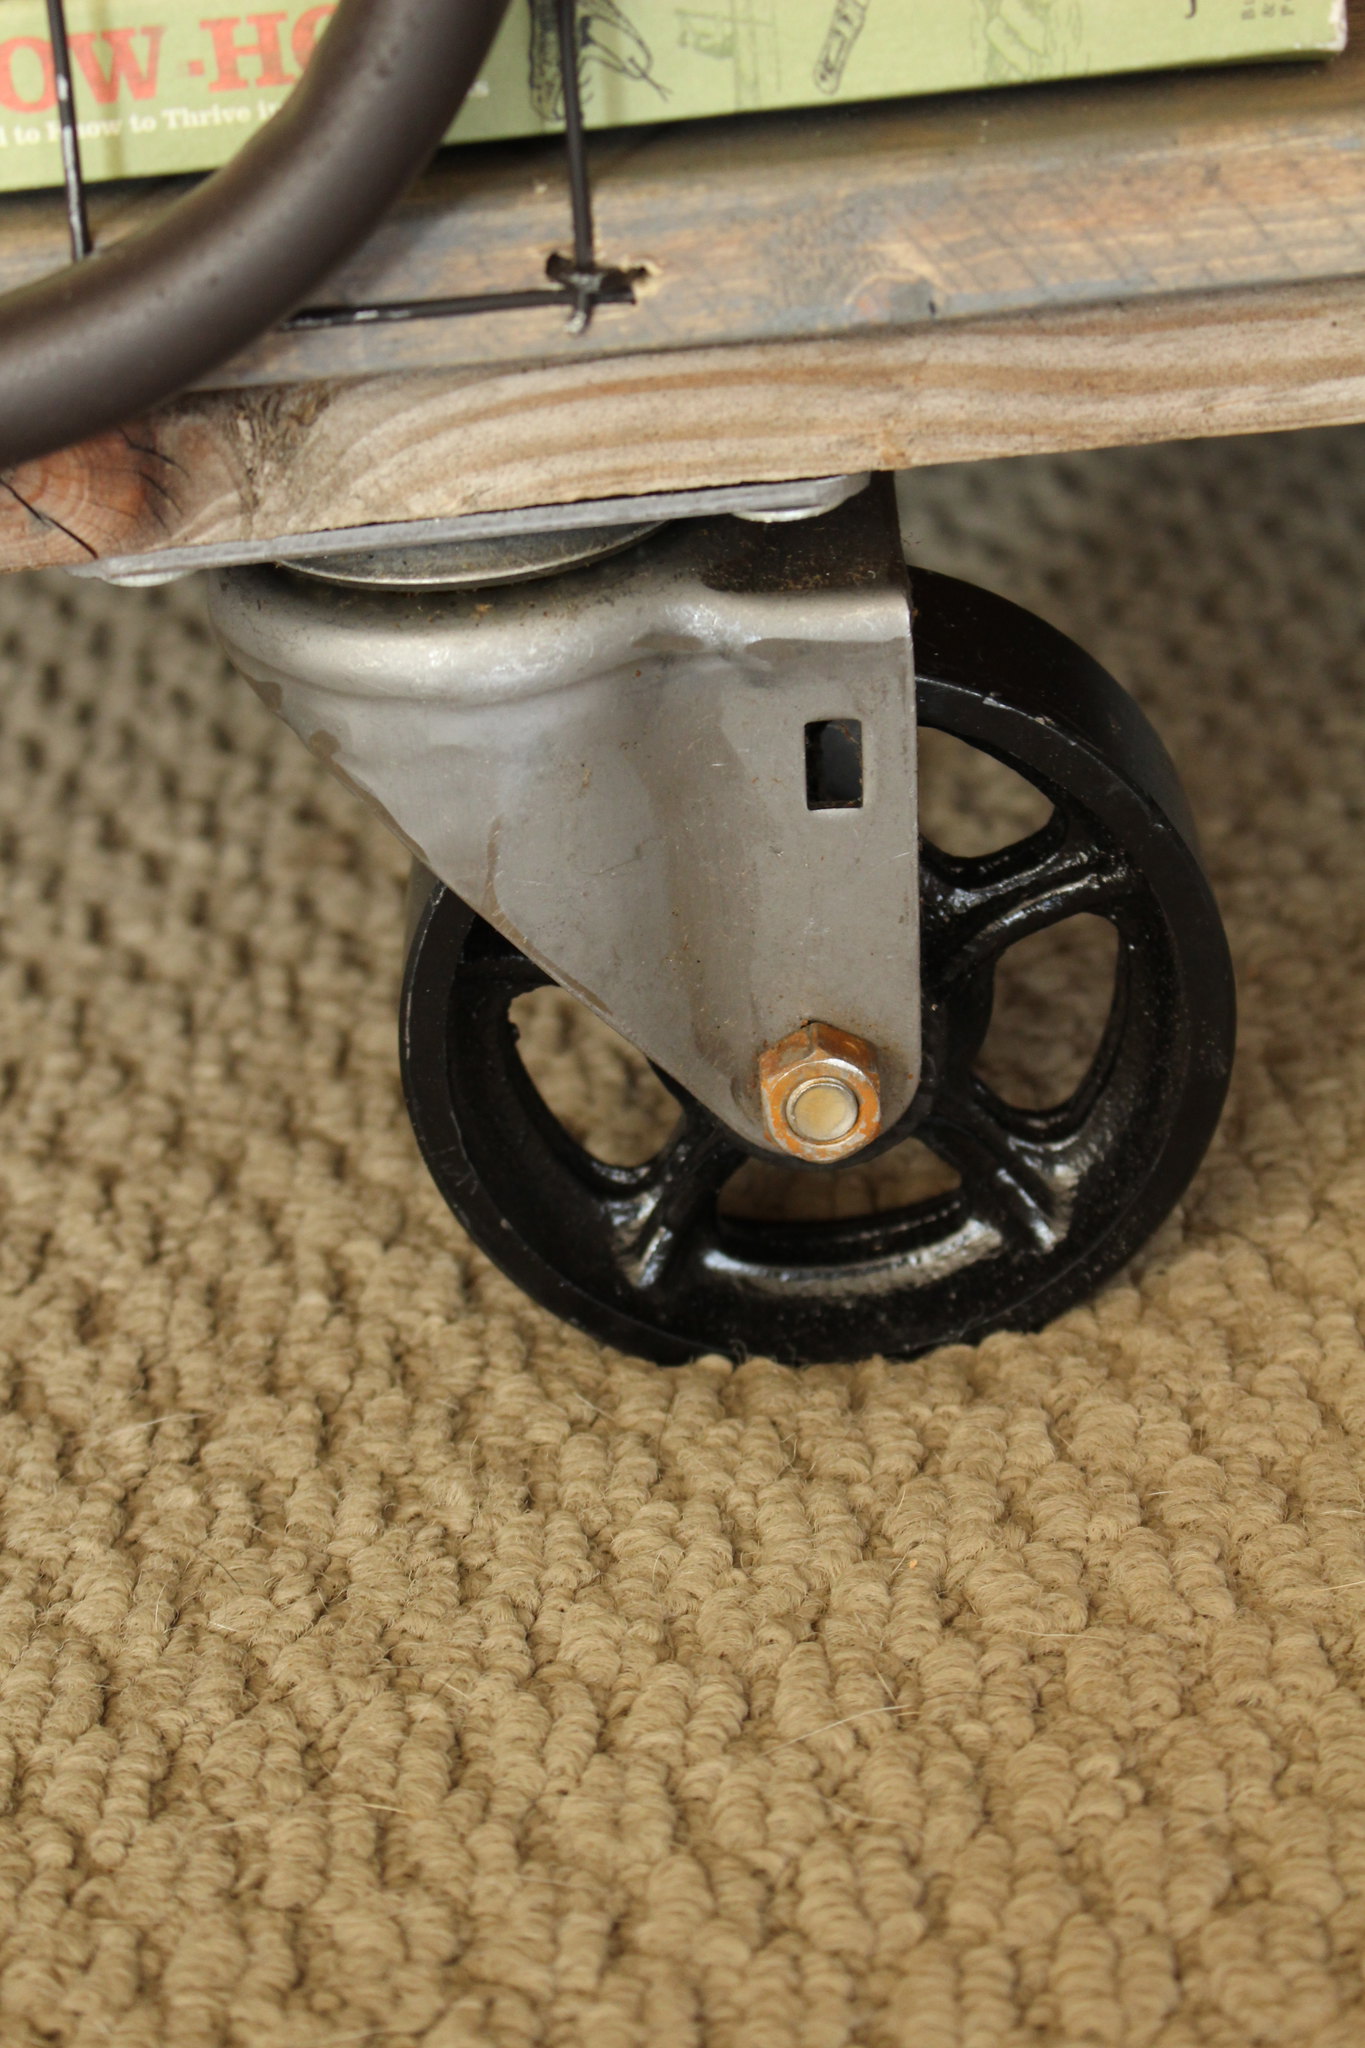
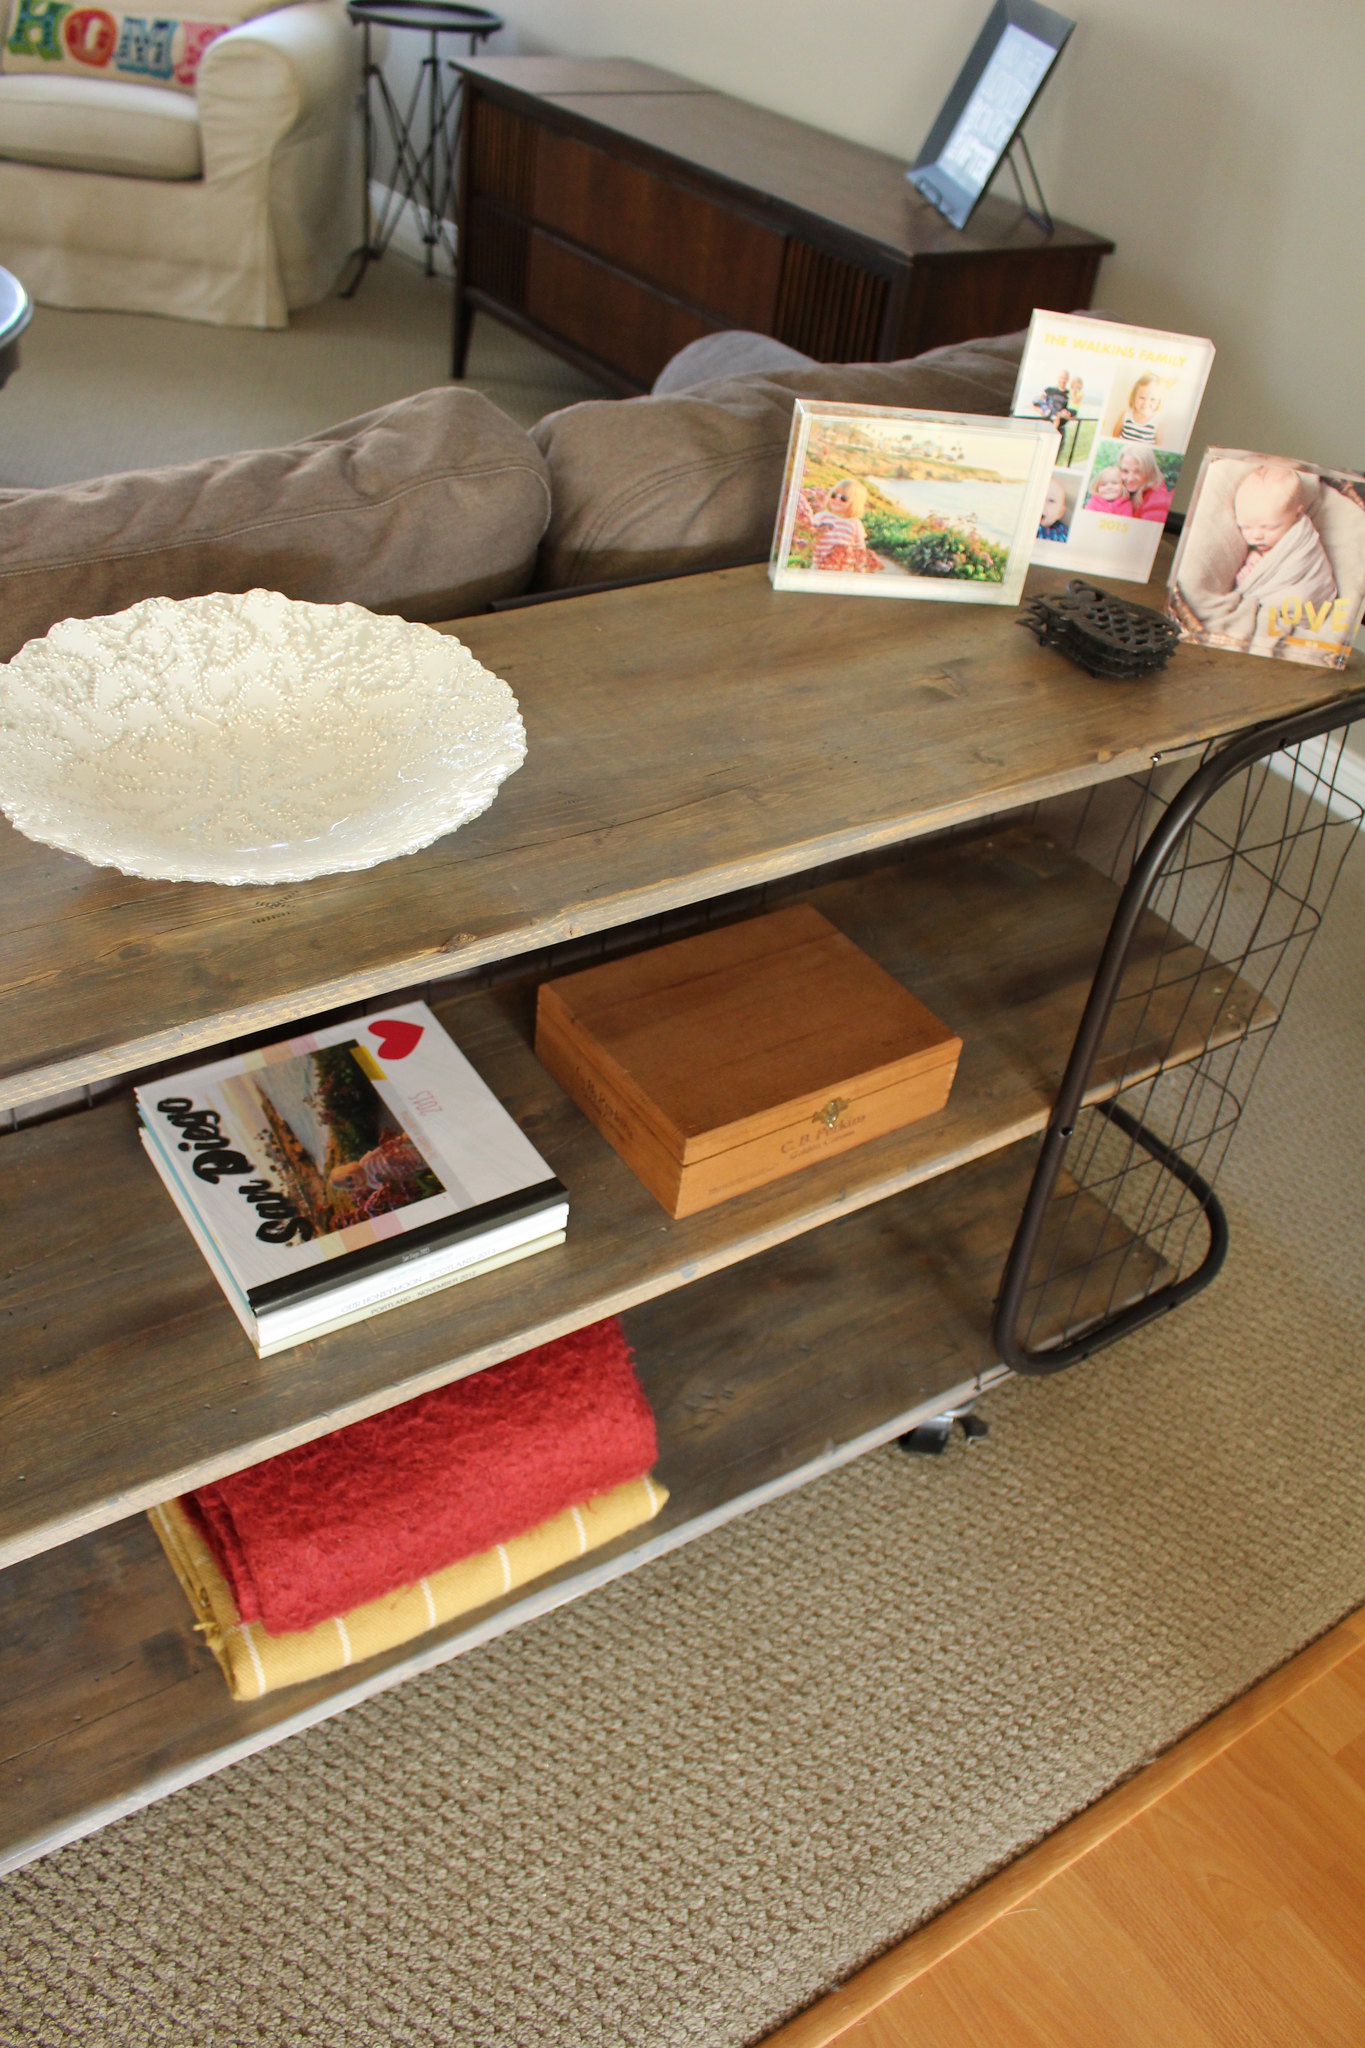
Console Table Project - October 2015Console Table Project - October 2015

I'm so in love with this table and thrilled that we decided to challenge ourselves to work with more than just wood to create a new piece for our home. Yes, B did the constructing but we collaborated on how to age our boards and what products to use for the look we wanted - we do make a pretty good team, if I do say so myself.

Have you been working on anything new that challenges you to think outside the box? Or maybe you've just acquired a really great piece of furniture that has made you look at your home in a new way!? We'd love to hear about it! 

SHARE:

Monday, November 24, 2014

Mission Seating Complete!

Well hello blog land. It has been a while, and I've honestly been a little torn on whether I miss blogging on not. I miss the community, but I feel like I'm still connected to a lot of those people on other social media networks. I don't miss the pressure I used to feel to constantly be putting together quality, inspirational content. It's not always easy to come up with something that is worth blogging about these days. I am sure a lot of you can relate to that! Honestly, today I was supposed to be taking part in a really awesome Canadian Bloggers Christmas Home Tour, but we just weren't in a place to share anything really fabulous and inspirational from around here, and now I feel like I've let down a bunch of really awesome bloggers. For that I feel awful.

Today though, I FINALLY have something worth sharing and there is more coming soon! We're finally crossing some big projects off of our list, which is great because we are adding some more big projects to our list for the new year. For now, I'm excited to share our completed church pew in our dining room!

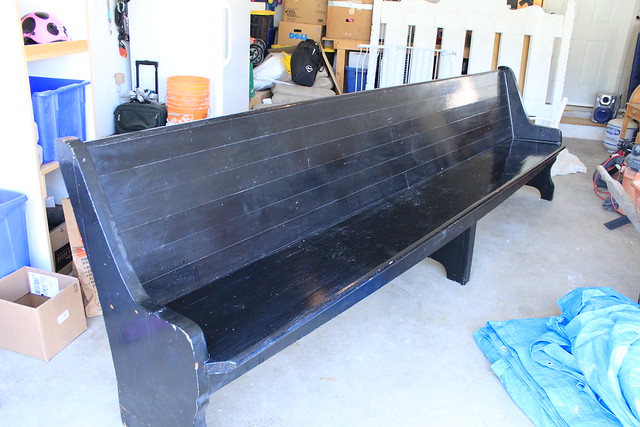
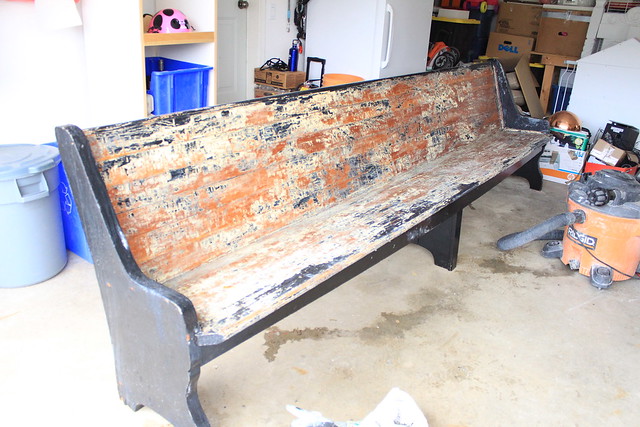
Back in May we picked up this 11 foot church pew off of Craigslist for $100...


Dining Room Pew - Before

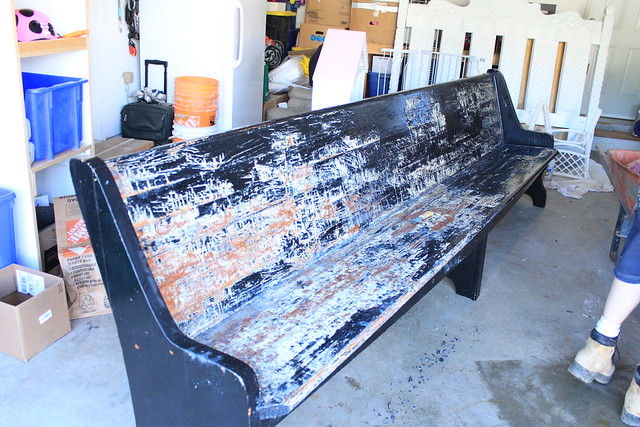
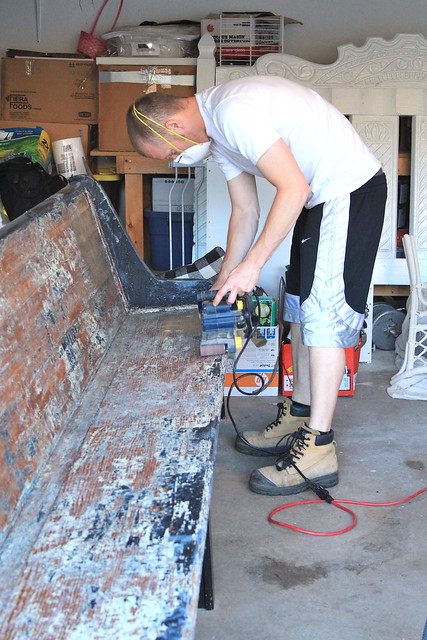
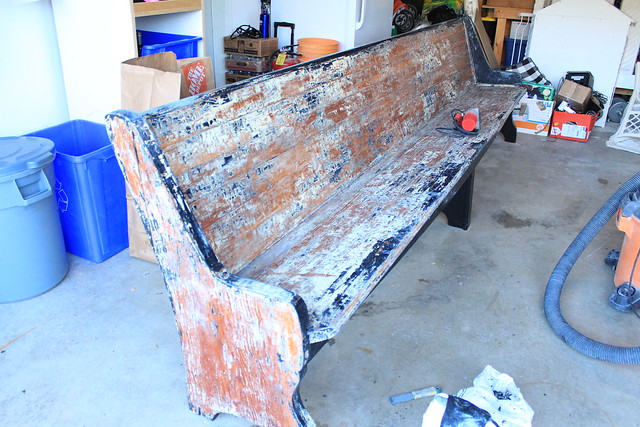
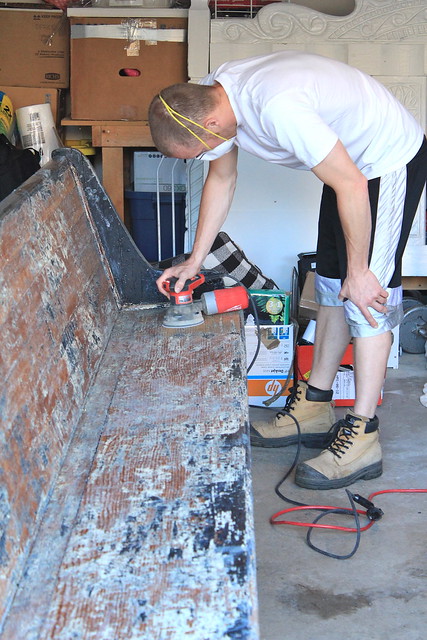
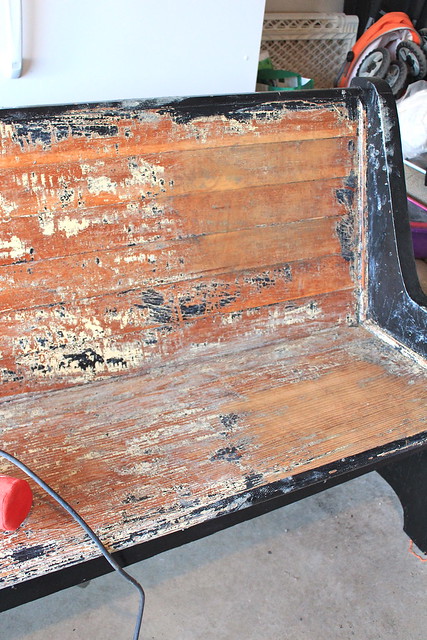
We spent a lot of time in the spring and summer just trying to strip and sand all of that glossy black paint off. It was truly a labour of love...

Dining Room Pew - Stripping

Church Pew

Church PewChurch Pew

Church Pew

Church Pew

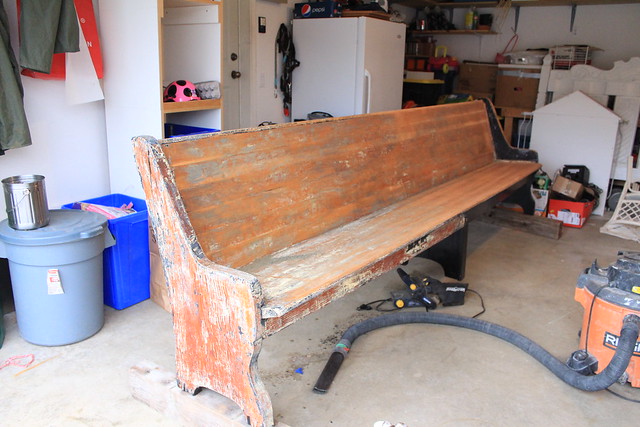
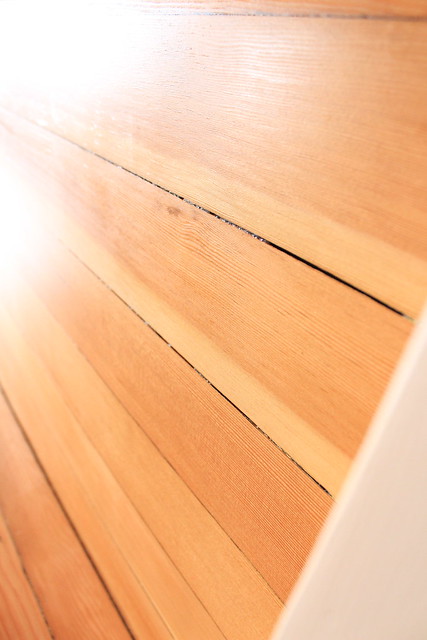
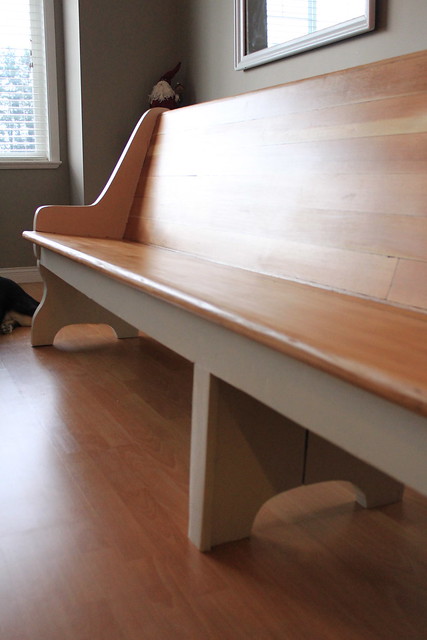
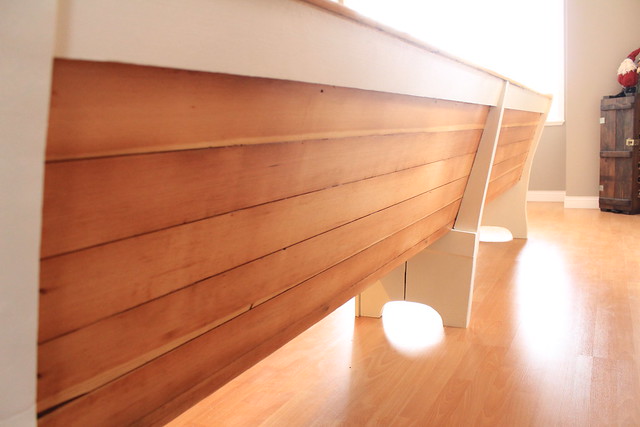
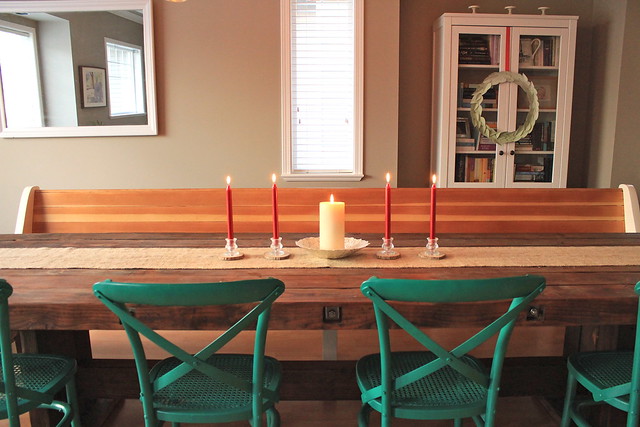
It was SO MUCH work, but we both agree now that it was totally worth it. All of that stripping and sanding revealed some gorgeous cedar on the seat back. The wood of the seat wasn't quite as nice, but still had a neat grain to it that we really liked. After some discussion we decided to clear coat the back and seat. There is still some paint stuck between the boards, and a lot of variation in the colour of the cedar since some spots needed more sanding than others, but it looks so great.

Completed Pew - Nov 22, 2014

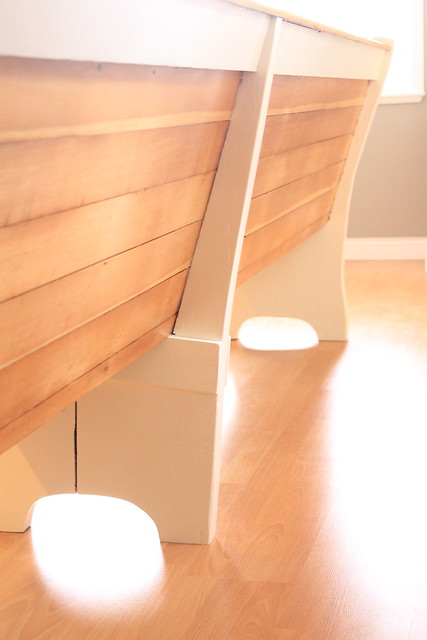
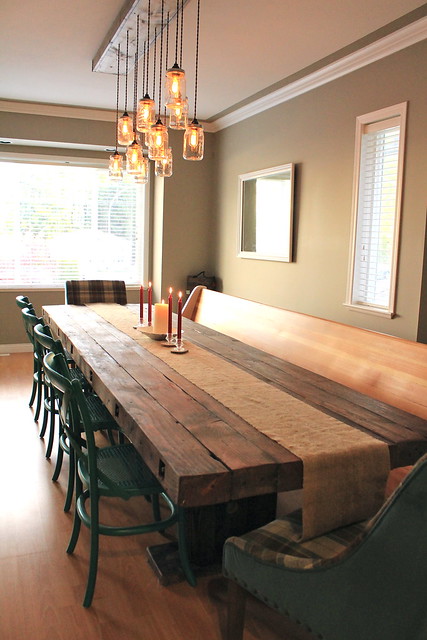
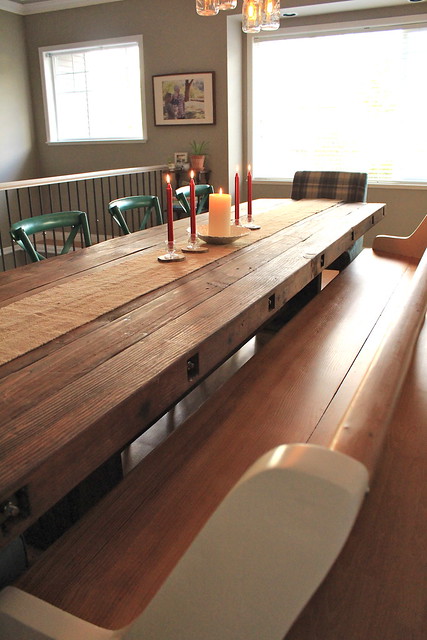
Since these wood tones differ from our dining table, we decided to break up the colour a bit and paint the arms and legs of the pew. I picked out a variety of warm white paint chips from the Home Depot and we started by comparing the chips to our head chairs in the dining room. We were able to narrow it down to 4 colours, and once we had all of the cedar stained on the bench we compared our colours again. Our final choice was called "Clean Canvas" from the Home Decorators collection and it is perfect!

Completed Pew - Nov 22, 2014

Completed Pew - Nov 22, 2014

B finished it last week and a friend came by on Friday to help him move it into the house (and up the stairs... a little awkward, but they were troopers). We'll be using it this Thursday to host our annual Thanksgiving dinner, just as we had hoped!

Completed Pew - Nov 22, 2014

Completed Pew - Nov 22, 2014

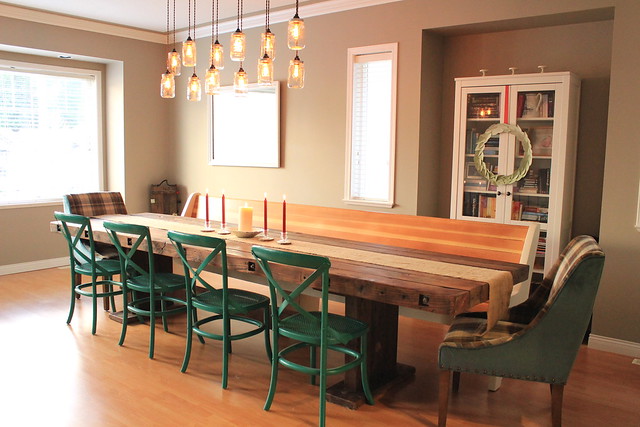
I honestly cannot believe this is the same piece of furniture that we brought home. It adds so much to our space, though we are far from finished in the dining room. At least for now we are ready to host our friends on Thursday!

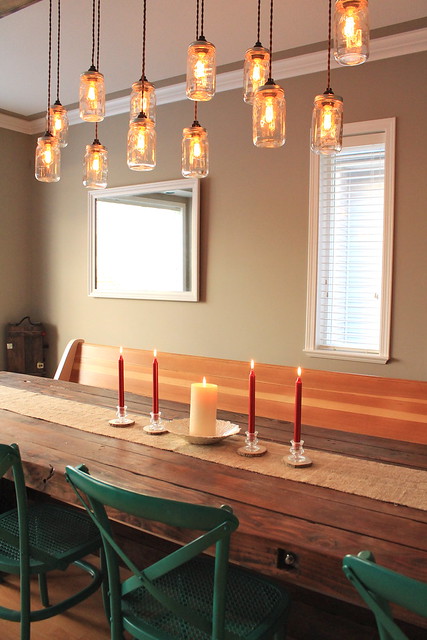
Dining Room with Pew - Nov 22 2014

Dining Room with Pew - Nov 22 2014

Dining Room with Pew - Nov 22 2014Dining Room with Pew - Nov 22 2014

Dining Room with Pew - Nov 22 2014

Dining Room with Pew - Nov 22 2014

At Halle's request we ate our pancakes at the table on Saturday morning, and all agreed that this room is exactly how we imagined it! Such a great space for a large table for gathering family and friends... or just enjoying a yummy Saturday breakfast together!
SHARE:

Monday, June 9, 2014

I've Been Benched

First off, I need to thank everyone for their input on my last post. There were some really great suggestions, including one that has really started to evolve in my head... so we'll see where that goes!

Now, for an update on the pew. The last I showed you, our bench was looking like this...


Dining Room Pew - Stripping

Well, I've been a busy bee, taking every opportunity that I can to get out there and strip it clean of the two layers of paint. 

Church Pew

Church Pew

After some stripping and then letting it dry out, B went at it with a random orbital sander and a belt sander to get rid of some of the leftover paint.

Church PewChurch Pew

Church Pew

What did we discover when B hit some of the parts of the pew that had not been touched by the stripper? The paint would've come straight off really easily had we just sanded it from the start and skipped stripping completely. Yeaaaa.... so had we done that, we would've saved some money AND probably have all of the paint sanded off by now. However, as it currently sands, we still have some work ahead of us to get the rest of the paint off...

Church Pew

I am frustrated knowing that we could be in the refinishing stage already if we (read: I!) had just attempted sanding before stripping.

While sanding B also discovered that the back of our pretty pew is solid cedar - a very nice cedar, and he's intent on staining it. I on the other hand, am not completely convinced. After reading Jen's comment on my last post, I'm pretty sure I'd like to do something two toned (pulling colours from our end chairs at the dining table). Something along the lines of this pew, or this one. B and I will continue to discuss this.

So, with the progress we have made so far I am still hoping to have this project (as well as a few others I have started), completed before our house guests arrive later this month! I also believe that now that we've been in our West Coast home for over a year, I owe you some updated pictures of our spaces! Hope to start snapping some photos one space at a time once I get them cleaned up. 

Have you been working on any projects recently that seem never ending? Maybe you've had a frustrating experience with something you are trying to tackle? 
SHARE:
Related Posts with Thumbnails
© Life on Misneach Ridge
Blogger Designs by pipdig