Trending

Monday, October 5, 2015

A Copycat Sofa Table

One thing that we have always been slow to add to our home is furniture. We try to be careful when bringing in pieces and we are always very conscience of our budget. We don't really splurge on pieces, and if we know what we want, B would rather build it for us. The best part about building our own furniture is that we can always get the end result that we desire, taking away or adding details as we please, and it saves us a ton of money. Of course, when I decided that I wanted a sofa table for our family room it was time for us to flex our DIY muscles once again.

Before we began to build, I started looking at Pinterest and different big box stores for inspiration. We could've built something simple and straight forward, but I knew that I wanted something different (read not all wood), and provided us with storage space. When I found the Bleached Pine Rolling Console from West Elm, I knew that I had found our next project. It took quite a few weeks of sourcing materials and discussing plans before we started. The finally decided on the following supplies to help us build our table:

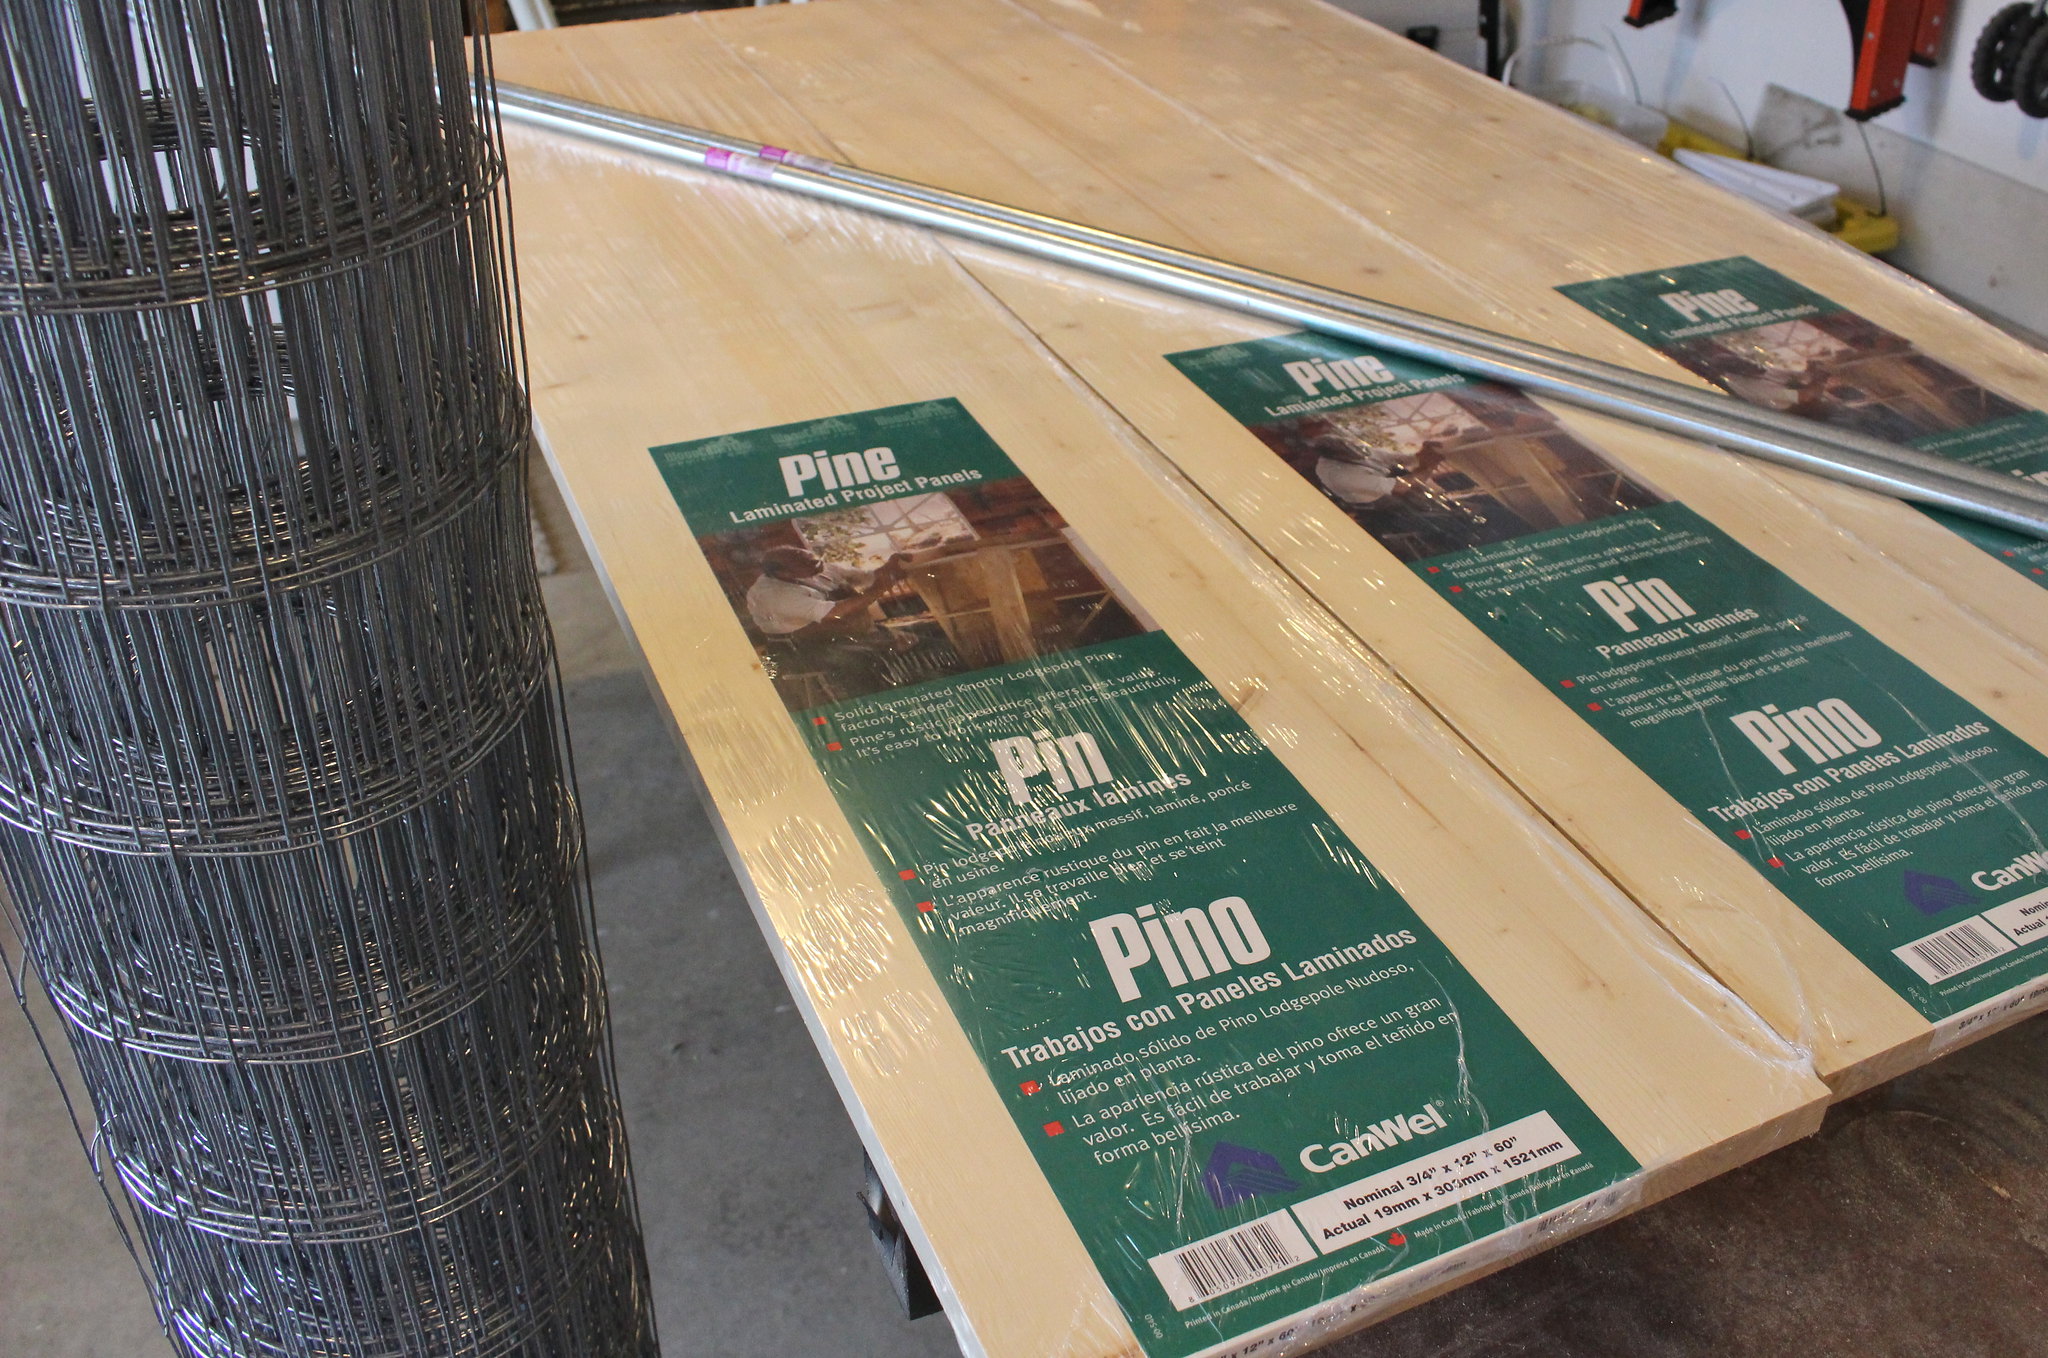
- 3 - 12" x 5' pine boards
- 2 - 10' pieces of conduit (1/2" EMT)
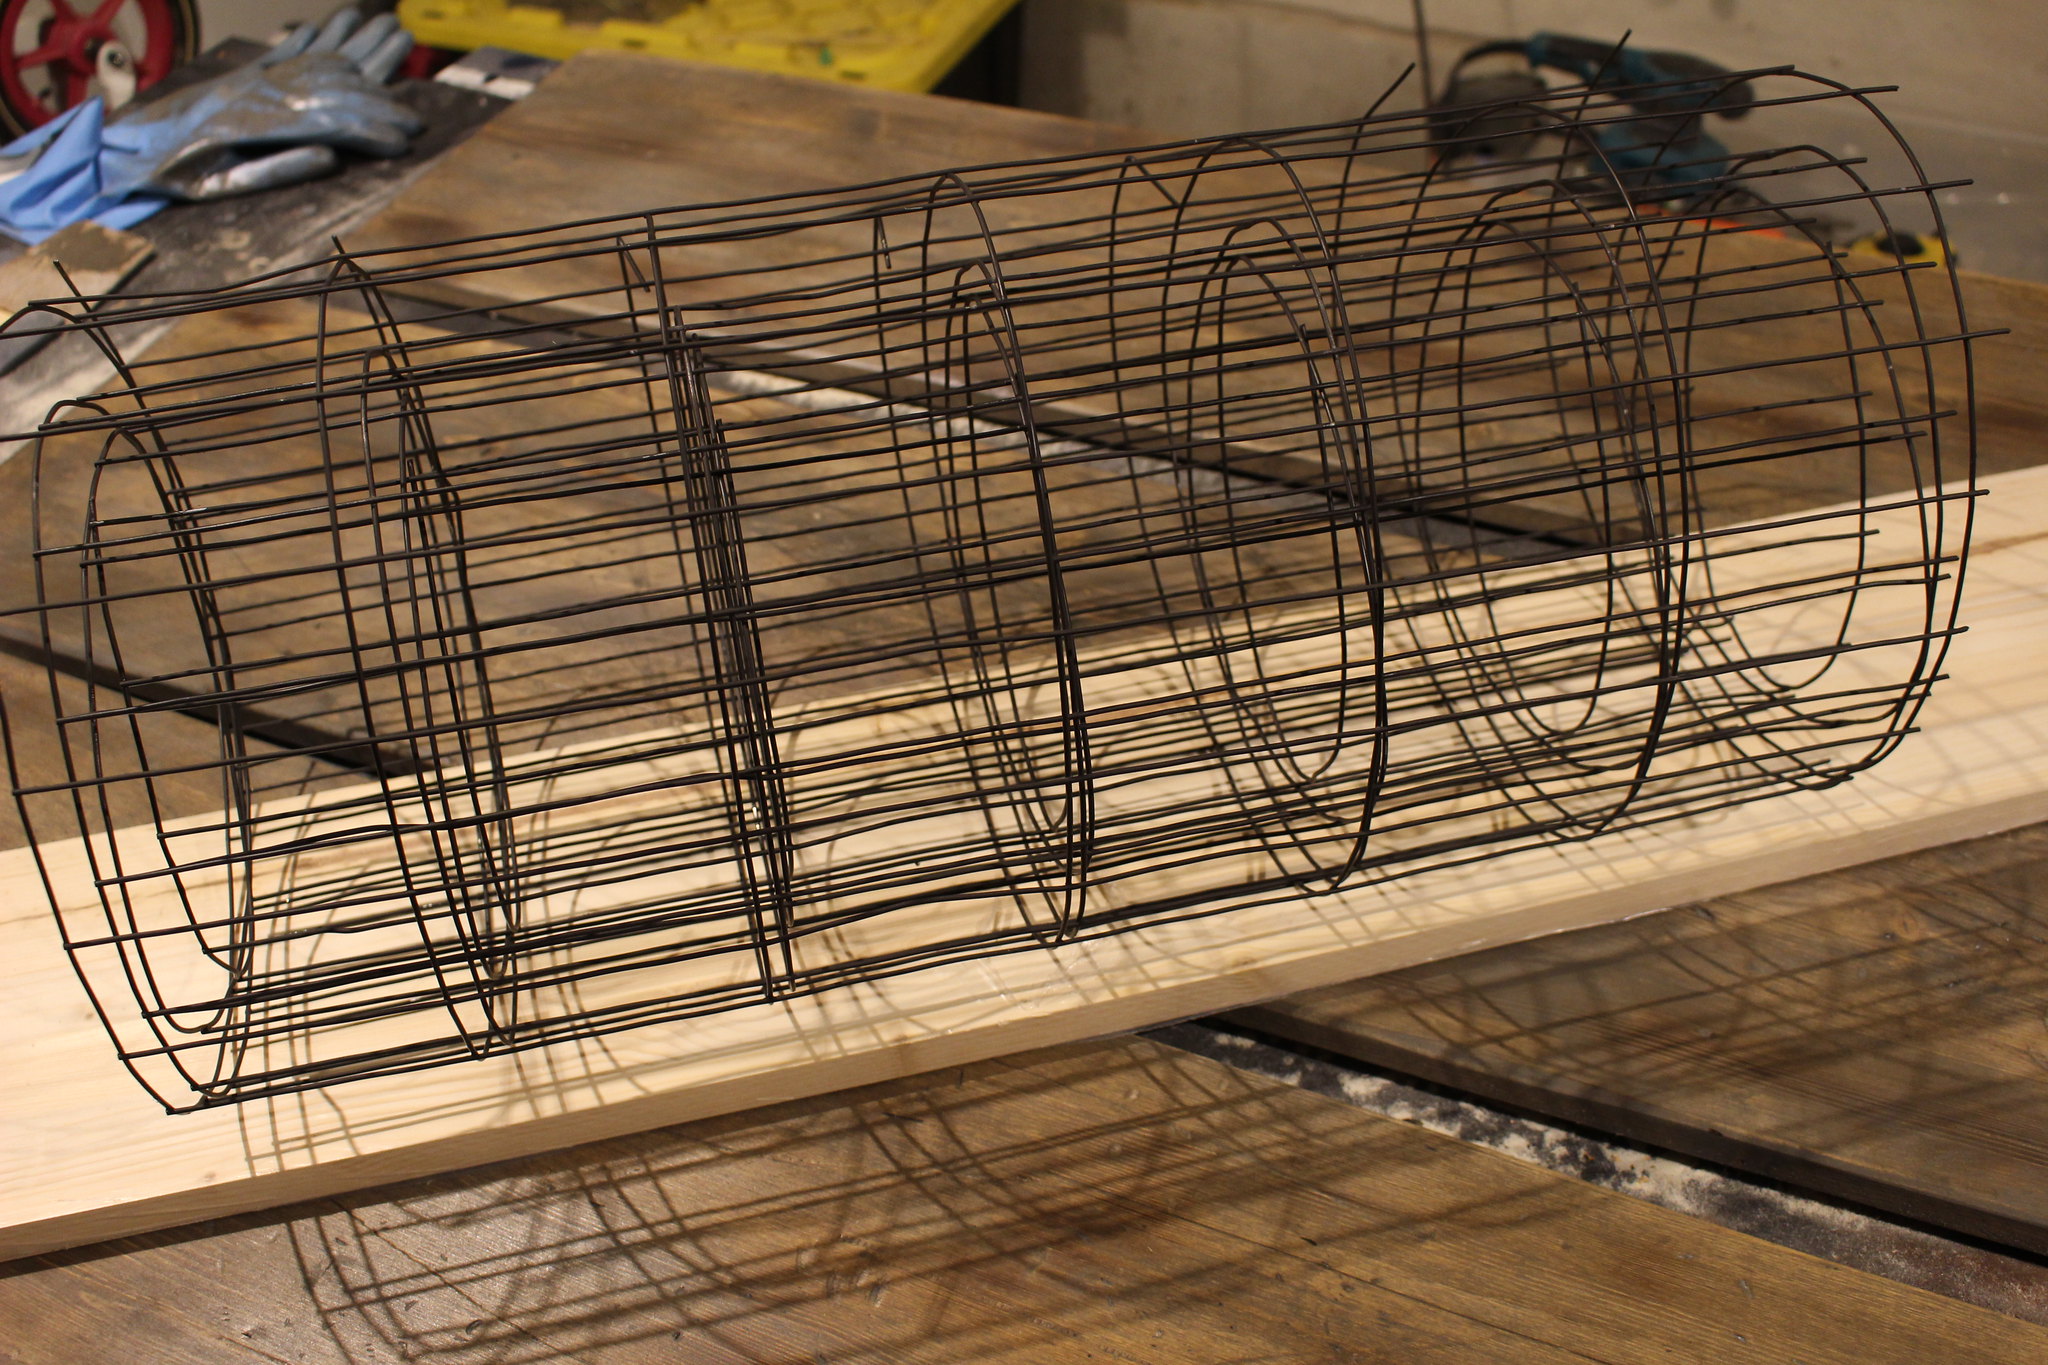
- 50' of Galvanized Wire Fencing
- 3/4" Fencing Staples
- 4 - 4 x 1 1/4 Vintage Black Cast Iron Swivel Casters (2 with brakes) (not pictured as they were still being shipped to us)


Console Table Supplies

Our plan was to build a similar looking table to West Elm's but with a smaller foot print and aged looking wood. After taking measurements, we decided the table would be 12" deep, 5' long and 2' tall (with the casters on). This would ensure the table would be only slightly shorter than the length of our couch, come up nicely to the back of it, and be deep enough to hold books and photos, without being too deep.

Console Table BuildingConsole Table Building

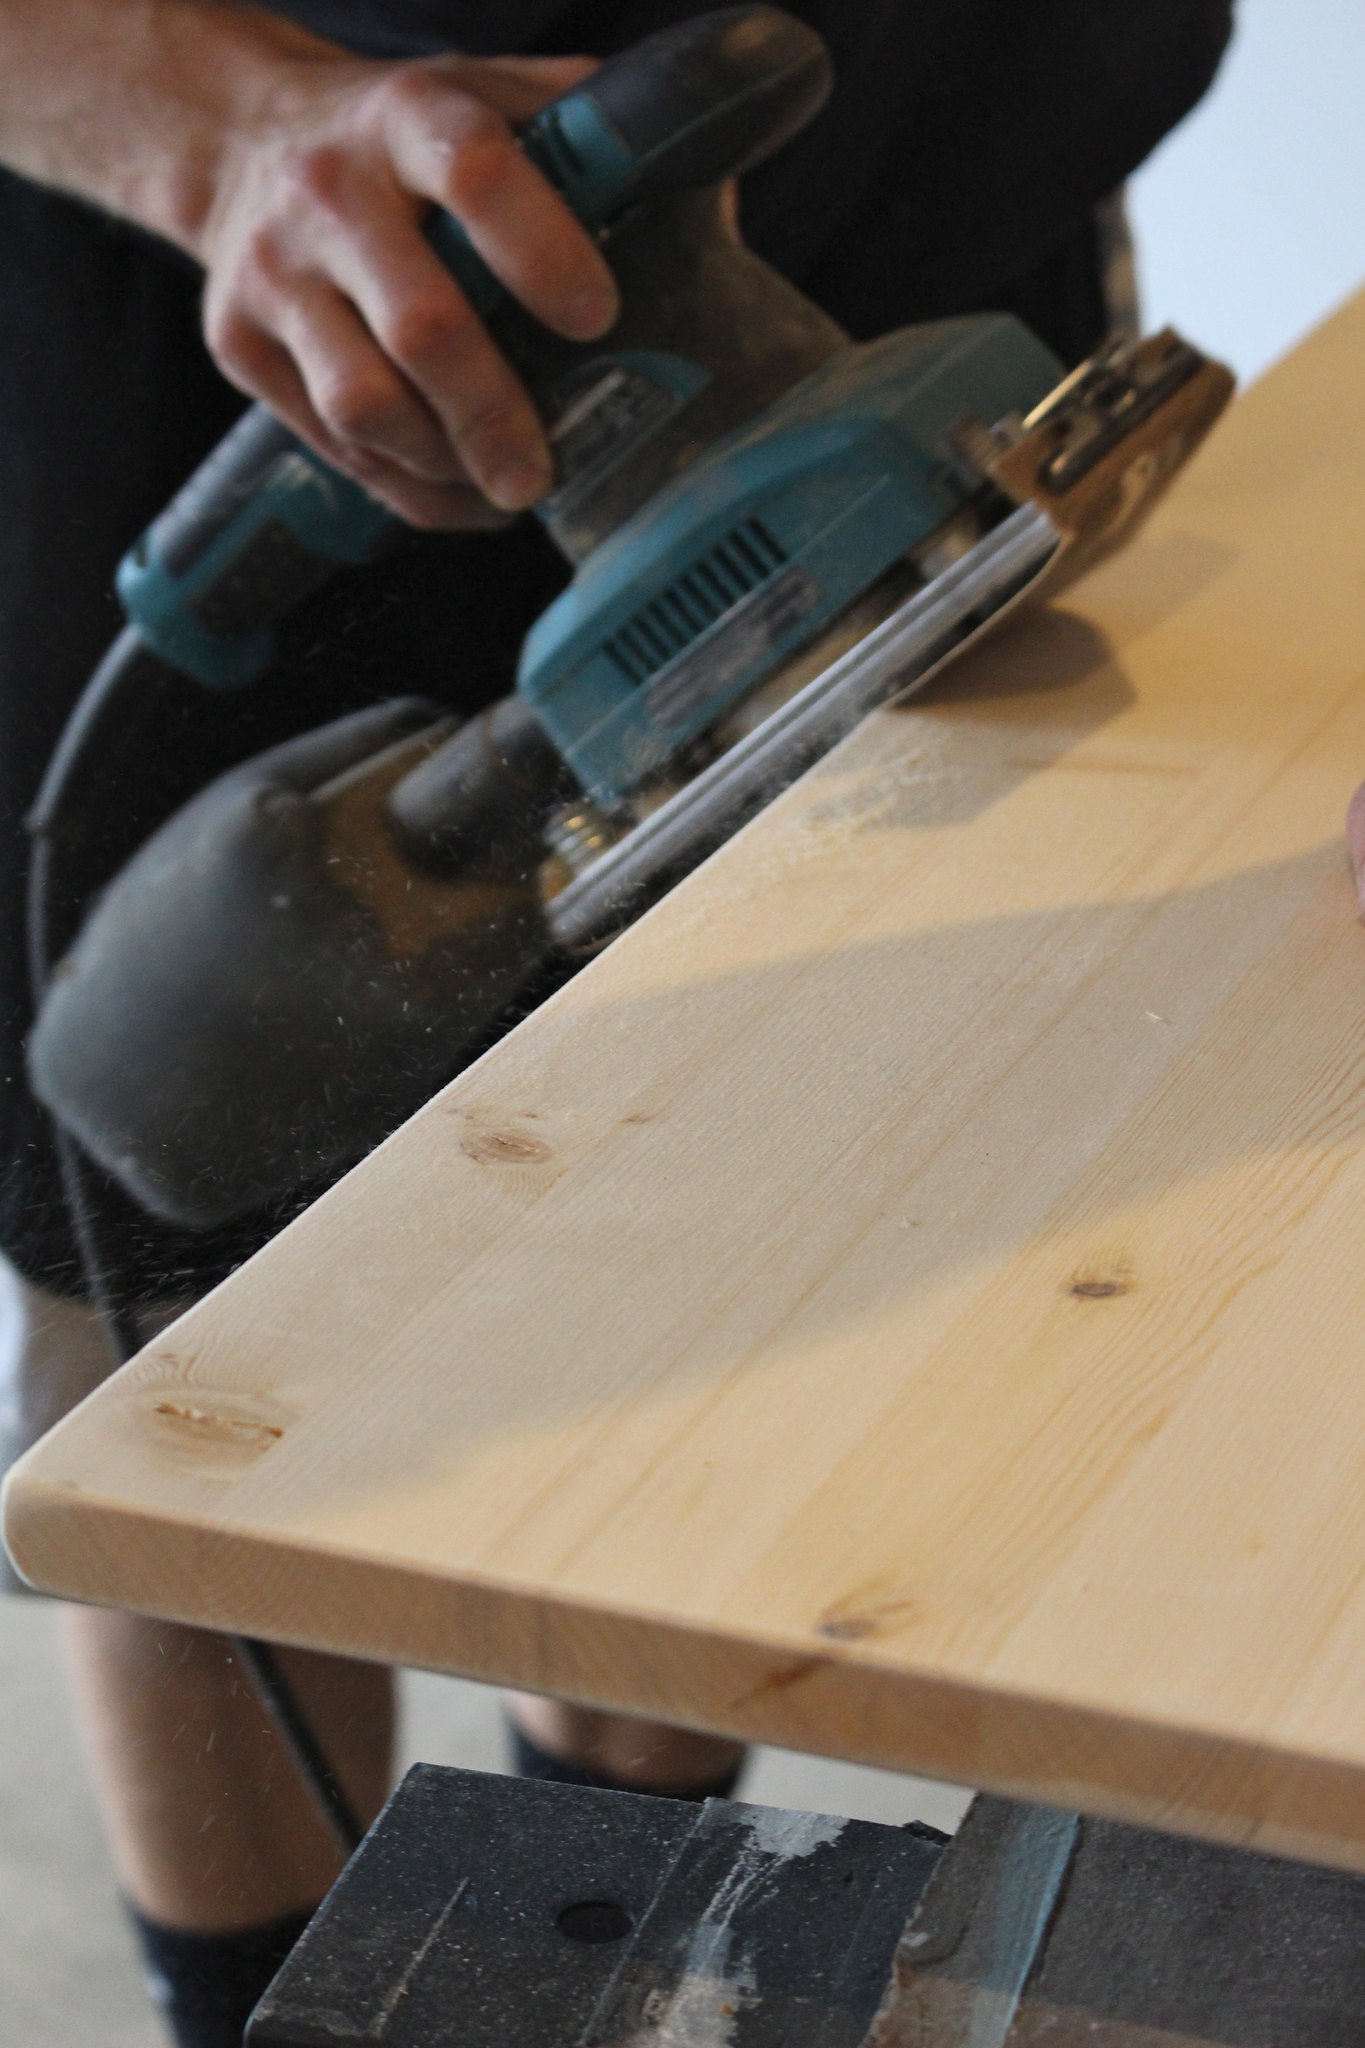
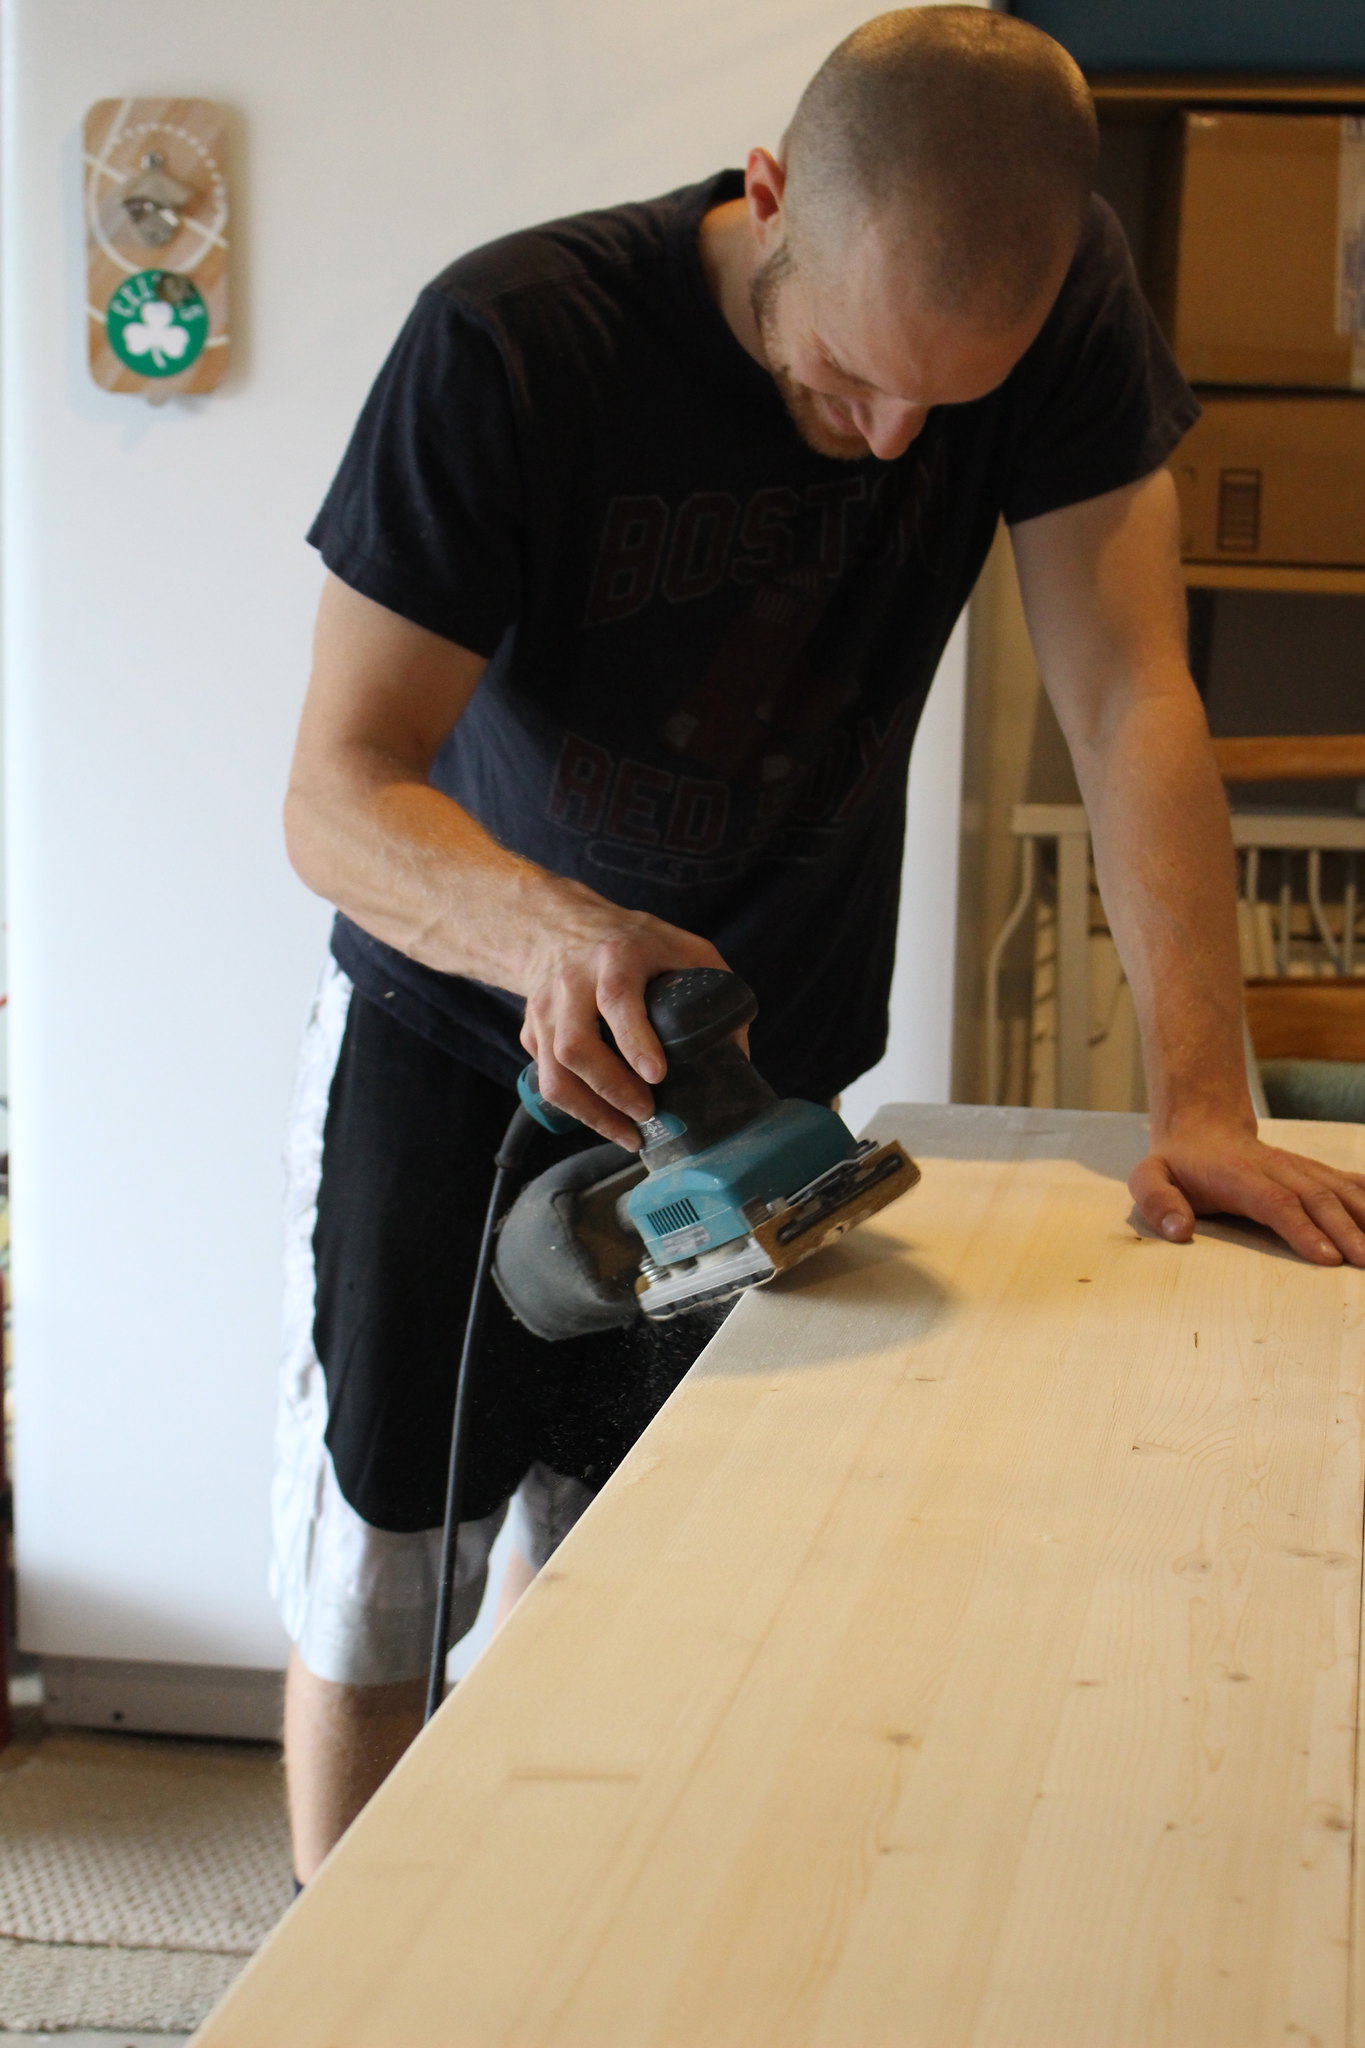
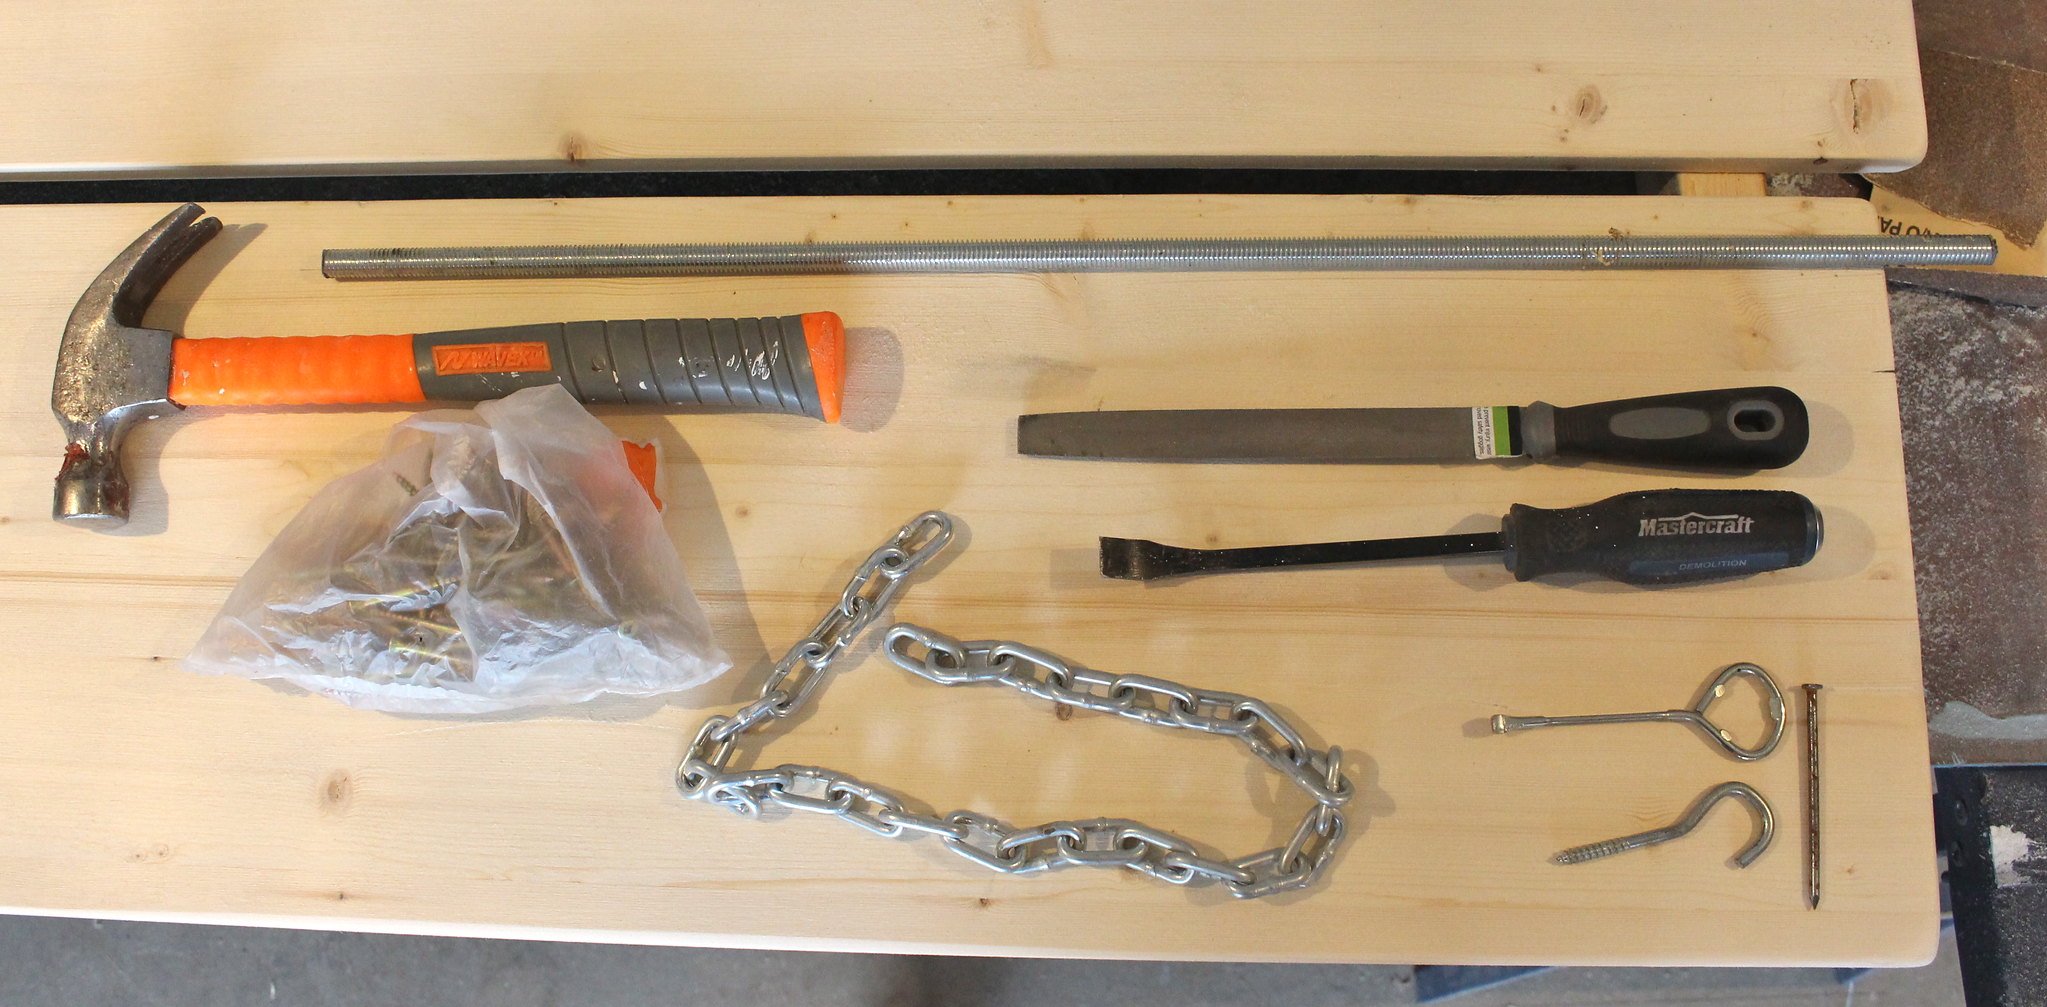
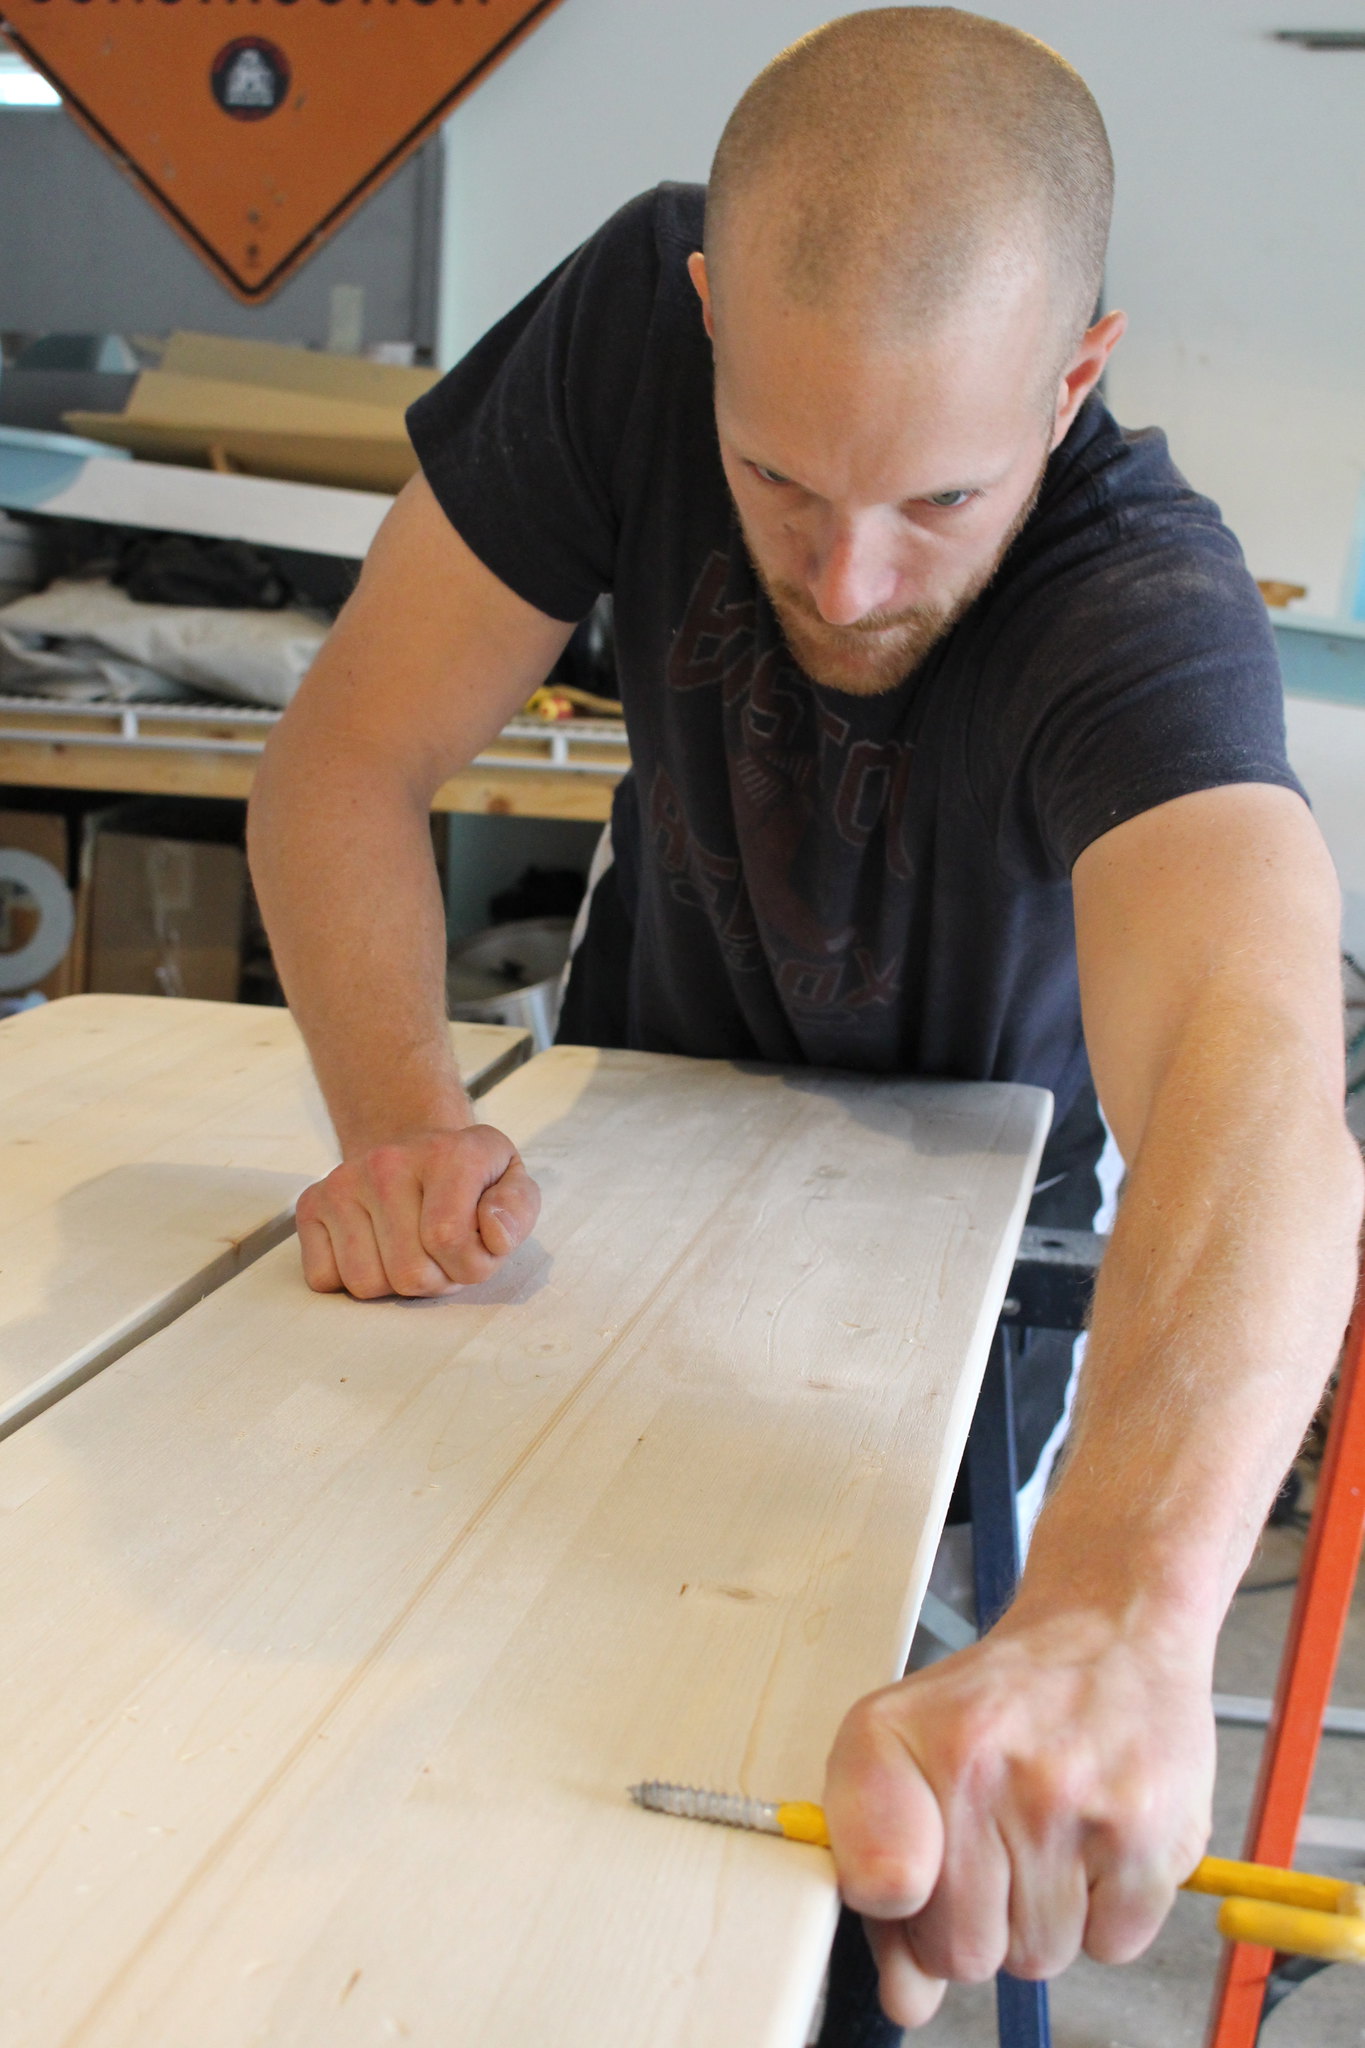
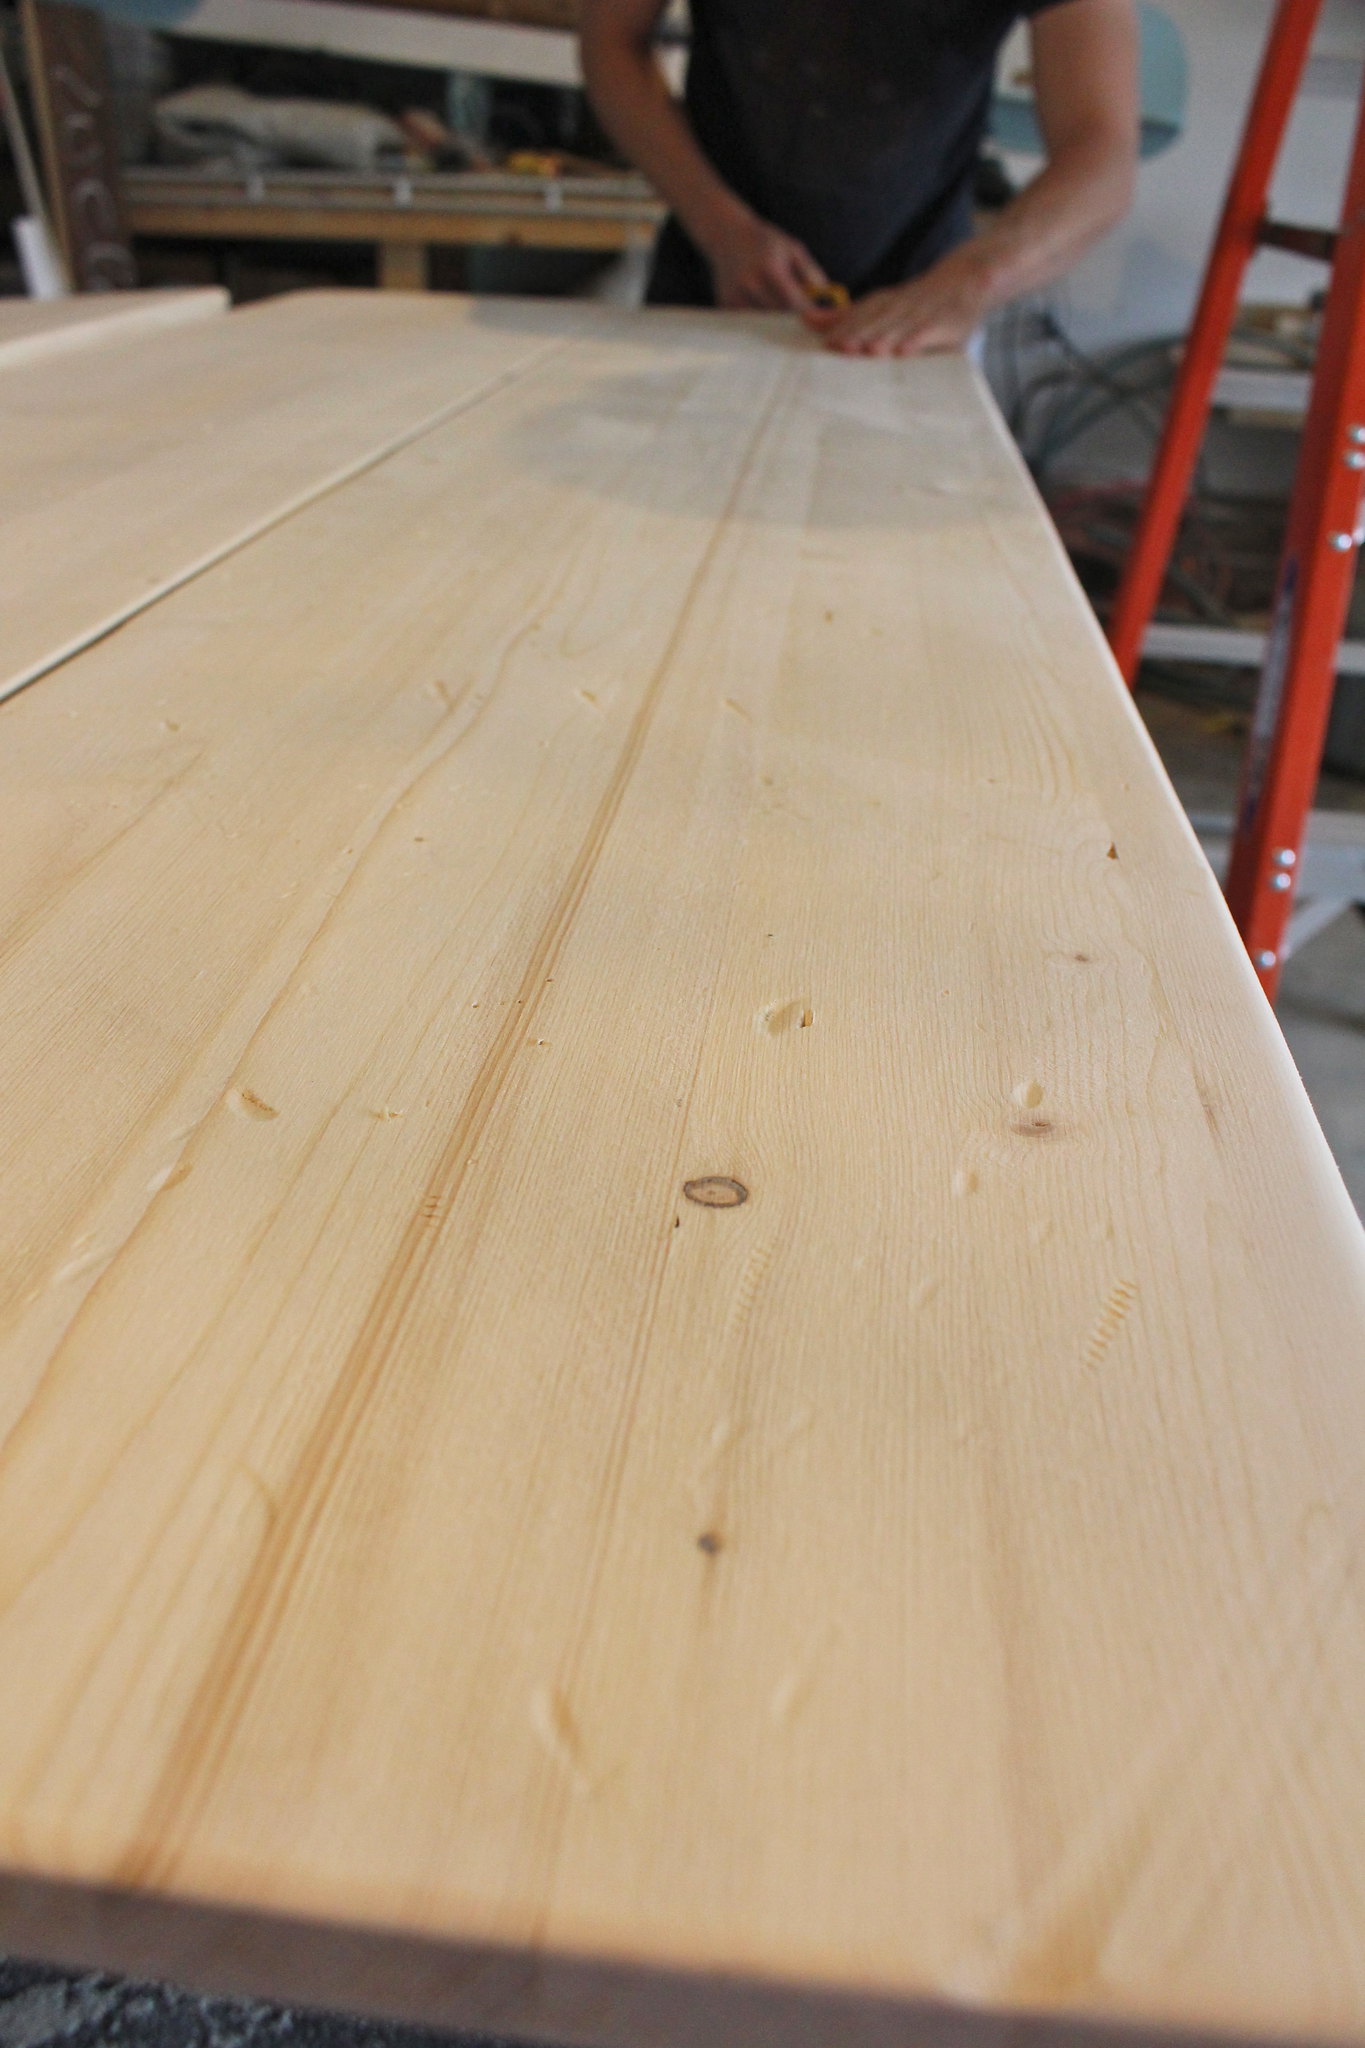
With our plans in place, our first step was the most fun! After B sanded the wood down (so we wouldn't have sharp edges) we got to beat up and "age" those pine boards. Our weapons of destruction?

DIY Console Table

Basically anything from B's shop that we could use to scrape, dent, gouge or cut the wood with. We threw a bag of screws at them, wacked them with chain, a hammer, a file... whatever we had, we used it.

DIY Console Table

DIY Console TableDIY Console Table

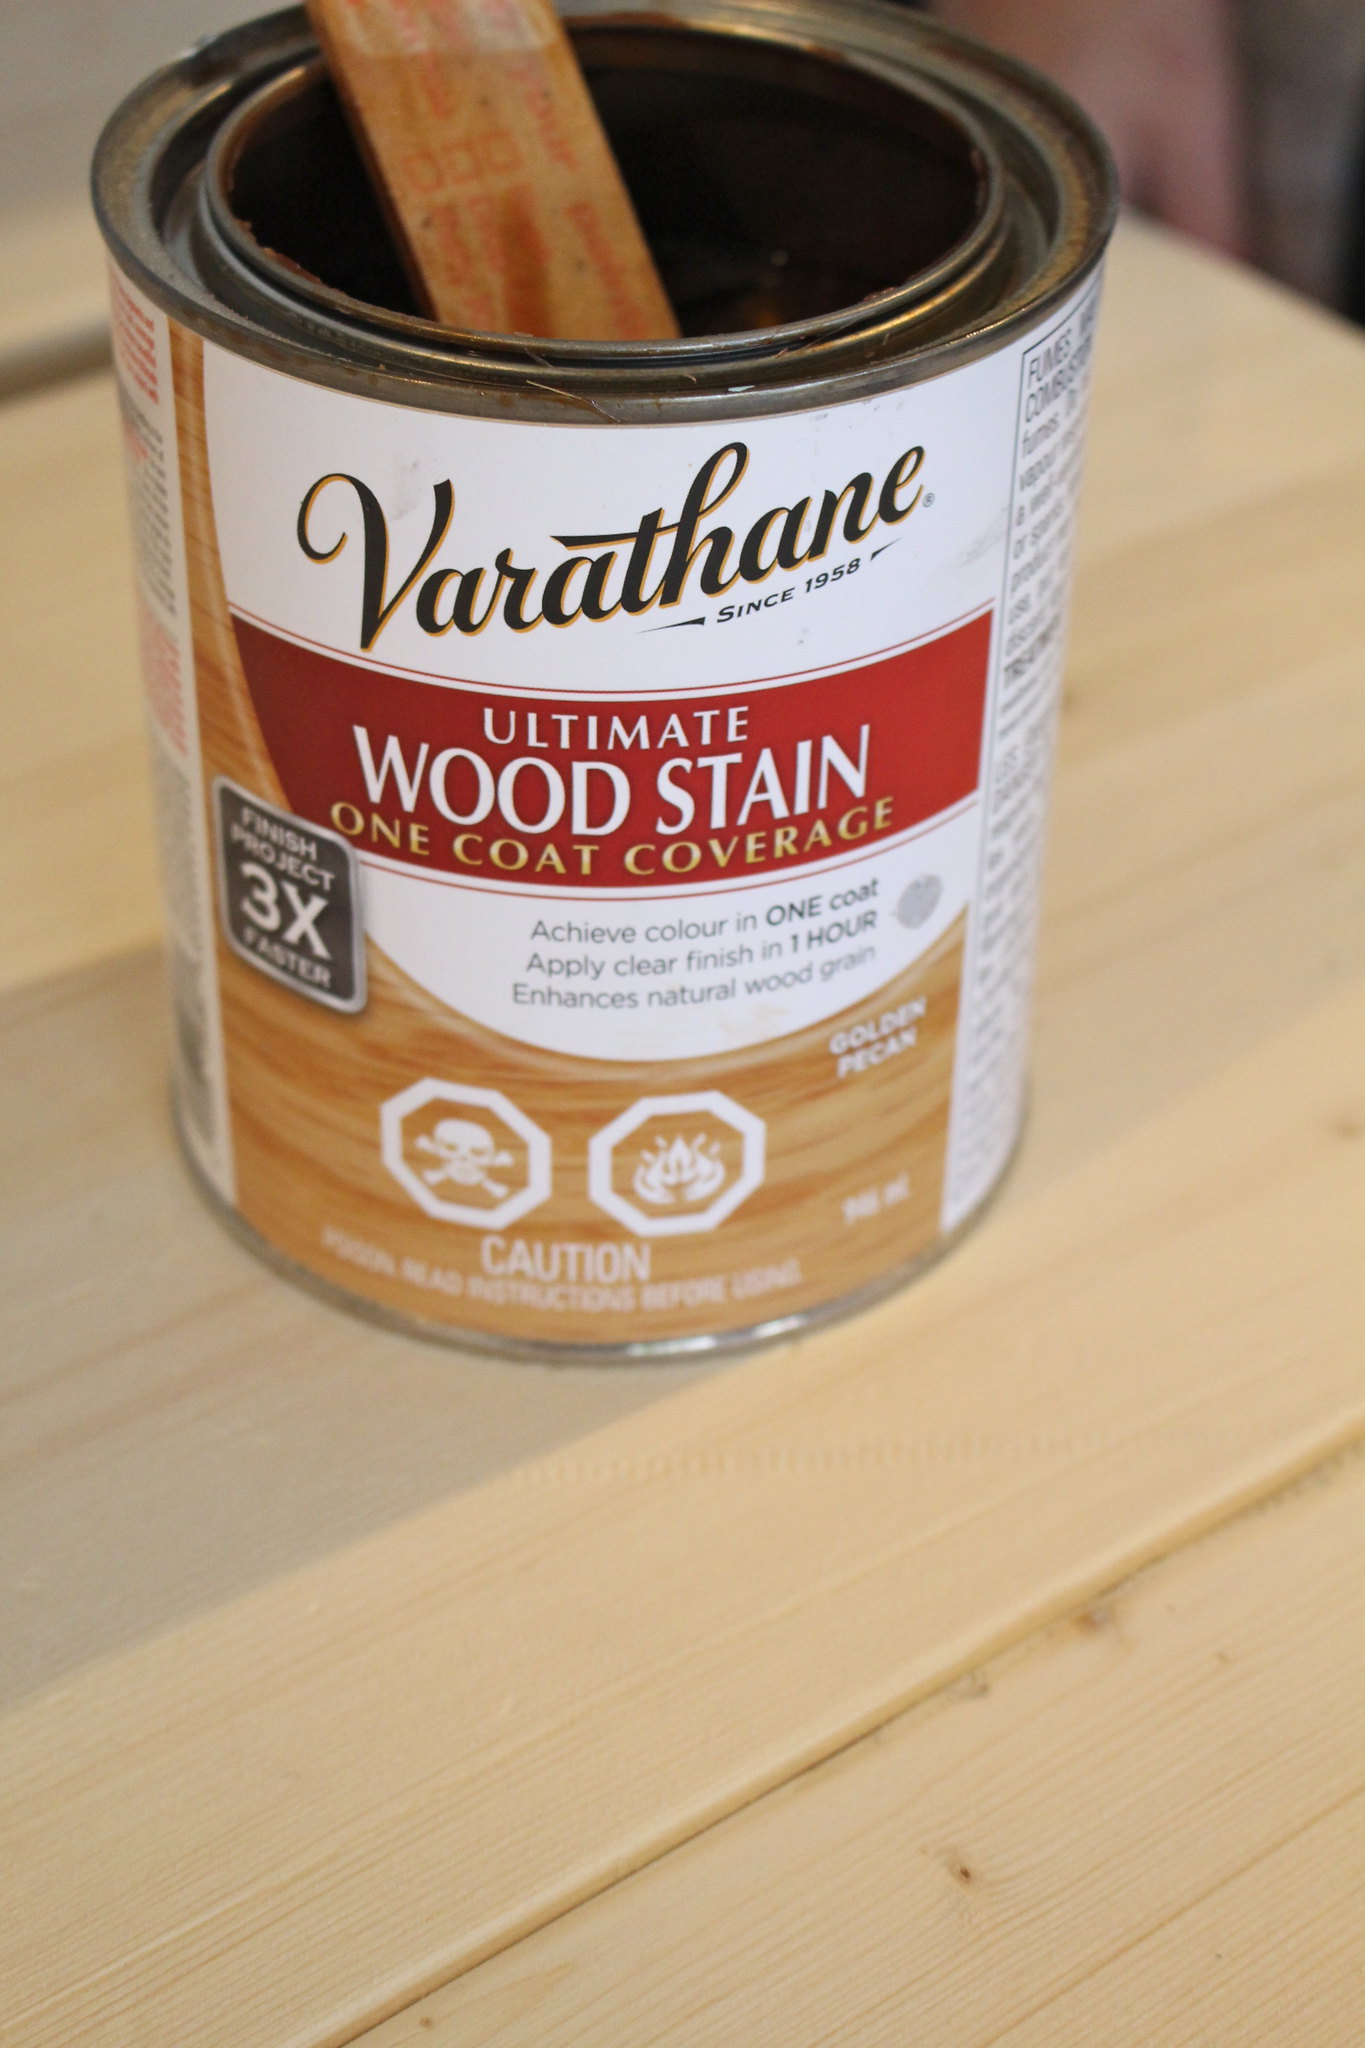
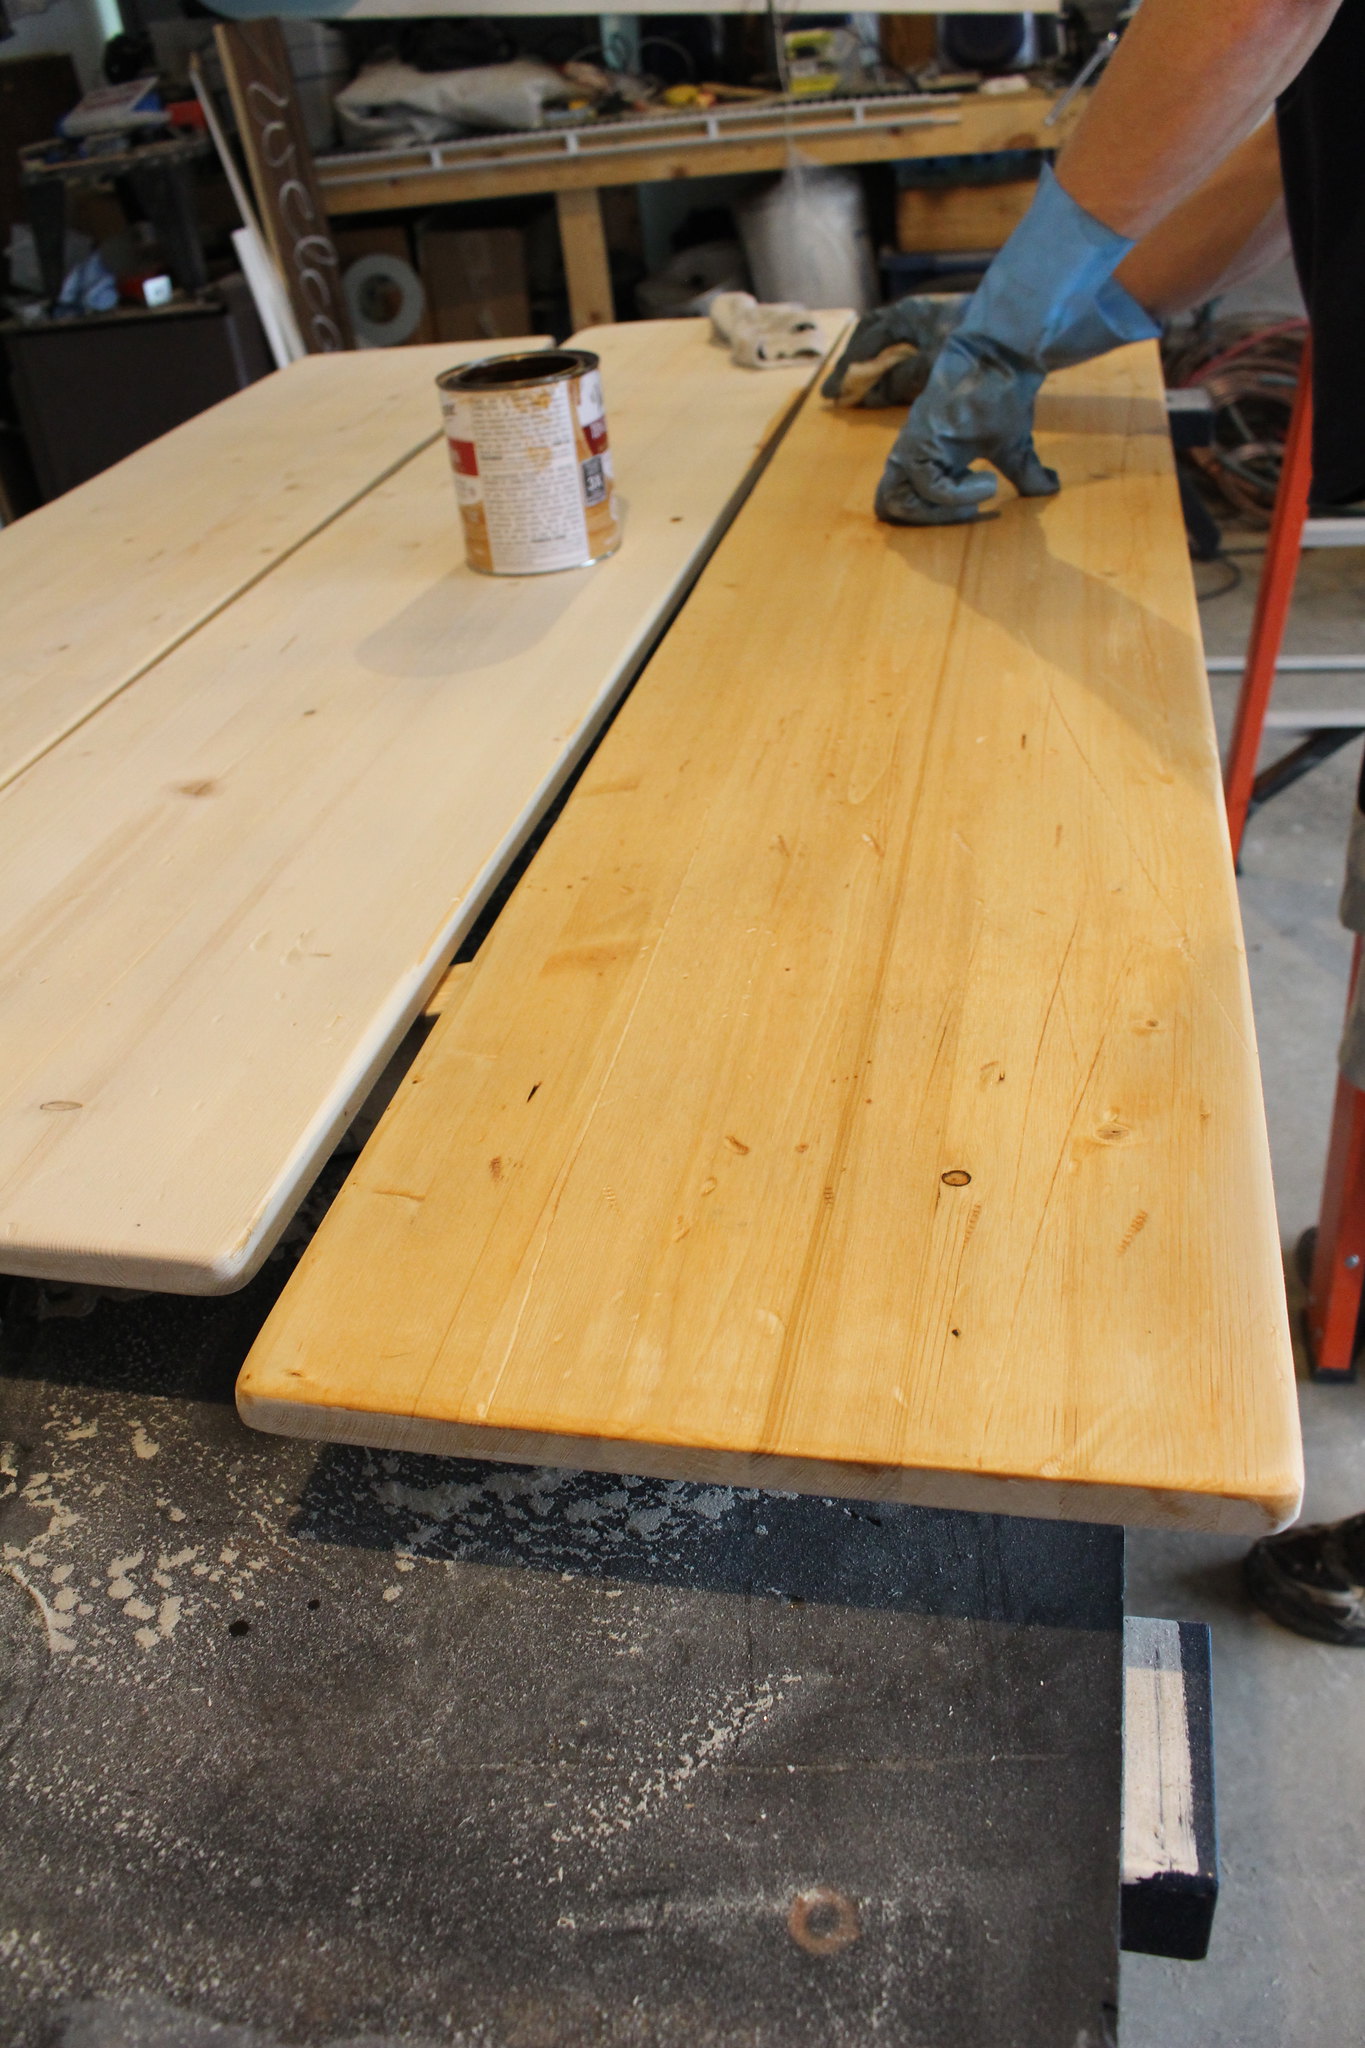
Once we thought that they good and beat up, it was time for our first coat of stain. We started with Varathane's Ultimate Wood Stain in Golden Pecan (which we used for the Love Your Wood Challenge last month). B applied it lightly and wiped it off quickly since we didn't want it to be too orange. Next, we put on some of the Varathane Ultimate Wood Stain in Weathered Grey (also used in the Love Your Wood Project). Again, it was applied lightly just to bring some aging to the wood.

DIY Console TableDIY Console Table

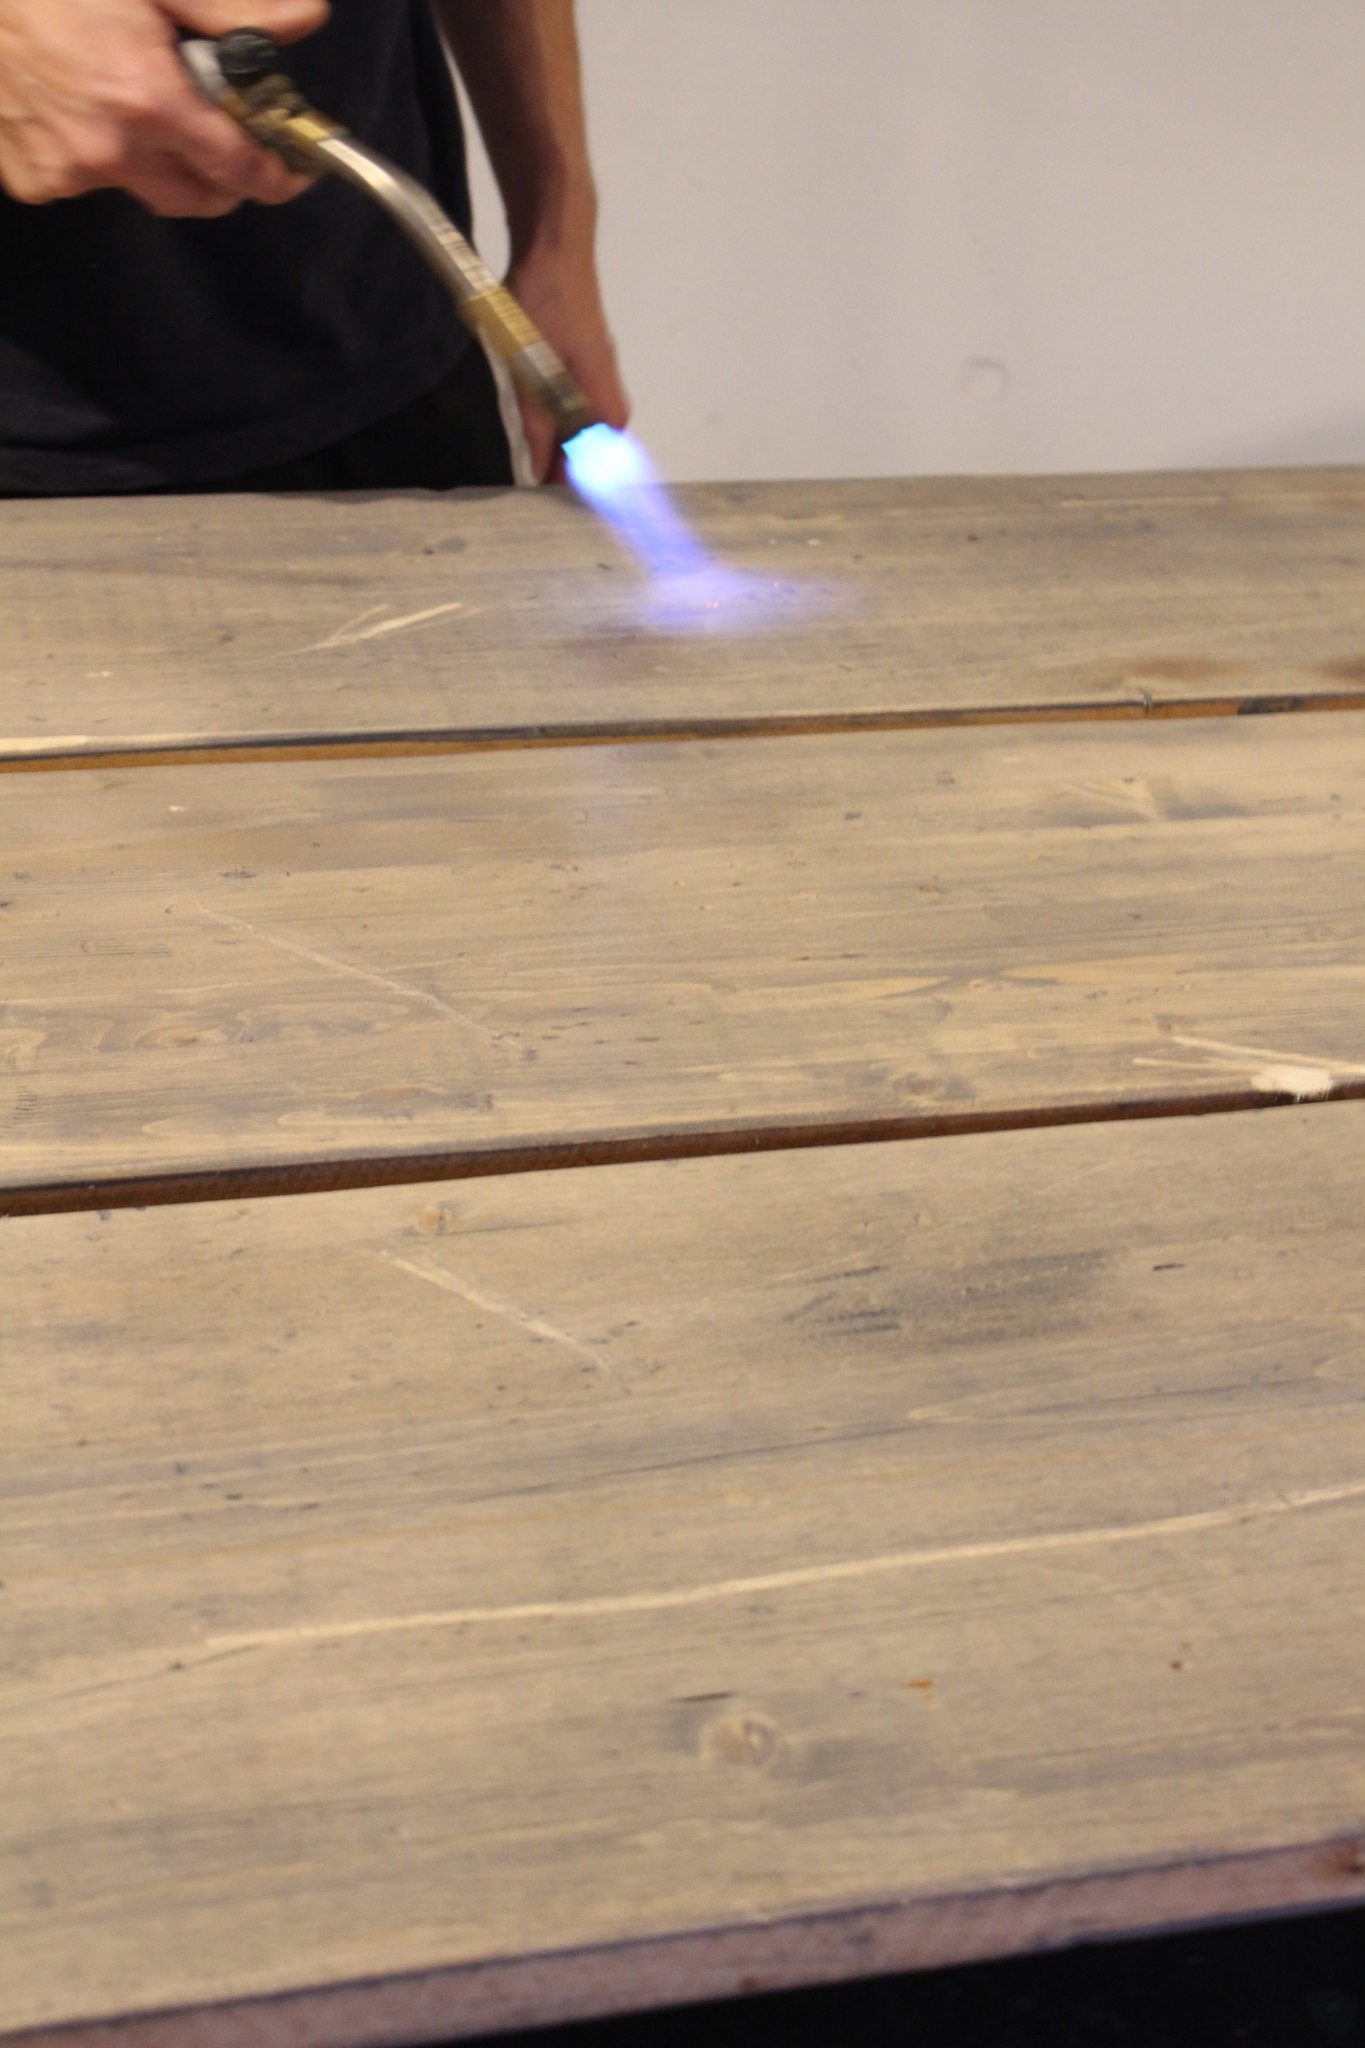
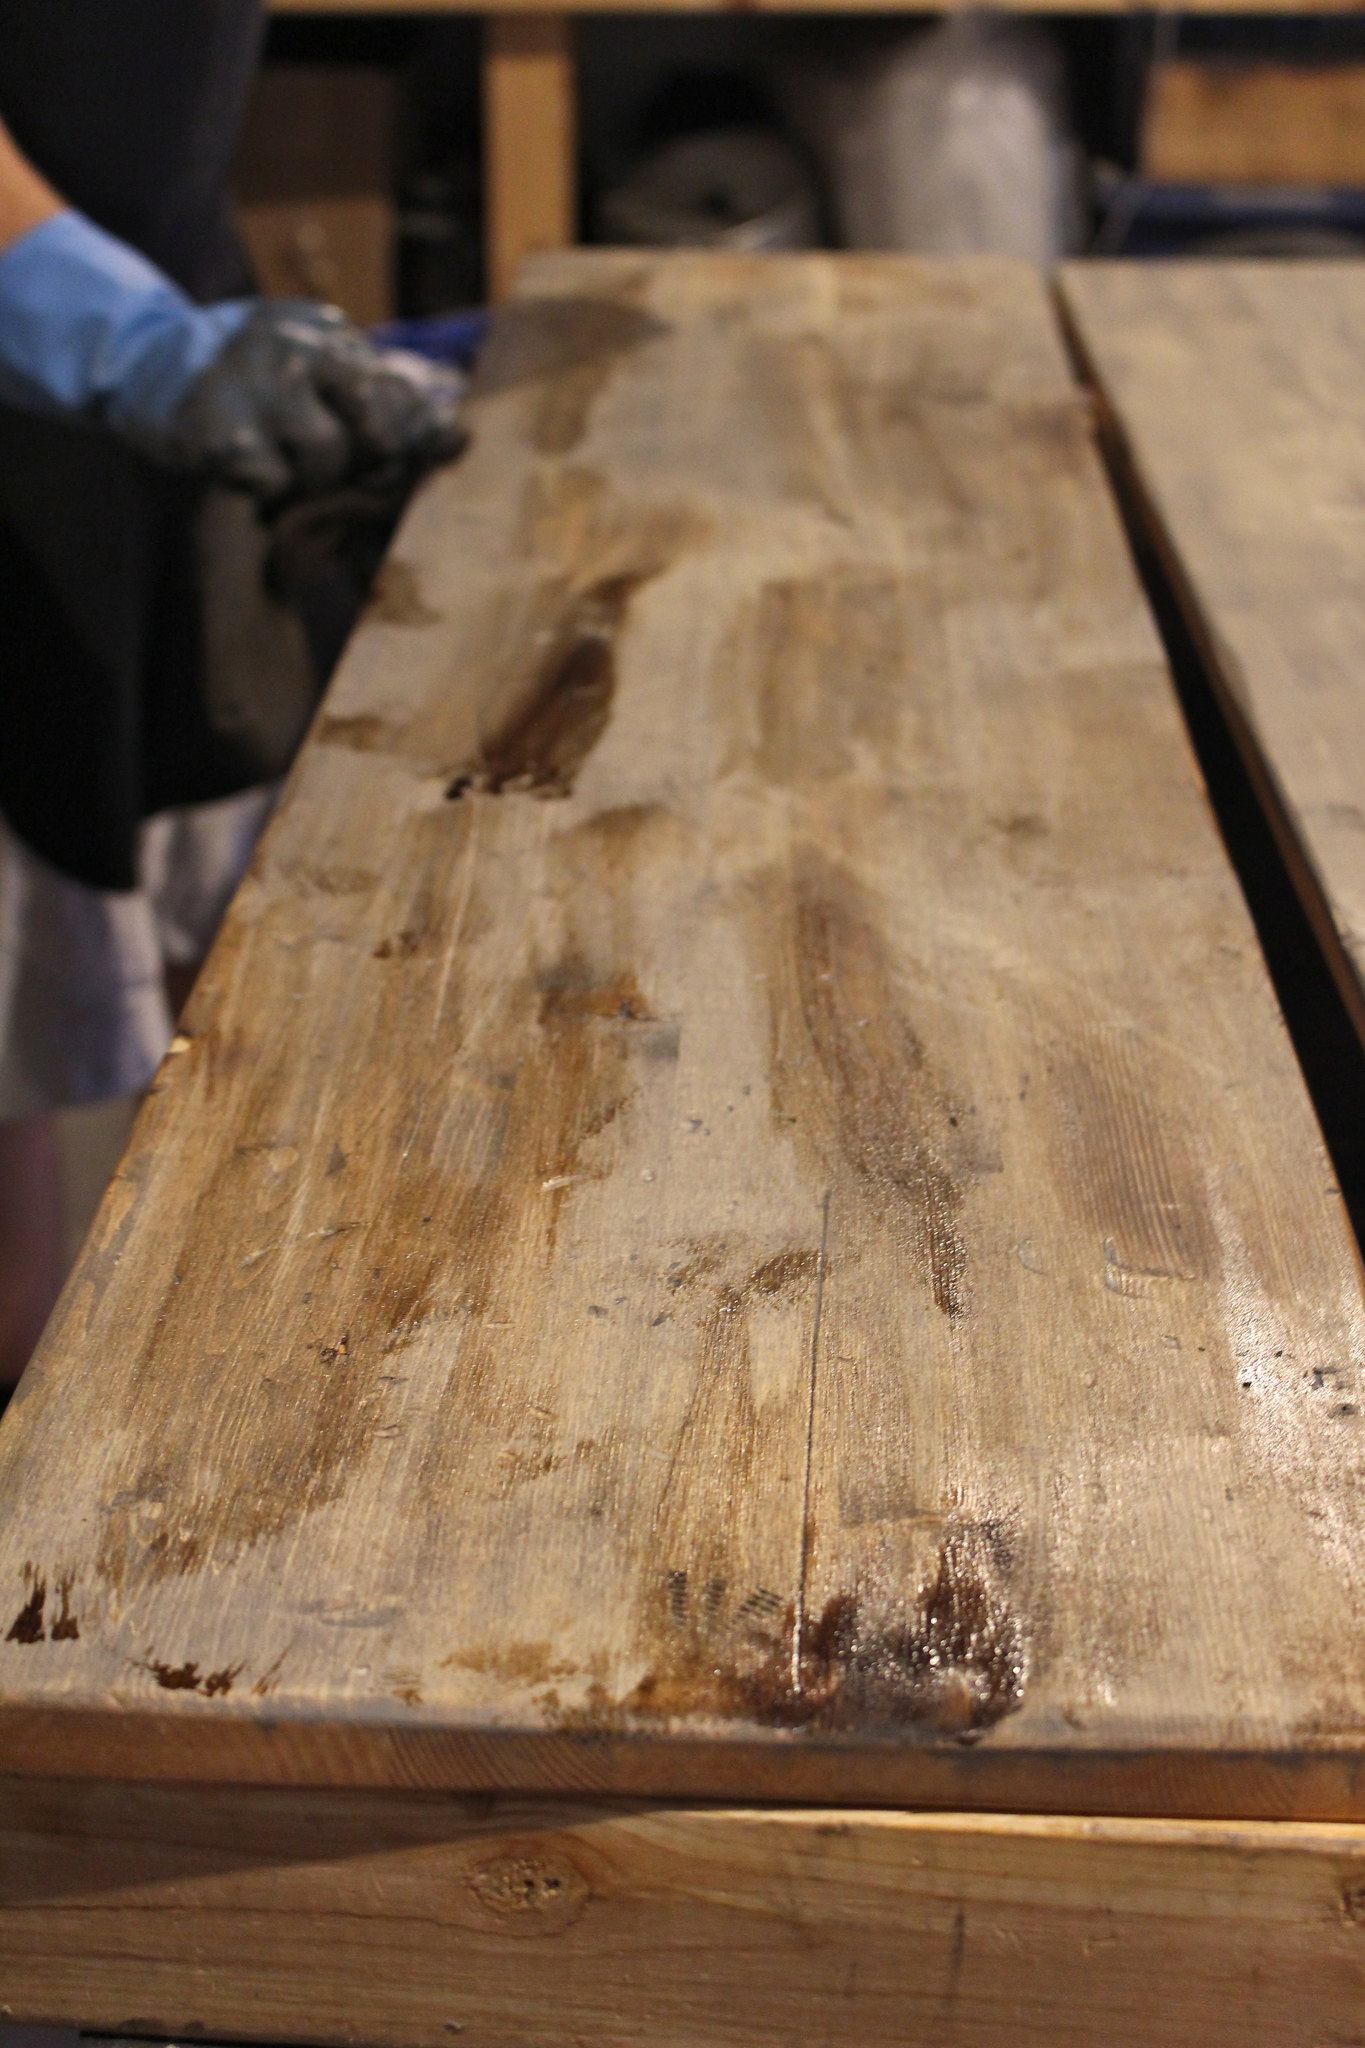
Once both stains dried, we beat up the wood a little more. More gauges, cuts and scrapes, but we also upped our game and B brought out his blow torch so we could burn it as well. Our last step in aging the boards was adding dark brown stain to random sections of the boards (which we used on our dining table that B built). This toned down the grey and really helped to complete the aged look of our boards.

DIY Console TableDIY Console Table

DIY Console Table

DIY Console Table
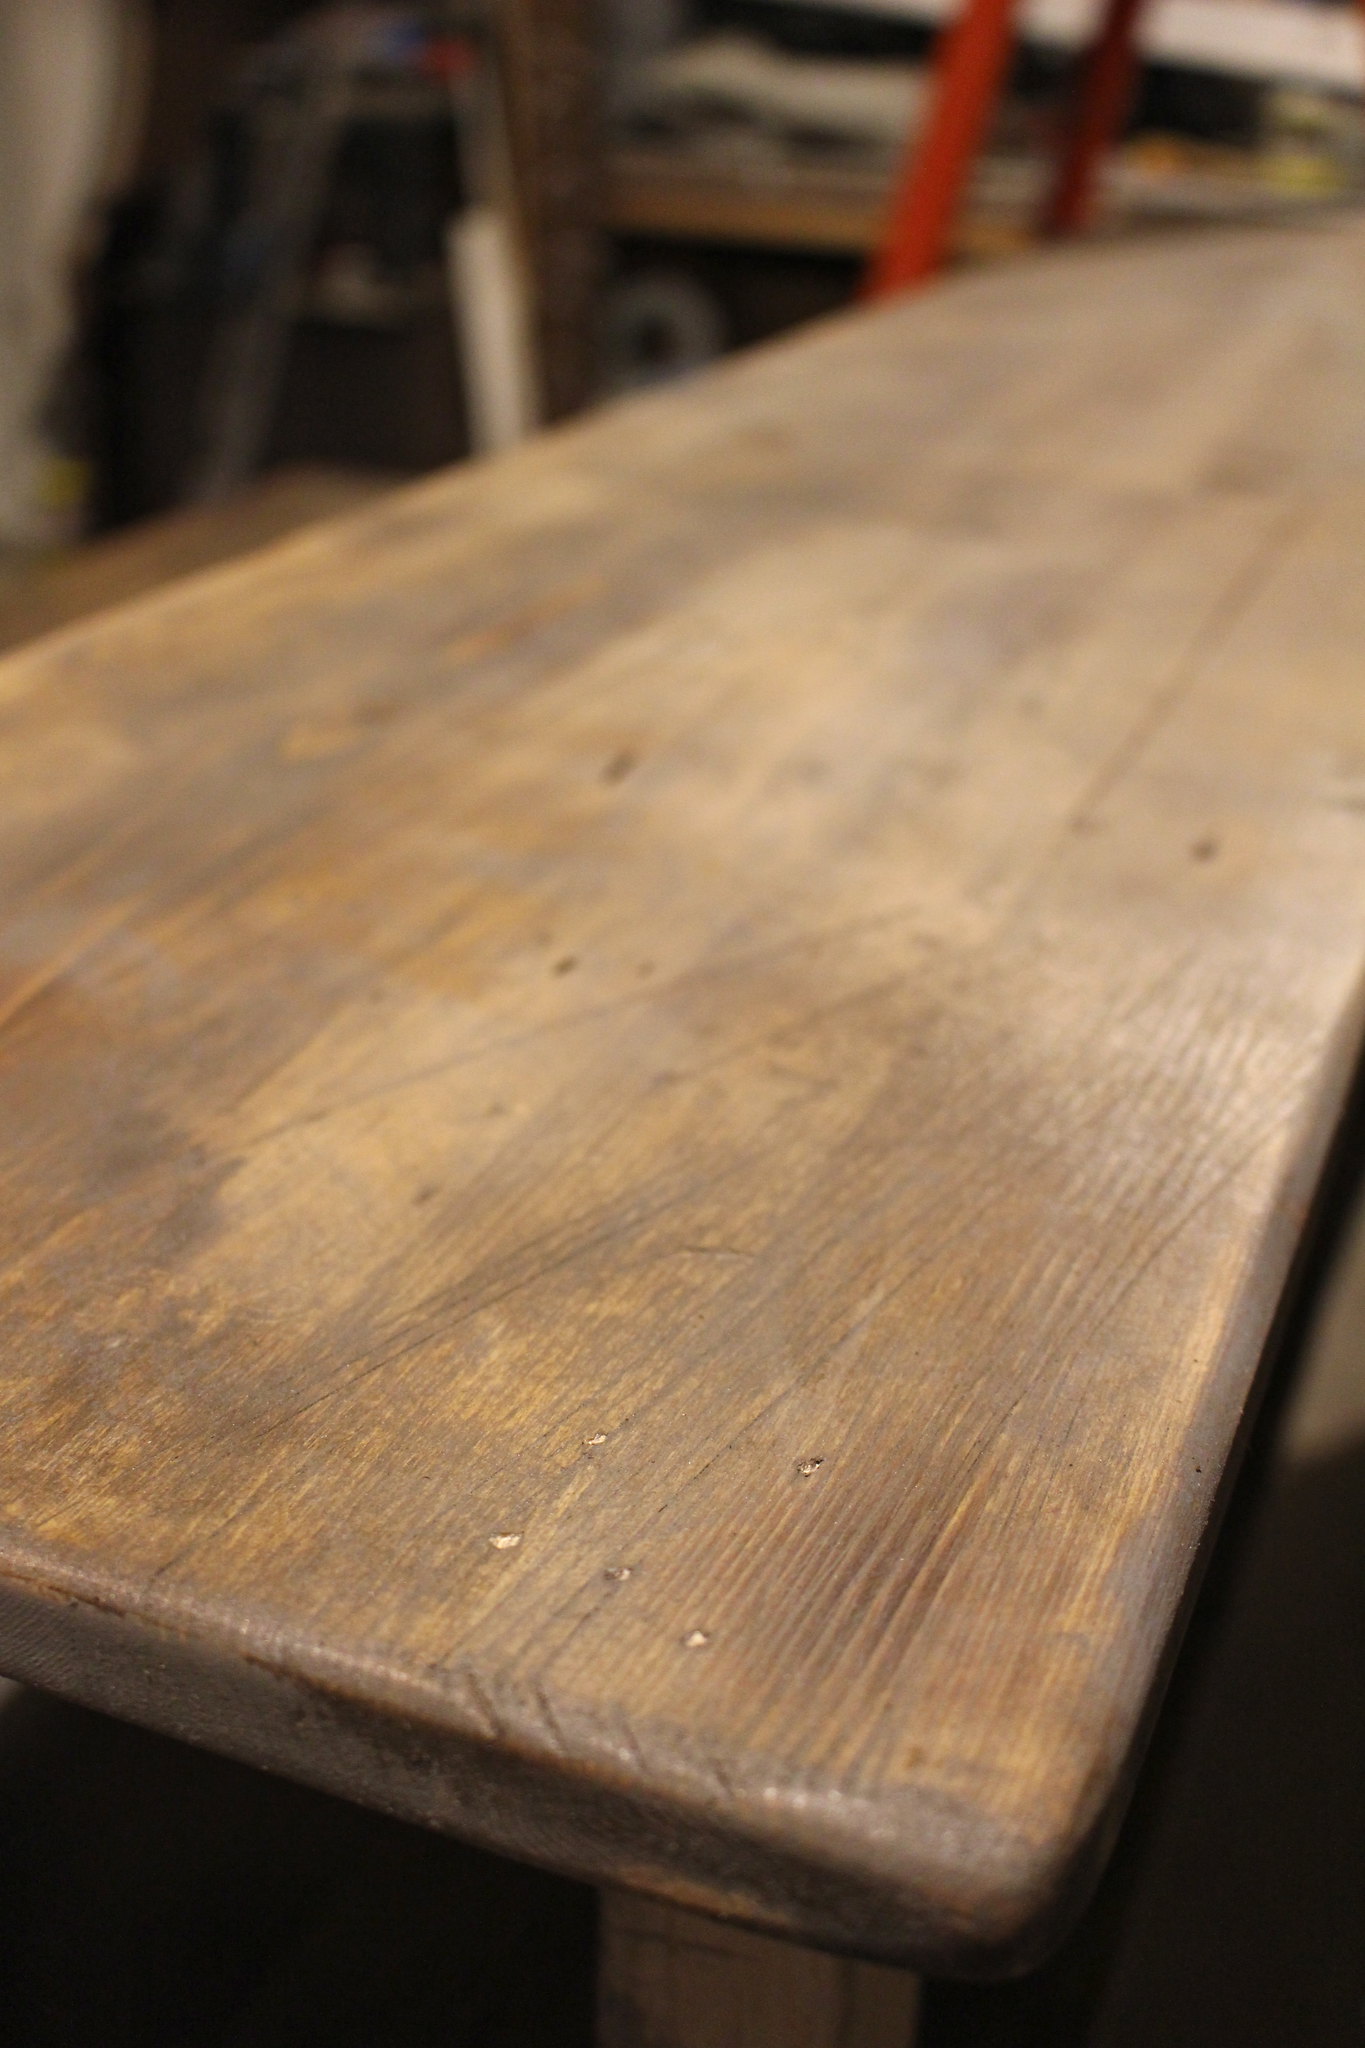
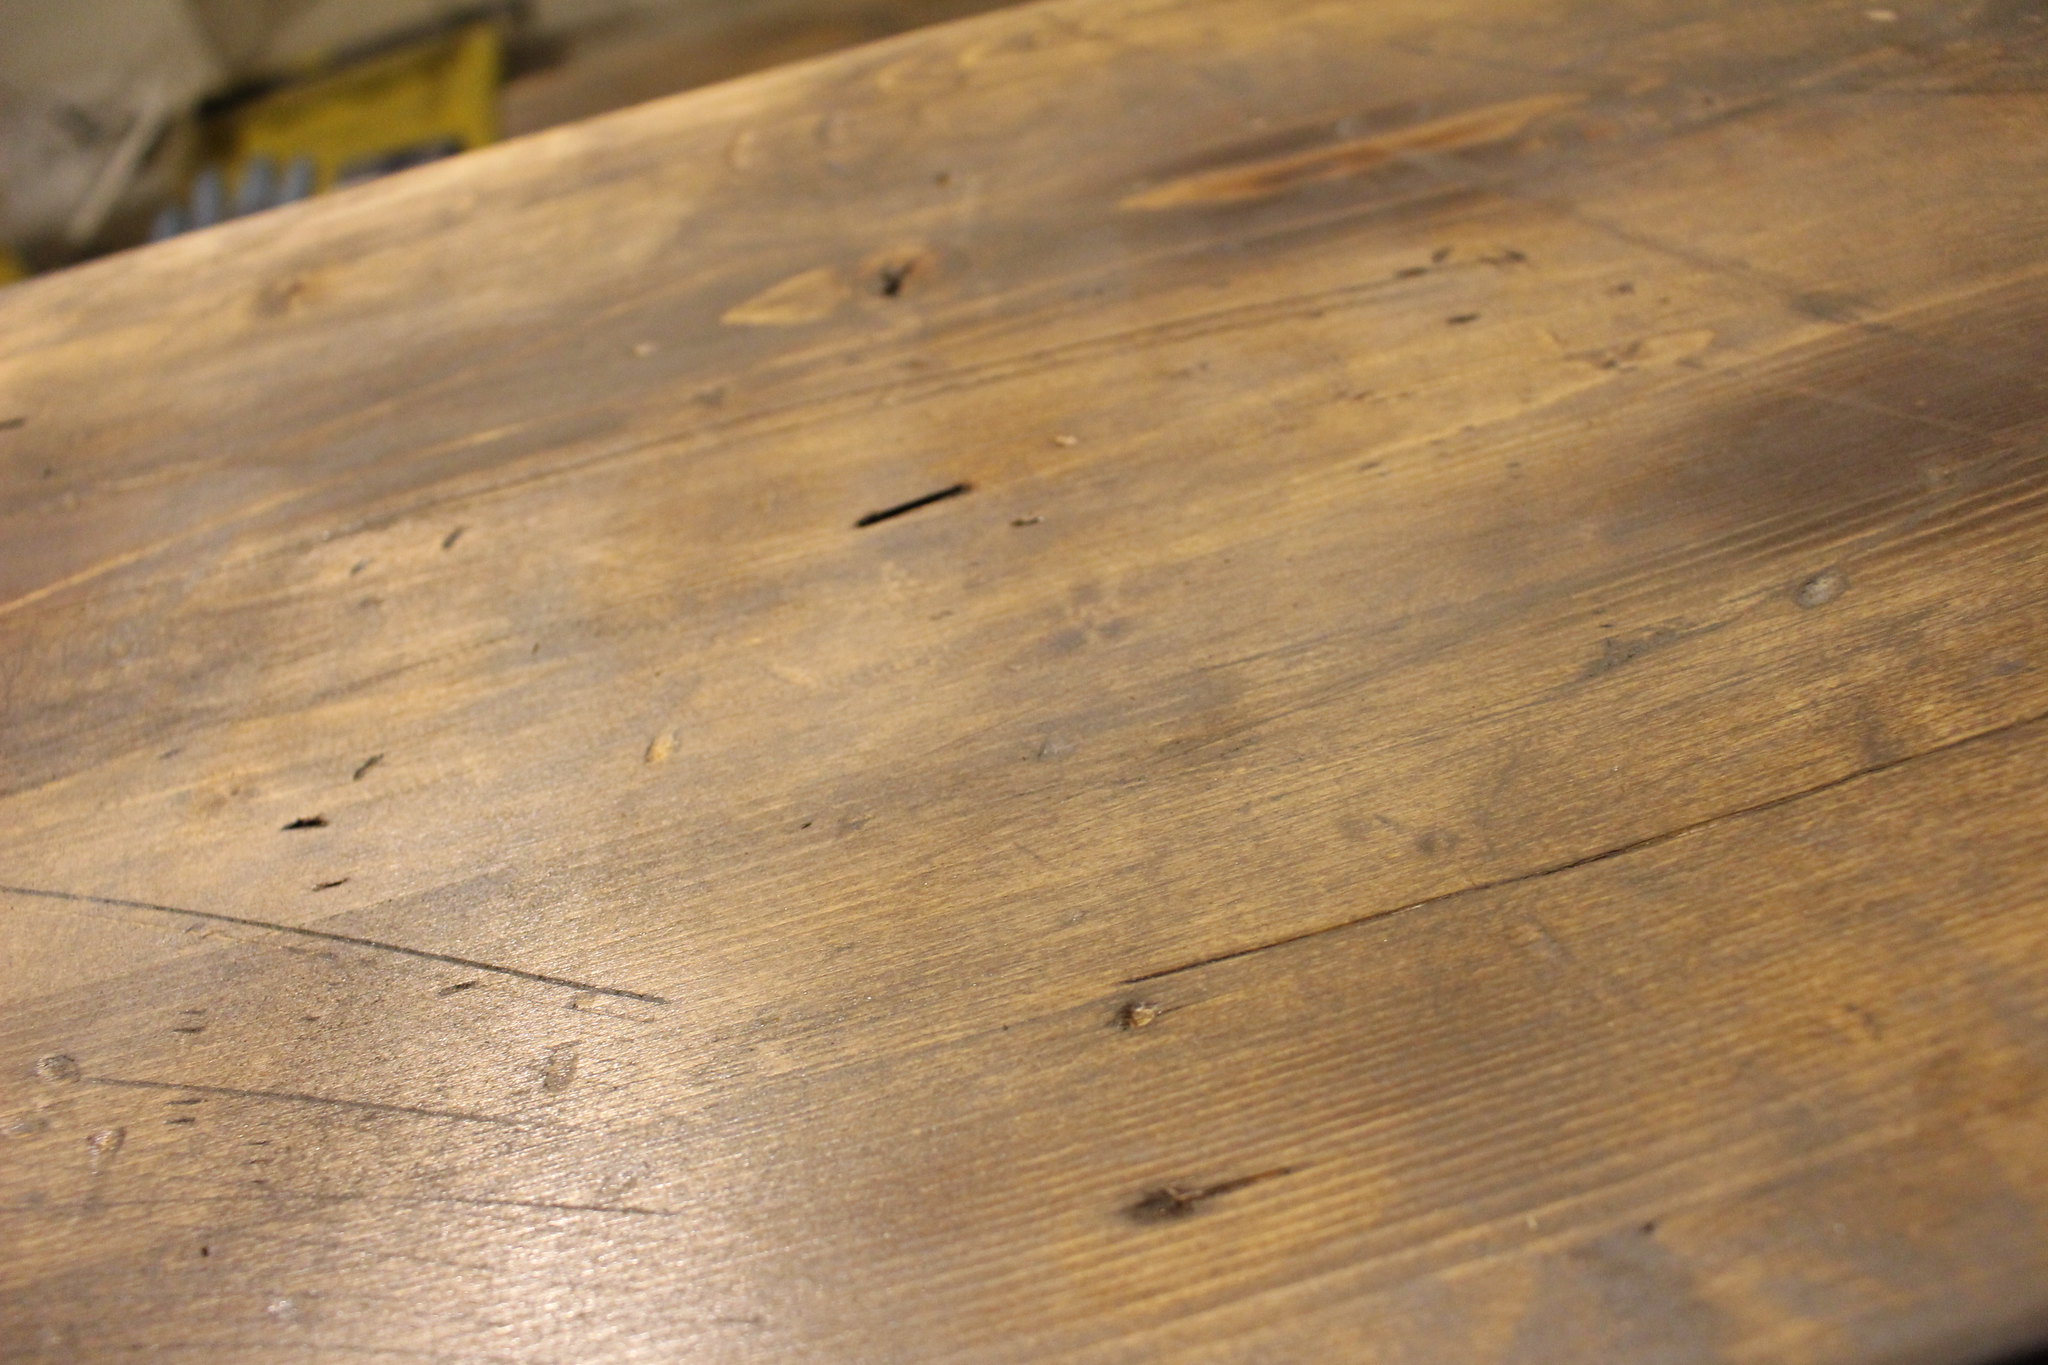
You'd never guess that we started with plain pine boards, would you?

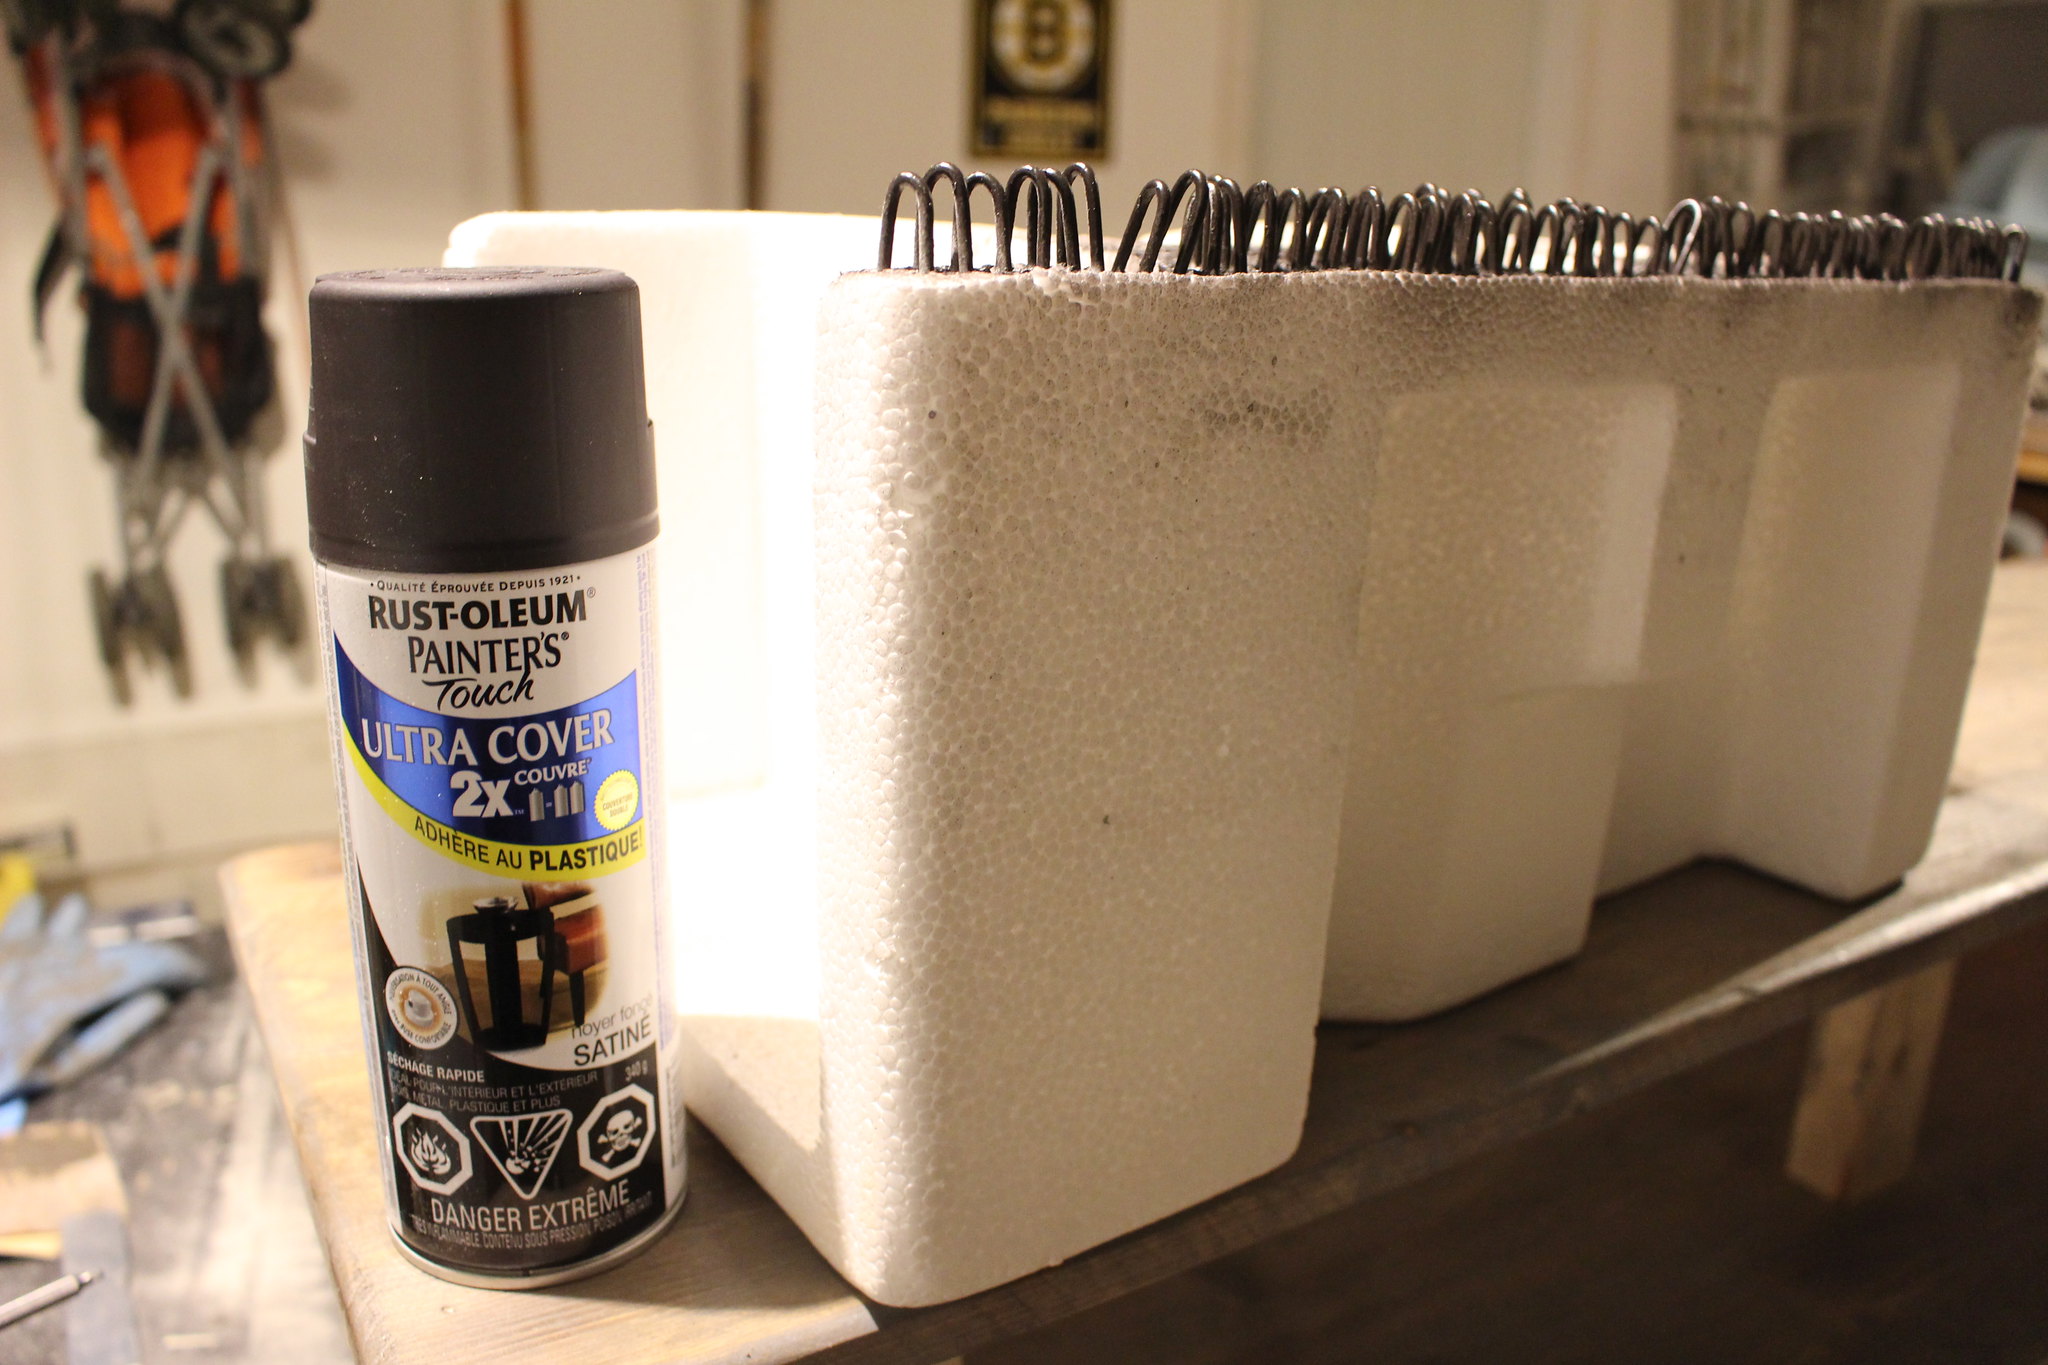
With our wood ready, it was time to start preparing the other parts of our table. Using Rust-Oleum's Painters Touch 2x The Coverage spray paint in Dark Walnut, we sprayed the galvanized fencing and fencing staples.

DIY Console Table

DIY Console Table

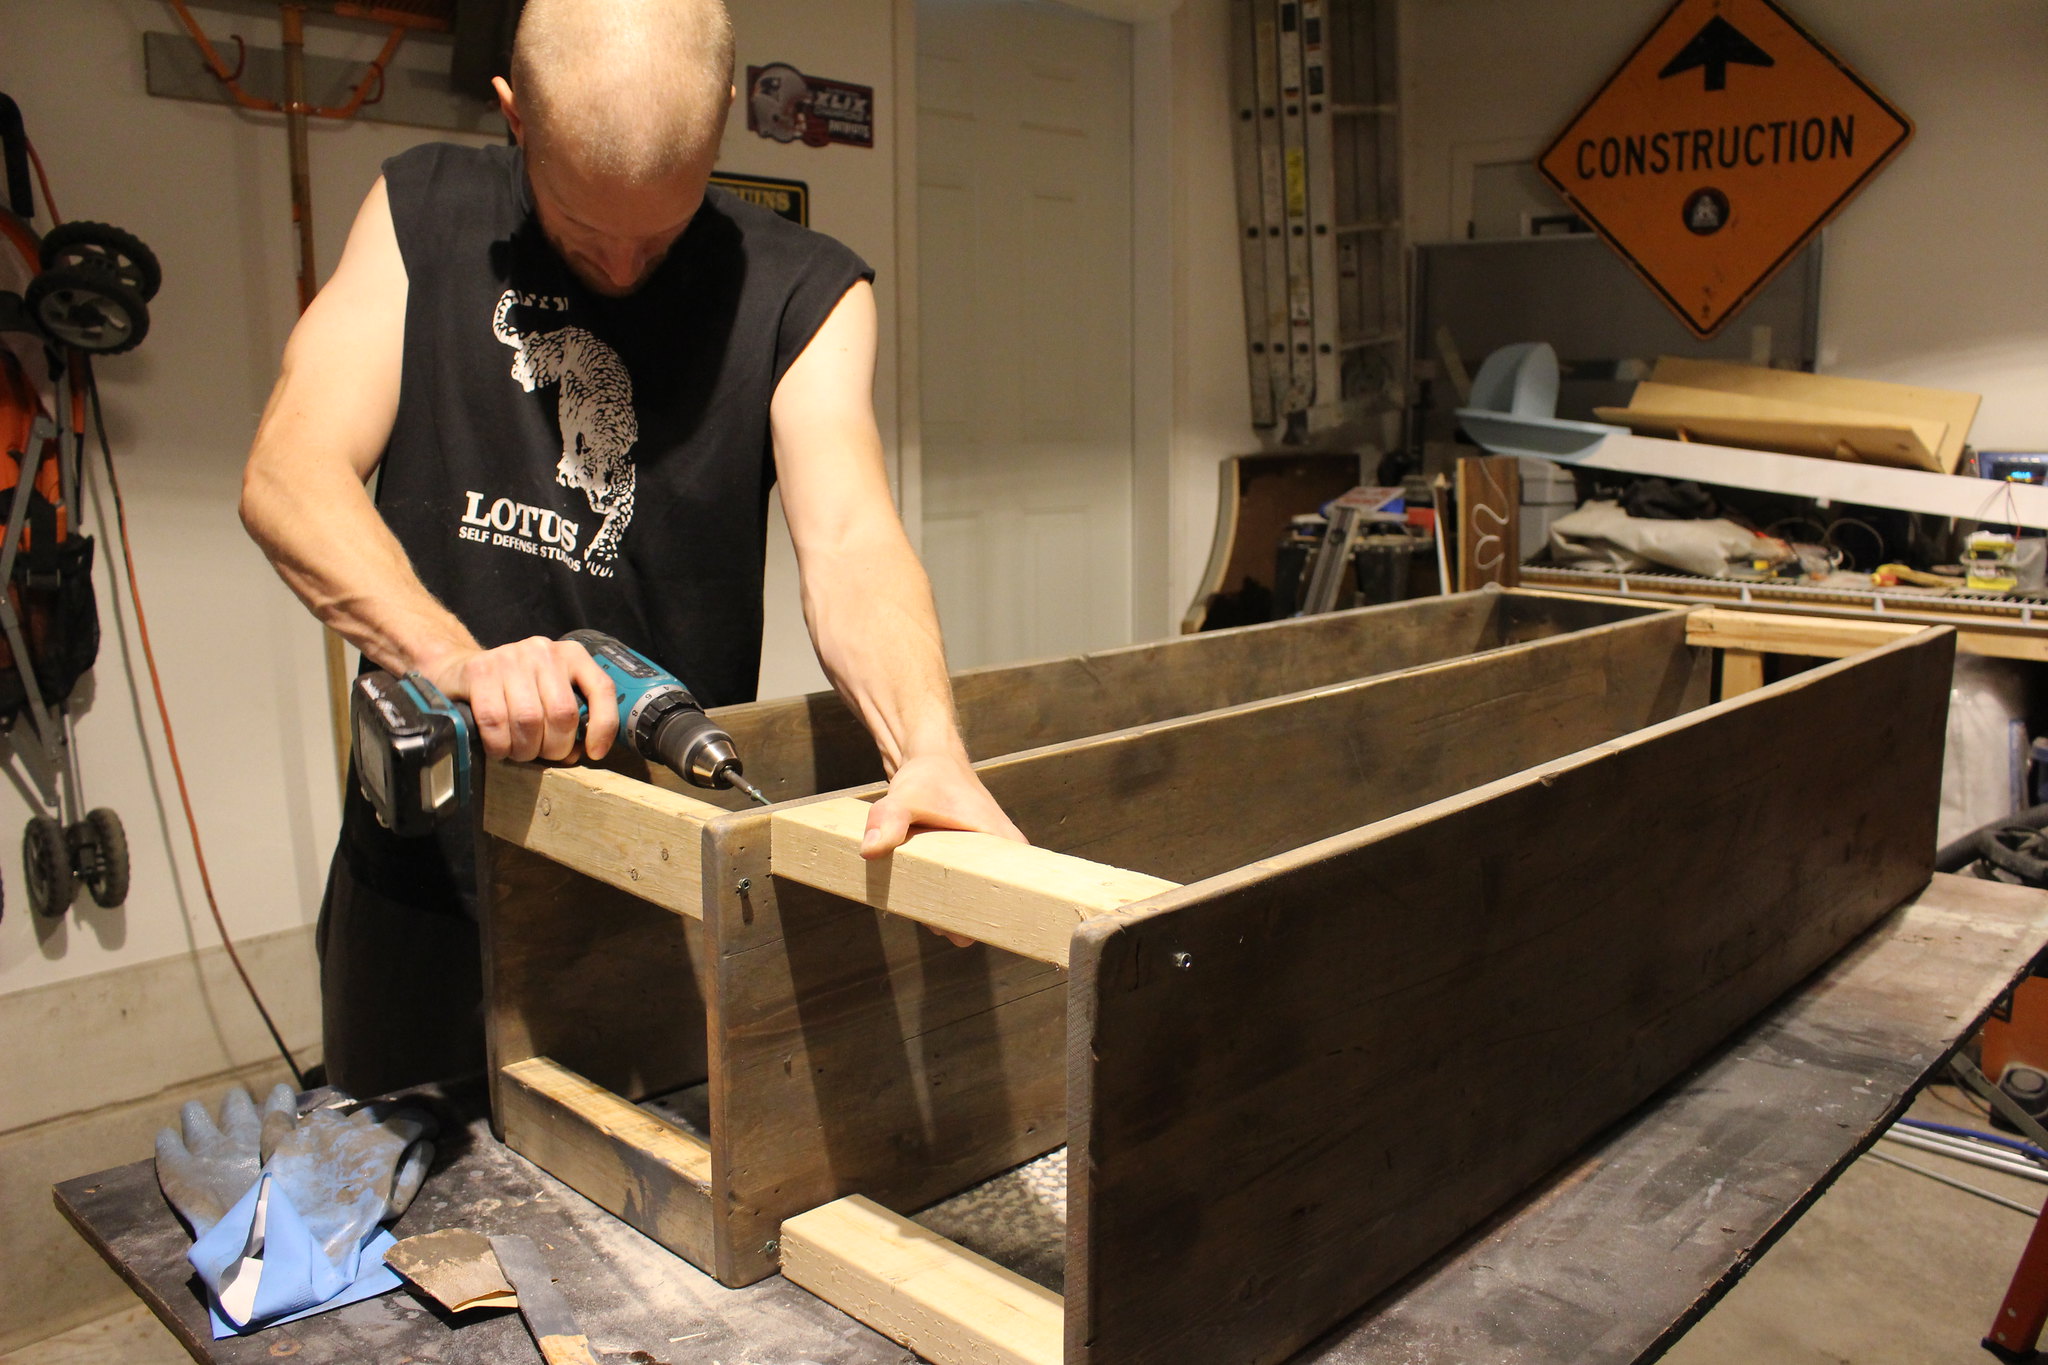
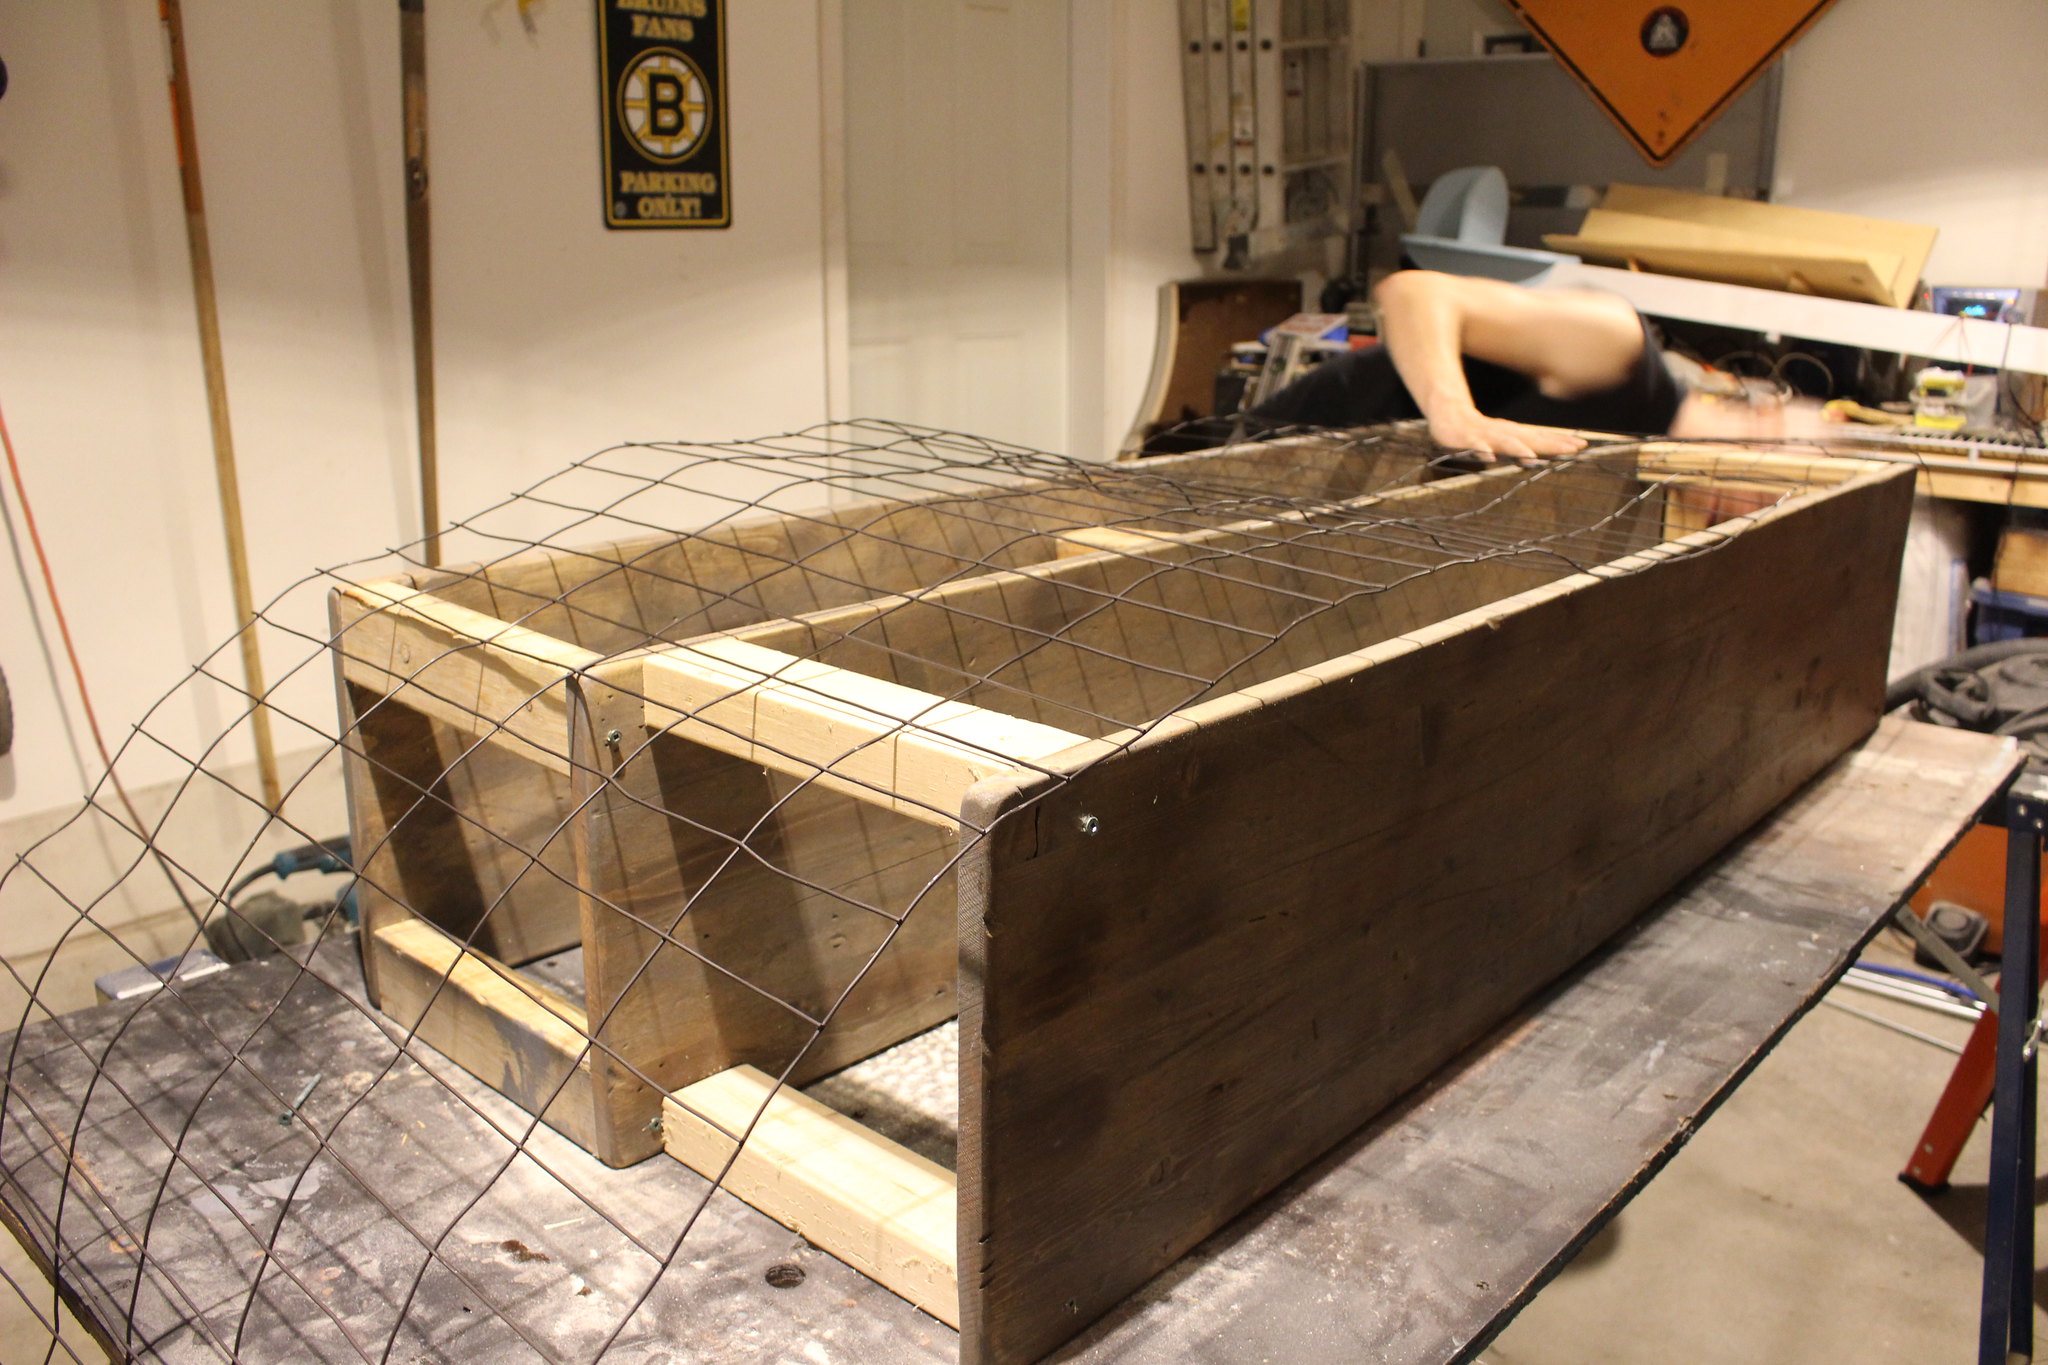
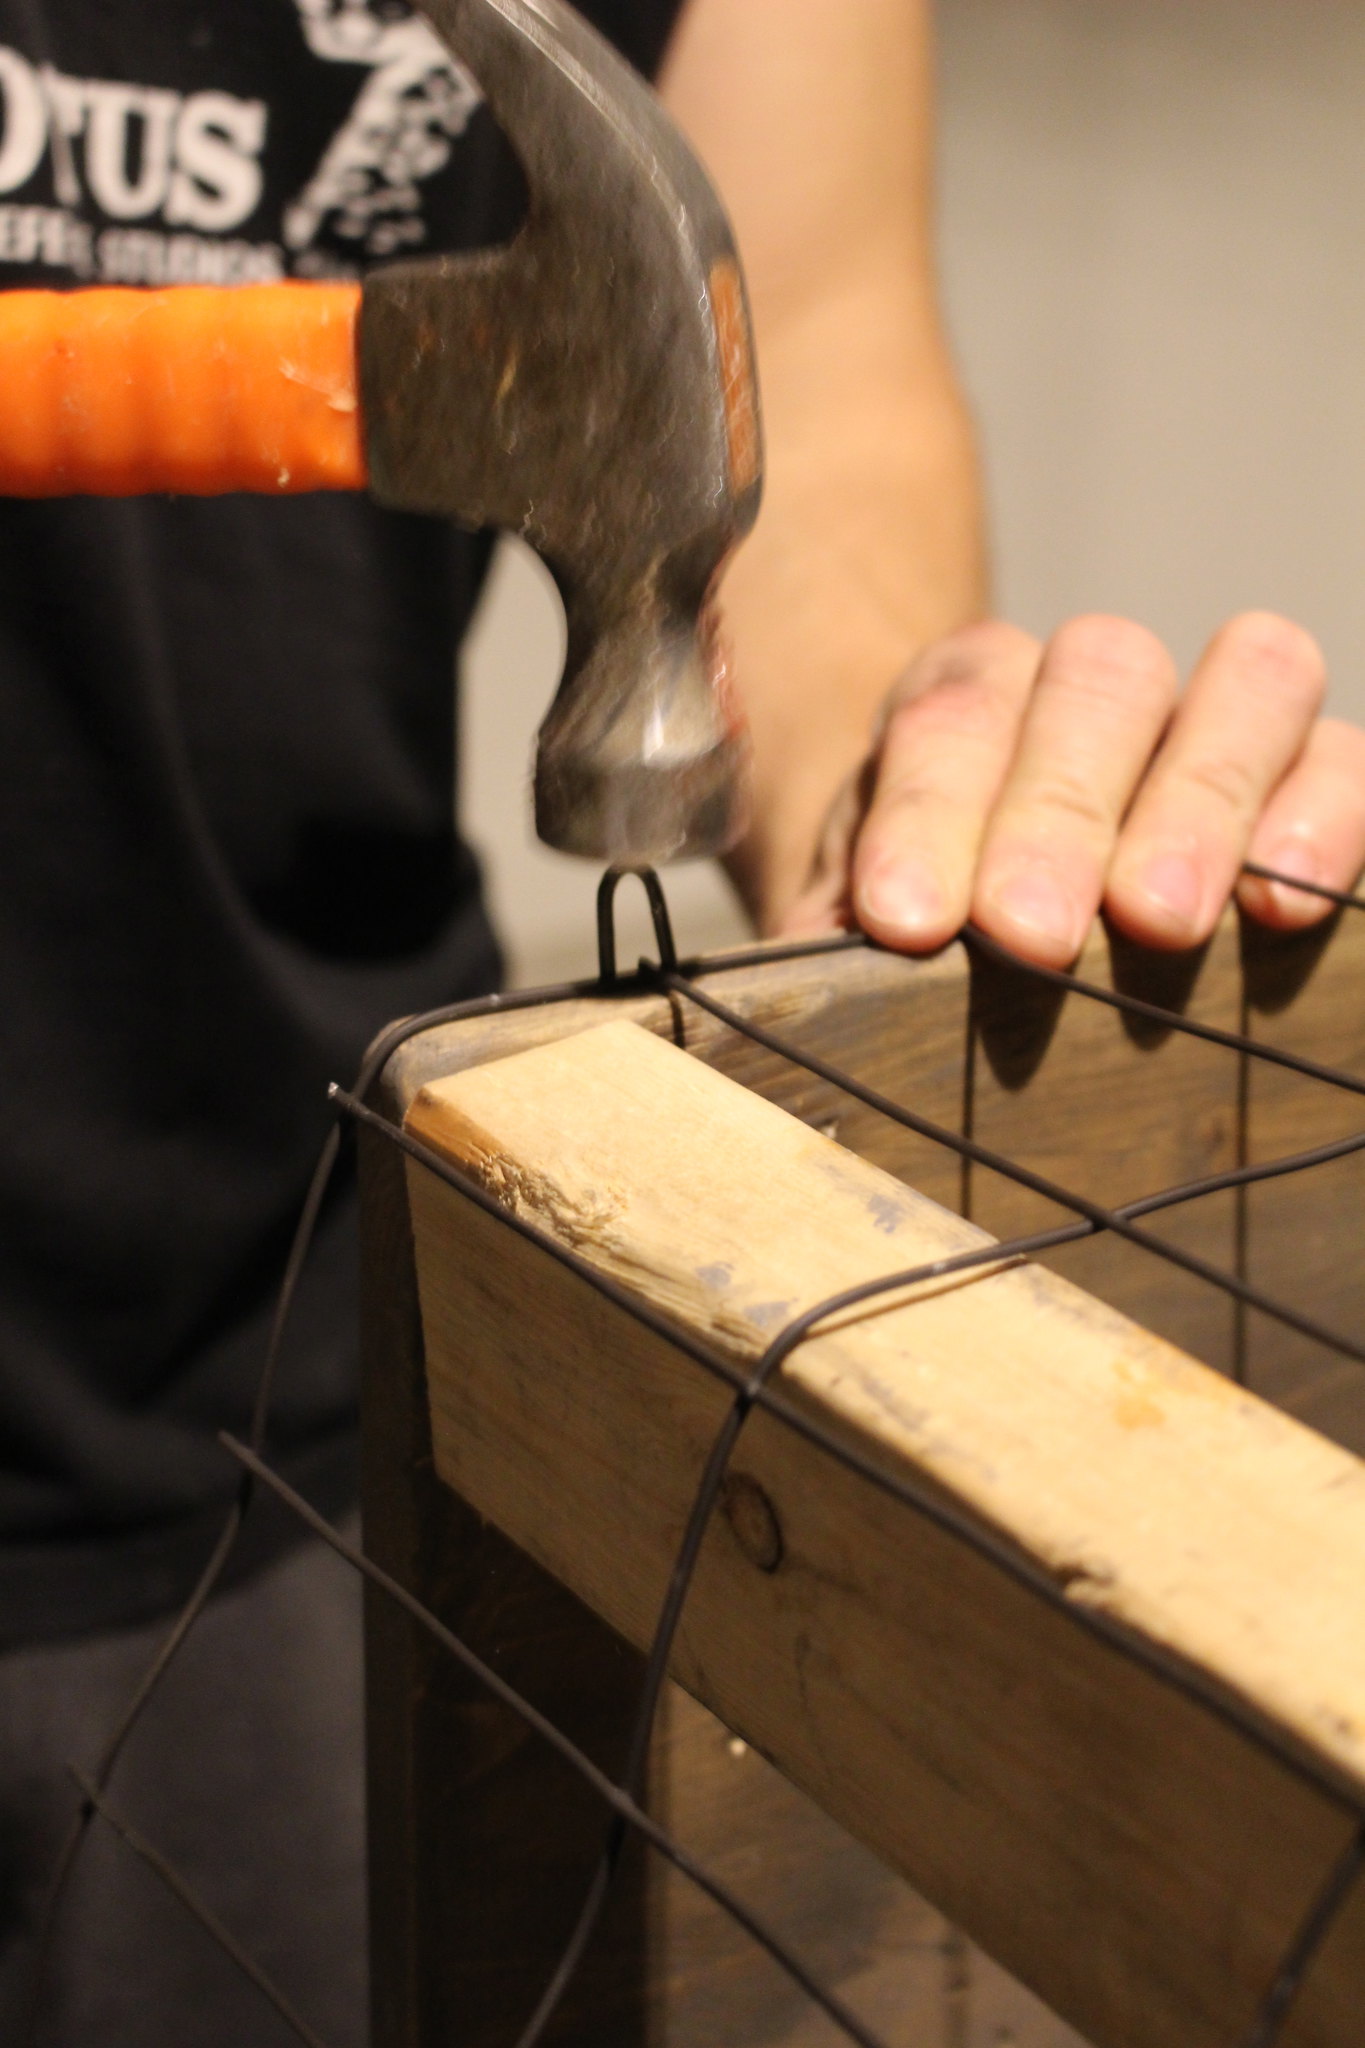
In order to start assembling our table, B created 8 spacers from scrap wood that were 12" tall to  match the spacing on the galvanized fencing. We had four spacers between each shelf, screwed into the corners to hold the shelves sturdy. Then, using a hammer B nailed the fencing to the shelves using the fencing staples. This step took the longest, as he put a fencing staple at every other cross section of the fencing to keep it sturdy. We had a few staples split the wood, but it really just added to the aged/beat up look of our barn board (and they were on the bottom or back side of the table, which was good). 

DIY Console Table

DIY Console Table

DIY Console Table

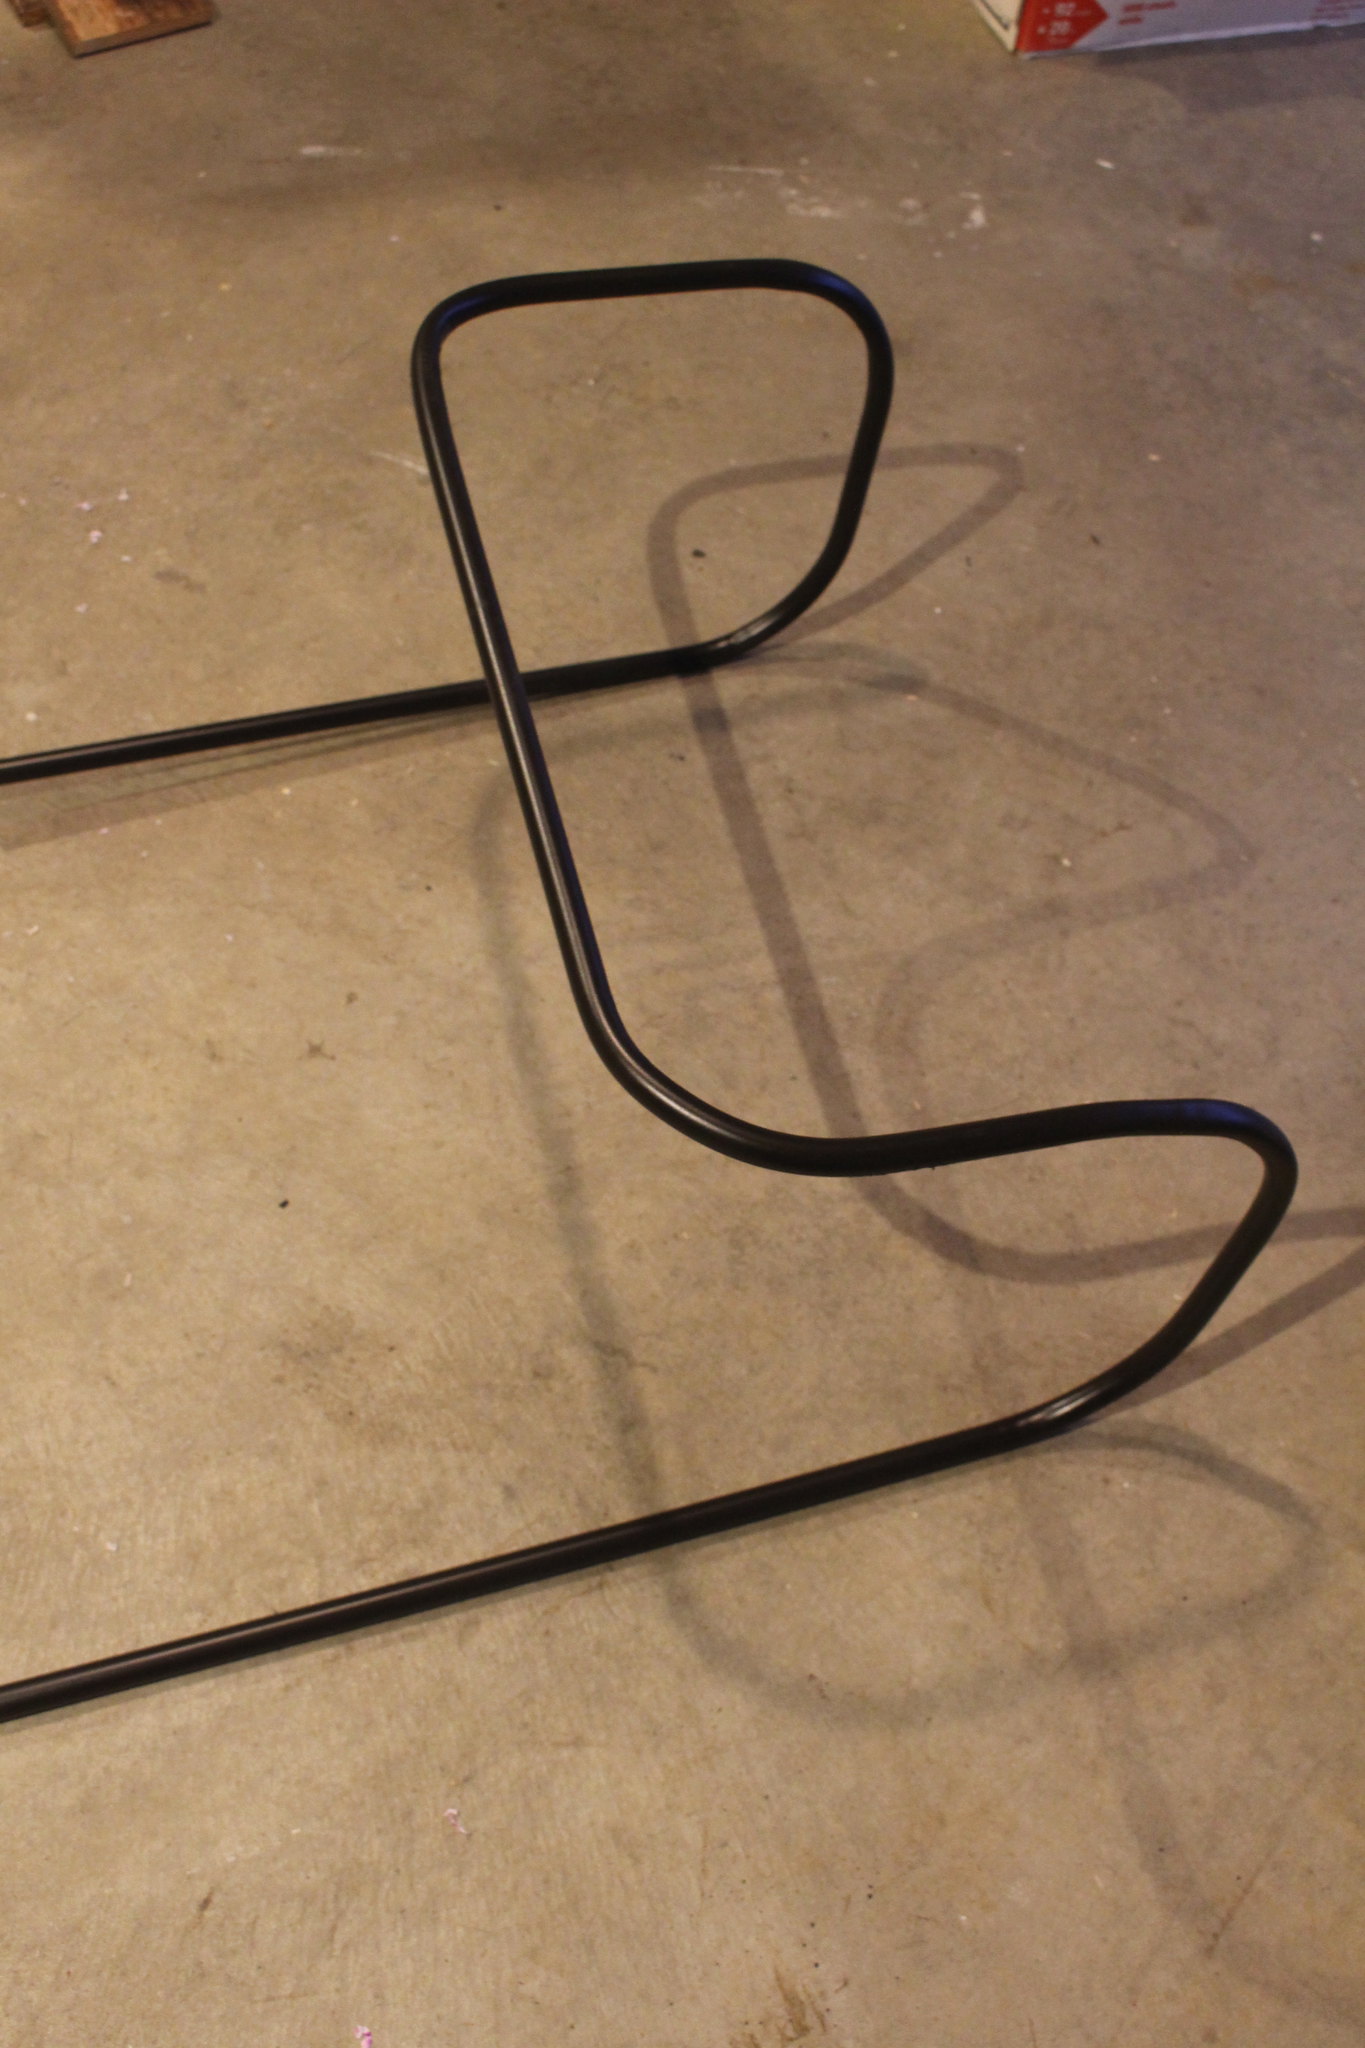
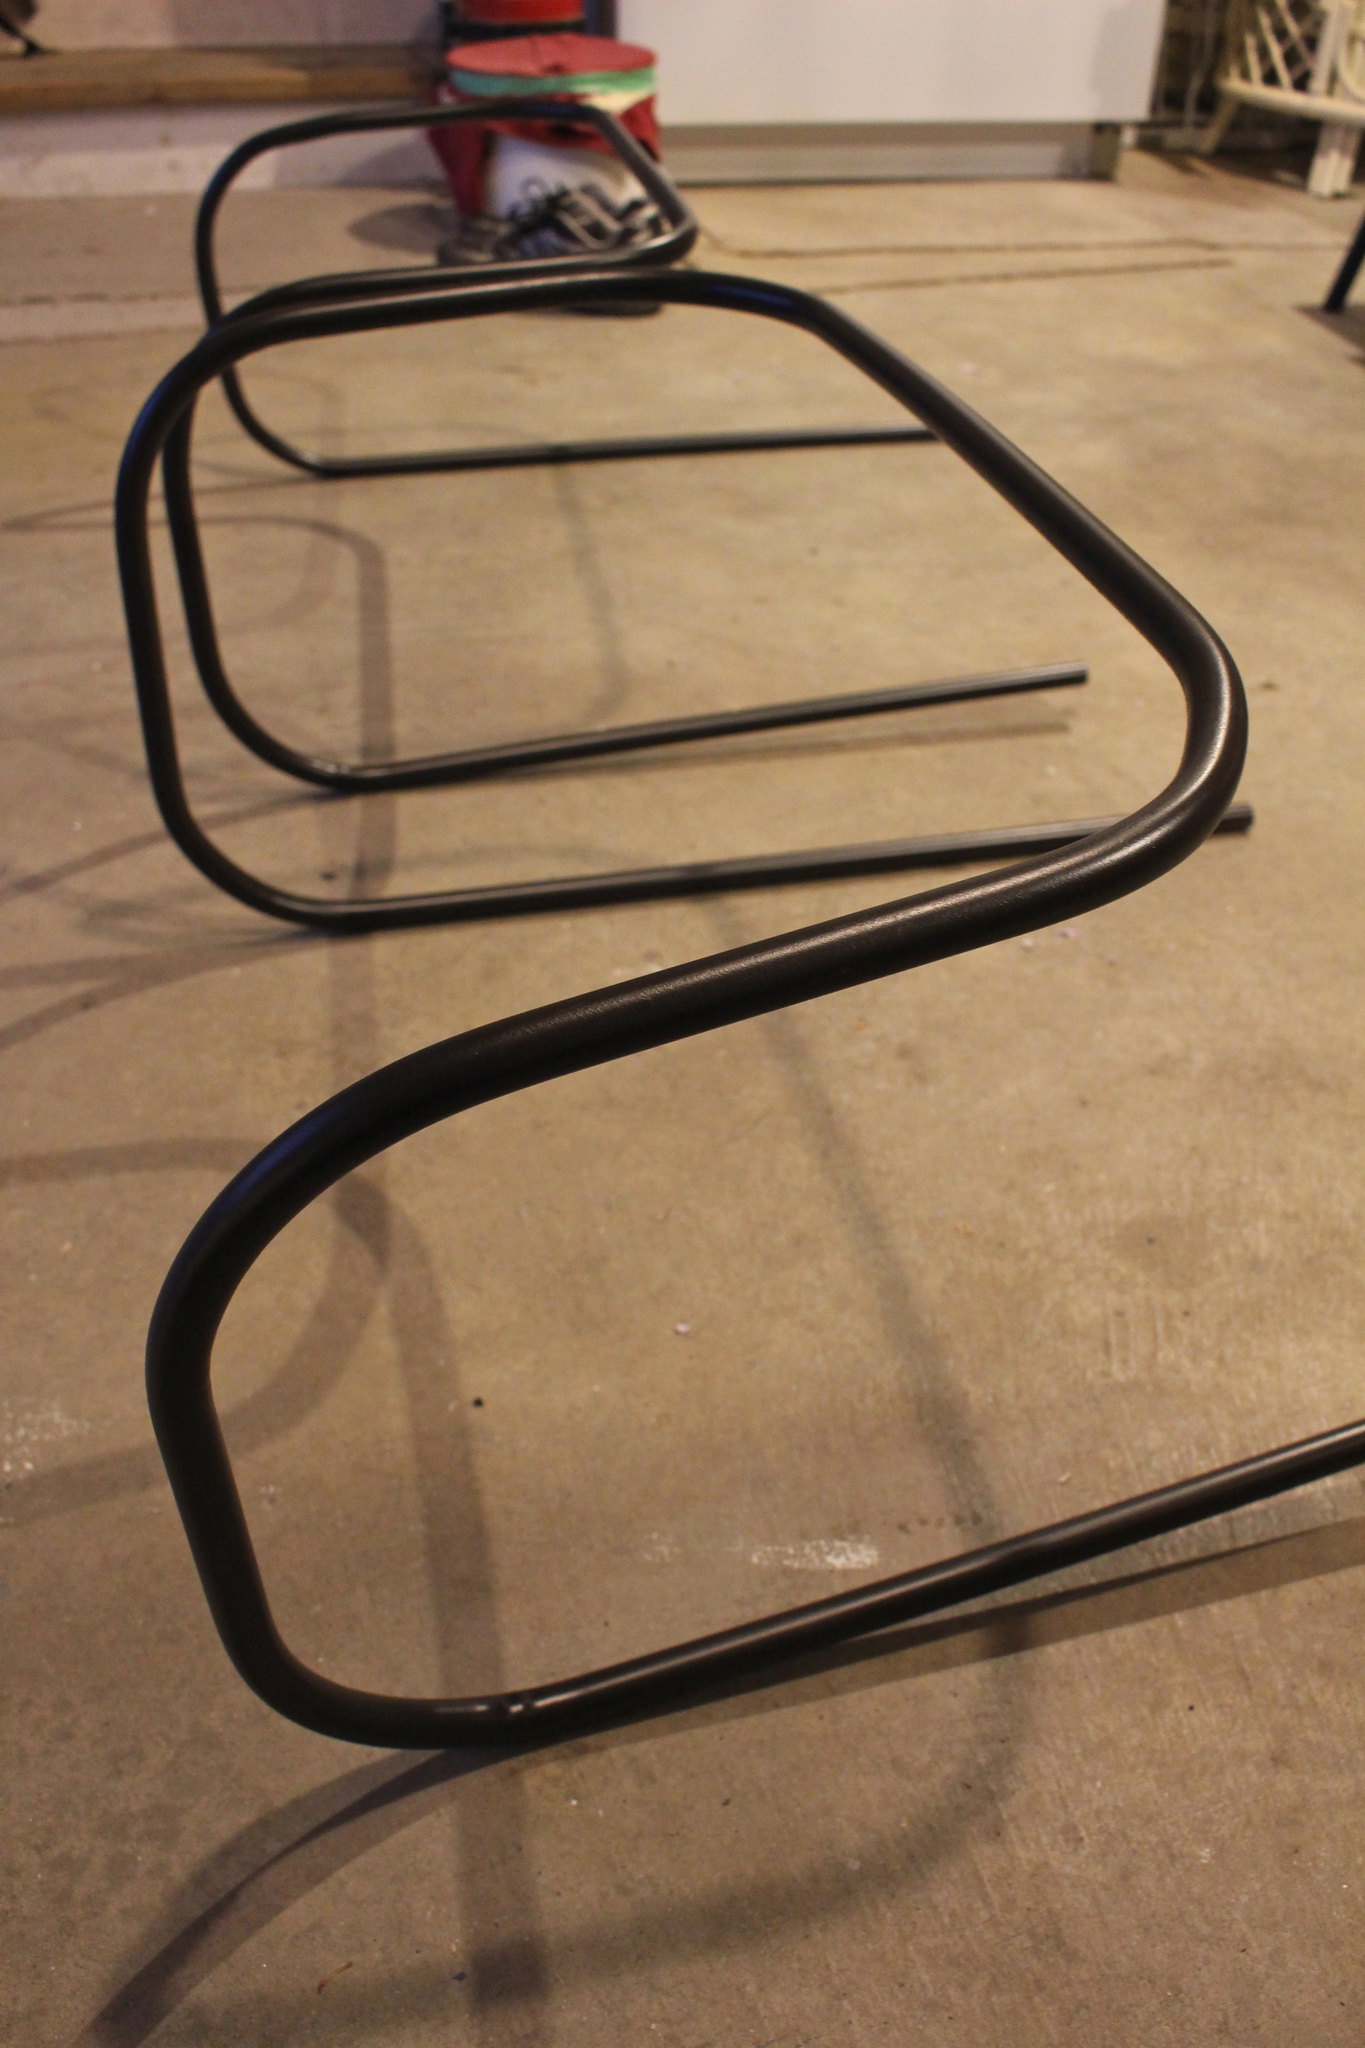
Next, B needed to bend the conduit pipe. Using a manual conduit bender that he picked up from Home Depot, he made 90 degree bends in the piping. This part proved to be the most difficult to mimic from the inspiration table. B mentioned to me quite a few times that with the conduit bender he wouldn't be able to get the pipe to wrap right around the wood, but rather we would end up with it winged out, more like handles on a bar cart. I was totally okay with this change in design and actually liked it more. 

Console Table Project - October 2015Console Table Project - October 2015

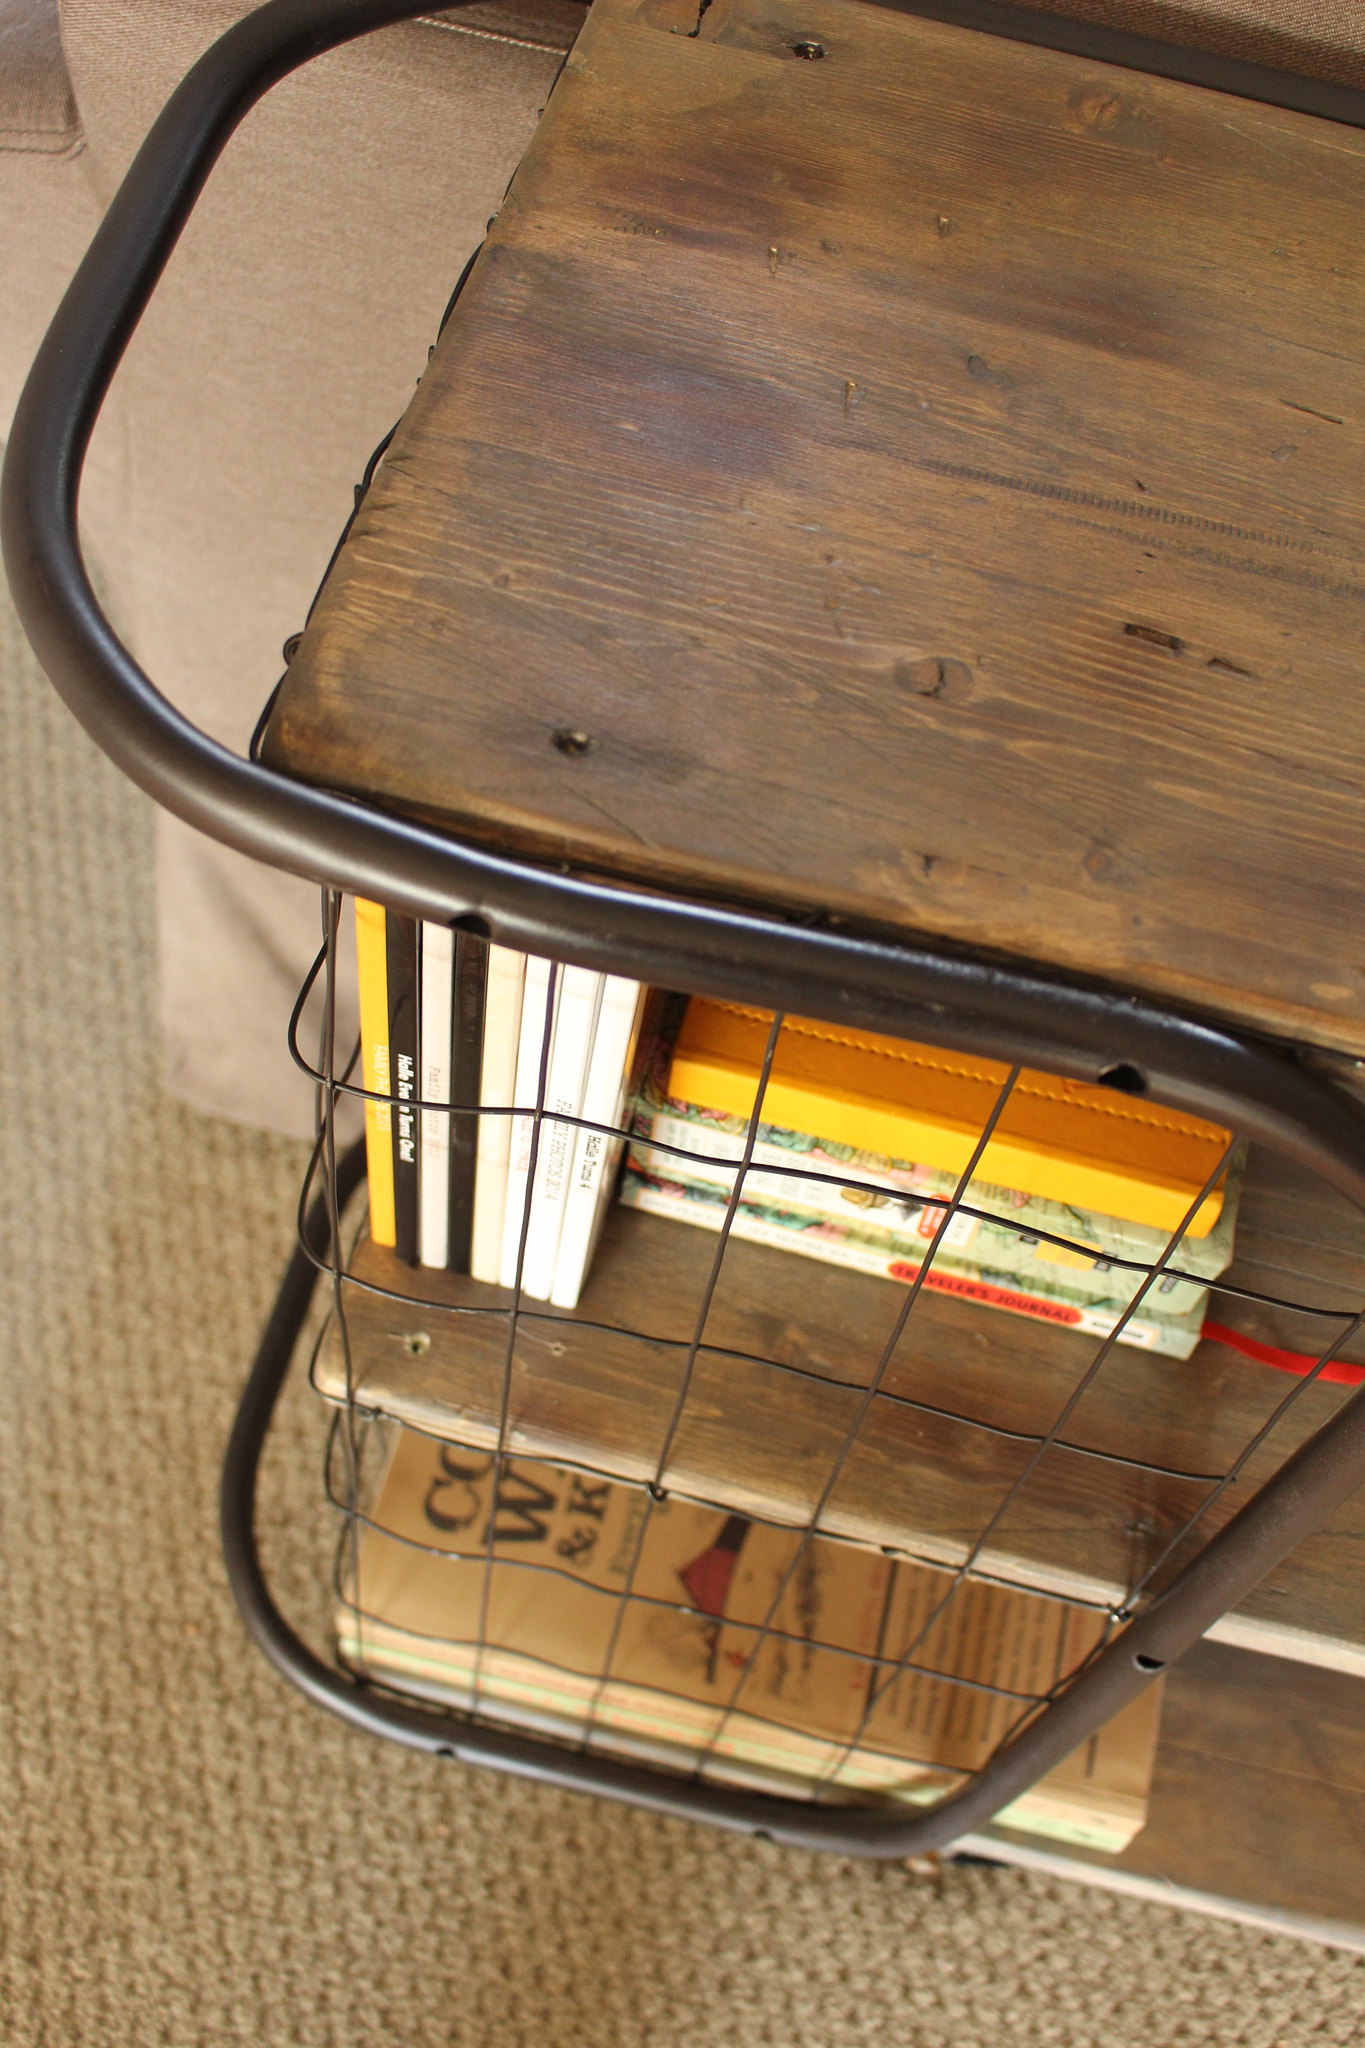
To attach the conduit to the table he drilled 1/4" holes halfway through the piping in order to hide the screw heads and then drilled a 1/16" pilot hole through the other side of the pipe and into the wood. He then used 2 1/2" screws to attach the piping to the wood. 

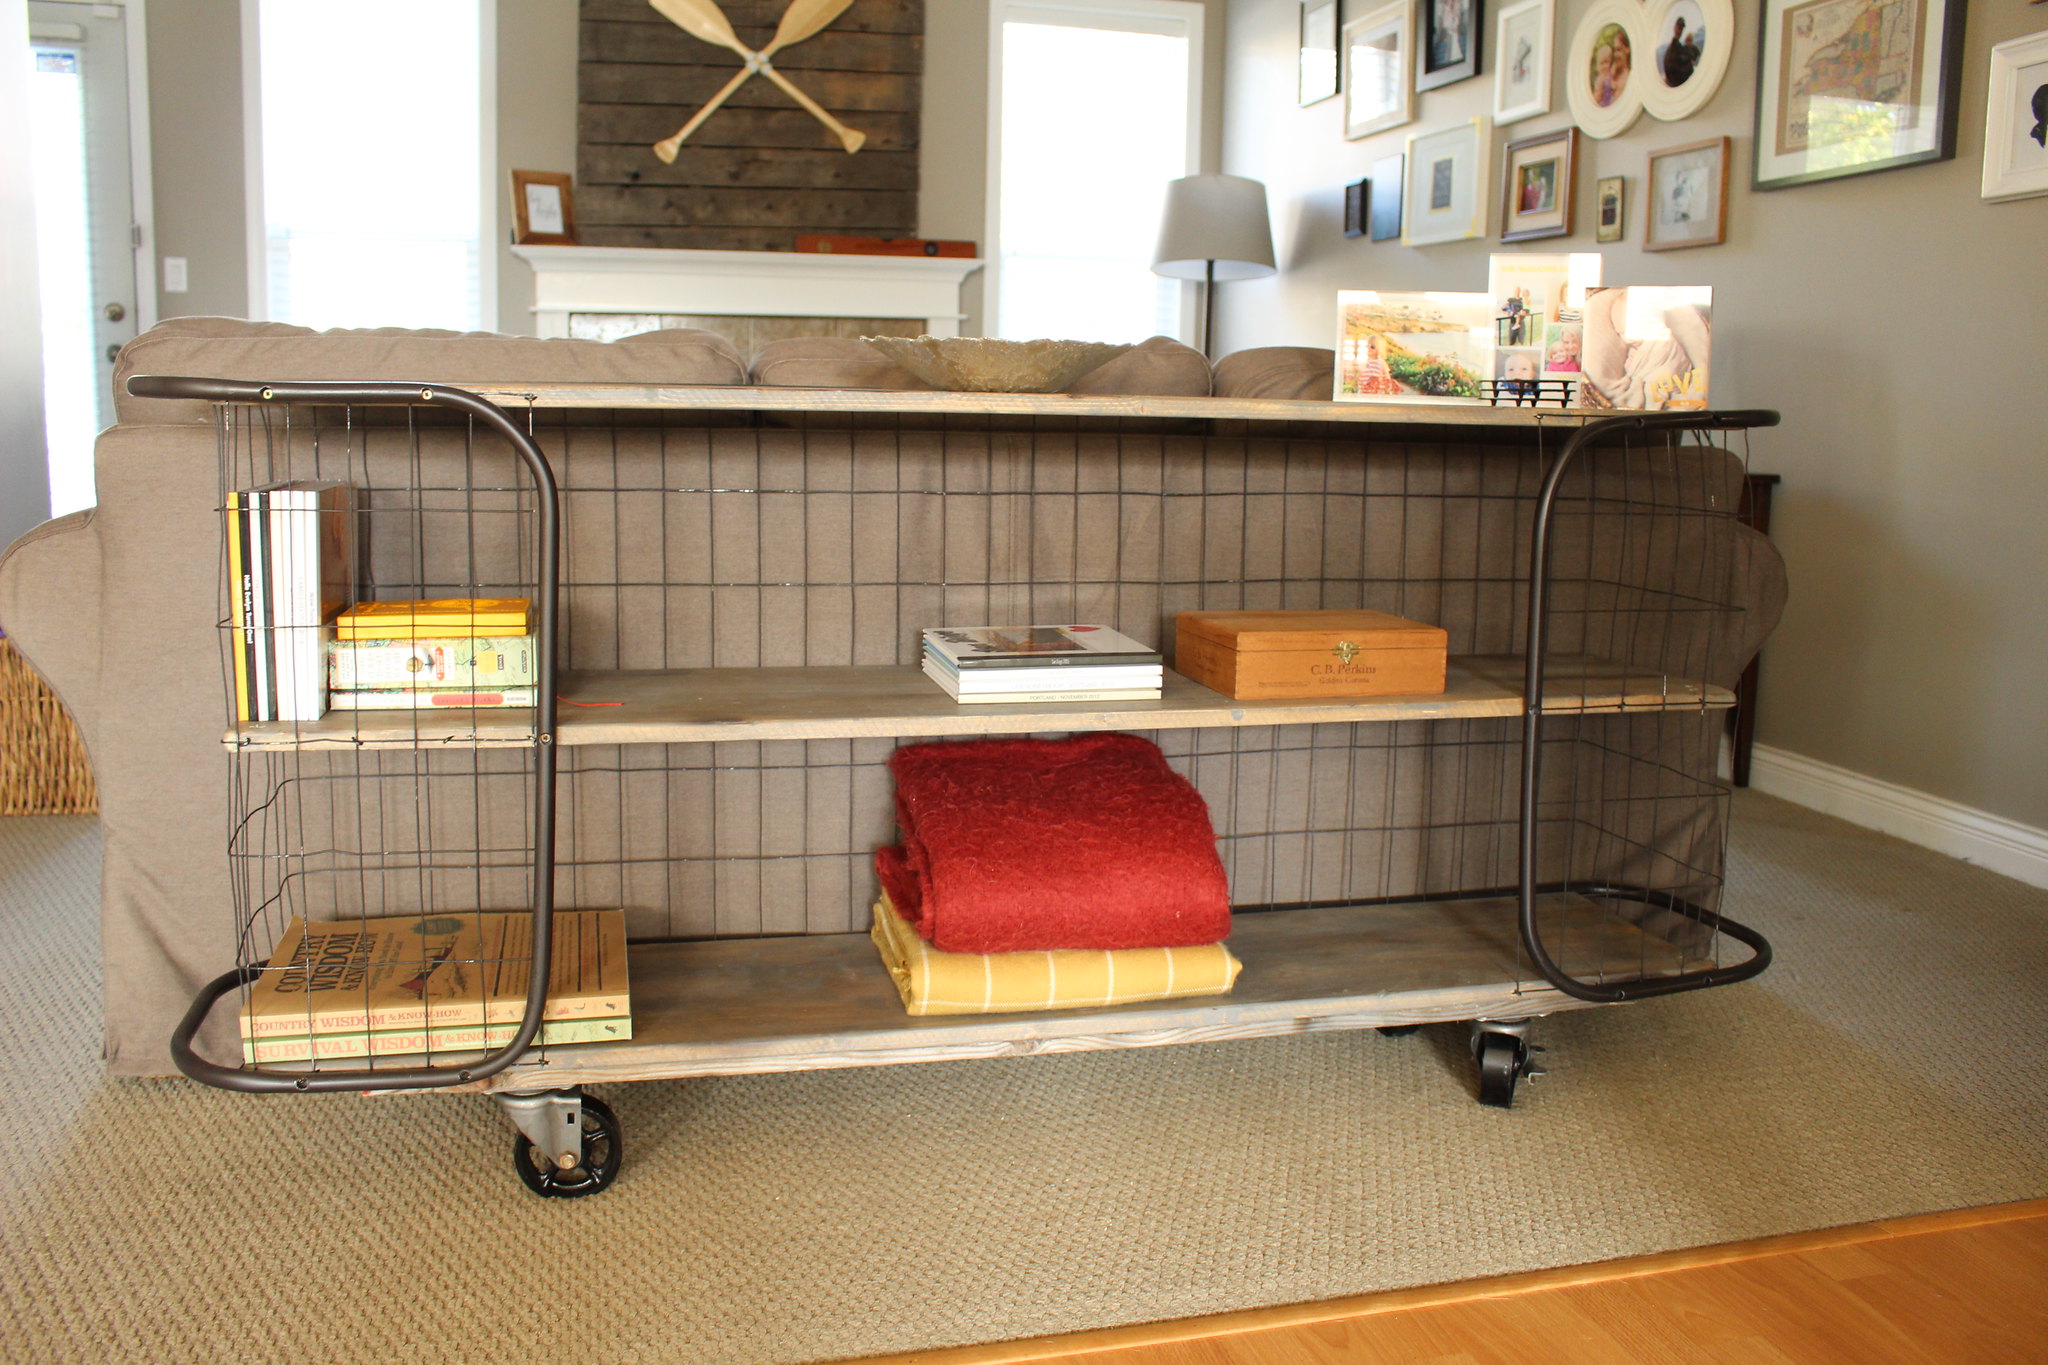
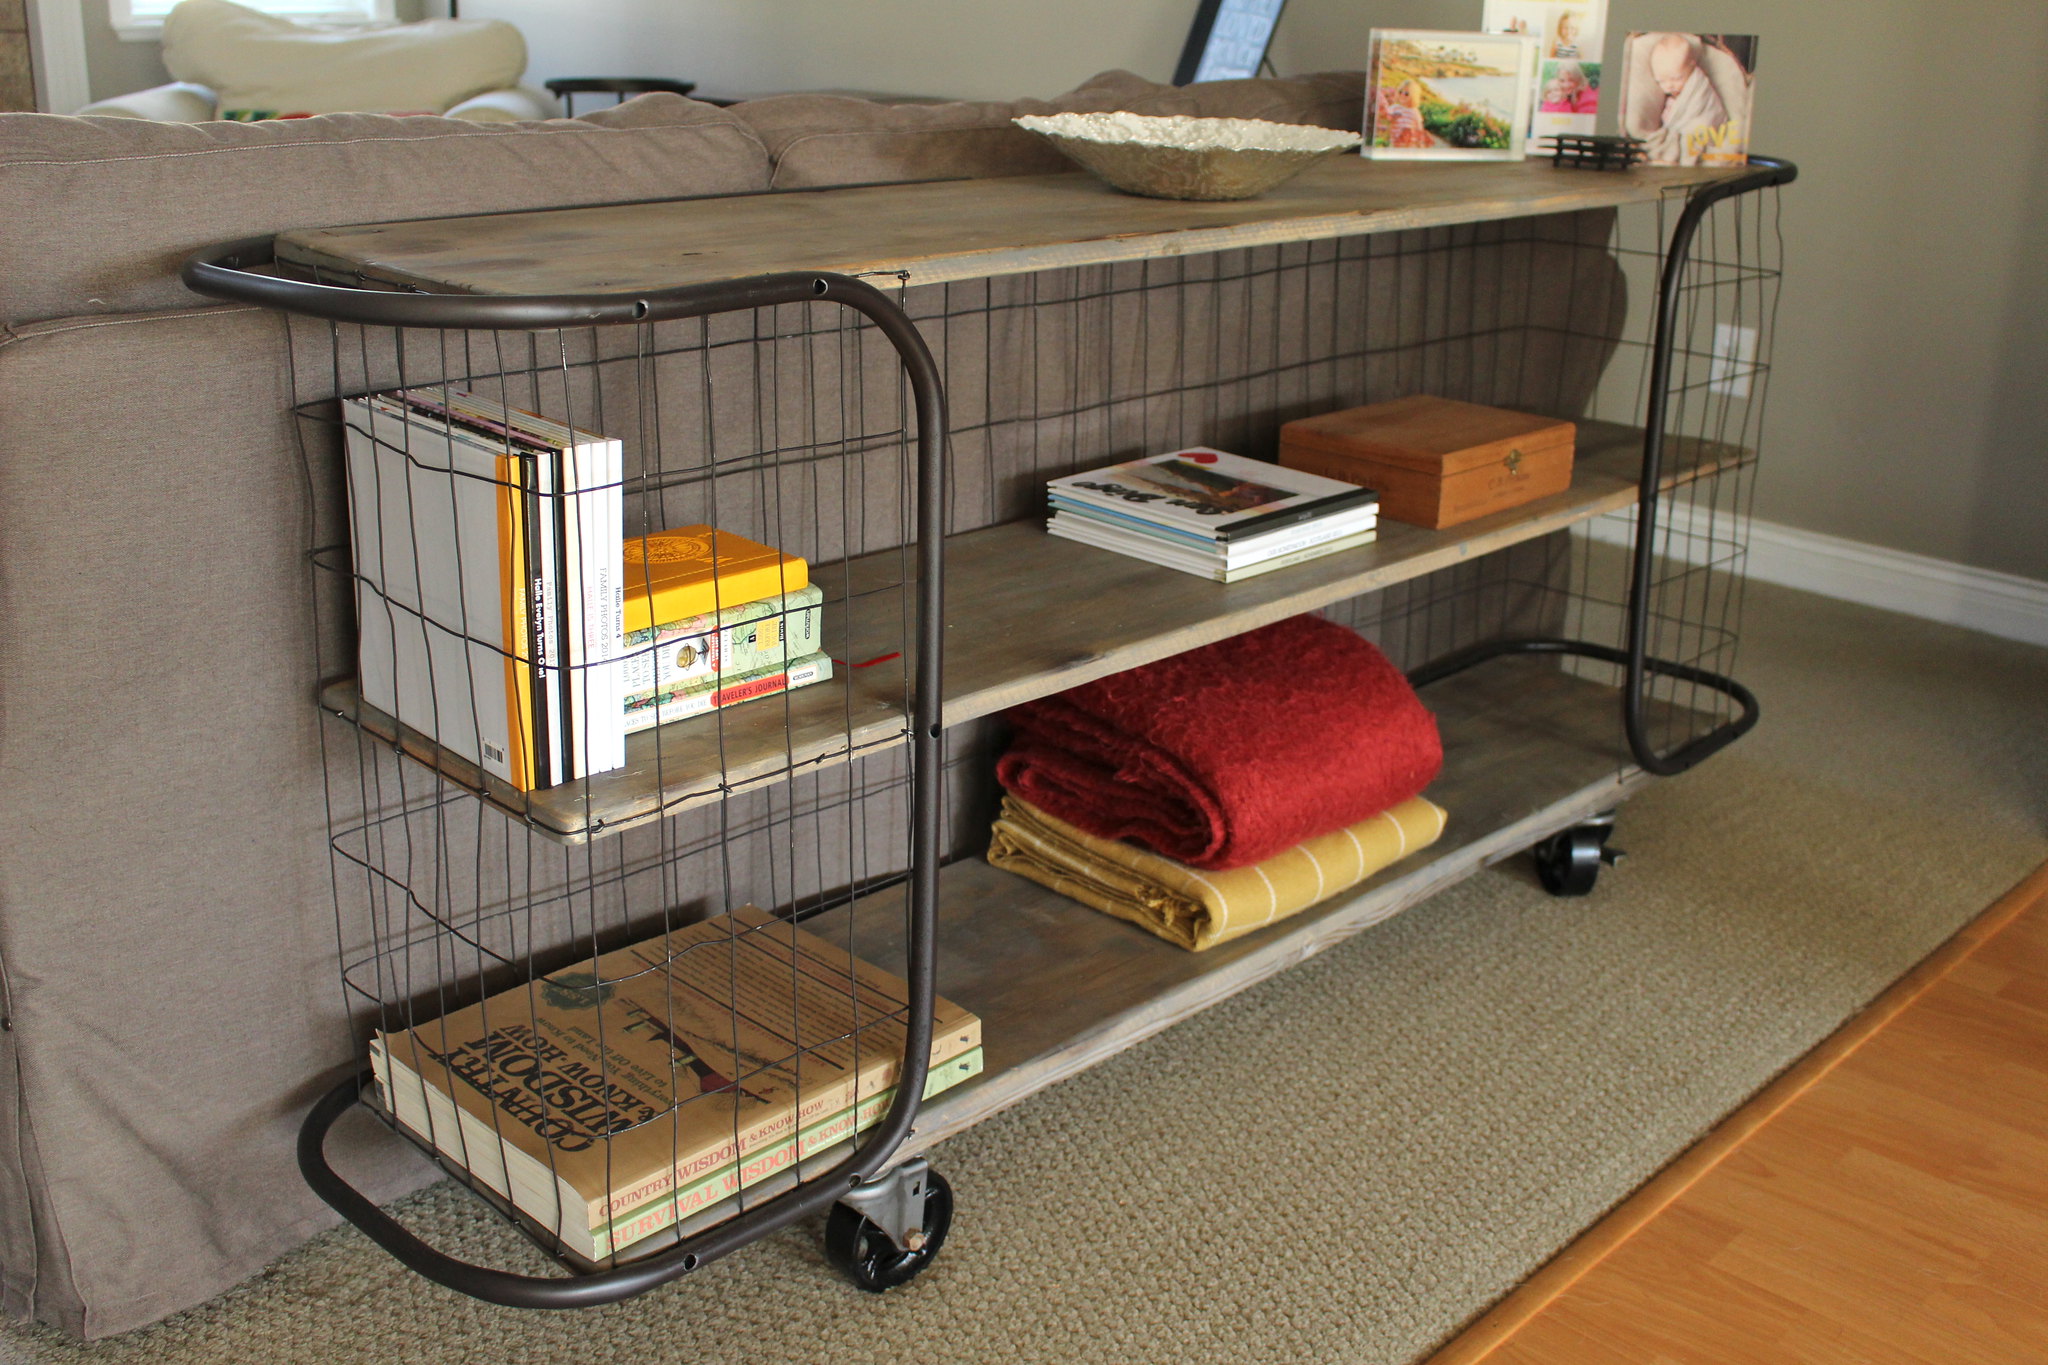
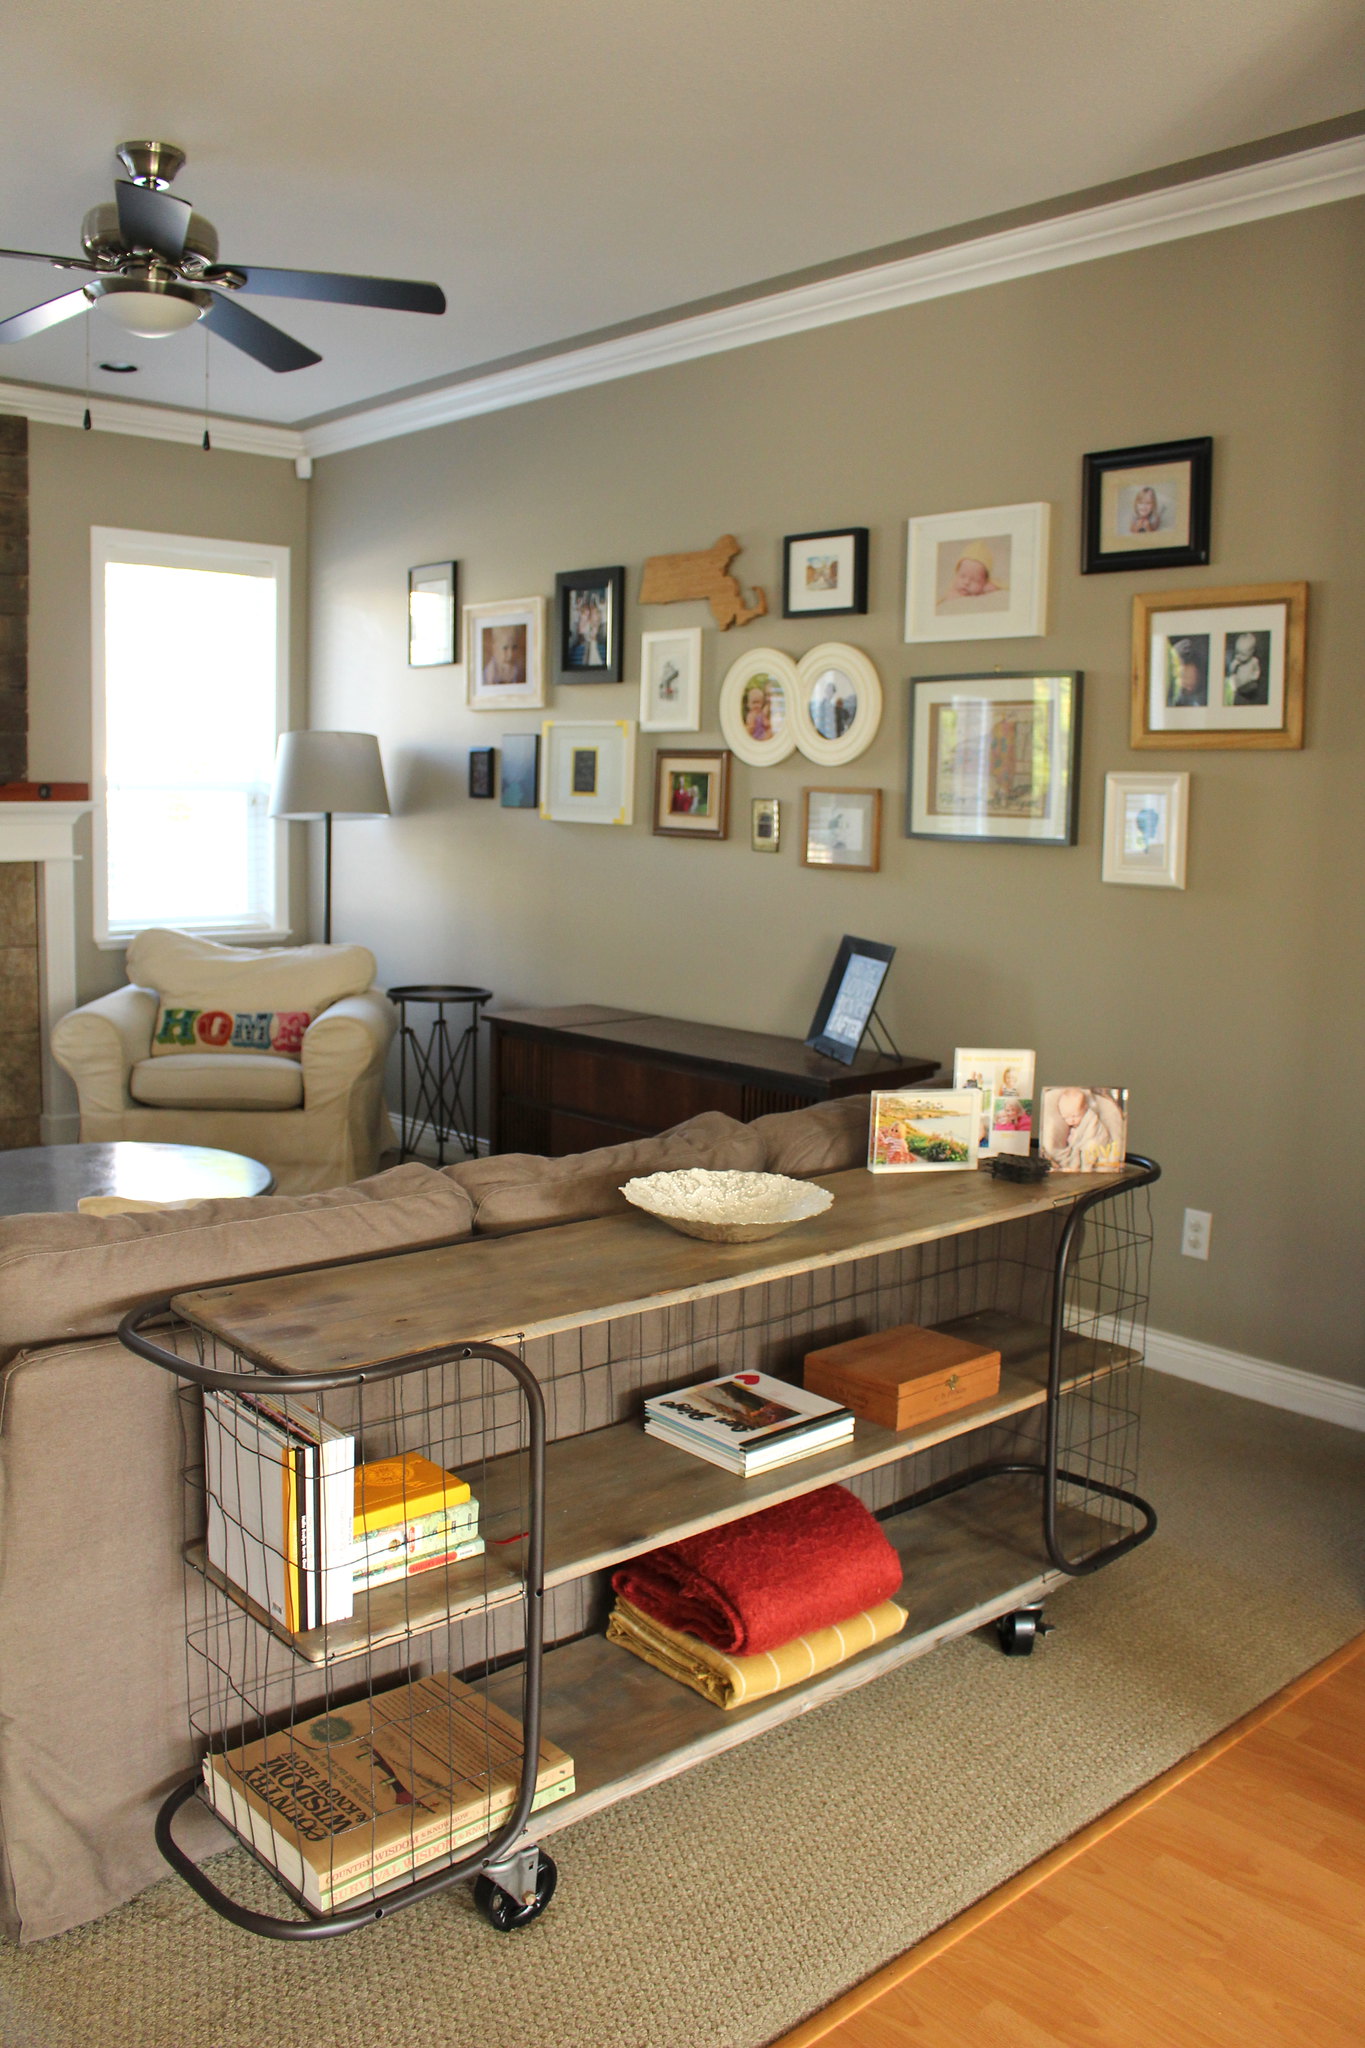
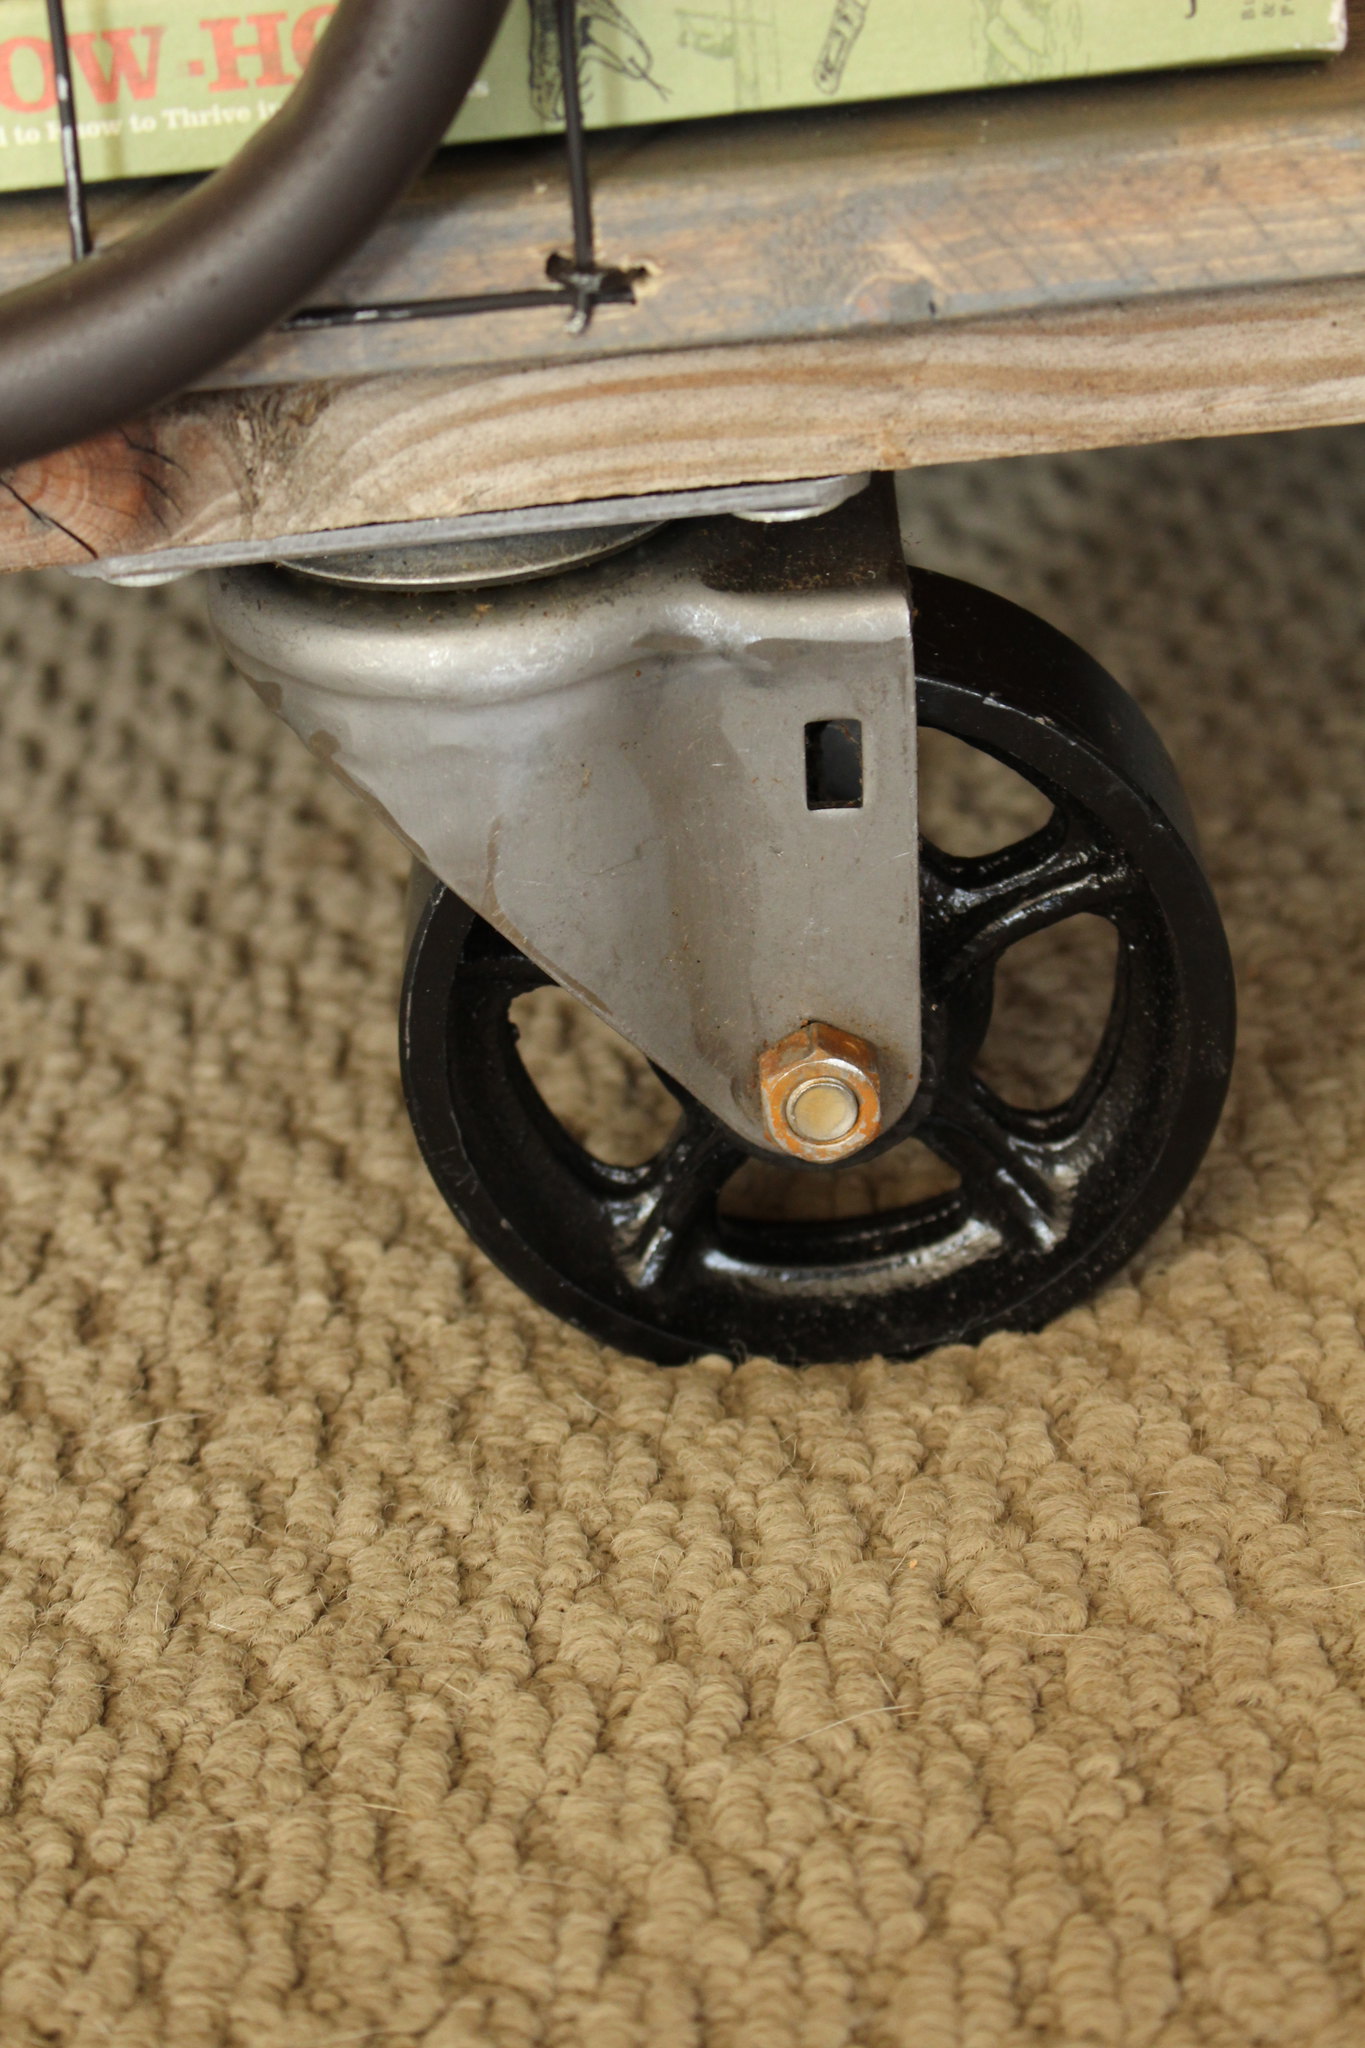
The final step was adding the heavy duty cast iron casters that we ordered from Caster Connection. He screwed the castors to some  6" x 3/4" x 4'-4" aged scrap wood that he had, and then screwed that wood to the bottom shelf... and we now have this table!

Console Table Project - October 2015

Console Table Project - October 2015

Console Table Project - October 2015Console Table Project - October 2015

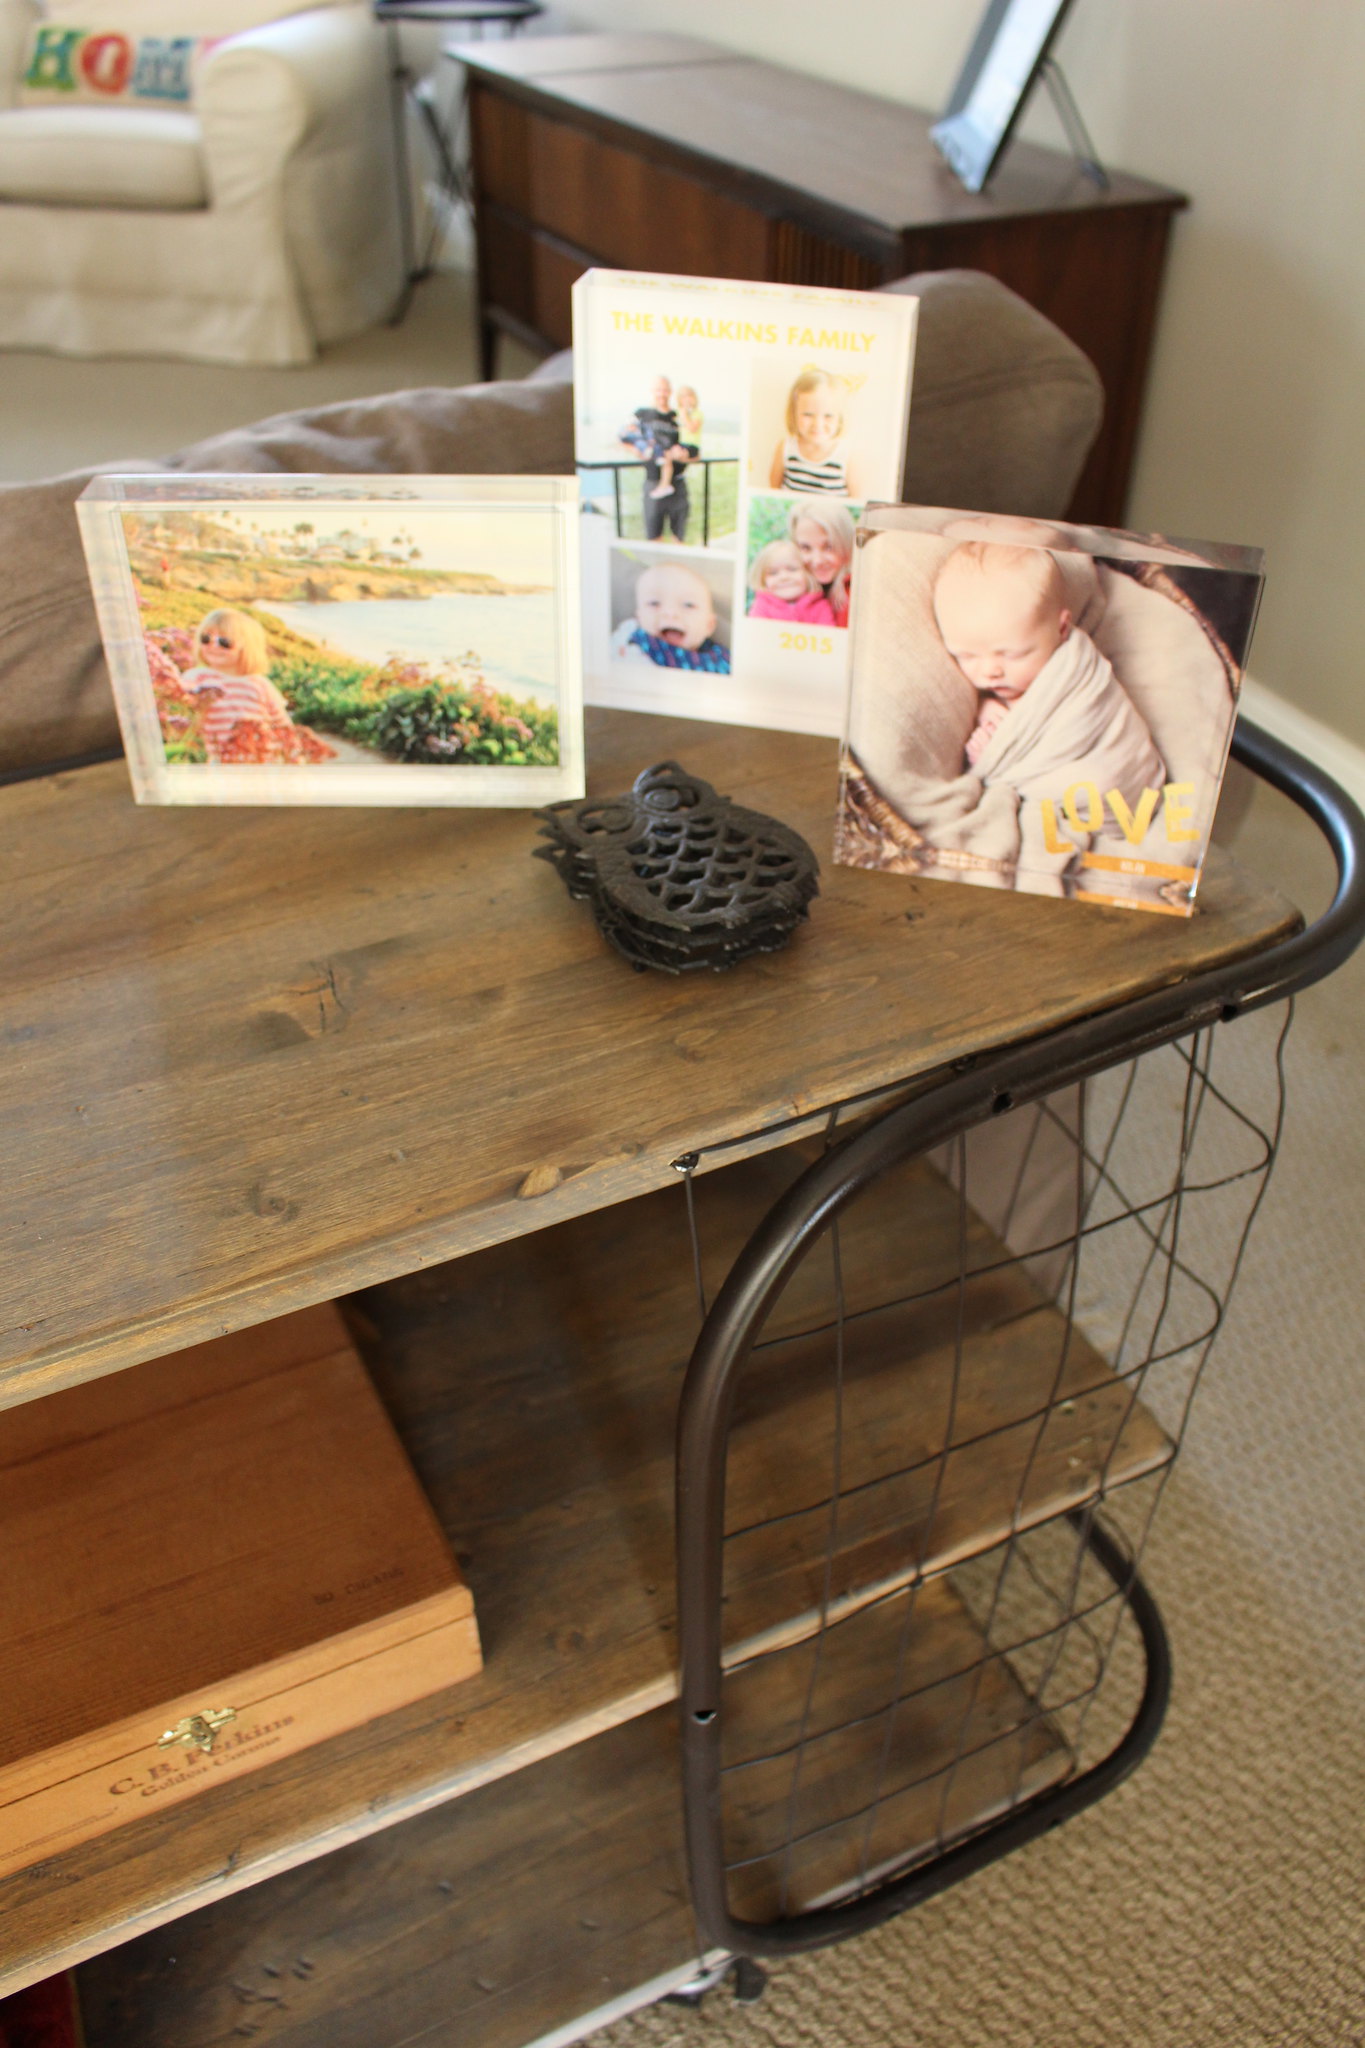
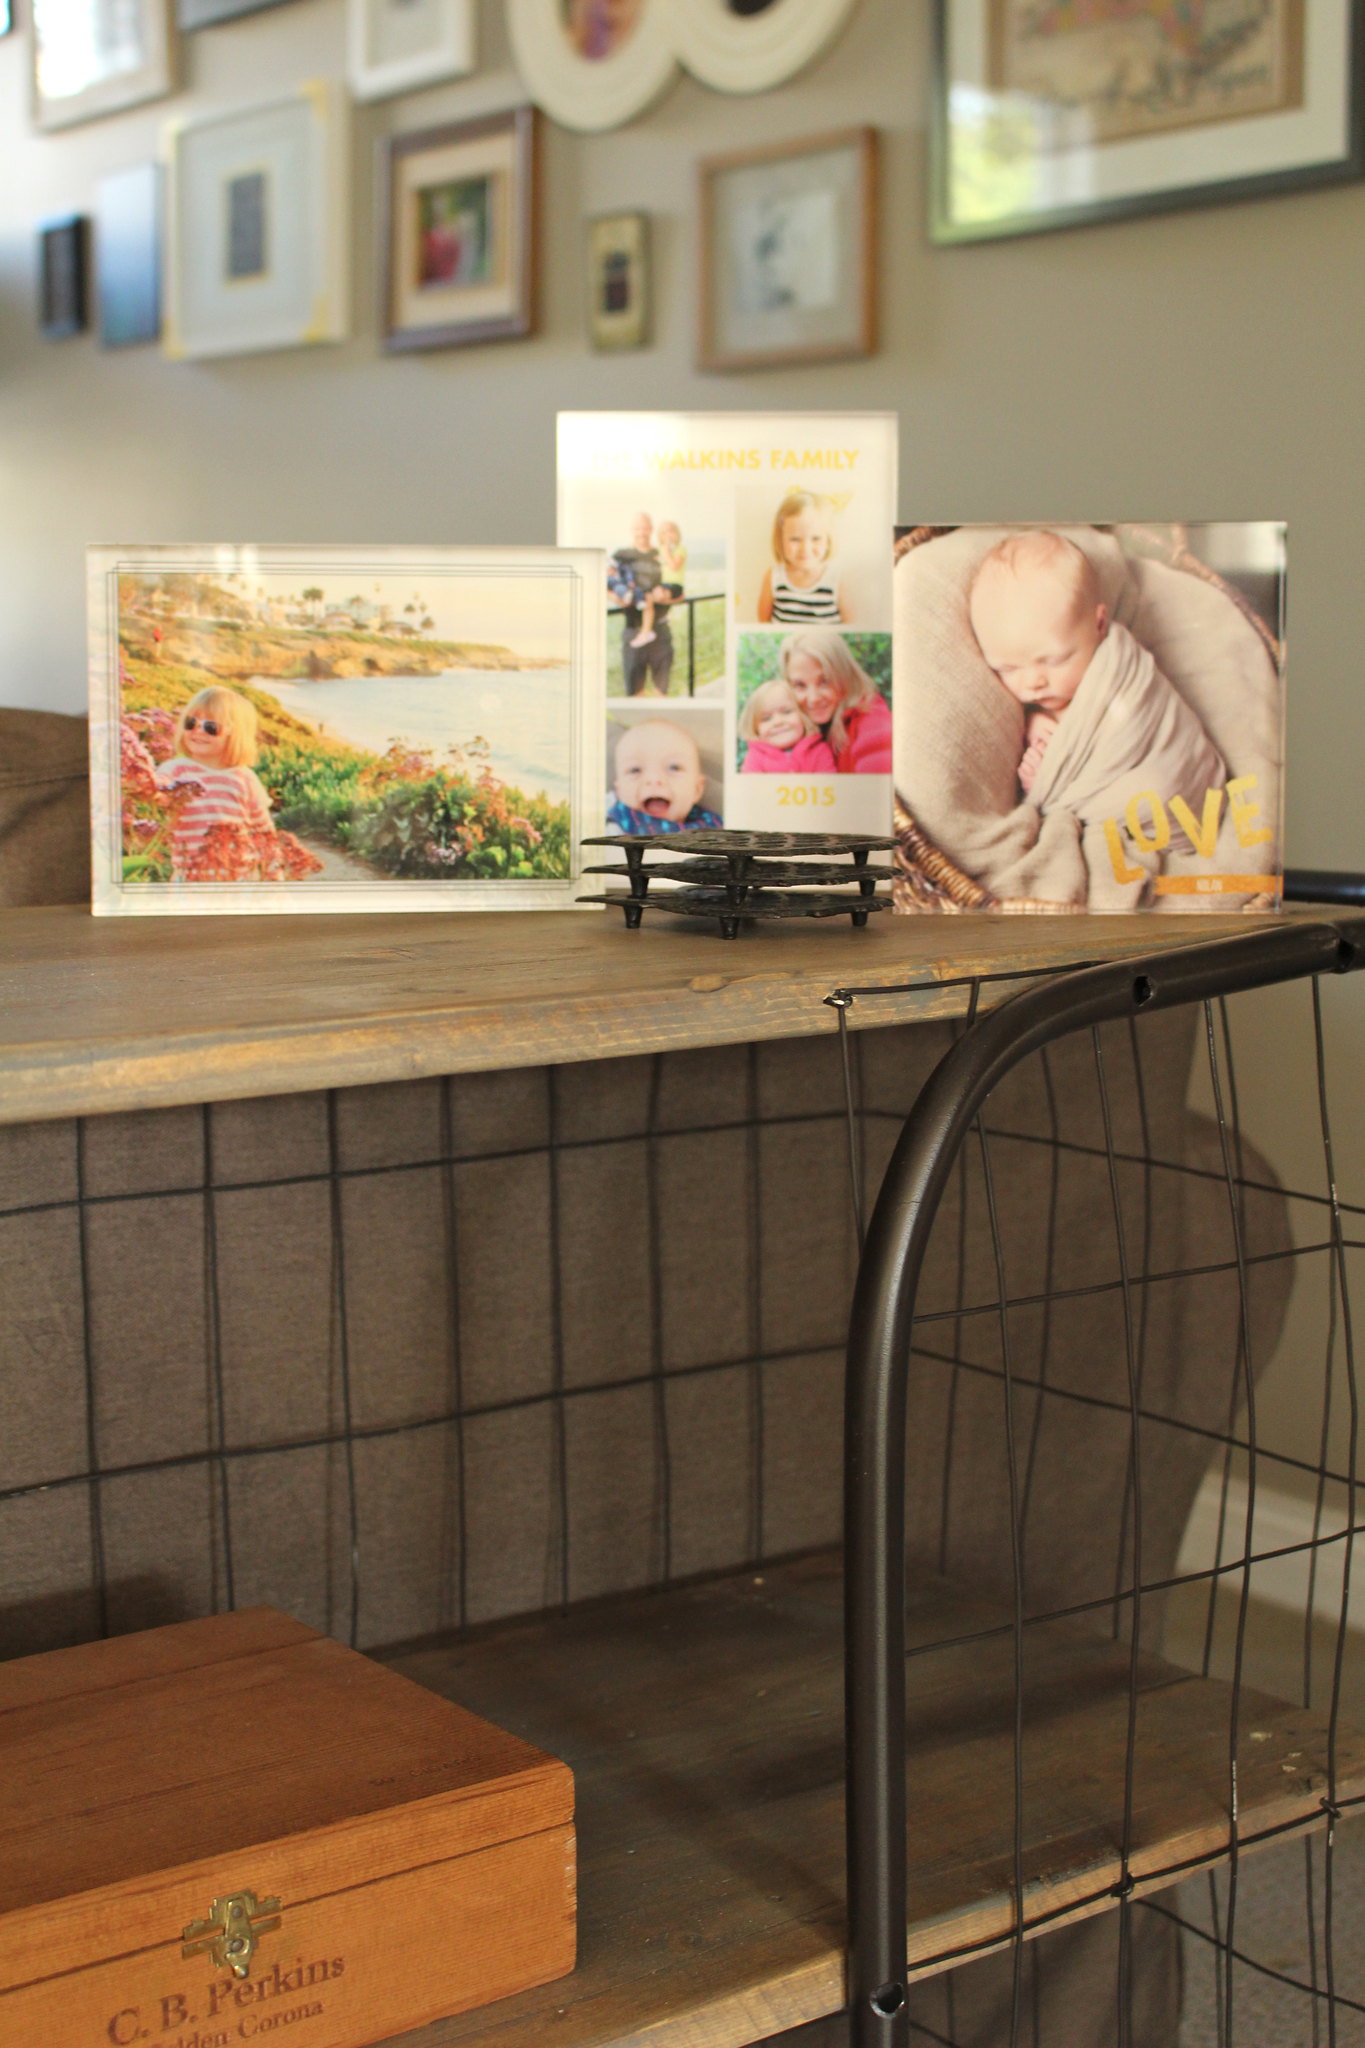
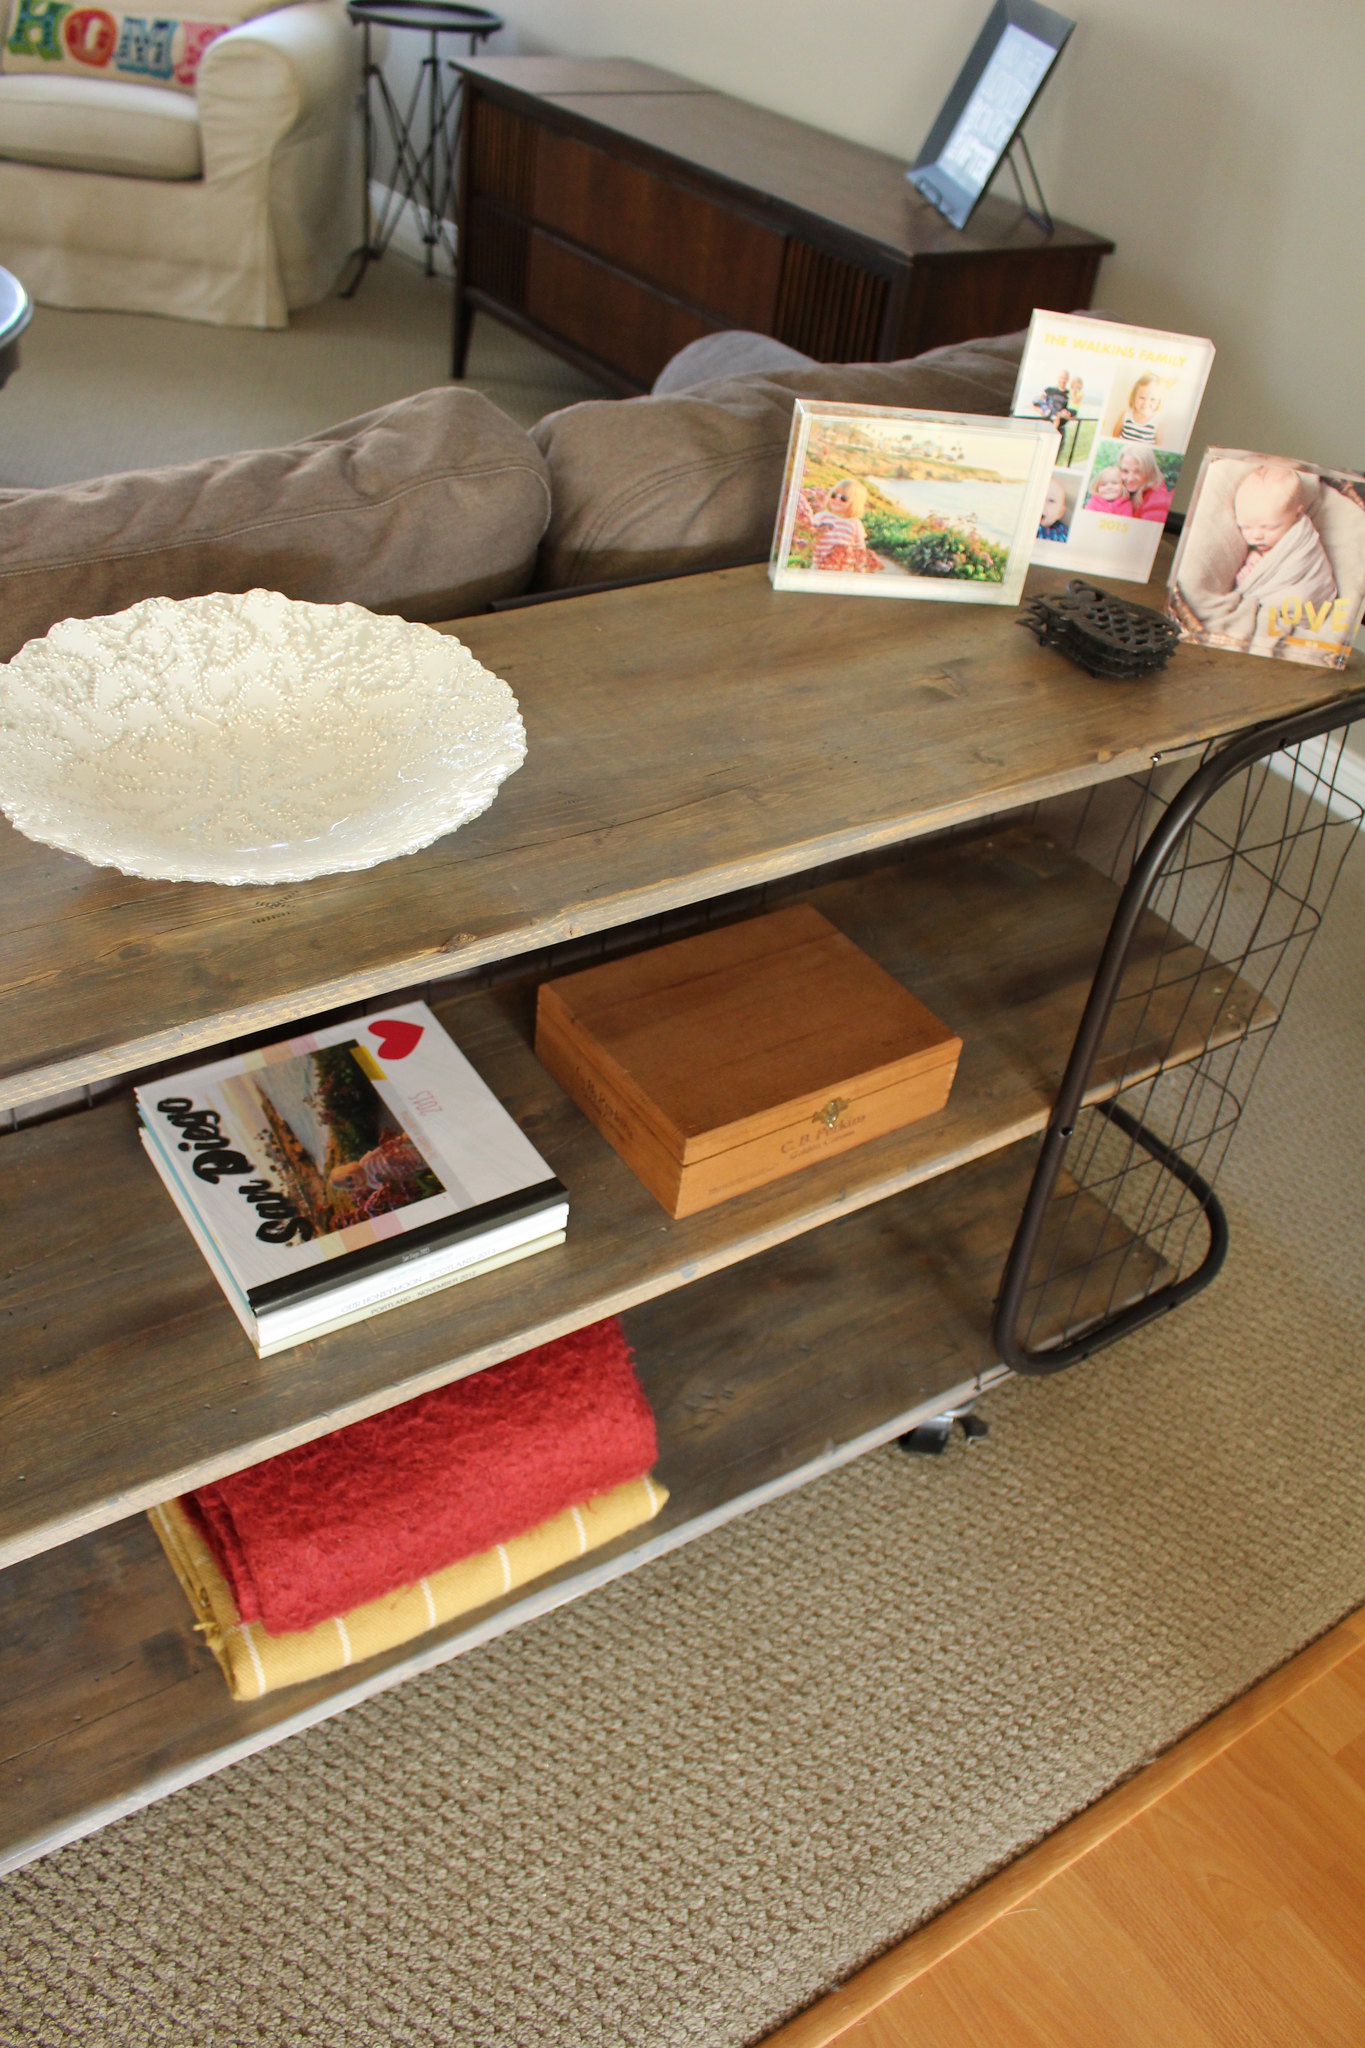
This is the perfect spot for my vintage owl trivets, as well as our new Acrylic Photo Blocks from Tiny Prints. I love them because they are such a beautiful and different way to display some of our favourite photos and memories! 

Console Table Project - October 2015

Console Table Project - October 2015

Though I would like to build a blanket ladder for this room, at the moment the bottom shelf is the perfect spot to keep a couple of my favourite throws from Penney & Company.

Console Table Project - October 2015Console Table Project - October 2015

I'm so in love with this table and thrilled that we decided to challenge ourselves to work with more than just wood to create a new piece for our home. Yes, B did the constructing but we collaborated on how to age our boards and what products to use for the look we wanted - we do make a pretty good team, if I do say so myself.

Have you been working on anything new that challenges you to think outside the box? Or maybe you've just acquired a really great piece of furniture that has made you look at your home in a new way!? We'd love to hear about it! 

SHARE:

Wednesday, November 13, 2013

Hole Be Gone

Slowly but surely, this house is starting to feel more like us. Most importantly, we are starting to bring in a lot of pieces that we love and really cozy up the place as we head into the cooler months. One project that has been on our list since mid summer, was finally completed last night. We finally addressed the big alcove over our fireplace...


Living Room Fireplace - Nov 2013Living Room Fireplace - Nov 2013

It was obviously put there for the purpose of people placing TV's there (our house is about 10 years old). Well, we don't have a TV that would fit in there (nor would we want it to), and we don't even have cable, so we needed to figure out another solution. 

While out shopping at Canadian Tire near the end of July, we spotted some small oars on sale for $8 each. We looked at them for a while and then started talking about using an old pallet to cover the alcove over the fireplace and attaching the oars to it. The idea stuck and home came the oars... and then sat in our garage until Monday (you may have caught a peek if you follow me on Instagram).

While B was working away on our dining table (reveal post to come next week... I promise), he decided it was time to get the pallet out of our garage as well. I cleared off the mantle and we took some time to take measurements and discuss how we wanted everything to look. We decided that we wanted it to reach from the mantle all the way up to the crown moulding, and be as wide as we could get it at that point (which worked out to be about 4 feet). 

So, B spent some time cutting the pallet, including ripping down the boards on the back so it wouldn't take up the entire mantle on us. Then, he tied the oars together, drilled a couple of holes into the pallet and attached everything using some thick coated wire. 

From this point, our original plan was to attach the pallet using anchors and large hinges that we'd picked up at The Home Depot. So, B took some more measurements, removed the shelf, looked for studs and then went about attaching the hinges to the wall...

Living Room Fireplace - Nov 2013Living Room Fireplace - Nov 2013

Living Room Fireplace - Nov 2013

See all the holes in the wall in the above photo? It took a few tries to find the studs. B also decided not to use anchors since the majority of the weight of the pallet would actually rest on the mantle anyway.

Once both hinges were attached to the wall, I crawled into the alcove and B was going to hold the pallet right up flat to the ceiling while I screwed the other half of the hinges to the pallet. That plan was quickly shot down when we realized there wasn't enough room for the pallet to fit between the hinge and the crown moulding. Poor planning on our part. So the hinges were removed, and B decided to drill the whole thing directly into the studs...

Living Room Fireplace - Nov 2013

Living Room Fireplace - Nov 2013

And how did that work out for us, you're wondering? Well take a look for yourself...

Living Room Fireplace - Nov 2013

We had known the pallet was pretty crooked, but didn't realize how bad it was until it was all attached to the wall. There was no way we could live with this wonky looking pallet over our fireplace. It made everything look off.

So, off it came again (by this time it was probably around 8:30pm) and B took it back out to the garage to work his magic. His plan was to cut it on an angle along the bottom, so we could lift it slightly on one side when we attached it to the wall. He figured this would be the best way to counteract how crazy it was all looking... and well, it looks much, much better now!

Living Room Fireplace - Nov 2013

Living Room Fireplace - Nov 2013

It's a huge improvement from the large gaping hole that existed there before, and I think it will be perfect to decorate seasonally. I can already picture a wreath hanging over the pallet, with a garland draped across the mantle, for Christmas. Now if only B would let me start decorating!

We have other plans for the fireplace, and room as well. I'm itching to paint everything but with such a large open area in our home, it will be a big investment to get it all painted. We'd also like to change the tile on the face and hearth of the fireplace. We like the idea of stacked stone for the face, kind of like this. All in time of course! Up next - finishing the dining table and Halle's bedroom!

Any big projects you're trying to finish up before the holiday rush really begins?
SHARE:

Thursday, November 8, 2012

In This House...

It's hard to believe, but we've been in this rental for over 6 months already. Time is certainly flying by, and we're still working on making this place feel more like home. One of my biggest initiatives has been to get artwork that is unique, personal and meaningful up on our walls. I've already shared our bedroom art project here and here, our hallway gallery wall here, and the updates we've made to Halle's gallery wall here. Next on my list was this big blank space next to our entertainment unit in our living room...


July 18, 2012

Just like everything else we have put on the walls, I wanted it to be something we loved and something that really reflected us as a family. Everything worked out perfectly when I attended the BLEND event back in late September, and won this beautiful decal from Danielle's shop, Urban Walls.

7d0e330233b20314f57369c8f51459b7.1280.1280

A decal is the perfect solution for art in a rental. It's a great way to get something on the wall that isn't permanent, and it won't cause any damage. Plus, options are endless so you're sure to find something that speaks to you, especially in Danielle's shop. 

For us, it would've been easy to just slap it up on the wall and call it a day, but that wasn't what I wanted. Since we're not too sure how long we'll be in this home, or where we'll be next, I wanted to do something to ensure we could take this message with us wherever we go. It all started on a rainy Sunday when we made a trip to The Home Depot...

November 4, 2012


That melamine coated pressed board was exactly what we were looking for, and we were thrilled that we didn't even need it cut. It was larger than the decal, but would leave us the perfect border all the way around, and it put us out only $26!

Election night was the night to get this project going. While the TV kept us up-to-date in the background, we got to work preparing to apply the decal. B measured everything so we could get it nice and centred. Then we gave the whole board a wipe down with a slightly damp cloth and then began to apply the decal.

PicMonkey Collage

We had some problems with keeping the decal straight on the board. The easiest way to fix this was to actually cut the decal in between the lines of text, and apply it in sections. You can see B cutting it in the middle picture on the right, and it's obvious in the picture on the bottom left that we have two separate pieces. Cutting the decal really helped make this whole process easier. In the end, it worked out perfectly and the whole thing looked great. Halle loved helping too...

November 6, 2012

With the decal on, it was time get our big heavy board up on the wall. B would guess it weighs around 30lbs, so we had to be sure to get something sturdy to keep it up on the wall. B had picked up some of these corner braces at Canadian Tire when we were out on Sunday...

IMG_0180

Then, there was a whole lot of measuring, drilling and inserting of anchors...

November 6, 2012

What B did was place the braces in the wall so that the board would rest on top of it, not cradled inside of it. Then he took the two braces for the top and attached them to the board first. Lastly, he put the board in place and attached the top braces to the wall, and then screwed the bottom braces into the board. One night of a little bit of dedication and we ended up with this beauty in our living room...

November 7, 2012

November 7, 2012

I am SO in love with it. I have always loved how decals look on walls, but I really love how this one looks on our melamine coated board. It's thick and heavy and really has presence in the room. I think it's a statement piece, and the message is a perfect reminder for all of us on how we should approach each day. Halle really loved it too. Once it was up on the wall she kept running over to look up at it, then she would laugh, run away and repeat. I wish I'd got a video of it. The best part for me though, is knowing that I will get to take this with us wherever we go in the future.

If you're looking for something great to spruce up your space, check out Urban Walls. I'm already eyeing up these awesome polka dots - I think they'd be perfect for Halle's room!

urban walls polka dots

Have you been adding artwork to your places? Getting up to anything besides preparing for the holiday's? I can't lie... I have Christmas on the brain these days, I'm just not allowed to decorate until after American Thanksgiving! ;)
SHARE:

Monday, August 6, 2012

Worth the Wait

Good Morning friends. It's a holiday Monday here, hence the late post. We've been soaking up some gorgeous weather this weekend and spending a lot of family time together. I am, however, finishing up a few projects that I want to share with you later this week. In the meantime, I have a small surprise (for me) update that I completed on Friday.

The last time I shared our living room with you, our arm chair was still a big honking black eye sore...


May 2, 2012

For ages now I've been on the hunt for a slipcover to replace that old black one. I'd mostly been searching on craigslist and in the As-Is bin at IKEA, but we'd had no luck. Until last week. On an impromptu trip to IKEA, I finally found the beige armchair cover in the As-Is bin for half off! I snatched it up, and home it came to complete our living room...


August 6, 2012

It's nice to finally have a lighter coloured chair in this room, and be rid of that old black slipcover that we've had since 2009... and was second hand.  It's also a nice spot to keep our pretty "HOME" pillow, from Honeymoon at Home.


August 6, 2012

I loved being able to do something to spruce up the home that wasn't even on my to-do list. It's a small thing that really does make a big difference in our living space. 

For now, I need to get back to my projects, so I'll leave you with my favourite photo of our weekend. This one is from Friday night and it puts a huge smile on my face every time that I look at it. 

August 3, 2012

Also, if you missed my announcement yesterday, First Time Fancy is now accepting sponsors. For more information, click on the "Sponsorship" link in my navigation bar at the top of the page.

SHARE:
Related Posts with Thumbnails
© Life on Misneach Ridge
Blogger Designs by pipdig