
To read the whole back story on the red dresser, you can find it here. The red dresser had a good run, and served it's purpose well. However, when we found out we had a little peanut on the way we decided the dresser would no longer hold my clothing, but would be given a new life and provide baby item storage, as well as a nice big surface for diaper changing.
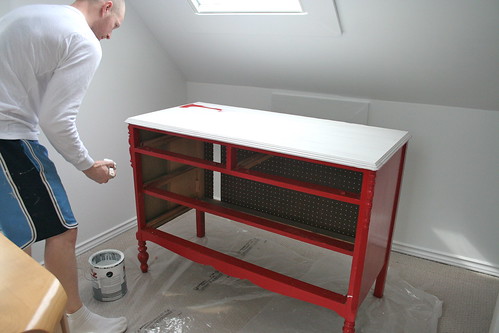
After finally getting the room primed and painted white (which turned out to be a long drawn out task), we were finally ready to tackle the dresser (I'm dying to wash and put away the adorable tiny clothes we already have. However, priming and painting was not the only thing we had on our to-do list for this dresser. On top of changing the colour, there were a lot of fixes that needed to happen to make this dresser completely functional for baby.
- On the back of the dresser was some peg board someone had nailed on somewhere along the line, and we knew it would finally have to be replaced
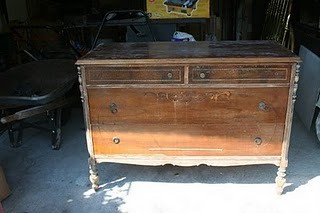
- Most of the drawers were separating leaving gaps at the back, and one even worked as a "trick drawer". Every time I opened it I found only the drawer frame sliding forward, while the bottom of it more or less stayed put...

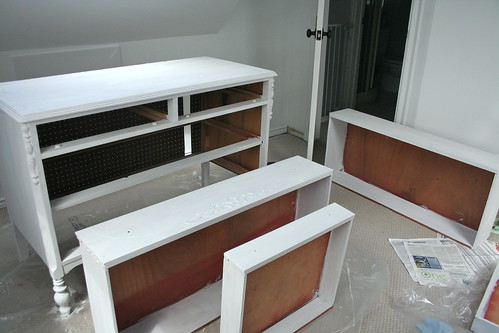
That would be the trusty old trick drawer pictured above, and you can even see the peg board backing on the dresser in the background. Solid piece of furniture, just needed some more TLC than we gave it the first time around.
As you can see from that same picture, the inside of the drawers were looking a little less than stellar as well. My plan was to paint the sides white and line the bottom of the drawers with some vintage wallpaper I had purchased last fall and had laying around. Yes, baby's dresser was going to be spectacular. With the whole plan laid out, B and I set to work priming...
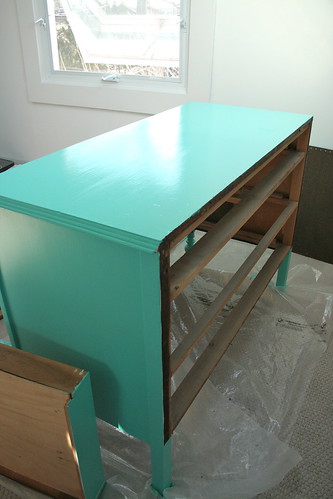
(Yes, the whole project was completed indoors with open windows. It was not worth trying to manuever that beast down our awkward narrow staircase one more time. Plus, I think having it laid out in the nursery really motivated us to get moving). On Good Friday, while B and my Father were outside beautifying the exterior of our home, my Mom and I spent some time inside discussing the nursery plans (I've enlisted her to help me with a couple of projects). As we chatted, the first coat of turquoise went on and it was L-O-V-E! I must say once again, B deserves some serious recognition for picking out this colour... so proud of him!
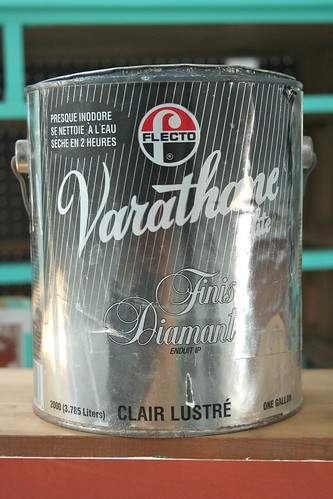
I spent Friday night at my parents, and on Saturday before he drove out for Easter dinner, B got the second coat of turquoise on the dresser, and the first coat on the drawers. By end of day Easter Sunday, the dresser and drawers were pretty much done being painted (we just needed one more coat of white on the inside of the drawers), and the top of the dresser was sealed with a water based poly (care of B, while I was baking up some goodies for my last class).
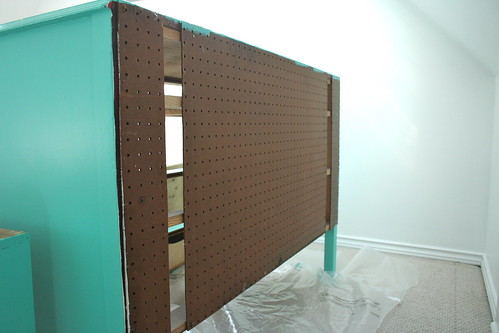
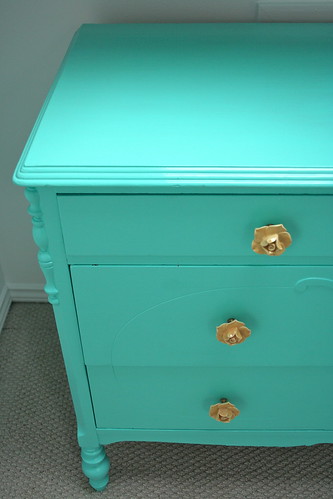
Okay... so there's a little dresser sneak peak for you in the background. Gorgeous right? Want a little more of a look at that fabulous colour (It's a CIL colour by the way... called Thai Teal)? Well, two Sunday's ago B also managed to get that old peg board backing off, a new backing on and all of the drawers nailed and glued up to eliminate the trick drawer factor.

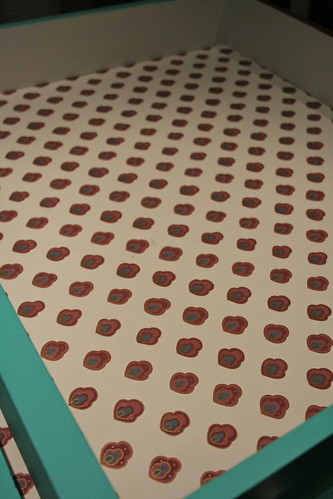
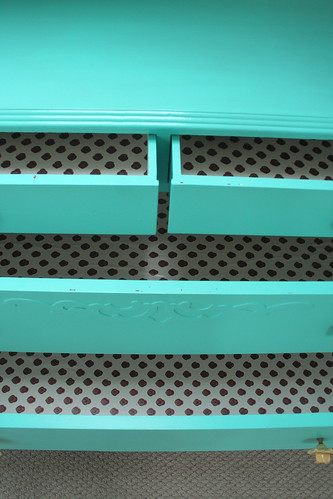
Once everything was all fixed up, our next step was to pretty up the inside of those drawers. They seemed to have some sort of dark red spray paint on some of them. I decided to use what we had, and line them with some wallpaper I had picked up on a thrifting trip last fall (I knew it would come in handy at SOME point!).
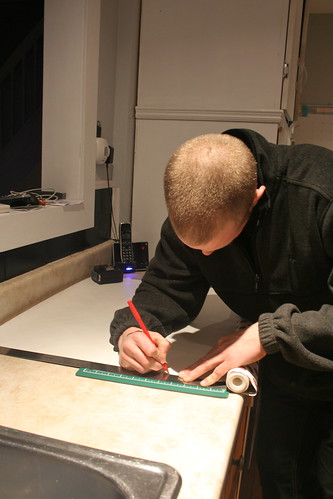
Our first step was to measure each drawer (there was a good chance the sizes could be different), and then mark up and cut our wallpaper...

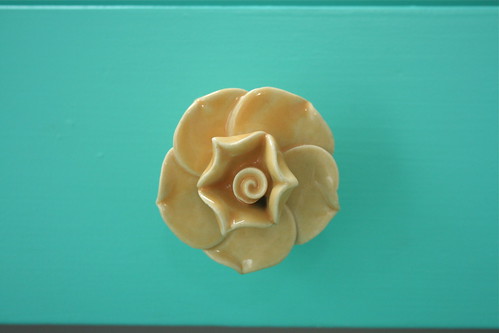
The final step was getting those beautiful rose bud knobs from Anthro onto the drawers and... finally my lovely readers, we have an after. But let's take a quick glimpse at what this beauty looked like when we first saved her from the dumpster area behind our first apartment two years ago...
And here she is today, looking all pretty and ready to hold some adorably tiny baby clothes for our little peanut...
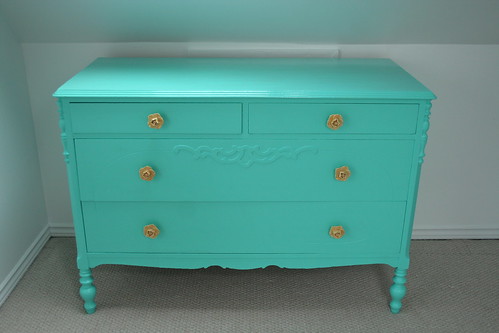

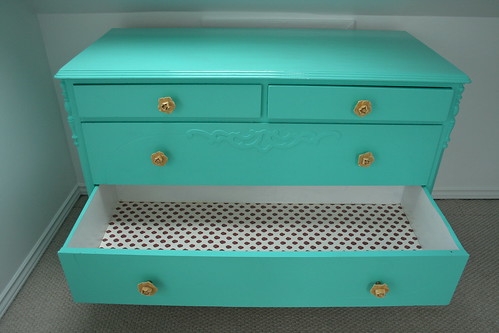
There you have it! FINALLY, a finished dresser... and you know what a finished dresser means? It means time to finally start pulling the nursery together! More fun stuff to come!
What did you get up to this past weekend? Finish any fun projects? Enjoy some lovely weather?
Oh Kerry - I love it!! The colour is perfect and that paper really makes it. Wow!
ReplyDeleteWow Kerry, what a transformation! The colour is absolutely amazing and I love the knob and liner detailing you used....so exciting!!!
ReplyDeleteSo fun! Love the colour!
ReplyDeleteI finally finished a gallery wall that I've been working on for months haha Hopefully the sun comes out soon and I can take some pictures :)
The color is great! Perfect! The hardware is very pretty. Love it all!
ReplyDeletehttp://jennaleelac.blogspot.com/
oh my gosh, those knobs are the best. things. ever! i love that turquoise and the drawer liner, too. great job you guys! can't believe you did it indoors, too.
ReplyDeleteKerry! I LOVE it!!!! The colour and the knobs are just perfect. Wow.
ReplyDeleteI can't wait to see the whole room come together.
I love it!!! awesome colour and I love the wallpaper idea. Great job!
ReplyDeleteAn adorably perfect dresser Kerry! The wallpaper and knobs set it off perfectly.
ReplyDeleteThat is such a gorgeous colour. The knobs accent it perfectly!
ReplyDeleteSo adorable!!! Love the color (: Ah! Great minds think alike (:
ReplyDeleteIt's beautiful! I love it!!
ReplyDeleteJust found your incredibly adorable blog...LOVE it! And I couldn't be more impressed with the dresser, it turned out so fabulous! I guess I will be following along now to see what goes on with the whole nursery, good luck! Not that you will need it (c:
ReplyDeleteIt is just perfect. I absolutely love the color.. and the drawer liners:)
ReplyDeleteI knew I recognized that dresser...
ReplyDeleteLooks awesome - Love the pop of colour.
Kerry (and B) - it looks amazing! absolutely perfect for a little one, and something said little one can definitely grow into once he/she is beyond laying on top of it to be changed!
ReplyDeleteok--so the color is perfection! and i love how it turned out~ can't wait to see the whole room!
ReplyDeleteThat is adorable! I think it's so much more special that you guys put all the love into it for your little one! Really, really cute, Kerry!
ReplyDeleteThis is a great transformation- my favourite colour and is so nicely paired with the rose bud knobs. Such a sweet addition to your little one's room :) And thank you for choosing such a great colour- I have looked at over 20 turquoise colours trying to choose one to possibly cover our hall wall- Love the brightness of it! xo
ReplyDeleteGreat transformation! We are about to embark on a similar transformation for our nursery to be as well and it's great to see another finished product as inspiration.
ReplyDeleteO-M-G!!! It looks spectacular! What a gorgeous dresser. LOve the knobs! Looking forward to the whole room reveal! G
ReplyDeleteOH my goodness Kerry I am completely smitten with this. You are a true genius. So brilliant and little babe will absolutely adore it :) Eeeep! I am so excited for you guys!!! XO
ReplyDeleteWhat a great transformation! Love the color, fun happy and unexpected. And the yellow flower pulls are too cute.
ReplyDeleteDon't you love what paint can do?
wow love that dresser!! It looks so amazing in the shade!! I think we have similar tastes, I found a Craigslist List dresser a few months back fro our sons nursery and it so reminds me of the one you have!! :)
ReplyDeleteWow I am in love, this turned out gorgeous!!
ReplyDeleteLove it!
ReplyDelete