Life on Misneach Ridge

Trending

Thursday, April 12, 2018

Welcome Home

It's taken me far too long to get back into the swing of blogging. I have an idea, but instead of sitting down to write it, I procrastinate. I'm pretty good at that. I've decided no more though! Blogging was a passion of mine for so long and I look forward to once again making the time to sit down and write, and share the things that I love with you. 
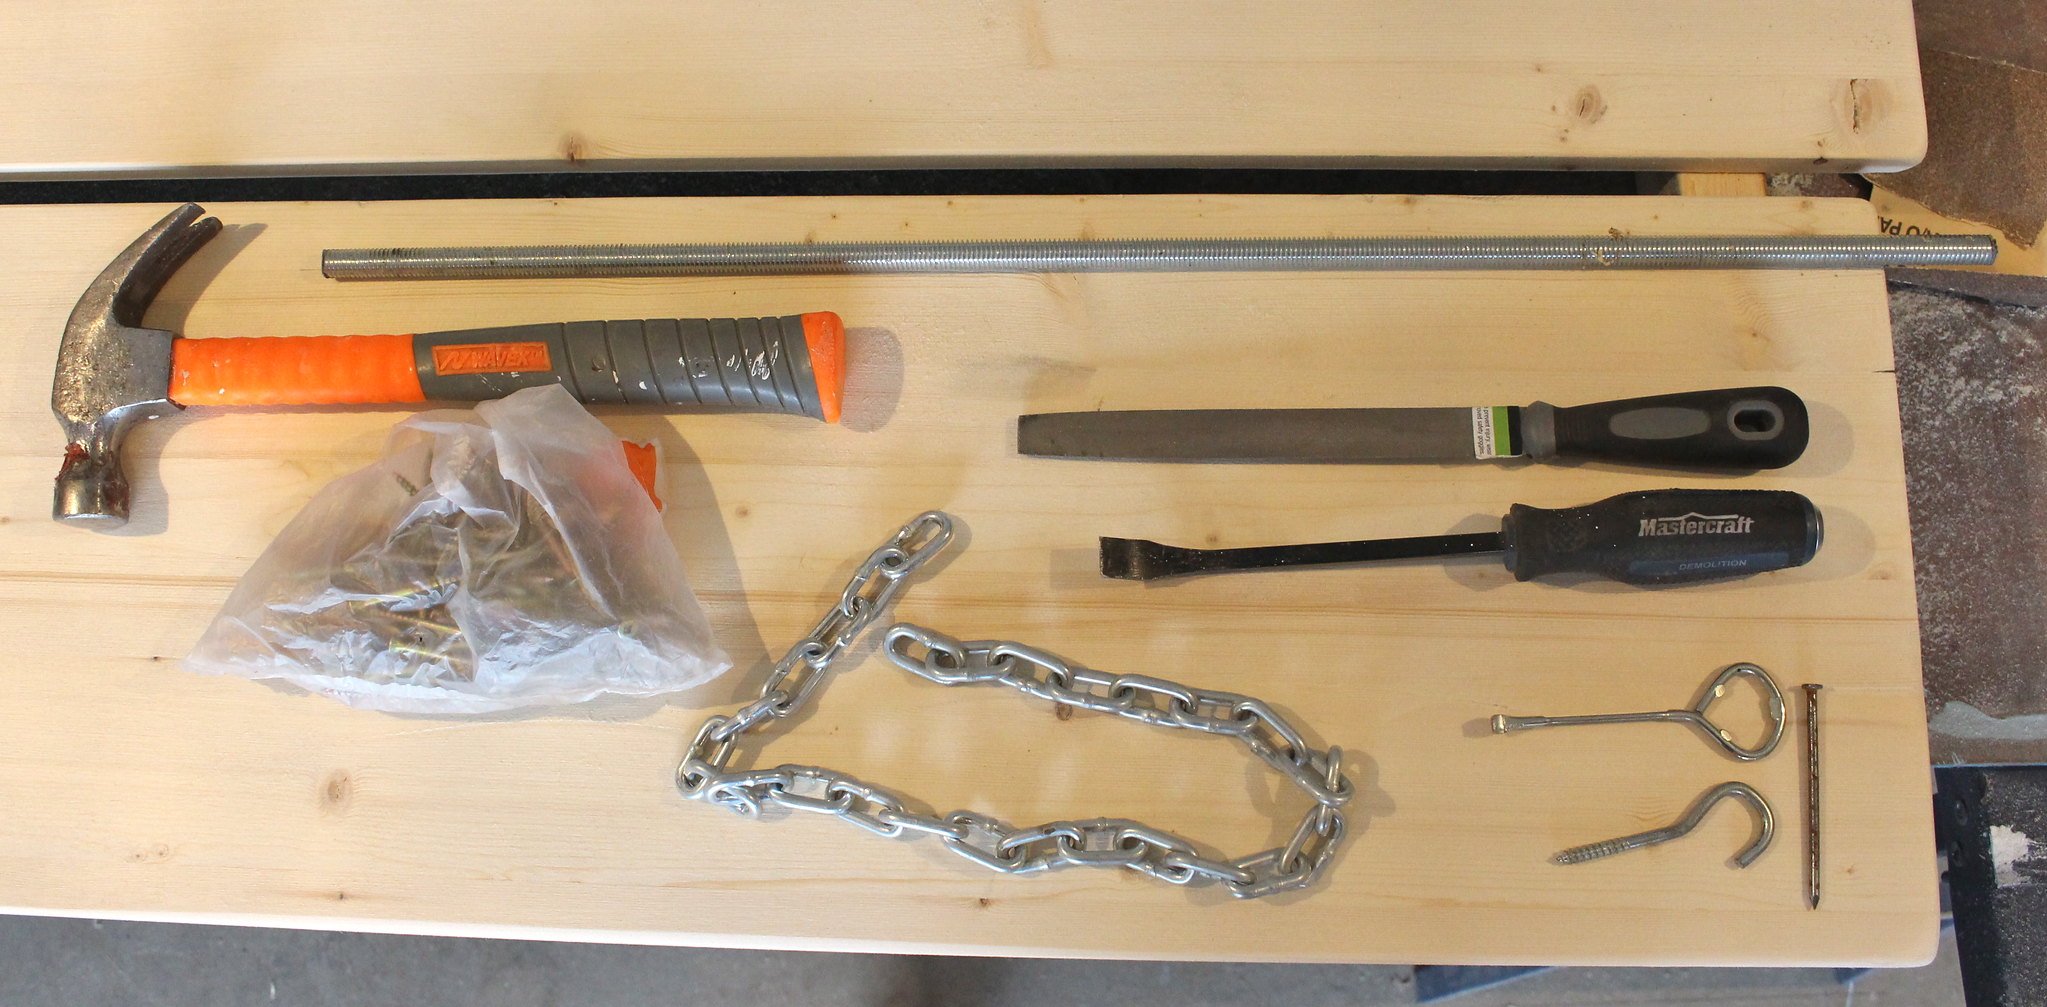
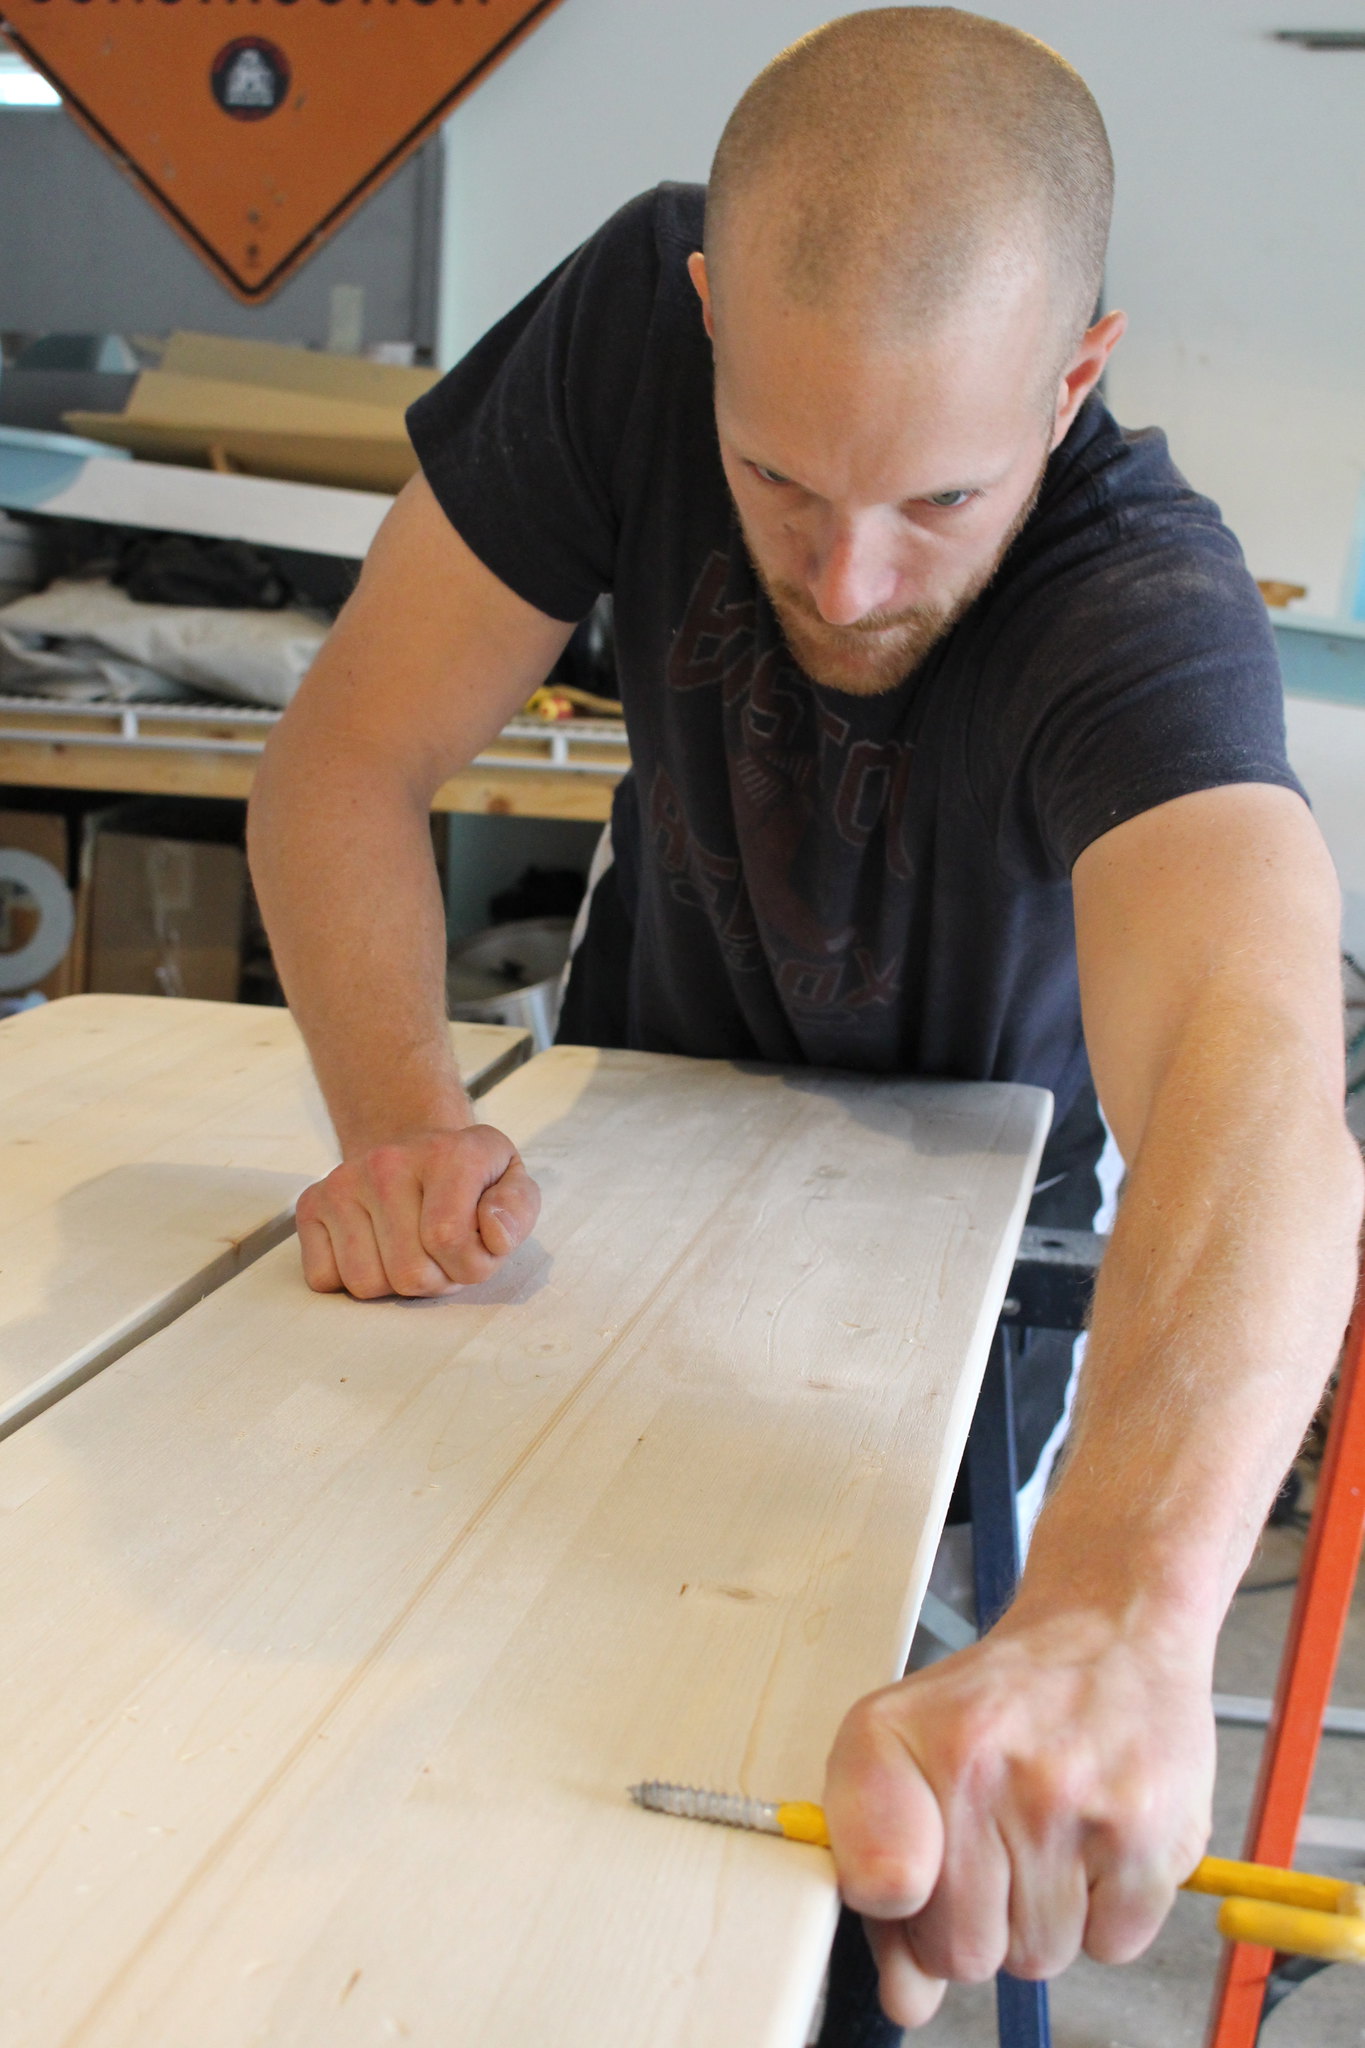
Yesterday I shared the back story to us arriving in Cape Breton and finding our dream home. The bones of this house are fantastic. We don't see ourselves having to make any huge changes to the layout inside. Most of the house will stay as it is, with just some cosmetic upgrades. Structurally, we need a new foundation poured under the house, so last week we ripped the small bathroom off the back of the house, as well as the mudroom which we plan to make bigger. We've already started demolition in a number of rooms, but today I want to share some photos of the house as it was when we purchased it. 


The Mudroom

The Mudroom is currently the main entrance into the home. You enter on the side of the house near the driveway and two car garage and from this room you enter into the kitchen. It's a decent size with ample storage, but not quite what we need. A couple of the windows are broken from stray golf balls and of course it was full of stuff from the previous two owners. The plan is to enlarge this room, give it more functional storage for our family of five and more than likely put in new stairs to the basement that will be poured in thecoming weeks (if the weather cooperates). I'm feeling pretty excited about what this room will become!
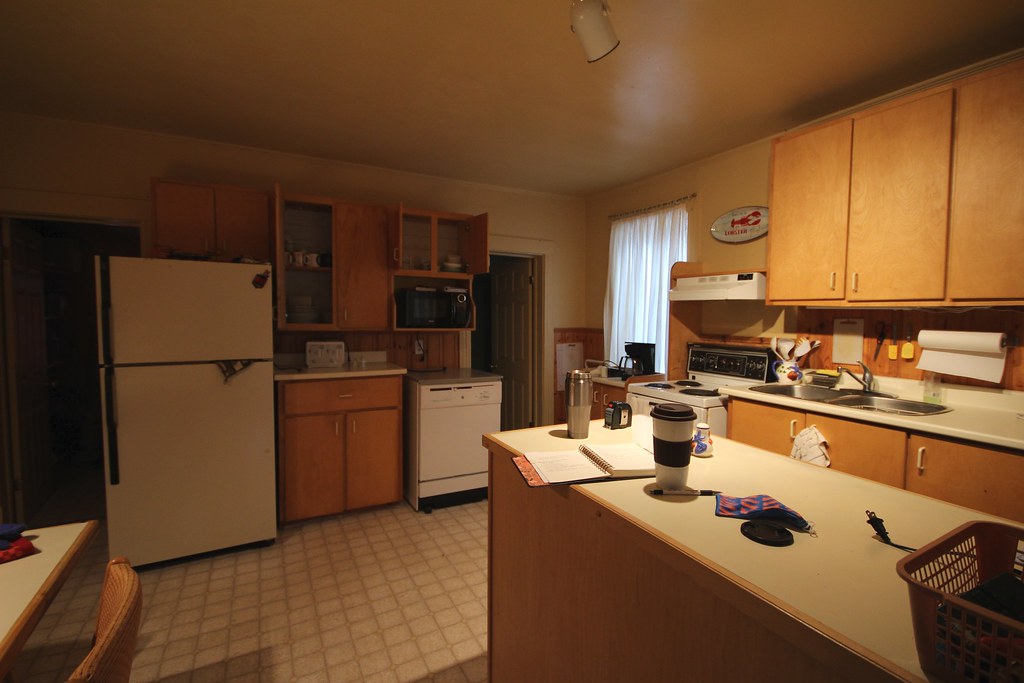
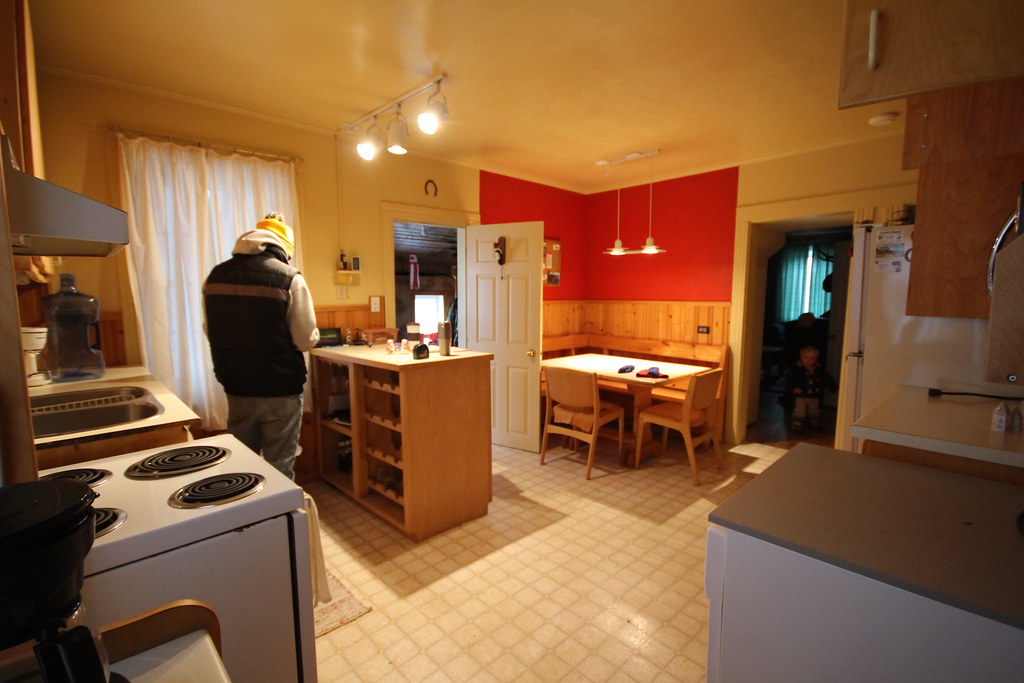
Mudroom - Nov2017

Mudroom Door - Nov2017

The Kitchen

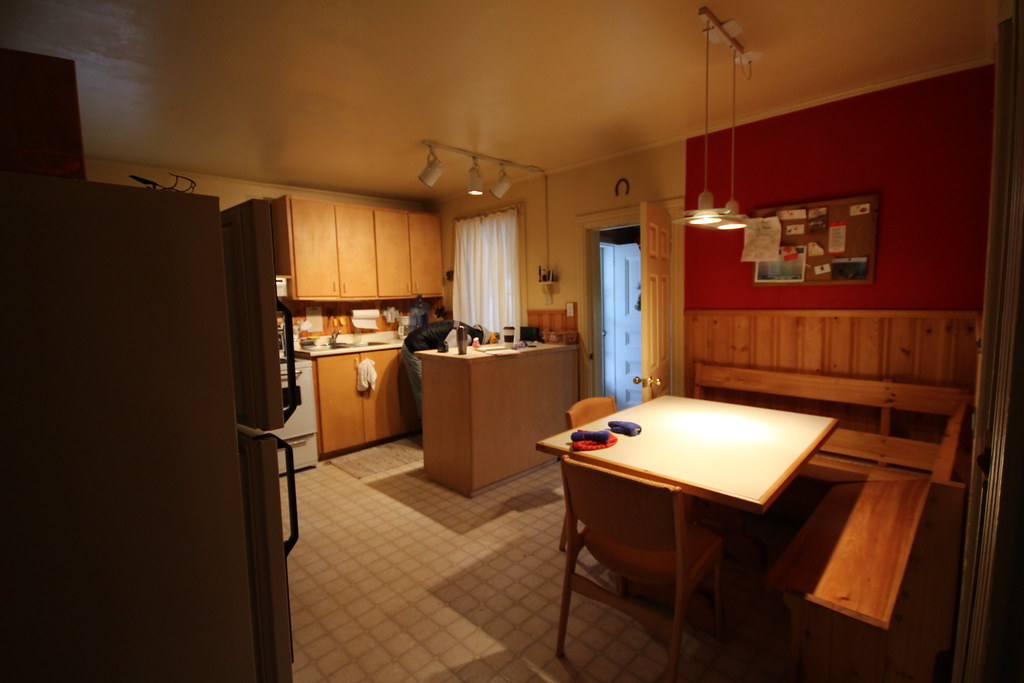
The kitchen is a decent size for what we need, the biggest problem we found when trying to plan a new layout was the five doorways on three walls and two long windows on other walls. It really breaks up the space and makes it impossible to have an entire wall of cupboards. We are discussing some options to close off at least one door and will be losing those two long awkward windows for one big window over our new sink. Again, there is a lot of potential here and I'm extra excited as this will be our first full kitchen renovation. 

Kitchen3-Nov2017

Kitchen2- Nov2017

Kitchen1- Nov2017

The Living Room

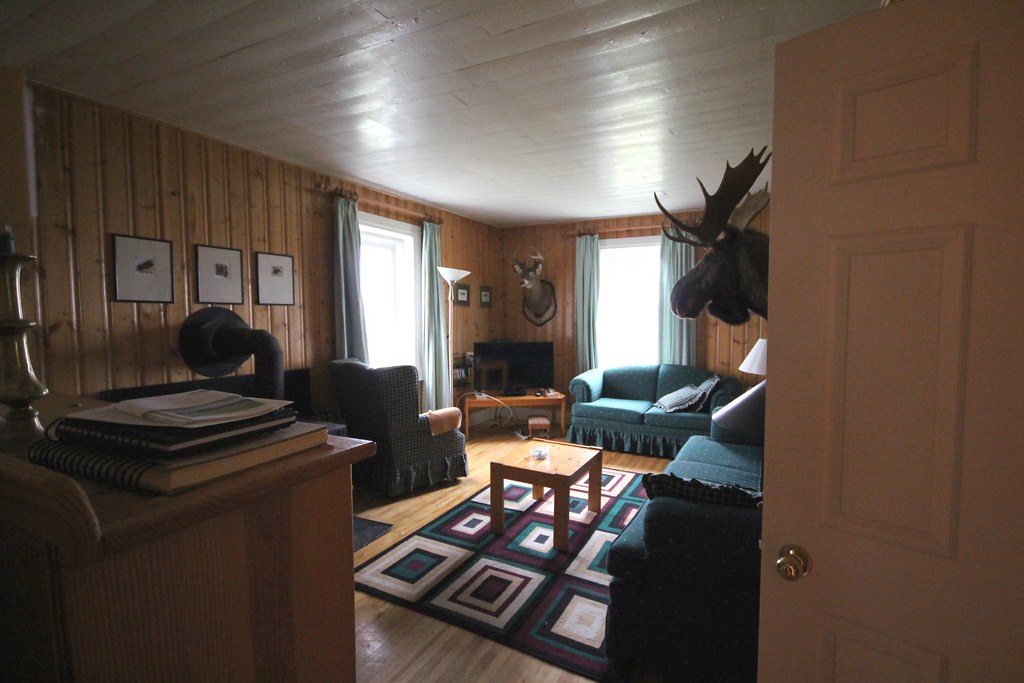
You can enter the living room from the kitchen... and the dining room (which you also enter from the kitchen). It's a cozy place with a wood burning stove, and yes, it did come with the Moose and Deer head. We're probably relocating both to Brett's three bay workshop since they are far too large for this small space. Lighting definitely needs to be addressed in this space (as it does in every other room), and we also plan on turning one of the windows into French doors that will eventually exit onto a deck. I can't wait to make this a really cozy and functional family space!

LivingRoom2-Nov2017

LivingRoom-Nov2017

The Dining Room

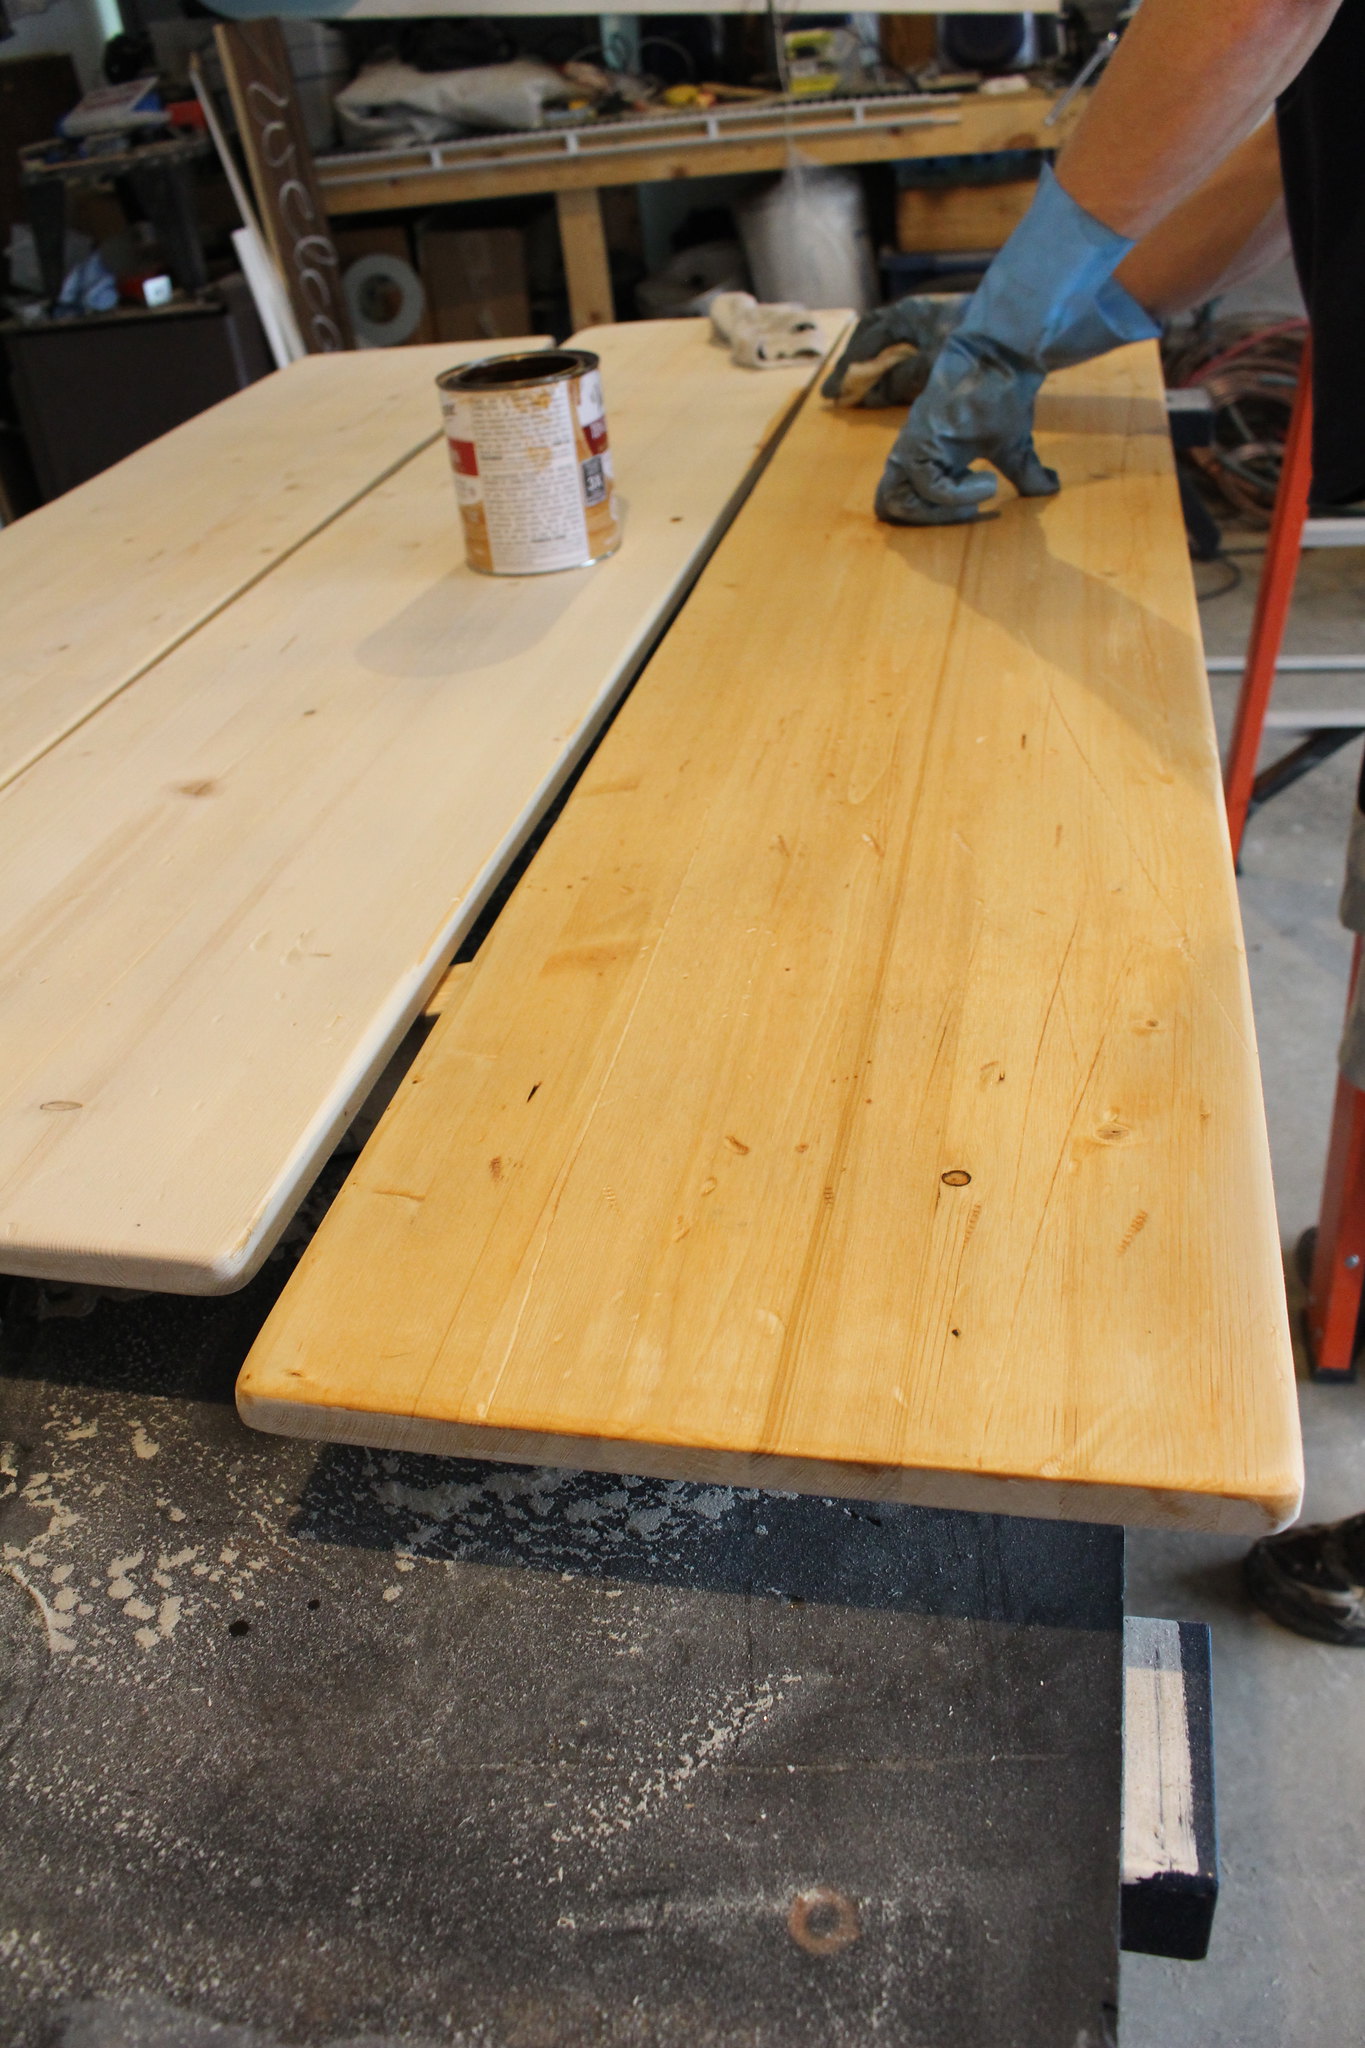
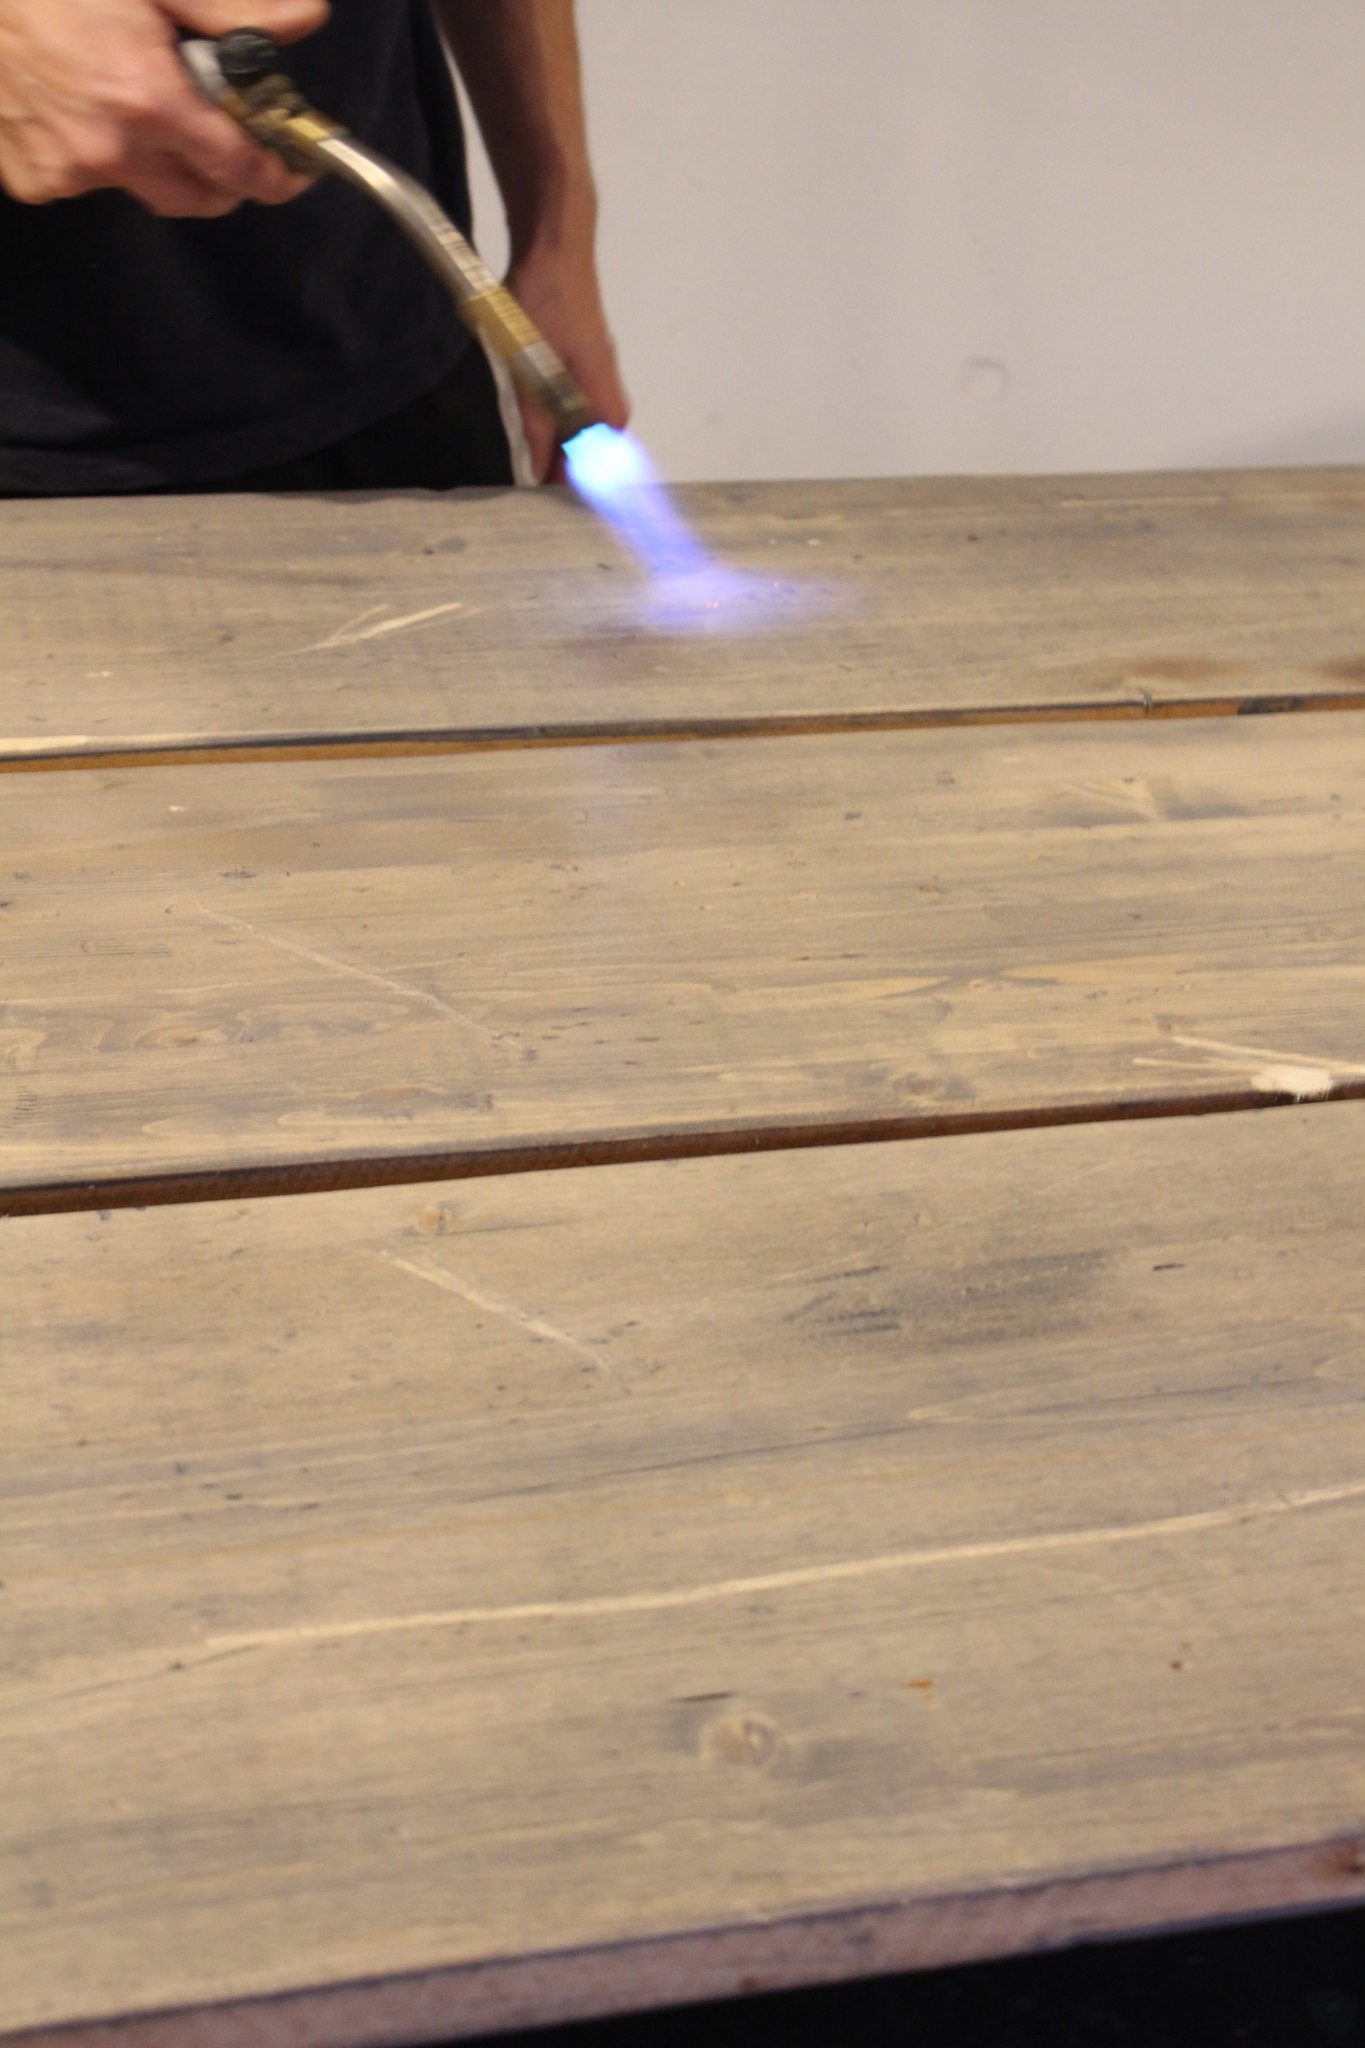
The dining room is a great size, and one room I was very excited about. It has a beautiful view to the lake, an original built-in (the white one to the left in the picture) and it's a great size. After discussing our kitchen renovation, this will be the primary dining spot. Weekend breakfasts and family dinner's will be eaten here, around a new table Brett will construct. we're both looking forward to building more furniture for this place.

DiningRoom-Nov2017

The Guest Room

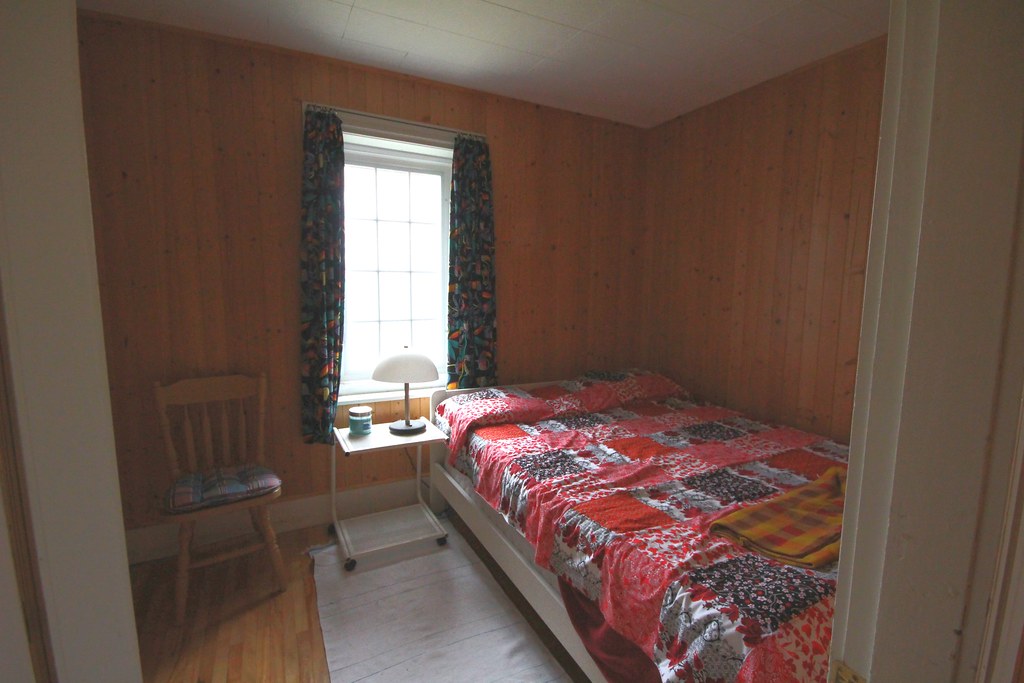
Having a guest room in this house, and on the main floor is a huge bonus! It's the door directly off the dining room that you can see in the photo above. It's a decent size but we may play with the layout a bit to make it more visitor friendly. Again, it has a nice view out the front of the property and our visitors will have their own powder room downstairs as well. I look forward to painting and cozying this space up for our friends and family!


GuestRoom2-Nov2017
So that is our ground floor (with the exception of the pantry, laundry room and bathroom that we had ripped off. I wish I had remembered to take photos of those spaces before demolition began, but they seemed so unimportant. Looking back now we have some big plans to close off the door into the laundry room in the kitchen and enter that space from the pantry. The laundry room will also double as our downstairs powder room. We need to figure out our layout plans, but I'm anxious to get to the point of putting everything back together.

Next post I'll be sharing the upstairs - the three kids bedrooms, our main family bathroom and our master. 
SHARE:

Wednesday, April 11, 2018

"The Best Journey Takes You Home"

If you have followed our family for any time, you know of our nomadic ways. In the ten years that Brett and I have been together, we have lived in six homes together. Needless to say, we learned a long time ago that home is not a place, but rather a feeling. Home is made up by the people we share a space with and the moments and memories that we create.

Two years ago, Brett's company (who had sent us to the west coast in the spring of 2012) let him go and we were faced with a big decision. We had a home we were happy in, in a beautiful part of the country, surrounded by great friends. If Brett chose to seek out a new position in his field we could have quite happily stayed the course. Instead, after much conversation and consideration, we decided to venture down the road less travelled. 

For years we had shared the dream of buying some acreage where we could raise our family, and be self sufficient. The only problem is that when you are happy and comfortable, it's not always easy to give that up to chase the unknown. Once our new reality sunk in, we viewed it as more of an opportunity than a bump in the road.


Oregon 2016
(an evening walk along the beach in Oregon - our favourite stop on the west coast)

We did some research and found that if we sold our home we should be able to purchase our dream, mortgage free on the opposite coast of Canada. That decision sent us on the greatest adventure of our lives. We spent about six months seeing as much as we could across North America. We visited family and old friends and met so many incredible people along the way. Though everyday of that trip was not easy, it is a time I hold dear. It was those memories that got me through some of the toughest days as we settled into our new community on Cape Breton Island. 


West Mabou Beach - September 2016
(the kids at West Mabou Beach on Cape Breton Island)

We arrived in the village of Whycocomagh in September of 2016 after coming across a viral land for work offer online. We were one of three chosen families to take on the offer. We settled into a little three bedroom rental and went about creating a new routine. Some days brought me to tears and there were moments that we questioned our decision to leave British Columbia. What kept us going at the end of the day was always that shared dream. 
Only a month or two after we arrived, I began looking at real estate listings online. One day I came across a beautiful property overlooking a lake, with more land than we had thought about, a farmhouse and two garages. At the time the price point of the property made it nothing more than a dream, so we kept looking.

Near the end of our first winter out east, there was a lot of action in the Toronto real estate market and it seemed like the right time to sell our income property that we had owned there for the past eight years. Once the house was repaired and listed on the market, we finally went to look at the dream property. The views and the land were even better than we had imagined, and we both saw so much potential in the house and garages. It was the type of property we had only dreamed of finding when we headed east. 

We spent the new few months waiting for our house to sell. Just when we had started to consider taking it off the market and putting new tenants in, an offer finally came in that we were able to negotiate on. This opened a window that would allow us to finally purchase the home that we had always wanted. 

The home and land became ours on November 10th, 2017. Even before everything was signed, Brett and I had started to discuss the perfect name for our new property. We started a list, but nothing we were coming up seemed to be the perfect fit. Finally in early December Brett found the perfect name, Misneach Ridge. Misneach is a Gaelic term which means courage, bravery, determination or hopefulness. What made this name stick out to me was when we read that the word was often used in the saying "Fortune favours the brave". We both felt that this was an accurate description of how our relationship has always gone. From when Brett and I first met, right up to our choice to sell our life on the west coast to head east, we have always taken chances and it has always paid off for us in ways that we never imagined.  

We have found our forever, and now comes the fun part of transforming it into a comfortable home for our family of five. I can't wait to share all of the details and the journey with all of you.
SHARE:

Monday, February 15, 2016

Change is Hard

Life around here has been a little hectic as of late. For those of you who follow along on Instagram, you are well aware that our little family is in the midst of some pretty big life changes. 

Since having children, our priorities have shifted and we have a completely different view on life than we did five years ago. Though we still love making our house a home and building and creating things, our focus is more on time together with a family - especially while these kiddos are so young.

My obvious lack of posts around here points to the fact that I have been feeling less than inspired to write and share what's going on at home. However, I've been feeling inspired by these changes we are making in our life and hope to begin documenting them. These new views and big changes don't really fit into life a la "First Time Fancy" though, so I am working on creating a new home for them. In the coming weeks I plan on putting together a new blog, switching over my Instagram name and really just start to share more insight into where our lives our headed.

Is First Time Fancy gone forever? Hopefully not. So much of our lives are shared here, including our growth from two to four, which is such a big part of how we arrived at this new beginning. 

For now, I hope you can be patient while we bring life to our new online space! I'll make sure to share more soon.
SHARE:

Monday, January 18, 2016

New Year and New Focus

Happy 2016! I hope that everyone enjoyed the holidays. We had my brother here visiting over Christmas and it was so nice to spend time with him and have him finally meet Nolan. Now that January has hit and we're into a new year, we are once again focusing on what we want to do around here.

Last week I shared a quote on my Facebook page, which highlights what has been on my mind for the last while. "We have traded our freedom for overfilled closets, and our passion for unnecessary maintenance. We have sacrificed life in pursuit of clutter".

This rings so true for me. I find when there is too much "stuff" around the house, or too much "mess", I feel stressed, aggravated and distracted. Instead of playing with and enjoying my children and B, I'm trying to organize things to either get them out the door or find them new homes. NO MORE! I want my children to remember fun and playing and adventures - not time spent dealing with meaningless objects. 

This past week our life has taken an unexpected turn (more to come on this), so B and I are taking some time to focus on what is most important to us. For the last year or more, we have done our best to make our focus our family and friends. To us, people, relationships and experiences are far more important than "things", "stuff" and "possessions". With that being said, 2016 has kicked off with us turning a focus to reducing the amount of stuff we have around the house. 

I have started this journey to live with less, and hope to share our progress with you along the way. It won't be something that happens quickly and most definitely not over night, but I hope that along the way we can find more time, happiness and money as we let go of the things that are cluttering up our space, as well as our time. 

In the last week, we have cleared out close to 40o items from our home and made almost $200 selling things we no longer need (mostly baby clothes or items). It's been so therapeutic to start removing things that take up space and time and I can feel the difference it is making in my life emotionally. At the end of the month I plan to report in with a total breakdown of how many items we have released and, as a bonus, how much money we have made selling some of these items.

Has anyone else attempted to live a more minimalistic lifestyle? What are some of your tips to help you declutter and release items that may have an emotional hold on you? 
SHARE:

Tuesday, November 24, 2015

Storing Those Holiday Memories

When I think of Christmas, what I love most are the traditions. Those feelings of routine and familiarity that come with the season. It is the best part of Christmas, but also the hardest part about living on the opposite side of the country from my family and all of my childhood friends. Though we have done our best to start are own traditions on the west coast, there was one tradition that I was able to bring out here with us, creating and mailing Christmas cards.

Ever since I was a child, I always loved jumping on the pile of mail that my Dad brought in when he got home from work and ripping open the Christmas cards that came in from all over the country. As B and I started our life together, I stuck to mailing out cards every Christmas and when Halle joined our family in 2011, I decided to start sending photo cards. I always loved receiving photo cards of our friends with families, and thought it would be fun to do as well. I've had a number of people who live far away, tell me how much they enjoy seeing our card every year and seeing how much Halle has grown. I was happy that our friends and family enjoyed them, but I wanted to make sure that I had a special spot to safely keep them, so that we could look back on them (and other holiday photos - like Santa & Easter bunny photos), whenever we wanted


Storing Christmas Cards

The solution I opted for was easy and inexpensive - perfect for a family on a budget, like we are. I used a basic white 3 ring binder, and created a handwritten cover on black construction paper to slide into the front pocket. Inside of the binder, I use clear pocket pages to store the cards and photos. I've attached them to black construction paper using photo safe adhesive corners and labeled each memory with the year and where the photo was taken. 


Storing Christmas Cards

Storing Christmas Cards

I love pulling this binder out every time there is a new photo to add, and Halle enjoys looking back at herself as a baby too. I hope that Nolan will enjoy it just as much. I'll be honest, it's fun to see how B and I have both changed since we first became parents as well.

Storing Christmas CardsStoring Christmas Cards

This years Christmas cards are my absolute favourite. We used photos from our family session (which I shared a peak at last month), and designed them on Tiny Prints. It was hard to pick my favourite design because everything was so gorgeous and they have a ton of fun options (like laser cut cards - so awesome!), but in the end I went with this beautiful traditional looking card as it matched the best with the colours in our photos. B and I also really loved the gold Christmas tree envelope liners! They are so fun, and add just that little bit of extra cheer to the mail!

Storing Christmas Cards

As always I included one photo of all of us together and then highlighted an individual photo of each of our babies! Yes, Halle is almost four and a half... but she will NEVER stop being my baby!


Storing Christmas Cards

Storing Christmas Cards

I enjoy coming up with new ways to address the cards each year, as well. I mean, everybody loves receiving 'snail mail' in this highly electronic world, but it's so much better when that mail arrives in your mailbox looking beautiful - am I right? Not visible in these photos - some cute glittery red hearts that appear in different locations on each envelope. Halle keeps telling me how beautiful the hearts are and how much she loves them.

Storing Christmas Cards

So there you have it, our simple solution to storing our holiday cards and memories... along with a look at our most recent Christmas cards.

Do you send Christmas cards every year? Does anyone else love sending photo cards to friends and family, and do you keep them to look back on? I'd love to hear what you do, and most specifically - how do you display cards that you receive. I still haven't found my favourite way to display all of the cards that arrive in our mailbox!
SHARE:

Wednesday, October 14, 2015

Family Photo's & Outfits

It's that time of year again, and everyone is thinking about family photo's (if they haven't had them done already). I love updating our family photos every fall (you can find a look at our past one's here: 2011, 2012, 2014) and it's one tradition I plan to continue, for as long as possible.


FamilyPhotos-Oct2015

This year we had Shana of Art and Soul Photography take our photos. We lucked out with an absolutely beautiful sunny day for our first photos as a family of four.


FamilyPhotos-Oct2015

I am really happy with outfits I picked out for everyone. I wanted us to coordinate without being too matchy-matchy, and I didn't want to go out and spend a ton on new clothes either. I decided to go with cream and gold for us girls and brown and red for the boys with dark jeans.


FamilyPhotos-Oct2015

FamilyPhotos-Oct2015

I started by choosing my dress (It's a lace H&M dress from about 4 years ago, that I had altered a couple of years ago). Then I went through Halle's closet and found the gold sequin shirt (it's a Joe Fresh shirt that I bought second hand) and the adorable skirt she got as a gift. Brett already had every piece of his outfit in his closet, so then I just had to pay a visit to my favourite second hand kids store to find Nolan's outfit.


FamilyPhotos-Oct2015

FamilyPhotos-Oct2015

FamilyPhotos-Oct2015

Once again, I am so thrilled with our photos (as I have been every year), and I'm glad we found Shana! She also did Nolan's newborn photos for us, and we can't wait to see her again for his 6 month and 1 year photos.

Do you get family photos done yearly? Have you had any done this year? I would love to hear how you pick outfits for your family photos!
SHARE:

Monday, October 5, 2015

A Copycat Sofa Table

One thing that we have always been slow to add to our home is furniture. We try to be careful when bringing in pieces and we are always very conscience of our budget. We don't really splurge on pieces, and if we know what we want, B would rather build it for us. The best part about building our own furniture is that we can always get the end result that we desire, taking away or adding details as we please, and it saves us a ton of money. Of course, when I decided that I wanted a sofa table for our family room it was time for us to flex our DIY muscles once again.

Before we began to build, I started looking at Pinterest and different big box stores for inspiration. We could've built something simple and straight forward, but I knew that I wanted something different (read not all wood), and provided us with storage space. When I found the Bleached Pine Rolling Console from West Elm, I knew that I had found our next project. It took quite a few weeks of sourcing materials and discussing plans before we started. The finally decided on the following supplies to help us build our table:

- 3 - 12" x 5' pine boards
- 2 - 10' pieces of conduit (1/2" EMT)
- 50' of Galvanized Wire Fencing
- 3/4" Fencing Staples
- 4 - 4 x 1 1/4 Vintage Black Cast Iron Swivel Casters (2 with brakes) (not pictured as they were still being shipped to us)


Console Table Supplies

Our plan was to build a similar looking table to West Elm's but with a smaller foot print and aged looking wood. After taking measurements, we decided the table would be 12" deep, 5' long and 2' tall (with the casters on). This would ensure the table would be only slightly shorter than the length of our couch, come up nicely to the back of it, and be deep enough to hold books and photos, without being too deep.

Console Table BuildingConsole Table Building

With our plans in place, our first step was the most fun! After B sanded the wood down (so we wouldn't have sharp edges) we got to beat up and "age" those pine boards. Our weapons of destruction?

DIY Console Table

Basically anything from B's shop that we could use to scrape, dent, gouge or cut the wood with. We threw a bag of screws at them, wacked them with chain, a hammer, a file... whatever we had, we used it.

DIY Console Table

DIY Console TableDIY Console Table

Once we thought that they good and beat up, it was time for our first coat of stain. We started with Varathane's Ultimate Wood Stain in Golden Pecan (which we used for the Love Your Wood Challenge last month). B applied it lightly and wiped it off quickly since we didn't want it to be too orange. Next, we put on some of the Varathane Ultimate Wood Stain in Weathered Grey (also used in the Love Your Wood Project). Again, it was applied lightly just to bring some aging to the wood.

DIY Console TableDIY Console Table

Once both stains dried, we beat up the wood a little more. More gauges, cuts and scrapes, but we also upped our game and B brought out his blow torch so we could burn it as well. Our last step in aging the boards was adding dark brown stain to random sections of the boards (which we used on our dining table that B built). This toned down the grey and really helped to complete the aged look of our boards.

DIY Console TableDIY Console Table

DIY Console Table

DIY Console Table
You'd never guess that we started with plain pine boards, would you?

With our wood ready, it was time to start preparing the other parts of our table. Using Rust-Oleum's Painters Touch 2x The Coverage spray paint in Dark Walnut, we sprayed the galvanized fencing and fencing staples.

DIY Console Table

DIY Console Table

In order to start assembling our table, B created 8 spacers from scrap wood that were 12" tall to  match the spacing on the galvanized fencing. We had four spacers between each shelf, screwed into the corners to hold the shelves sturdy. Then, using a hammer B nailed the fencing to the shelves using the fencing staples. This step took the longest, as he put a fencing staple at every other cross section of the fencing to keep it sturdy. We had a few staples split the wood, but it really just added to the aged/beat up look of our barn board (and they were on the bottom or back side of the table, which was good). 

DIY Console Table

DIY Console Table

DIY Console Table

Next, B needed to bend the conduit pipe. Using a manual conduit bender that he picked up from Home Depot, he made 90 degree bends in the piping. This part proved to be the most difficult to mimic from the inspiration table. B mentioned to me quite a few times that with the conduit bender he wouldn't be able to get the pipe to wrap right around the wood, but rather we would end up with it winged out, more like handles on a bar cart. I was totally okay with this change in design and actually liked it more. 

Console Table Project - October 2015Console Table Project - October 2015

To attach the conduit to the table he drilled 1/4" holes halfway through the piping in order to hide the screw heads and then drilled a 1/16" pilot hole through the other side of the pipe and into the wood. He then used 2 1/2" screws to attach the piping to the wood. 

The final step was adding the heavy duty cast iron casters that we ordered from Caster Connection. He screwed the castors to some  6" x 3/4" x 4'-4" aged scrap wood that he had, and then screwed that wood to the bottom shelf... and we now have this table!

Console Table Project - October 2015

Console Table Project - October 2015

Console Table Project - October 2015Console Table Project - October 2015

This is the perfect spot for my vintage owl trivets, as well as our new Acrylic Photo Blocks from Tiny Prints. I love them because they are such a beautiful and different way to display some of our favourite photos and memories! 

Console Table Project - October 2015

Console Table Project - October 2015

Though I would like to build a blanket ladder for this room, at the moment the bottom shelf is the perfect spot to keep a couple of my favourite throws from Penney & Company.

Console Table Project - October 2015Console Table Project - October 2015

I'm so in love with this table and thrilled that we decided to challenge ourselves to work with more than just wood to create a new piece for our home. Yes, B did the constructing but we collaborated on how to age our boards and what products to use for the look we wanted - we do make a pretty good team, if I do say so myself.

Have you been working on anything new that challenges you to think outside the box? Or maybe you've just acquired a really great piece of furniture that has made you look at your home in a new way!? We'd love to hear about it! 

SHARE:
Related Posts with Thumbnails
© Life on Misneach Ridge
Blogger Designs by pipdig