In August 2010 I shared our first ever home tour with my readers. It revealed all of the changes that we had made to our home in the first year of living here. I figured, as I work on revamping the blog - our home tour truly does deserve it's own page that I can continue to update as we renovate and redecorate our little space.
If you want to see the progress after year one, just click on the link above - the photos below will simply be photos of when we first moved in - compared to where we have got our home to today. It's all a work in progress... but slowly, we're making this tiny house our home.
Front Exterior
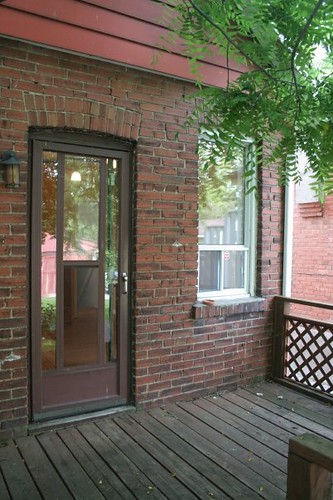
It remained looking like this until late in the summer of 2009 when we tackled that old wood with a god awful peach paint (we learned our lesson, don't worry). We also did what we could to help that overgrown and disgusting looking "garden" that the previous owners had out front.
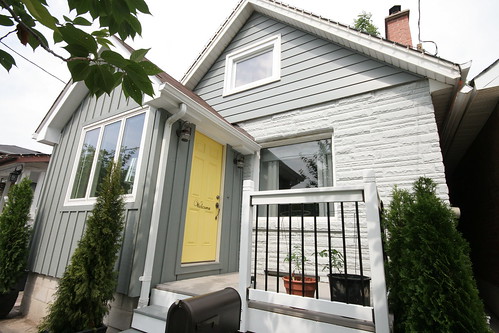
In November of 2010 (only a few weeks before we found out we were expecting our bundle of joy), we began the great front entrance renovation! We have put a ton of hard work into improving our curb appeal and here is where we are today...
Entrance Interior
When we first moved into our home, the front entrance appeared to be nothing more than an after-thought that was tacked onto the home. It was dark and drafty, and just plain ugly. In the summer it was a little green house with those big windows and sky lights, and in the winter it was like a freezer. Here's how it looked the day we got our keys...
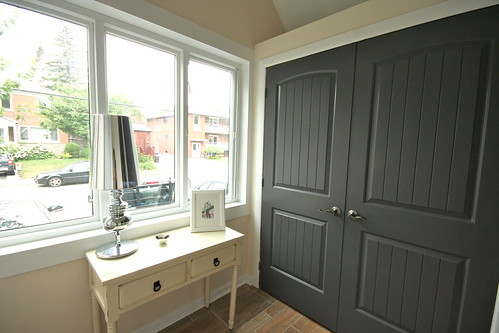
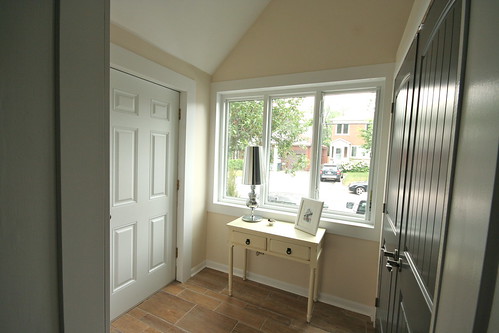
When we first moved into our home, the front entrance appeared to be nothing more than an after-thought that was tacked onto the home. It was dark and drafty, and just plain ugly. In the summer it was a little green house with those big windows and sky lights, and in the winter it was like a freezer. Here's how it looked the day we got our keys...
The first thing we did when we moved in was to change out the old track lighting with our hanging pendant we'd scored at Lowe's for $15 on clearance! Later that summer we painted all the wood a creamy white, and the door went from natural wood to a much nicer blue. It made things look better on the inside, but it really didn't help with the whole hot/cold issue.
Of course, just like the exterior the whole entry changed when we renovated from the ground up in November of 2010. We went from 5 windows to one (that actually opens), moved the front door to enter from the side, rather than from the driveway. We also built a huge double closet which is helpful for storing coats, shoes, strollers, car seats, etc. So perfect and so much more functional...


Living Room
From our front entry, you immediately enter into the living room (which is also where our staircase to our tiny second floor is). On moving day it was quite literally a blank slate...
From our front entry, you immediately enter into the living room (which is also where our staircase to our tiny second floor is). On moving day it was quite literally a blank slate...
Between the time we moved in and last summer the changes that were made were as simple as getting some paint on the walls and trim and moving in some furniture and accessories. It wasn't much to brag about, and even to date not much as changed. Since last summer there has been a bit more organization, and some changing out of furniture - mostly, we're both waiting for the chance to reno the whole room (new flooring, built's - all of the good stuff).
Progress Photos Coming Soon!
Kitchen
When we first viewed the home, the kitchen was the selling point to us. We looked beyond the bright yellow, the ugly backsplash and the poor layout to see a big bright kitchen that had a ton of potential...
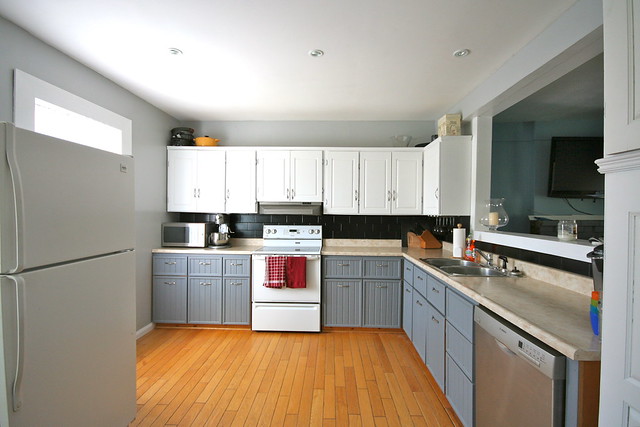
When we first viewed the home, the kitchen was the selling point to us. We looked beyond the bright yellow, the ugly backsplash and the poor layout to see a big bright kitchen that had a ton of potential...
In our first year I tackled the kitchen with some paint to make it flow better with the living room, including a tile painting project to hide that awful back splash. We also replaced the old stove with a free one from family, and purchased a fancy new stainless steel dishwasher.
In our second year, we didn't put much time or money into the kitchen, with the exception of B installing some pot lights to replace the broken and ugly pendant lights that were there. Since we moved in a hurry in April of 2012, we gave the cupboards a quick coat of paint and some new hardware, and it really helped to update the whole room. This is how we left it...

Staircase
Yup... our staircase! From day one I loved the built in bookcase along the wall leading to our second floor...
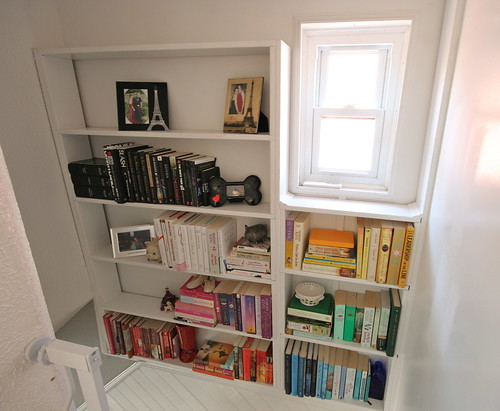
Yup... our staircase! From day one I loved the built in bookcase along the wall leading to our second floor...
It became home to my ever growing collection of books and a few items to accessorize...

Upstairs Bathroom
No words are needed for the before of the upstairs bathroom. Sometimes I wonder how I saw past the small space and outdated awfulness of it all...
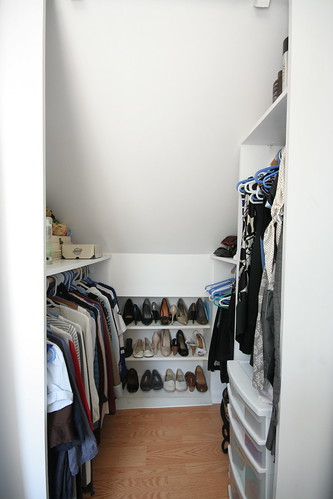
After it collapsed (in the midst of our basement renovation), B was fabulous and within a month had completely transformed that little closet into something I love. I'm quite little, so for me this is a walk in closet, and the shoe storage at the back is perfect in our little home. Check out more details of the closet renovation here.
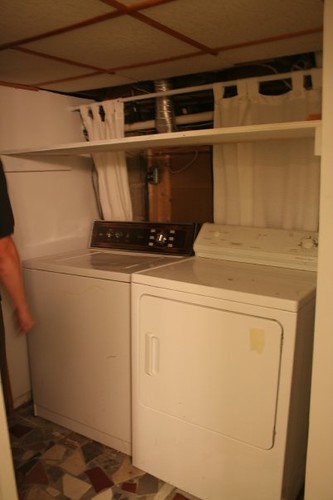


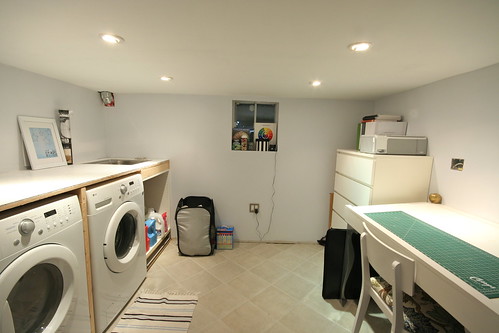
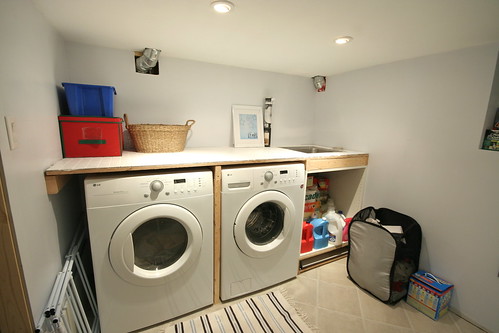
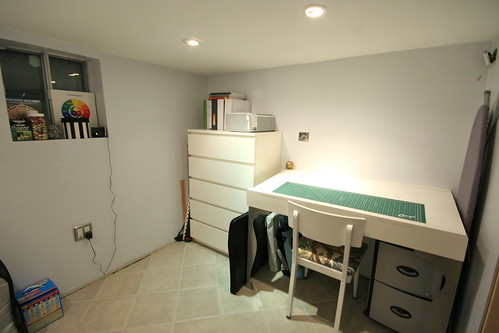
After moving in, we painted that extra room a pale green, and the wood panelled closet in a cream. It was our guest bedroom for a short period of time, until we were ready to rip it all out and begin the renovation. We decided on creating one room which now operates as not only our laundry room, but my office / craft area as well. It still needs some work (like trim), but at least now it's bright and functional!
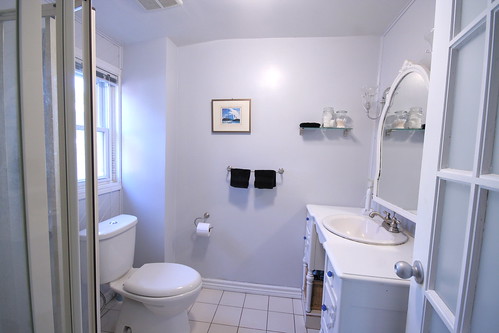
No words are needed for the before of the upstairs bathroom. Sometimes I wonder how I saw past the small space and outdated awfulness of it all...
In the first year we tackled everything with paint (including the burgundy tile behind the sink) and got a new low flow toilet installed. It instantly made the whole space feel brighter and well, better!
In November of 2011, when our baby girl was only a few months old, we ripped out that old bathroom and began the process of renovating it. Little did we know, Halle would only get a few baths in before we moved, but it still turned out pretty wonderfully, if we can toot our own horns a little...
Front Bedroom
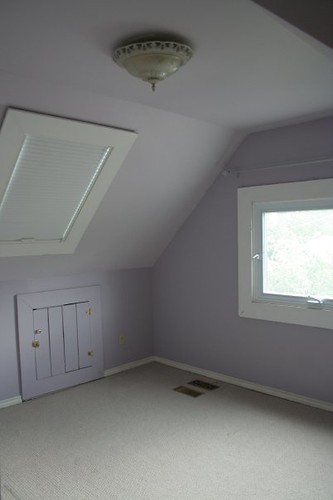
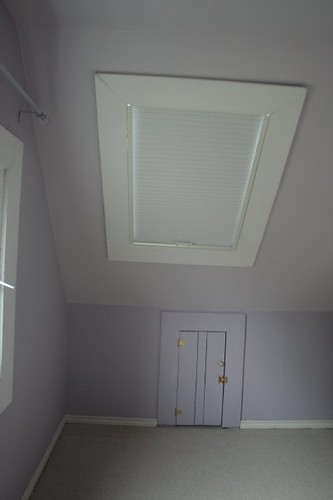
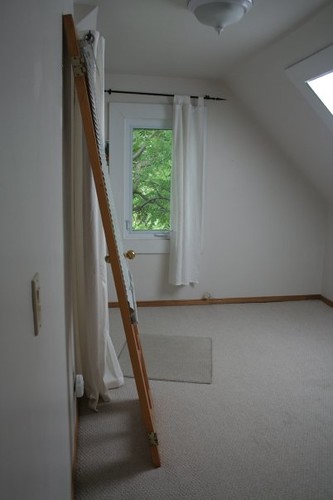
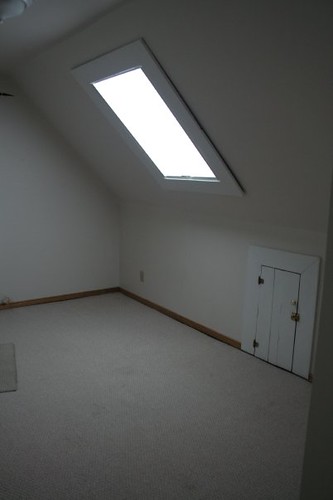
We "affectionately" referred to this room as "the purple cave" when we moved in. We also had visions of turning this into our bedroom, since it was the only room of the two that would fit our bed frame at the time.
We "affectionately" referred to this room as "the purple cave" when we moved in. We also had visions of turning this into our bedroom, since it was the only room of the two that would fit our bed frame at the time.
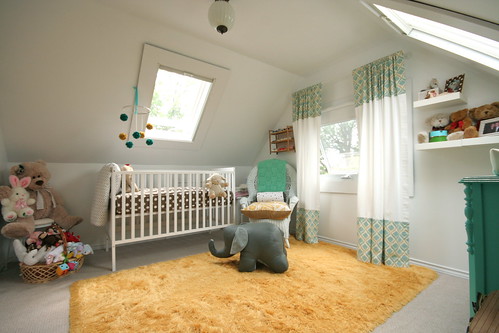
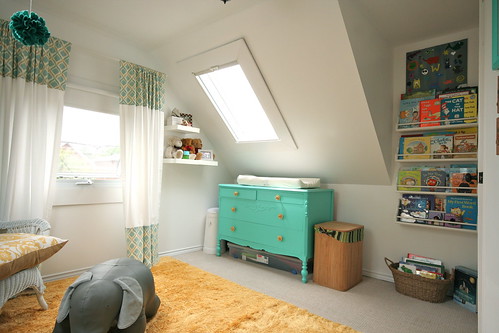
For that first year it was our bedroom, but after finding out we had a peanut on the way, our room was relocated to the back bedroom and we began to girly up this space. To see more details of the nursery, you can check it out here...


Back Bedroom and Closet
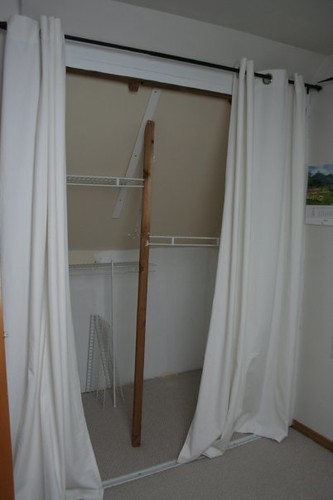
When we first saw the house, the previous owner was using the back bedroom as her dressing room. The closet was a great size, but not very sturdy or functional...
When we first saw the house, the previous owner was using the back bedroom as her dressing room. The closet was a great size, but not very sturdy or functional...
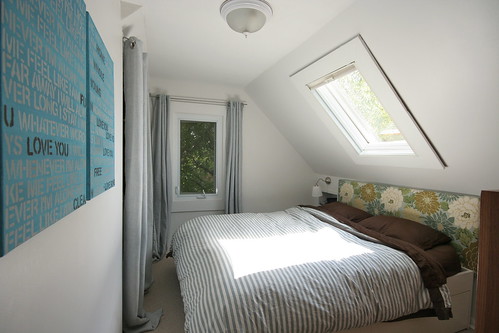
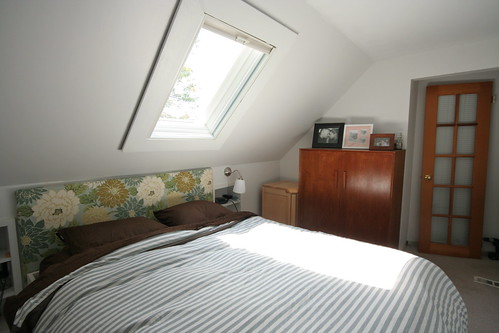
In February of 2011 we knew it was time to move our bedroom into the back room so that we could begin to prepare the nursery for the baby. We created our own built-in nightstands, and did the best we could to utilize the smaller space. We're so thankful we did and we love our new cozy bedroom...


As for the closet in this room, it was a bit of a disaster when we moved in, and the "structure" actually only remained intact for less than a year after our move in date...

After it collapsed (in the midst of our basement renovation), B was fabulous and within a month had completely transformed that little closet into something I love. I'm quite little, so for me this is a walk in closet, and the shoe storage at the back is perfect in our little home. Check out more details of the closet renovation here.

Basement Living Area
The basement was another one of those areas that despite the darkness of it, the musty smell and the low ceilings were were able to see something more...
Progress Photos Coming Soon!
Basement Bathroom
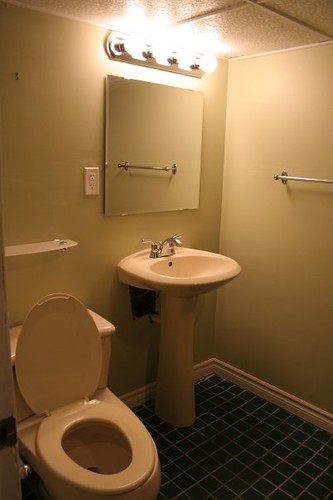
I think the only words that we can use to describe this bathroom when we first saw this home is "Yuck". It was dark and dingy, and with no window it needed some serious brightening up (and a working vent fan... kind of important in a bathroom)...
I think the only words that we can use to describe this bathroom when we first saw this home is "Yuck". It was dark and dingy, and with no window it needed some serious brightening up (and a working vent fan... kind of important in a bathroom)...
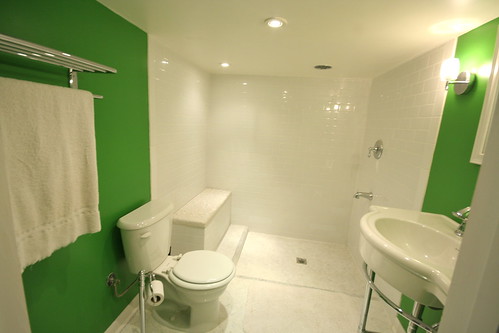
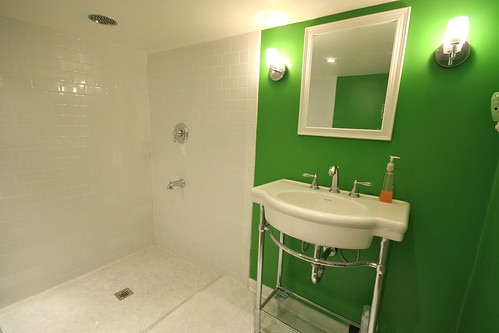
We were beyond thrilled to see the whole space come down and replace it with a bright and white new bathroom, in the spring/summer of 2010...


Basement Laundry / Office Space
When we first moved in, the "laundry room" was really just an old washer and dryer in the hall outside of the basement bathroom, that connected to the spare room down there, which was also dark and not very welcoming...
When we first moved in, the "laundry room" was really just an old washer and dryer in the hall outside of the basement bathroom, that connected to the spare room down there, which was also dark and not very welcoming...


After moving in, we painted that extra room a pale green, and the wood panelled closet in a cream. It was our guest bedroom for a short period of time, until we were ready to rip it all out and begin the renovation. We decided on creating one room which now operates as not only our laundry room, but my office / craft area as well. It still needs some work (like trim), but at least now it's bright and functional!


Backyard
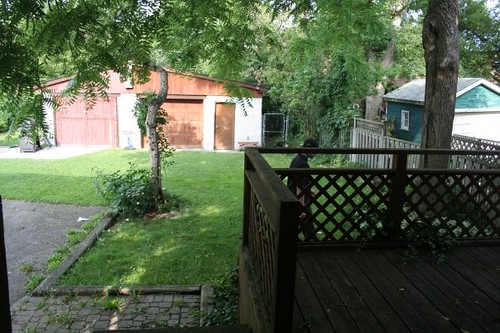
Our backyard has never been anything special - but for a young couple moving from a dingy apartment in the city we were thrilled to have some proper outdoor space. It's bigger than it looks since we share with our neighbours, but we're hoping to tackle it and turn it into a space where we can happily entertain friends and family...
Our backyard has never been anything special - but for a young couple moving from a dingy apartment in the city we were thrilled to have some proper outdoor space. It's bigger than it looks since we share with our neighbours, but we're hoping to tackle it and turn it into a space where we can happily entertain friends and family...

Progress Photos Coming Soon!
Don't forget to come back periodically. Our home is an ongoing project, and we plan to update and change this page as progress is made around here! We can't wait to share more with you as we go!










Wow, what a lot of work Kerry (the house and this house tour!) - congrats! It looks amazing.
ReplyDeleteThanks for this tour. What a lot of elbow grease, but so worth it. Gorgeous!
ReplyDeleteLove the tour, it's such a gorgeous place you have there - especially with all the work you've both done on it. :)
ReplyDeleteYour house is gorgeous. You can see all the hard work that you have done and it was so worth it. Thanks so much for all the pictures. Love the nursery. Good luck with everything and hope your little one arrives soon.
ReplyDeleteSo fun to look at your house and see all the progress! I love the nursery. And, that bright green and crisp white in the bathroom is awesome.
ReplyDeleteGreat job on the renos! Love Toronto! What a great city:) And your nursery is darling!
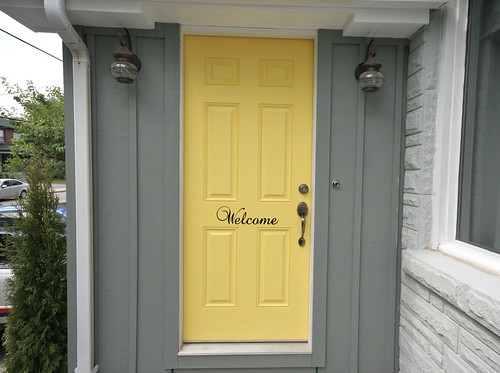
ReplyDeleteGreat transformation you guys have done. I've been following your blog for a while and each time I get inspiration on what you will transform now. I love the color on your entrance door with dark grey combination.
ReplyDeletePlease do visit my newly born blog http://isawiheardisaid.blogspot.com/
Keep up your great work!!
Wow! What an amazing home you have. It is so clean and fresh looking! I found your site via Google, as I was looking for the Robert Allen Basquiat Patina Fabric that you used on your headboard. It looks GREAT and $4.95 a yard is a STEAL!
ReplyDeleteJen
www.1creativemomma.blogspot.com
Wow your home looks spectacular! LOVE that green in the bathroom with the subway tiles. I've never thought about using that bright of a green but it looks really great. You've definitely inspired me !
ReplyDeleteWhat is that green color called and is it from BM?
ReplyDeleteSorry I never responded to this question - sheesh! The paint colour is called "Lime Candy" and it's by Valspar! It's the perfect green to use with all white!
DeleteWhat a great job you have done with your home!What is the square footage of your basement? I too live in a little house and I'm inspired by what you have done so far.
ReplyDeleteDarling home and love how you updated everything!
ReplyDeletexo Nancy
Powellbrowerhome.com
Wow! You definitely went all out on the renovations, Kerry! The transformation of the basement bathroom looks amazing. You brightened it up real good, and the green walls are just plain lovely. You definitely know how to turn a home inside out. Hahaha! Thanks for that wonderful tour! All the best to you! :)
ReplyDeleteSheldon Ward @ Brett Halvorson & Associates
Loved all what you did here in this house .
ReplyDeleteI love tiny houses and a good DYI
;)
Lulu
Don't forget to come back periodically. Our home is an ongoing project, and we plan to update and change this page as progress is made around here! We can't wait to share more with you as we go!
ReplyDeletegirl black salwar kameez
black salwar suit women's