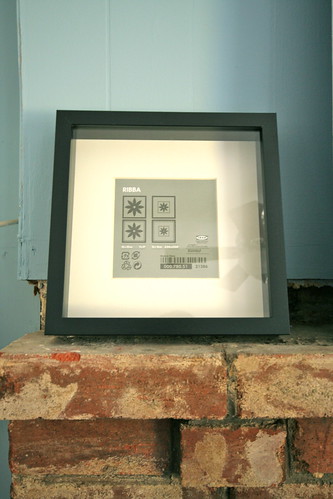
It sat on our fireplace mantel for a while, until the inspiration finally came to me. For ages I've been trying to come up with some way to use an old skeleton key that I'd picked up at the St. Lawrence Market a few years ago. This seemed like the perfect opportunity to do just that, and to create something new for our front entrance, using things we already had at home (I'm on a roll, using stuff that is cluttering up my office).
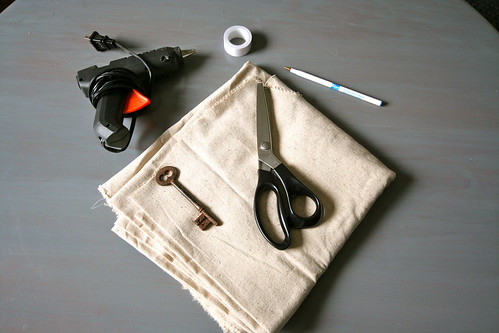
What I Used:
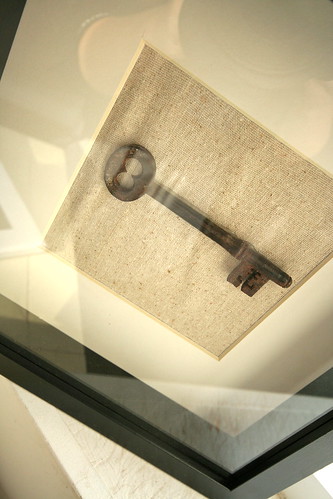
1. Left over light-weight fabric from our stockings
2. The Skeleton Key
3. Scissors
4. Double Sided Hem Tape
5. Glue Gun
It was an incredibly easy project that I was able to whip together in a matter of minutes, while Halle played next to me in her excersaucer. Quick projects are my best friend these days. If it only takes me a few minutes, then it doesn't get cast aside and forgot about for days or weeks.
After taking apart the frame, I cut one layer of my lightweight fabric, slightly wider than the back of the frame. (Note: before I starting cutting, I made sure that the back of the frame would still fit in place once the fabric was secured to it. Nobody wants to start a project like this and then find out your new art won't fit back into the frame!)

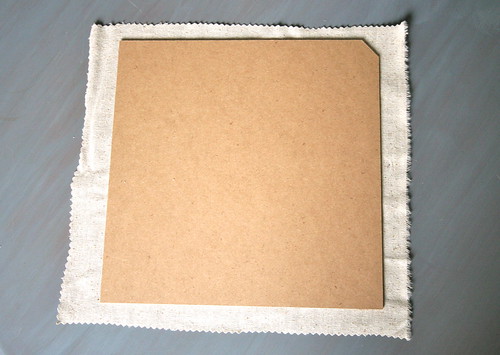
Next, I cut my hem tape into strips the same width as the back of the frame. I adhered it to the frame and them pulling my fabric tight, pressed it onto the sticky edge of the tape to secure it in place.
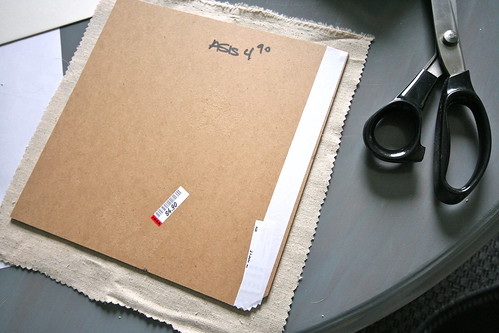
After doing the first side, I found the tape was much wider than it needed to be. So on the remaining sides. I cut the tape in half, and used thinner strips so that the tape wouldn't stick out past my fabric. I also had to use a few small dabs of hot glue in the corners where the fabric folded over itself. This helped to keep everything in place. Once all four sides were pulled tightly, and secured into place, the back of my frame looked like this...
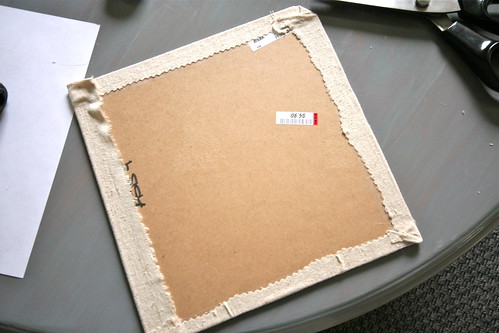
Not the neatest thing ever... but it's the back, it won't be visible. So, I just flipped it over and began working on the important side of it.
I wasn't too sure if I wanted to keep the mat for this project. So, in order to make it easy to display it with or without the mat, I placed the mat on top to help me centre my key...
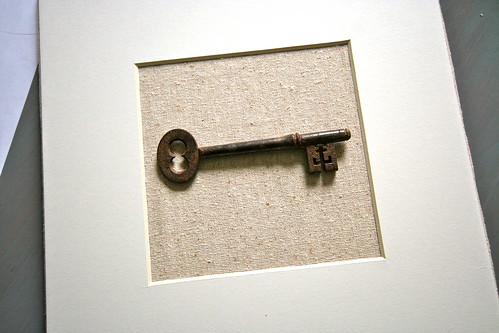
Next, a nice healthy squeeze of hot glue along the back of the key and I stuck it in place. I then let it dry flat on the table while Halle and I played...
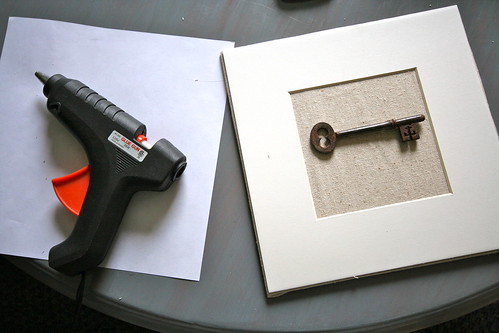
Finally, I popped it back into the frame (with the mat for now), and into the front entrance it went.
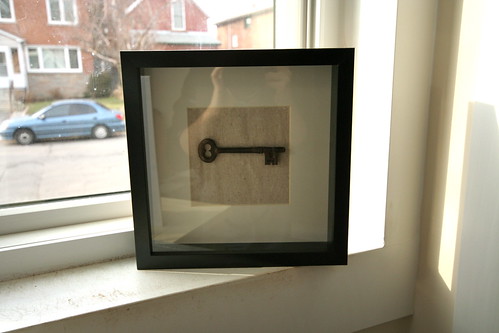
At the moment, it resides on our console table, until I can decide where on the wall it will hang... and what to hang with it. It's better than I had hoped, and I am so happy that old key is finally on display and no longer hidden away among my "crafty pieces" in the basement.
Do you have any left alone projects you need to tackle? Or maybe you're like me and have finally had a chance to make use of some of the supplies you have laying around at home? Either way, I'd love to hear about some of your current crafty projects...
Kerry, that looks so great! The fabric backing really gives it substance. And it's the perfect piece to put in an entryway.
ReplyDeleteLove it!!! It looks great... plus I am a sucker for old skeleton keys.
ReplyDeleteKerry dear, I have toooo many left alone projects I need to tackle... still trying to get the guest room in order... At least it's now painted! "J" and I did it last weekend... PS he sucks at painting... what should have taken 1 coat, took 2... don't tell him I said that! ;)
Wow it looks awesome! Love the clean and nostalgic look! I am onto framing DIY these days too. Over the years I've been collecting some old watches including my Dad's first-ever watch he bought for himself using his first salary. I will do something similar and frame them. :-)
ReplyDeleteI have many left alone projects, but I have them on a list so i don't forget and am motivated to them done in the near future. :)
ReplyDeleteOh and I love your frame. I want a few skeleton keys or one outrageously beautiful one to frame too.
What a fabulous idea to frame your key, Kerry...your entryway seems a great place to display it as well. I love these old keys - it always fun to wonder the stories of houses and people and were part of their history
ReplyDeleteI love it! I have been looking for a key to do something like this with it! How perfect.
ReplyDeleteTurned out beautifully! I love the fabric you mounted it on too!
ReplyDeleteLOVE it! Totally wouldn't have thought of the fabric backing - but that makes it look so much more professional - and awesome!
ReplyDeleteRight now, I'm dreaming up a Scrabble Art project after seeing Cassies's post ('Hi Sugarplum!') on Tuesday. You should check it out if you haven't seen it already!
Such a great idea, Kerry! That fabric works awesome and I really like it with the matte. Those RIBA frames are perfect for something like this.
ReplyDelete