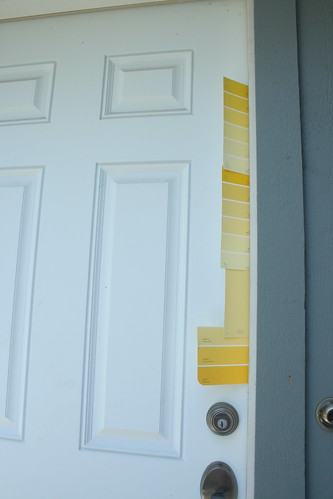
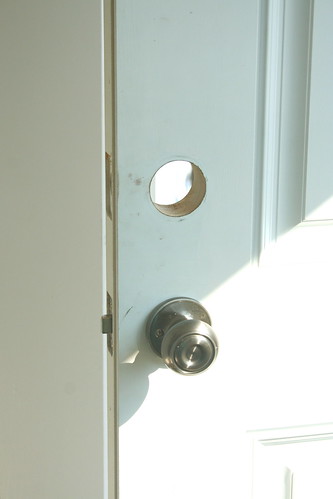
Today - I have another new project to share. Yes... we're still crossing stuff off of our list as we inch closer and closer to the big due date (Two more days...). Over this past weekend and into yesterday, we were working on sprucing up our boring old front door. In my last post about improving our curb appeal, I made it no secret that our next step was to get it all painted. So, as we worked on painting the exterior the other weekend, our front door looked like this...
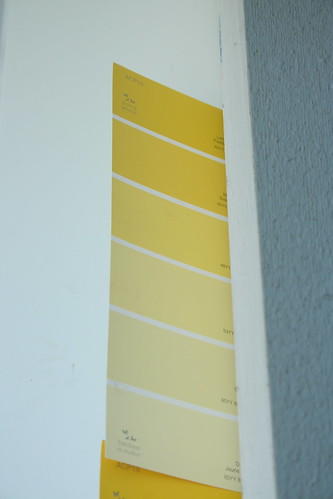
We had picked up this selection of yellow paint chips from Home Depot quite a while back, and left them laying in one of the drawers of our console table for future reference. We eventually both agreed that yellow was indeed the colour we wanted to use, so we whipped the paint chips out and lined them up. After staring at them for quite some time, I narrowed my choices down to the top two paint chips, and after a bit more consideration, B and I narrowed it down to the top chip...
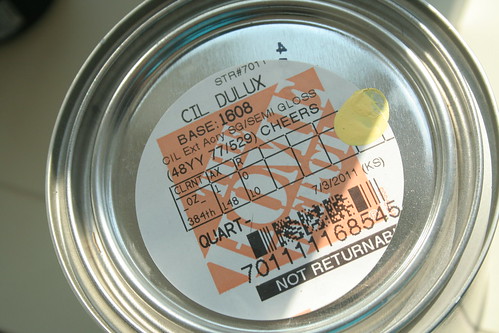
The final choice was the third from the top. It's a CIL colour, called "Cheers" for anyone interested.
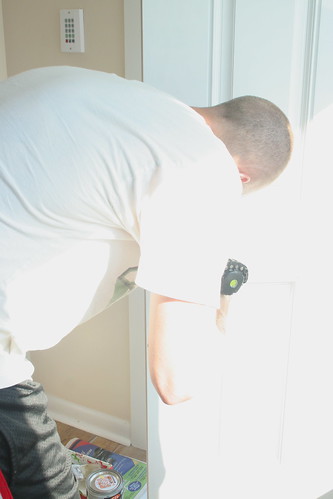
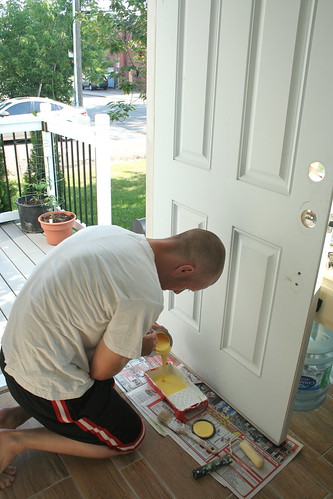
Last Friday, when B got home from work, we decided it was time to get the paint on. We knew it would take a few coats for the yellow to look right. So first things first, off came the hardware...
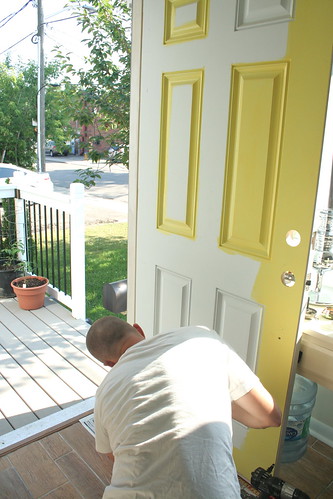
... and on went the first coat of our cheery yellow...
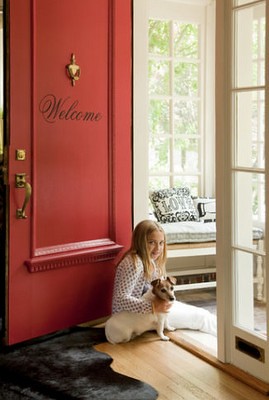
Friday night we got as far as the first two coats before we headed over to our friend's for dinner. Sunday morning we were back at it, and while B got the final coat of yellow on, I was inside working on the next step of our front door project. A step that was inspired by this image, which I found on pinterest...
I sent my oh-so-wonderful Mother the above photo and she found a gorgeous font and printed "Welcome" for us on some heavy card stock. I then used my x-acto knife to cut out each of the letters so that we ended up with something like this...
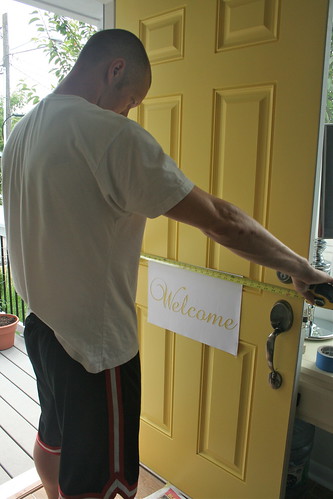
Next, we measured the door and used some small pencil marks to ensure that our stencil was centred and level on the front door...
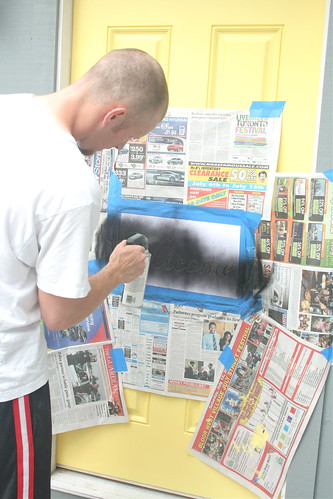
We gave the back of our stencil a quick blast of tacky spray to help it stick to the door and to try and avoid any bleeding of our paint. (Make sure you only spray the paper, or you'll have one heck of a time trying to get that paper off your door!). Then, we proceeded to use newspaper and painters tape to tape off the door around our stencil and B sprayed it completely with some exterior black spray paint...
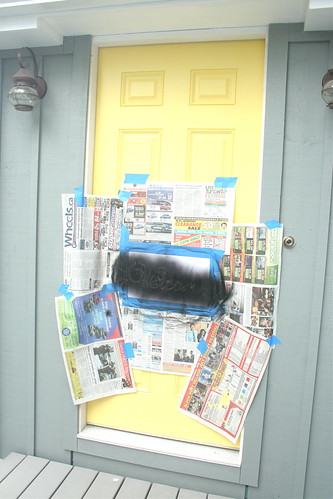
Unfortunately, as B was spraying, he noticed that parts of our stencil were starting to lift. So he got all of it sprayed and we let it dry for a bit before peeling off all of the paper and the stencil. From far back, it didn't look half bad (with the exception of the little lines that we needed to keep on the stencil so the middle of the "e's", "l" and "o" would not fall out)...
However, up close was a whole different story...
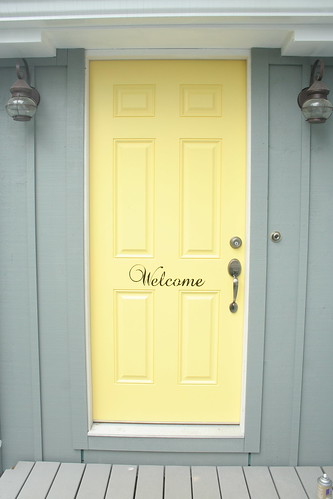
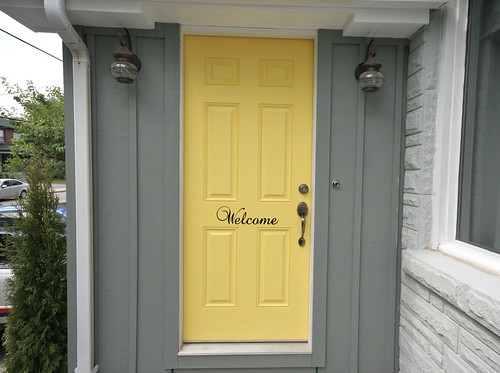
Not quite as sharp looking! After it letting it dry up some more, I went after it with some black paint and a small paint brush to clean up our edges and then B touched it up with some yellow. We were thrilled with the results...
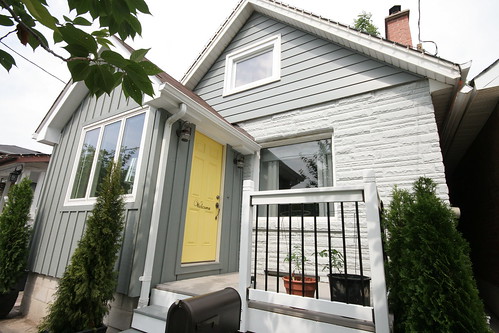
I think with this project we have truly hit the mark. We got the colour we were looking for, and added a little something extra to make our home that much more welcoming for our guests (which I'm sure we'll have a lot of not long after Peanut arrives!).
Has anyone else been working on sprucing up their curb appeal? Any fun elements that you've added to take the front of your house up a notch?


Looks great! You know I am a sucker for the grey and yellow combo. I love the added touch of welcome. very sweet. Add a few yellow flowers to your deck to pull everything together.
ReplyDeleteOoh, I like it! Great job guys! Love that yellow you choose.
ReplyDeleteLove it - that's the perfect yellow with all your grey! By the way, you sure are getting a lot done around there lately...
ReplyDeleteJust beautiful! Can't wait to see ALL you've done in person! You've worked so hard inside AND out!
ReplyDeleteThat is so pretty. I don't think I've ever seen a yellow door and that's the perfect yummy yellow. I love it. Congratulations
ReplyDeleteOh my gosh, I love it Kerry! I can't believe how much you two are getting accomplished lately!
ReplyDeleteLooks amazing! I loge the grey and yellow combo!
ReplyDeleteLove not loge, haha
ReplyDeleteThat looks fantastic! The Welcome stencil is the perfect finishing touch.
ReplyDeleteI THOUGHT you might pick yellow! It looks awesome. Looking at the first pic with all the swatches I gravitated to the exact one you picked! Love it.
ReplyDeletethat looks amazing! i love that yellow, it is the perfect complement to the gray! fabulous!
ReplyDeleteBeautiful job! Funny I just did an entry about painted front doors
ReplyDeleteWow. That is just stunning. I LOVE the color. What a great combination.
ReplyDeleteBeautiful! The yellow is so cheery and fun. Perfect choice.
ReplyDeleteIt looks great! To avoid the bleeding of the black on to the yellow door, you'd have to paint over the stencil first with the yellow paint, let it dry, & then do the black stencil - as I've learned from experience.
ReplyDeleteWhat is the paint color and by what company that you chose for your door?
ReplyDelete