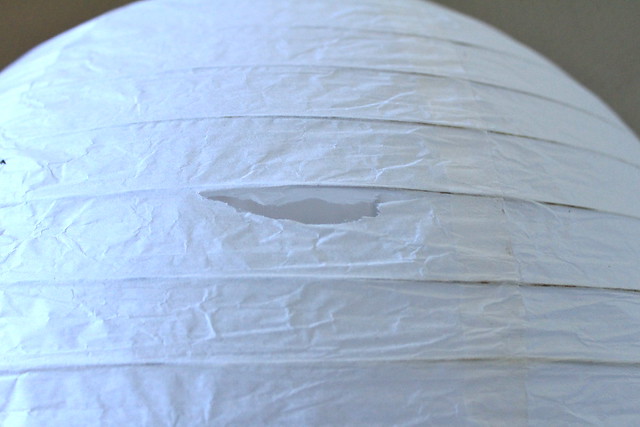
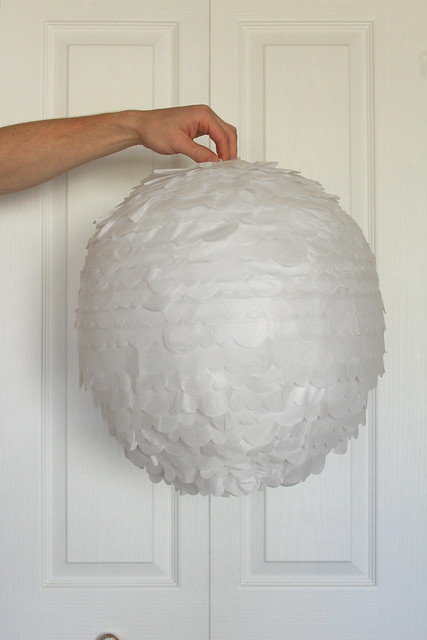
I may have mentioned this once or twice, but we're on a tight budget when it comes to decorating. I'm attempting to pretty up the space using things we already have. Thankfully, I had a paper lantern laying around that I had bought back in September for $2... on the downside, the delicate paper had ripped, leaving a pretty large hole in the side of the lantern.
To find some inspiration, I began searching around on Pinterest for some fancied up paper lanterns. There is SO MUCH out there (of course), but in the end it was these (from Martha Stewart of course) that had me feeling the most excited...

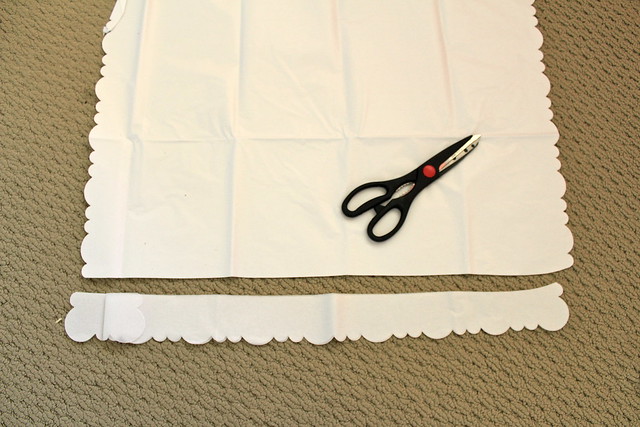
I really loved the scalloped, girly feel to them and knew it would be pretty easy and inexpensive for me to pull off. The whole project got a whole lot easier when I stumbled across some tissue paper at HomeSense that had scalloped edges, and only $3.99 a pack. I went back and forth a lot on whether I wanted to do coral, gold or white, but in the end white won out (as it usually does with me). I did grab a few extra packs of the tissue paper though for gift giving - it's just so pretty!

While the project was easy it a little time consuming. I cut the scalloped edges off of the tissue paper in strips, and with most of the sheets I was actually only able to use two sides of the sheets because of some "defects" in the paper.
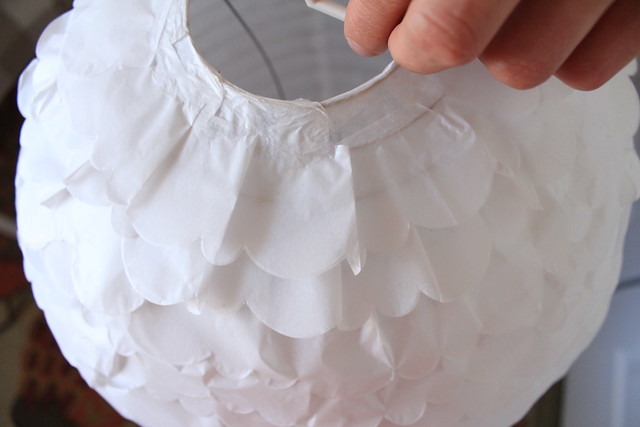
Then it was just a matter of taking my craft glue and running it along the wire frame of the lantern. I learned quickly that I had to apply the tissue paper in one full rotation of the lantern and let it dry before applying more. If you don't, your tissue paper will start to stick where it overlaps and it will just look all wonky and messy. So yes, a lot of this project was spent waiting for the glue to dry, but man, was it worth it!
I started applying the paper from the bottom so that it would all overlap properly and hide the glued sections. At first I looked at my silly lantern with glued on tissue paper and thought "This is going to be a disaster", but soldiered on. About halfway through it was looking better... but similar to an artichoke.
The middle was by far the easiest part to do as the wire frame went around in a pretty straight line. The scalloped paper went on really nicely and I was feeling super confident about the project... until I started to apply the paper closer to the top.
Much like the bottom half, the top of the lantern had the wire getting closer and closer together. I guess because of the angles it was just harder to lay the tissue paper flat, and I ended up having to fold small sections to follow the wire properly. My first few attempts were just messy and looked awful, but by the time I was finishing the last few visible pieces, I had figured out a pretty good system.
It took a lot longer than I had anticipated, but when I was finally finished (late last week) I was thrilled with the final outcome...
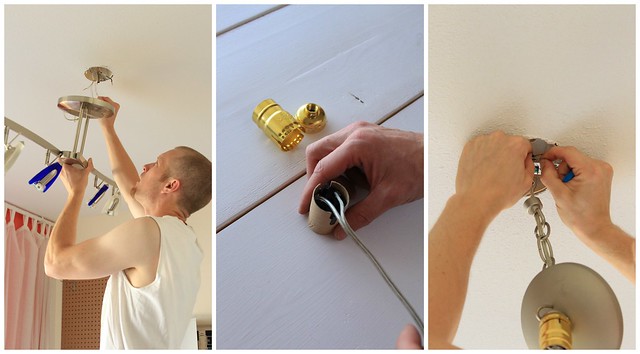
Yesterday was all about finally getting it hung. We already had a wire and chain from the chandelier we removed from the dining room, so we just had to go out and buy the right socket for our lightbulb. We made a trip to Canadian Tire and came home with this dimmer socket, since the light in my office is on a dimmer switch.

B spent Halle's nap time working away removing the old light fixture, wiring our new socket, shortening the wire and chain from the old chandelier and finally hanging my lovely new light.
It now hangs beautifully in my office, brining me one step closer to finishing it off. It feels more and more like "me" everyday, and now you can get your first real glimpse at the space...
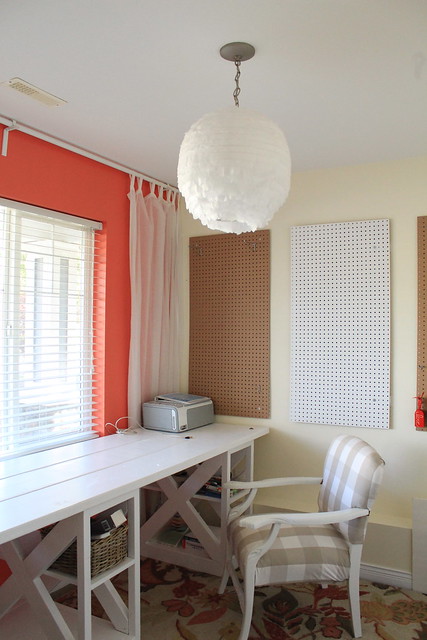
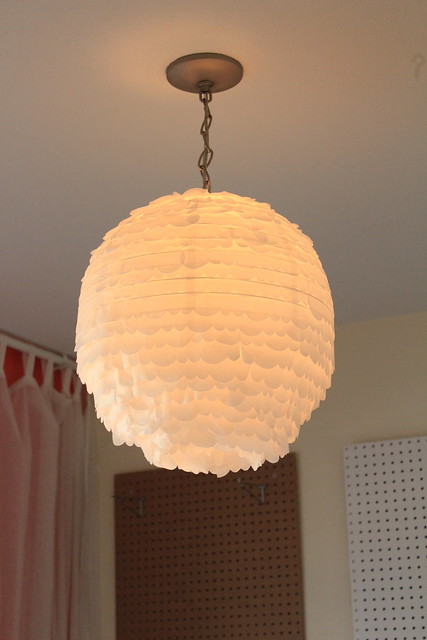
I'm so happy with it. It brings a more feminine feel to the room. I'm also pretty thrilled to finally have it crossed off of my to-do list.
Did you cross any projects off your list this weekend? Maybe you made something new out of something you had already laying around the house?
Love the light fixture, It turned out AMAZING!!
ReplyDeleteLooks pretty! & I love your desk - it looks so good!! Over the weekend I finally started working stripping the old finish off our dresser we're using as a TV stand, I just hope the end product turns out nice
ReplyDeleteLove this, Kerry! Turned out great and your office looks like it's coming along so well! Can't wait to see it finished :)
ReplyDeletegorgeous :)
ReplyDelete