Monday, July 29, 2013

Feeling Ruffled

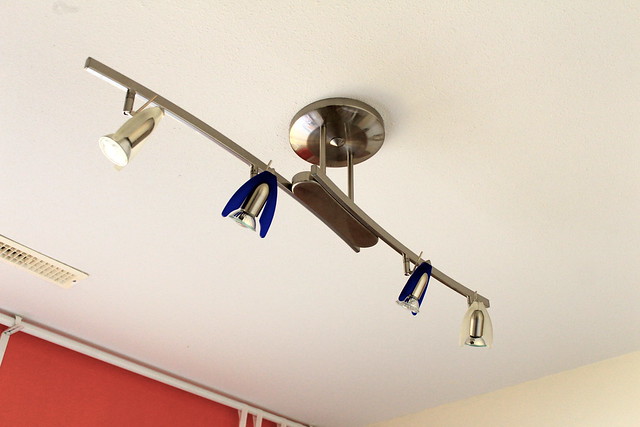
My office is coming along nicely, but not quite ready to share. You may have to wait until after the wedding! For now, I want to share how I addressed the lighting in my space. From the moment we first saw this house, I knew the light fixture in here would have to go - it's just not our style and it's even more obvious now as we've been pulling my whole design together. 


Old Light Fixture in Office

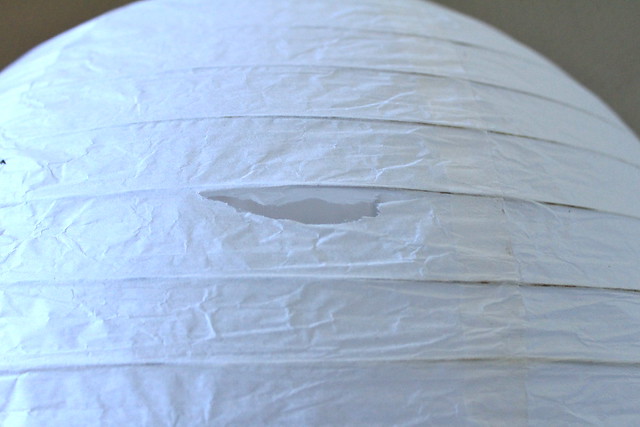
I may have mentioned this once or twice, but we're on a tight budget when it comes to decorating. I'm attempting to pretty up the space using things we already have. Thankfully, I had a paper lantern laying around that I had bought back in September for $2... on the downside, the delicate paper had ripped, leaving a pretty large hole in the side of the lantern. 


Light Fixture

To find some inspiration, I began searching around on Pinterest for some fancied up paper lanterns. There is SO MUCH out there (of course), but in the end it was these (from Martha Stewart of course) that had me feeling the most excited...


via Martha Stewart

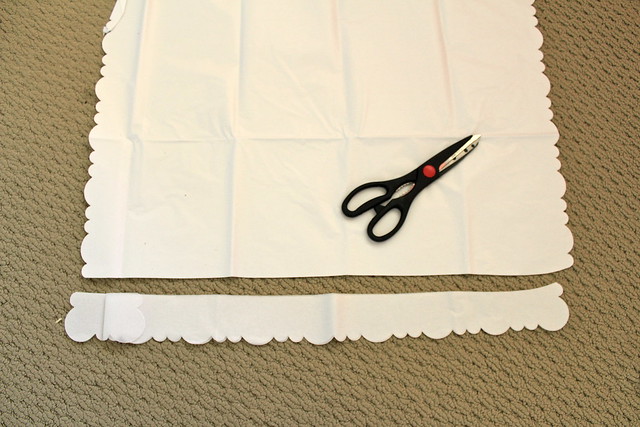
I really loved the scalloped, girly feel to them and knew it would be pretty easy and inexpensive for me to pull off. The whole project got a whole lot easier when I stumbled across some tissue paper at HomeSense that had scalloped edges, and only $3.99 a pack. I went back and forth a lot on whether I wanted to do coral, gold or white, but in the end white won out (as it usually does with me). I did grab a few extra packs of the tissue paper though for gift giving - it's just so pretty!

DIY Light

While the project was easy it a little time consuming. I cut the scalloped edges off of the tissue paper in strips, and with most of the sheets I was actually only able to use two sides of the sheets because of some "defects" in the paper. 

DIY Tissue Paper Lantern

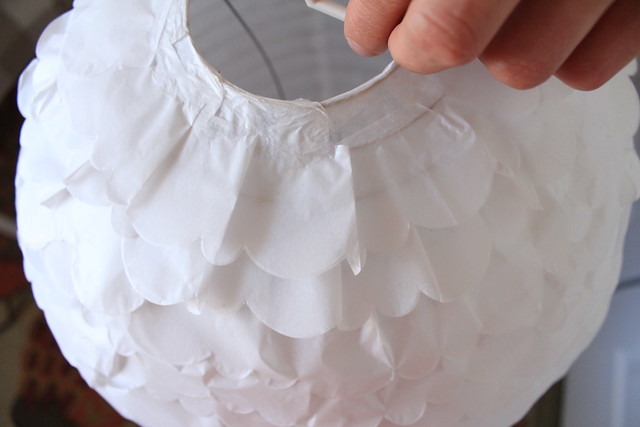
Then it was just a matter of taking my craft glue and running it along the wire frame of the lantern. I learned quickly that I had to apply the tissue paper in one full rotation of the lantern and let it dry before applying more. If you don't, your tissue paper will start to stick where it overlaps and it will just look all wonky and messy. So yes, a lot of this project was spent waiting for the glue to dry, but man, was it worth it!

I started applying the paper from the bottom so that it would all overlap properly and hide the glued sections. At first I looked at my silly lantern with glued on tissue paper and thought "This is going to be a disaster", but soldiered on. About halfway through it was looking better... but similar to an artichoke. 

The middle was by far the easiest part to do as the wire frame went around in a pretty straight line. The scalloped paper went on really nicely and I was feeling super confident about the project... until I started to apply the paper closer to the top.

Much like the bottom half, the top of the lantern had the wire getting closer and closer together. I guess because of the angles it was just harder to lay the tissue paper flat, and I ended up having to fold small sections to follow the wire properly. My first few attempts were just messy and looked awful, but by the time I was finishing the last few visible pieces, I had figured out a pretty good system.

DIY Tissue Paper Light

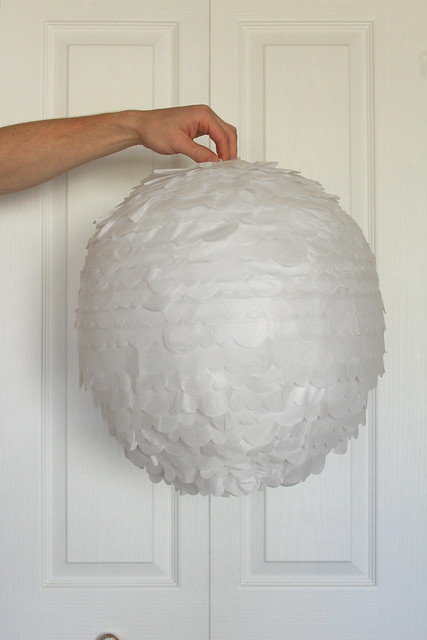
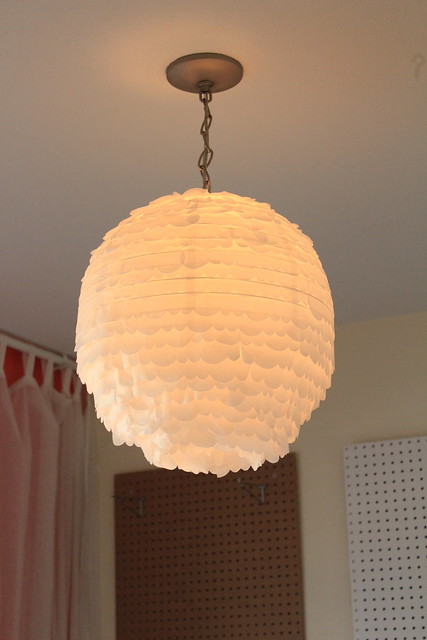
It took a lot longer than I had anticipated, but when I was finally finished (late last week) I was thrilled with the final outcome...

DIY Tissue Paper Light

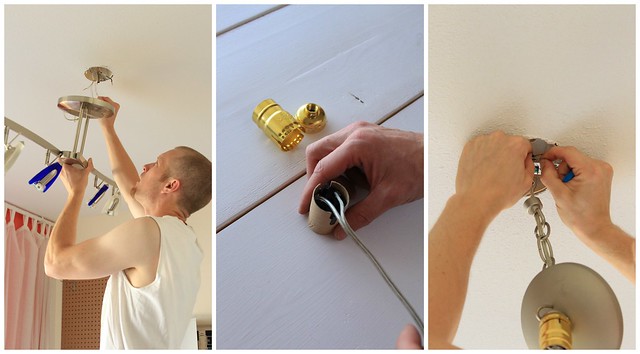
Yesterday was all about finally getting it hung. We already had a wire and chain from the chandelier we removed from the dining room, so we just had to go out and buy the right socket for our lightbulb. We made a trip to Canadian Tire and came home with this dimmer socket, since the light in my office is on a dimmer switch.

Dimmer Socket for DIY Tissue Paper Light

B spent Halle's nap time working away removing the old light fixture, wiring our new socket, shortening the wire and chain from the old chandelier and finally hanging my lovely new light. 

Preparing to Hang a Tissue Paper Light

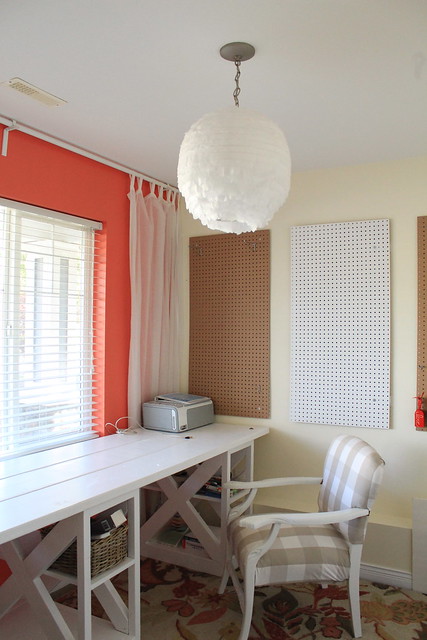
 It now hangs beautifully in my office, brining me one step closer to finishing it off. It feels more and more like "me" everyday, and now you can get your first real glimpse at the space...

DIY Tissue Paper Light in Office

DIY Tissue Paper Light in Office

I'm so happy with it. It brings a more feminine feel to the room. I'm also pretty thrilled to finally have it crossed off of my to-do list. 

Did you cross any projects off your list this weekend? Maybe you made something new out of something you had already laying around the house?
SHARE:

Friday, July 26, 2013

Fancy Friday Love

What a crazy week. Halle turned two, and my focus has turned from her party/birthday and back towards wedding and honeymoon planning. It is less than a month until we say "I Do", and I can't believe it. Still lots to do, so in the meantime, check out what I loved recently...

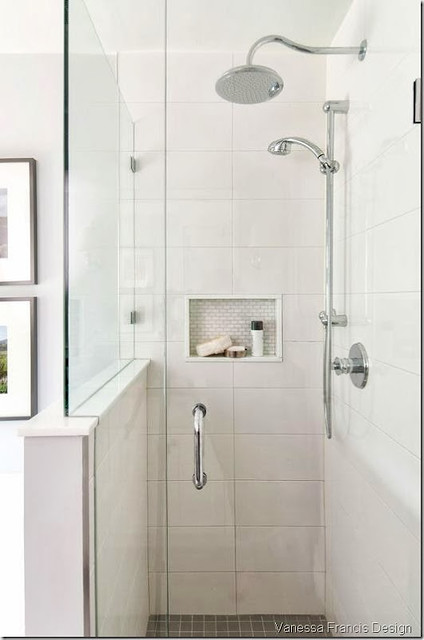
I'm loving this fresh bathroom renovation that Vanessa did for a client! Everything is beautiful, and it's nice to see a space that isn't all marble and subway tile (don't get me wrong, I love 'em, but it's nice to see something different once in a while). She's really inspired me to open up our own shower stall (when we have money to put towards a reno of course). 


via vanessa francis design

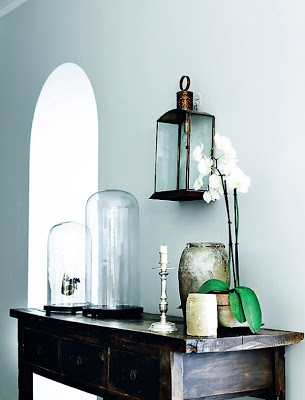
How about this gorgeous Nordic minimalist home (located in the South of France) shared on automatism. I'm loving it, especially the front entry...

via automatism

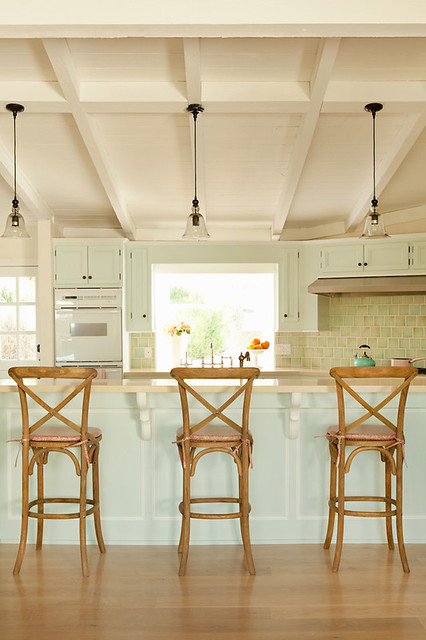
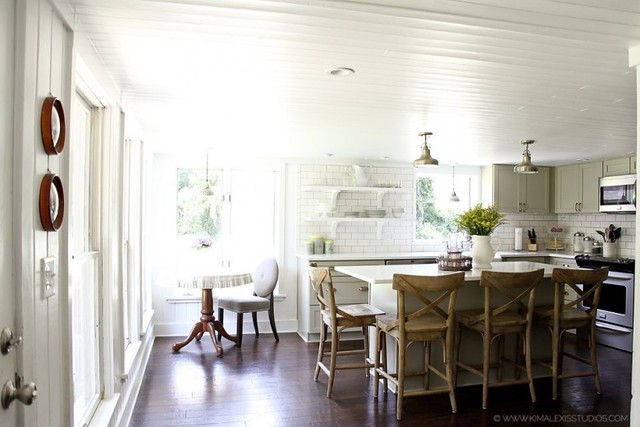
I think I find a new dream kitchen online every week (if not every day). This past week, this one was a top contender (found on House of Turquoise). (I must add, I saw benches identical to those chairs at HomeSense yesterday and instantly fell in love. Wanted to take it home for our kitchen dining nook, but all money is going into our wedding and honeymoon fund at the moment! *sobs*)

via house of turquoise

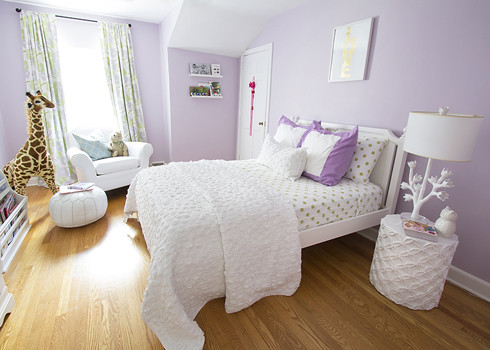
This girls room, featured on Made by Girl, has made me decide it is time to get back on board with finishing Halle's room. It could be so much better than it is right now. Time for me to get to work.

via made by girl

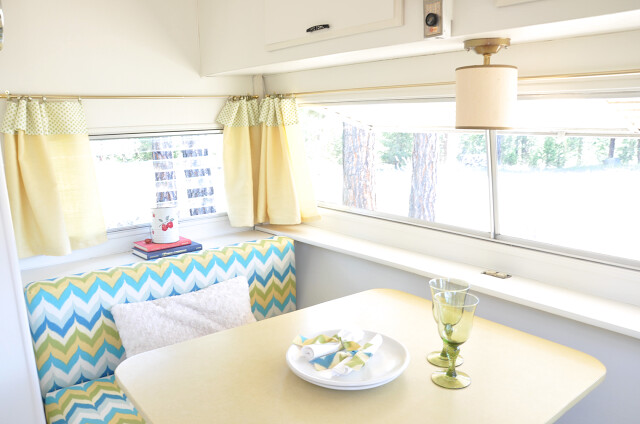
Did you see the trailer that Danielle's Mom revamped? B and I keep talking about wanting to take Halle camping... and I think doing some camping in that trailer would be totally awesome. Don't you?

Trailer Revamp via Danielle Oakey

So, this weekend we're sticking close to home. May hit a few garage sales, have some friends over, maybe visit a festival or two. Generally just enjoy this gorgeous hot, sunny summer we are getting... before the rain returns! What are you up to this weekend?
SHARE:

Tuesday, July 23, 2013

2 Came Fast

My Dearest Halle,

It's hard to imagine that just over two years ago, we had not met. Today, I cannot imagine a single day passing without you in my life. In a matter of 730 days you have transformed from a tiny newborn into a smart, funny, curious, nurturing and sweet little girl. You absolutely light up my days with your smiles and giggles.


Bittersweet PhotographyJune 30, 2013

Before you arrived, I was never sure if I wanted to become a mother. Would I be good at it? Would I know what to do? I thought I would need to know everything. Little did I know that these past two years would teach me so much. That YOU would teach me so much.


391316_493632057318451_141906313_n
{Photos of  Halle at one week, 7 months & 1 year care of Nicole Kathlyn Photography}

You constantly challenge me to be a better person and mother. You have taught me to see the world through youthful eyes again. Things that were once overlooked or mundane are once again fun and exciting. 


IMG_1077

My dear girl - you are such a treasure to your Father and I, and you are loved by so many. Being your Mom has been so wonderful and I can't wait to see what this coming year holds for you!

I love you with all of my Heart!

Mama
xoxo
SHARE:

Monday, July 22, 2013

Halle's Bubble & Balloon Party

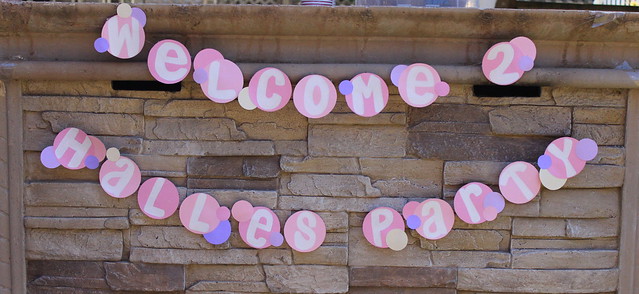
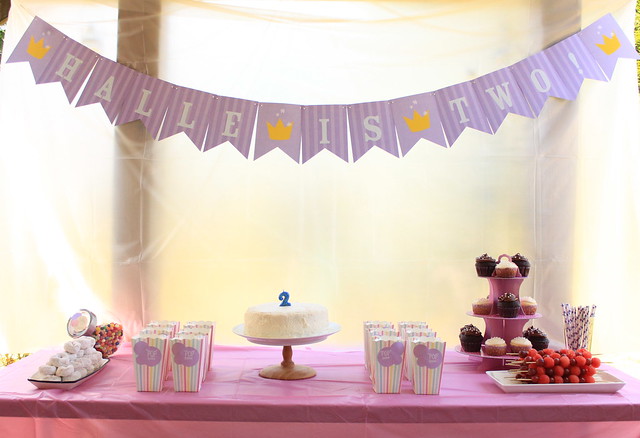
Yesterday was a gorgeous Sunday here, made even better by the little backyard party we threw in honour of Halle's 2nd Birthday (which is tomorrow). The theme was bubble's and balloons and I'd say it was a big success... here are the details...


July 21, 2013


July 21, 2013

July 21, 2013July 21, 2013

I made these Lemon Honey Cupcakes, and some chocolate cupcakes with Chocolate Nutella icing. They were both a hit. 

July 21, 2013

July 21, 2013July 21, 2013

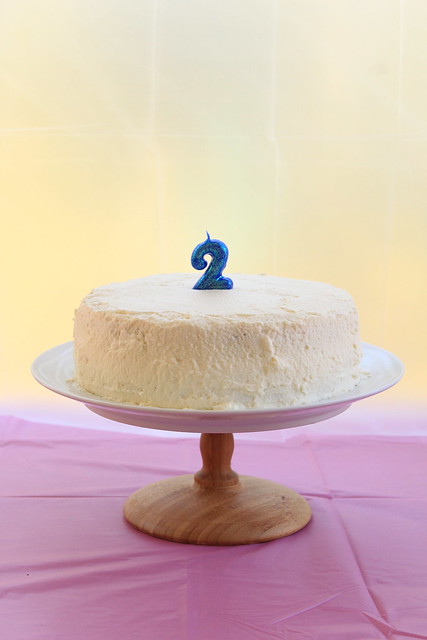
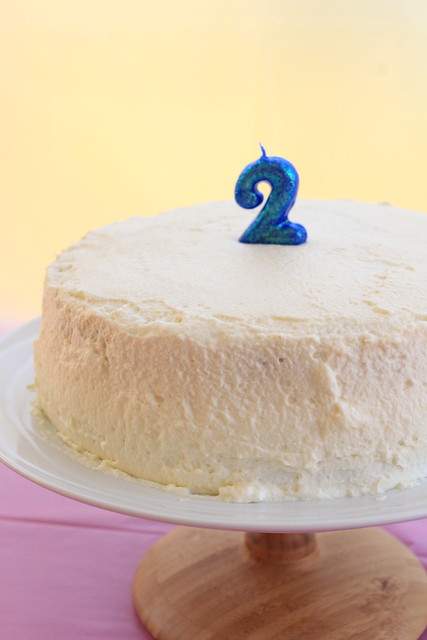
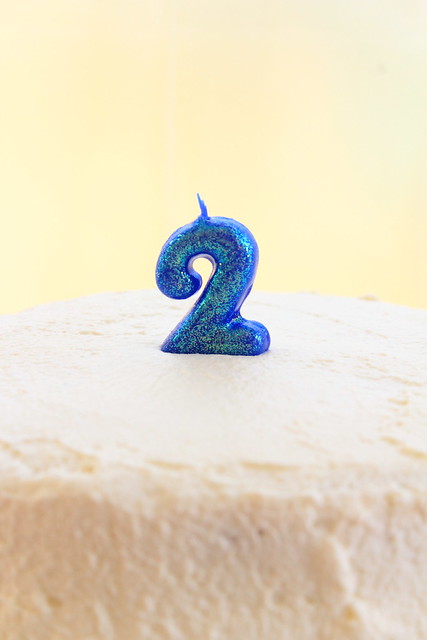
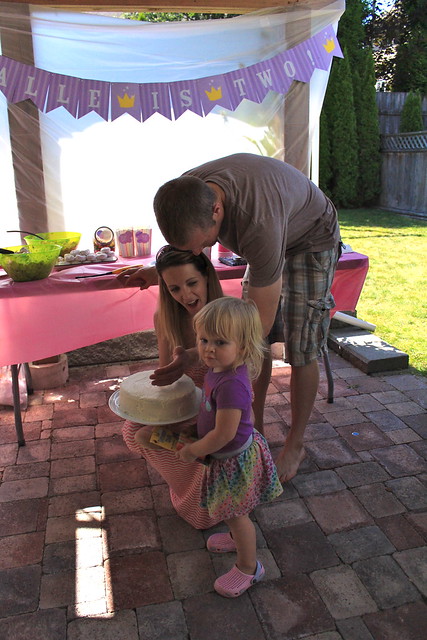
There was even a birthday cake (also baked by me... I'm feeling pretty proud). I went with a plain vanilla cake and a whipped cream icing. A nice change from the super sweet cupcakes!

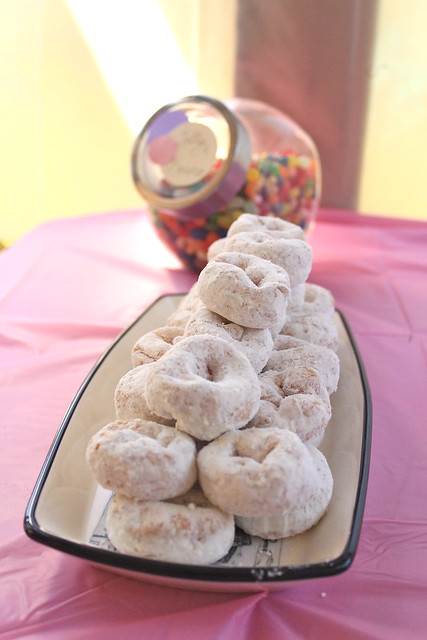
I added some other treats to the table for everyone as well...

July 21, 2013

July 21, 2013

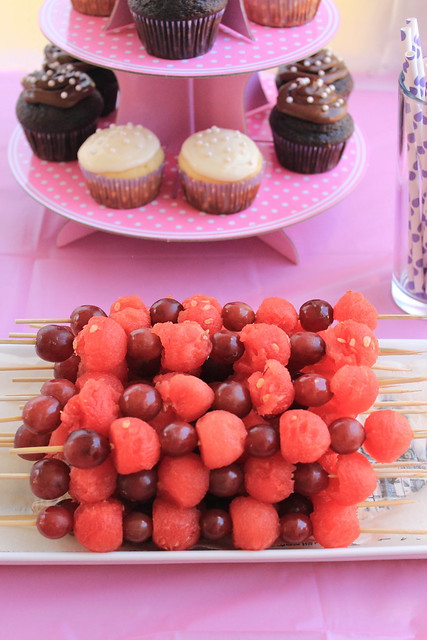
These grape and watermelon skewers were a HUGE hit, especially with the kids! They were all gone well before the party was over.

July 21, 2013

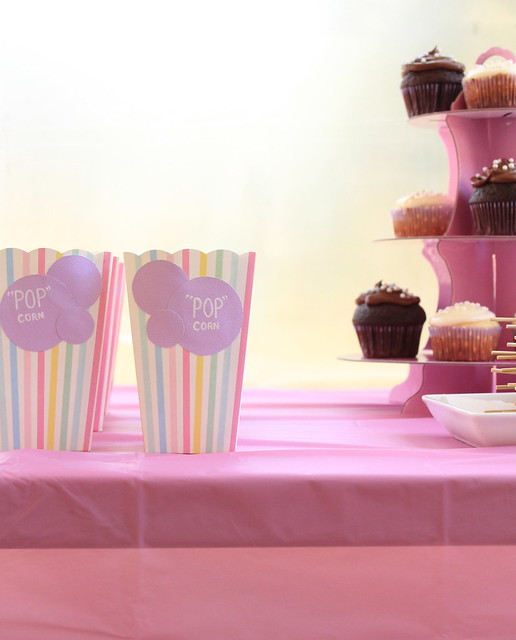
What's a bubble and balloon party without Popcorn? I bought the little popcorn containers at HomeSense - 12 for $3.99, and glued the purple "bubbles" over top and then painted them. Popcorn - also a huge hit with the kids!

July 21, 2013July 21, 2013

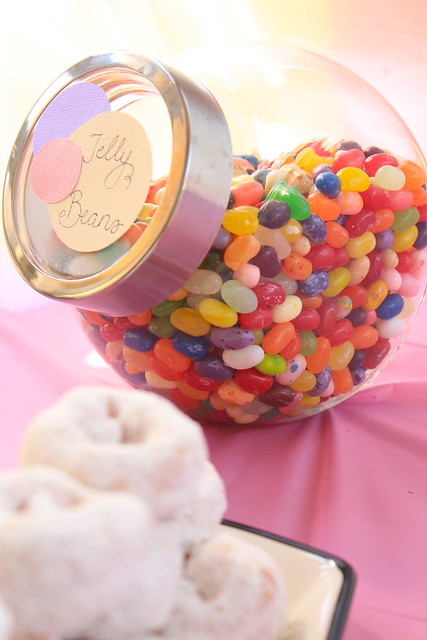
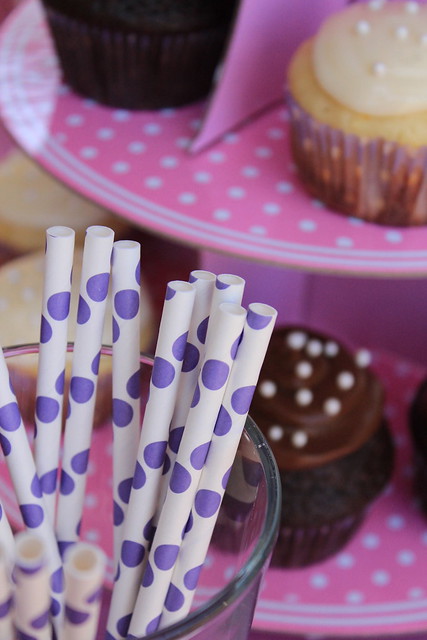
Jelly Beans and some fun purple polka dot paper straws. Straws - also great with a large group of small children! Even the boys were okay with pink cups when they came with straws!

July 21, 2013

July 21, 2013

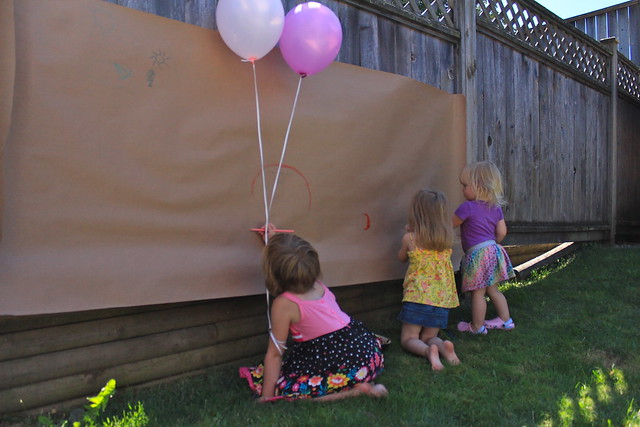
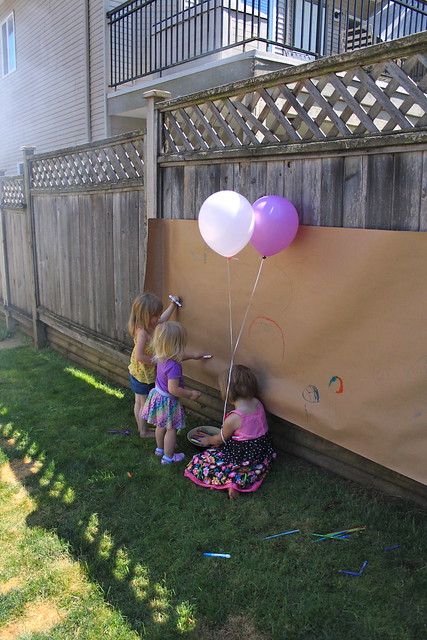
This drawing station had the kids going nuts. They all ran for it as soon as I brought out the markers, pencil crayons and crayons. Of course, Halle ended up with more marker on herself than on the actual paper. At least a great time was had by all!

July 21, 2013

Halle enjoyed the "Happy Birthday" singing. Afterwards she even asked for more!

July 21, 2013July 21, 2013

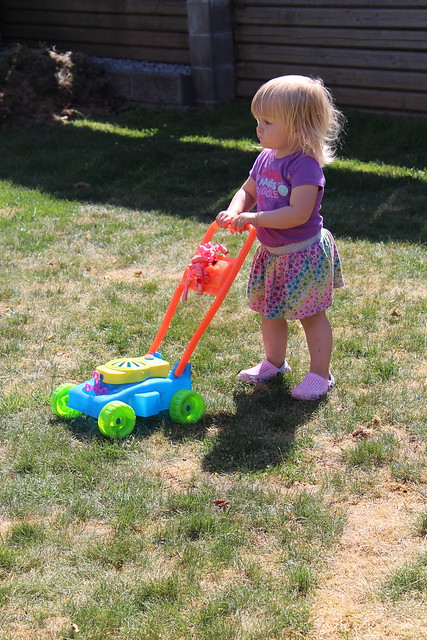
There were LOTS of bubbles to be had, including a fish bubble gun that B bought for her, and a bubble mower that our friends gifted her. Her and all of her little guests were loving them!

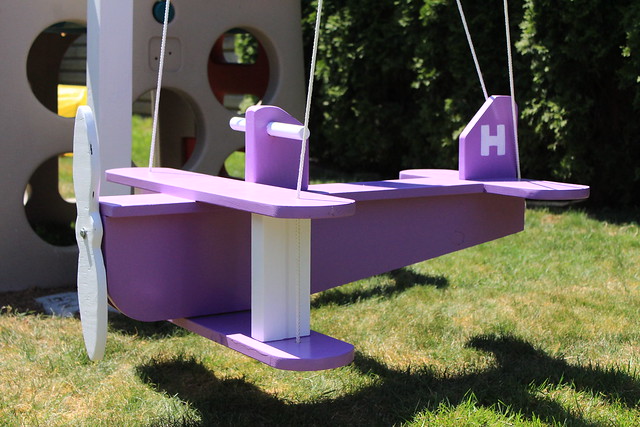
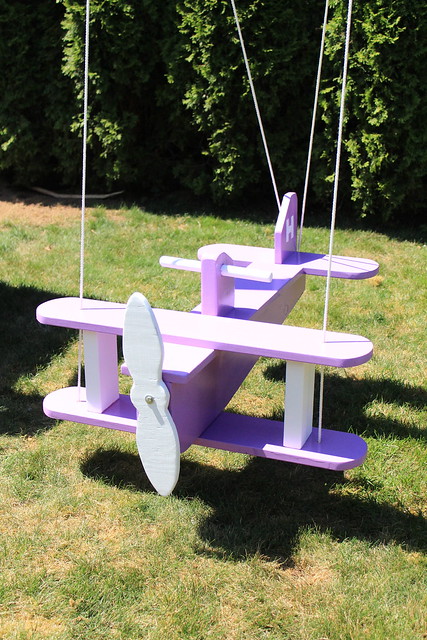
To round out this post, I just HAVE to share the fantastic birthday gift that B built for Halle. 

July 21, 2013

July 21, 2013

There will be another post coming soon with more about the plans that B used to built this fantastic swing. 

So that was our weekend. It was busy, I forgot to make punch, didn't put out the sweet tea I made and was late putting out the quinoa and potato salad I made, but it looked like everyone had a really awesome time yesterday. We are so lucky to have made so many awesome friends out here, and yesterday was also a fantastic opportunity to meet so many of our new neighbours! Really - AWESOME!

I hope you all had a great weekend too! What did you get up to?
SHARE:

Monday, July 15, 2013

So Fresh & So Clean

Originally we had reserved this past weekend for a camping trip on the island with some of our friends. Unfortunately, some unexpected financial obligations arose and we had to back out last minute. We were sad to miss it, but on the upside we accomplished A LOT around here (including meeting new friends in our neighbourhood for both Halle and myself! Exciting!!).

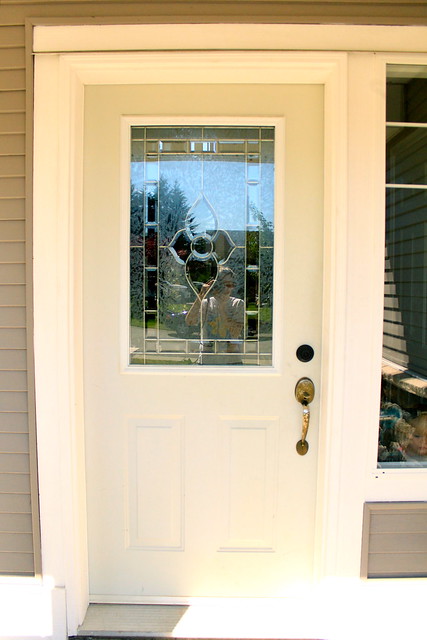
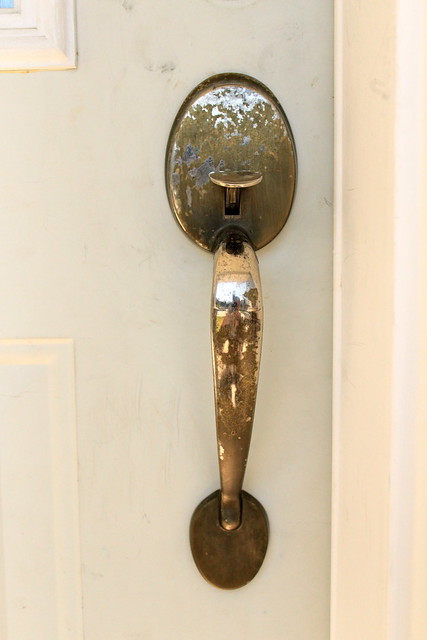
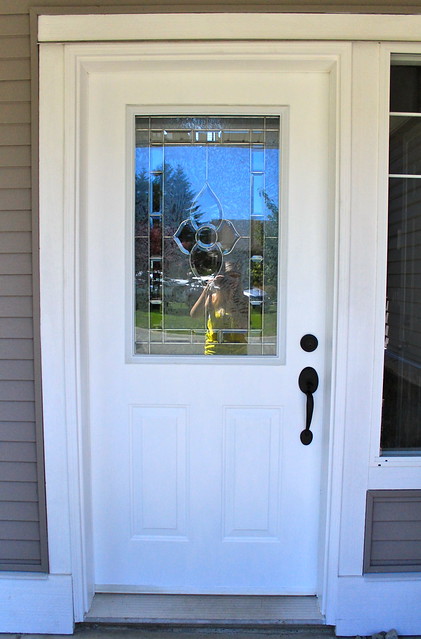
With Halle's birthday party happening this coming weekend, we really want to house to be clean and as organized as possible before our friends show up (we're still settling in after the move). After reading this post last week by my blogging pal Sheila, I wanted to tackle a project we've been putting off since we moved in - our front door. From a distance, it didn't look like much more than a white painted door (with mismatched hardware). 


July 13, 2013


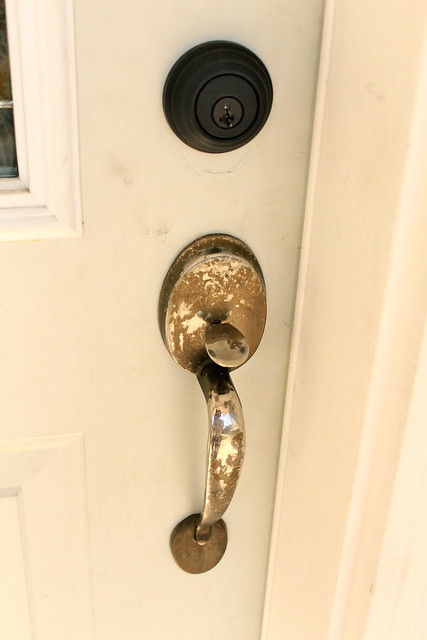
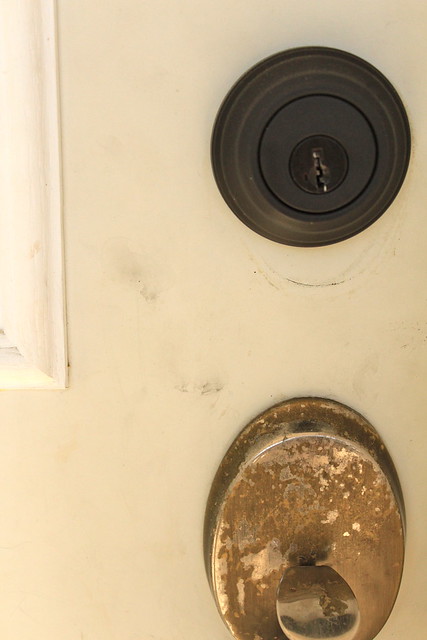
When you got closer, the ugly became a bit more obvious. The door itself is your run of the mill exterior grade steel door, but it had never been painted and was incredibly dirty and marked up. To make it look even worse, the brass paint from the door handle was chipping off and it just looked awful.


July 13, 2013July 13, 2013

July 13, 2013

We had already bought some flat black spray paint to use for the door handle a while ago, but we needed to decide what do for the door itself. We talked colours and picked up some paint swatches to bring home and test next to our siding. We'd even considered purchasing a new window insert that we saw at Home Depot for $28. In the end, it came down to the fact that the door is NOT our style at all, and eventually we'd like to replace it with a nice wood door like thisthis, or (my personal favourite) this.

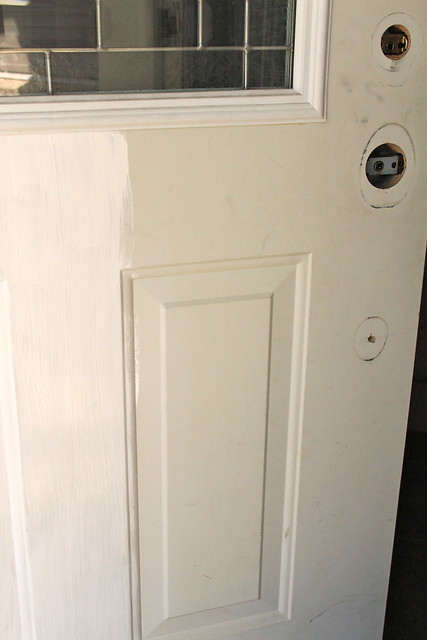
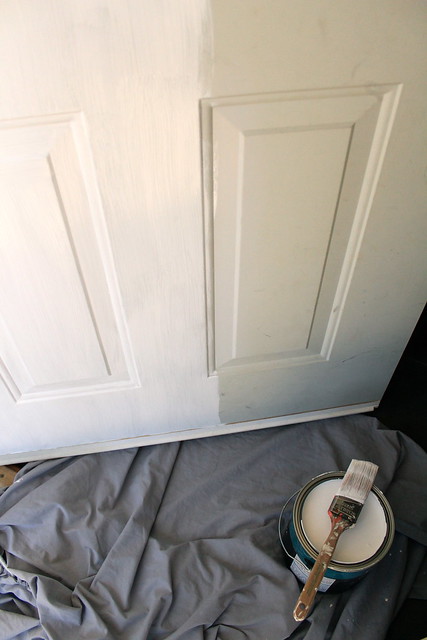
With all this in mind, we opted to use some white exterior paint that B needed for another project (to be shared soon), and just freshen up the front door. Once I started painting it was obvious how grey and dirty the door really was.


July 13, 2013July 13, 2013

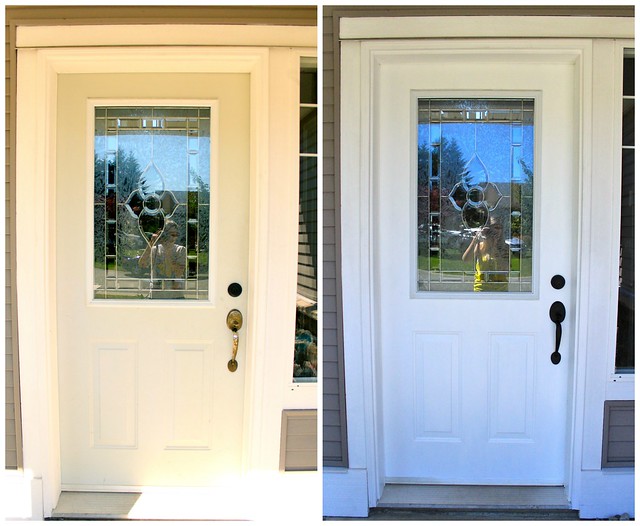
It took about 3 coats to get the door looking great, and once we put that black door handle back on everything was looking much crisper around here. 


July 14, 2013

Front Door Before & After

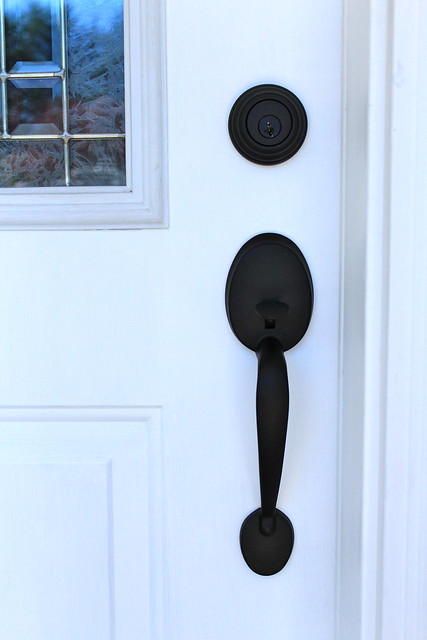
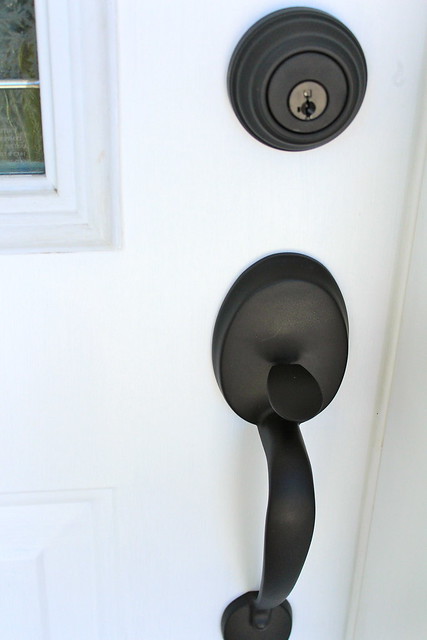
The door handle was pretty easy to clean up. B just gave it a good sanding to get all the old chipped paint off, and then we gave it three light and even coats of the matte black spray paint. It's looking fantastic and matches our deadbolt nicely!

July 14, 2013July 14, 2013

Isn't it great that one day of light work can make such a noticeable difference? Have you been freshening anything up around your place recently?
SHARE:

Friday, July 12, 2013

Fancy Friday Love

HAPPY FRIDAY! We have an exciting one over here, so let's jump right to the good stuff, shall we?

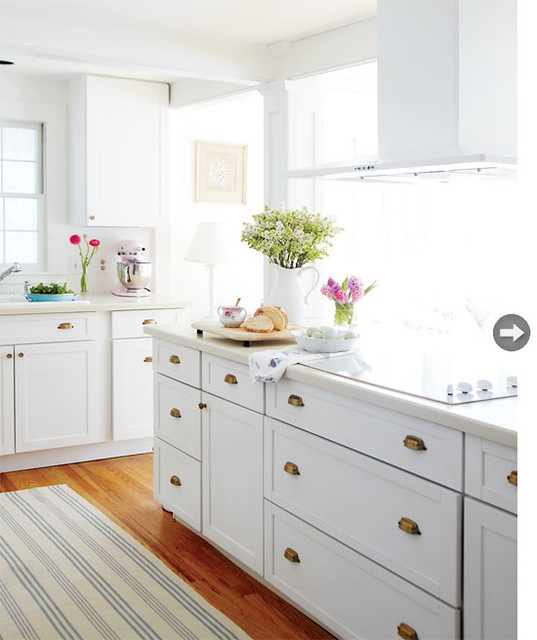
If we had the money for a big reno around here right now, I think I would start with the kitchen! It's a pretty sunny space, so I think making it a gorgeous white haven like this stunner that Amelia shared last Friday I would be a happy girl!


via house pretty

Speaking of kitchens - did you see these before & after's over on the cottage mix last Friday? Seriously - click over for the before's though, I'm just going to give you a peek at the stunning after...

the-cottage-mix

A gorgeous contemporary cottage on Daily Dream Decor. So much loveliness, but I was really coveting this inviting entryway. Our's still needs some sprucing up and this provides some nice inspiration...

via Daily Dream Decor

Megan introduced us to the fabulous shop, Goods by Grinn on Wednesday. I immediately fell in love with the Teal Floral pillow. I think it would be an incredible addition to Halle's big girl room (which is a slow going work in progress!)

Goods by Grinn

I'm looking forward to some family fun this weekend, and sharing it with all of you next week. I'm also hoping next week will involve some more peeks at my office which I am already using... it's just not complete yet! *fingers crossed* What are your plans for this weekend?
SHARE:
Related Posts with Thumbnails
© Life on Misneach Ridge
Blogger Designs by pipdig