Tuesday, February 26, 2013

Dressing Up for the Kiddos

After an unplanned, but much needed blogging break, I am back. I enjoyed this time just hanging out and playing with Halle. We did a lot of exploring and creating and I really needed to give myself that time away from the computer. I literally was not turning it on until after B and Halle went to bed and I was loving it... but did miss blogging.

Today I have a project completed by a friend of mine. She was inspired after seeing the dress up closet that Jen, of Rambling Renovators, created for her little girl. My friend sent along a great little tutorial and all of her photos, here's what she has to share...

My goal for this project was to  build a small dress up closet for my daughter's 3rd birthday, for $50 or less. Sure, I could have easily spent $75, $100, or possibly more - the options for products and ideas are endless, but let's be realistic: she's 3, and even though Princess is her favourite dress up costume right now, she's not likely to be as gentle as Snow White might be.

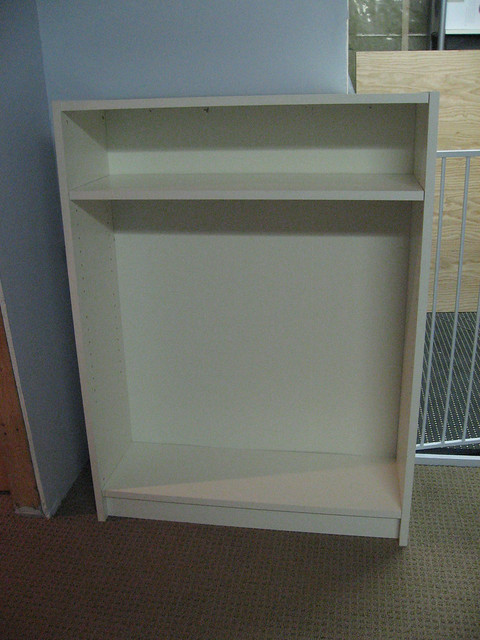
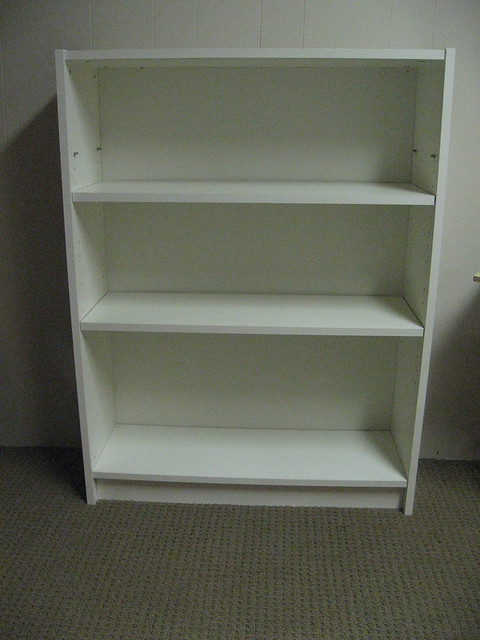
Step 1: So first I had to find a shelf. I would have preferred a dresser (there are some really beautiful one's on Pinterest made from dressers), but I really wanted this gift to be on a budget. So, off to Kijiji I went and found 2 of these small Billy Bookcases from Ikea for $5. YESSSSS!


003

Step 2: I started by removing one of the shelves, and I threw it into the second bookcase (that one's in the playroom holding all the new Christmas toys), and this is what I was left with...


005

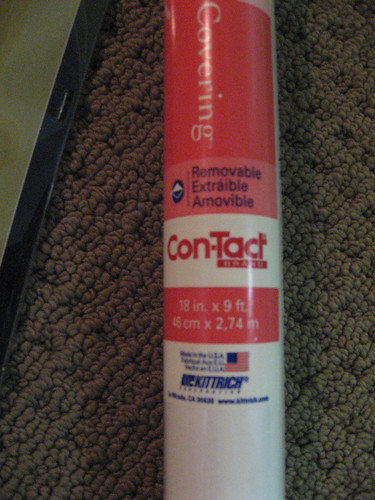
Step 3A: Now, how to decorate it? This was a hard one for me. I didn't want it too "cute-sy" and I didn't want it too "princess-y" or too pink (though you'll see pink in it, it is her favourite colour, so it's hard not to have it). I wasn't really prepared to wallpaper the inside either (which would probably be most durable). I opted for plain white mactack (sticky shelf liner) from Canadian Tire for $5.99

010

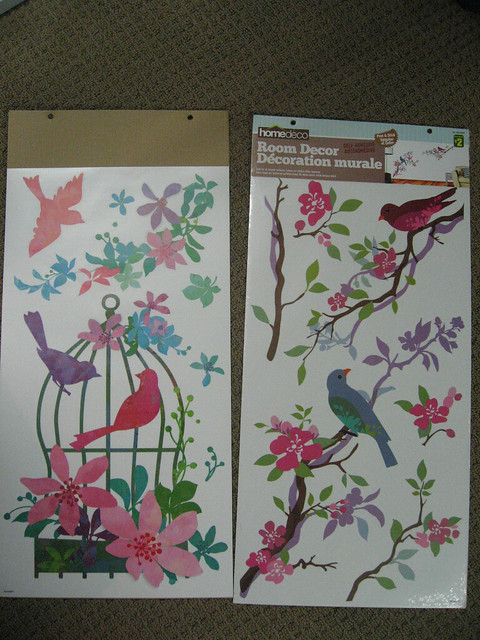
Step 3B: Then, off I went to the Dollar Store. At Dollarama, I found these great wall decals/stickers that are removable too. This was great, because I kept moving them around. I don't even like birds, but I thought that these were pretty. Each sheet was $2, not too shabby. They didn't exactly match, but the colours did and they weren't all going to be side by side anyway.

015

Step 4: After cleaning the remaining shelf and reinforcing the backing, I put the white shelf liner on the back face of the shelf (the backing is only a cardboard, so it didn't look very nice. This gave it a much cleaner look). Next, my husband helped me install the closet rod that I bought at Canadian Tire for $9.99.

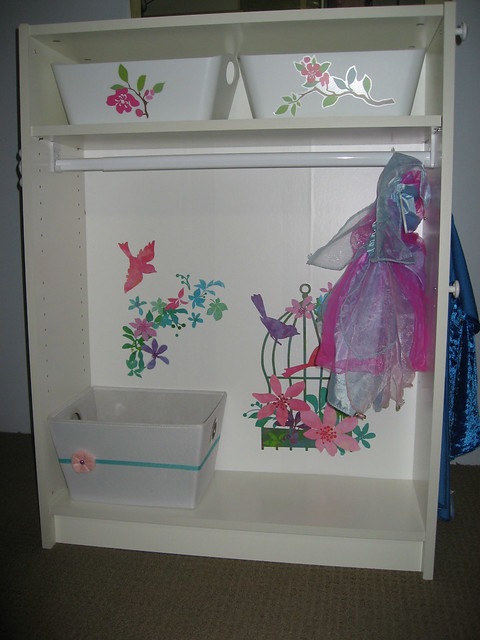
Step 5: Time for Decorating! Now that the inside was all cleaned up and the rod was in, it was time to put up my stickers.

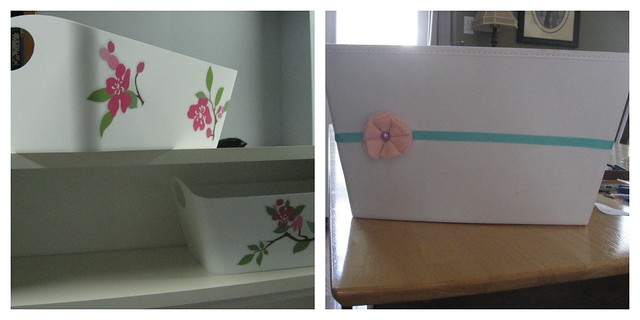
Step 6: Storage! My daughter likes to accessorize when dressing up. Not so much in real like, but during dress up - watch out! Every crown, necklace, hat, is adorned. So, I needed some storage. I picked up these cute white plastic baskets from Dollarama for $2 each to put on the top shelf, and added some of my stickers to them. Then, I accessorized a canvas basket I had laying around (okay, I reorganized some things so that I could use it for this project!) by hot gluing some ribbon and a DIY felt flower around it (from my stash, so no cost there).

PicMonkey Collage

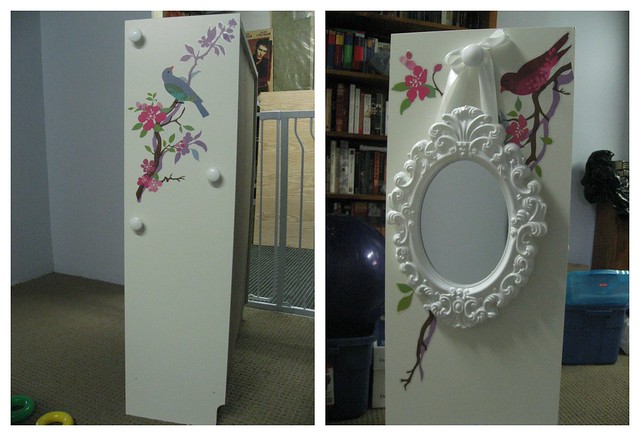
Step 7: The outside walls of the closet took some extra thought. I wanted them to have some useful storage, such as hooks to hang necklaces, hats and such. I couldn't decide on the best hook to use, so after some deliberation, I decided on some white plastic cabinet knobs from Rona fro $0.99 each (plastic in a playroom is always good too! Hubby gave me a refresher course on how to use the drill so I could install them). I then used the other wall stickers on the outside of the bookcase as well. Oh, and what dress up closet would be complete without a mirror!? (Hubby said "no!" because of glass, but I was determined to find one that would be suitable). This one is completely plastic, including the mirror itself, and only $1.50 from Dollarama. I used hot glue to attach some satin ribbon and felt backing (from my own stash).

PicMonkey Collage

So, here is the final product - my little monkey's dress up closet! It's nothing fancy, but I think it's pretty and I'm happy with how it turned out. 

041 (2)


Here's the cost break down...

Bookcase from Kijiji - $5
2 Small Baskets - $4
Wall Stickers - $4
Mirror - $1.50
Plastic Knobs - $0.99 x 4
Shelf Liner - $5.99
Closet Rod - $9.99

Grand Total: $34.44 + taxes

Buget & Goal Accomplished!

I want to say a big THANK YOU to my friend for sending along her project! I think this little closet looks so great, and I am positive that her little one must love it!

Have you been working on any projects for a little person in your life recently?
SHARE:

Monday, February 25, 2013

My Birthday Boy

I'm ready to start blogging again, and I'm going to start it off slowly... but with a very important post. Today is a very special person's birthday - My B!


Walkins_Feb10_13_6

We did a little celebrating this past weekend. B & I had a nice date night on Friday, a lovely dinner followed by drinks with friends. The rest of the weekend was filled with fun family time, and tonight Halle & I will shower B with love & kisses, and a homemade dinner and dessert of his choice. We really do love him.

IMG_3594

He is my best friend and the love of my life. He is strong and smart and do dedicated to not only his family, but the work that he does. I'm so proud to call him mine every day and even though he doesn't enjoy his birthday these days, I do my best to remind him that it's all about celebrating him. It's about celebrating him being a part of the world, his family and our lives. He makes me laugh every day, and I still get excited every day when he arrives home from work. How did I get so lucky?

Happy Birthday B! You are the best thing that ever happened to me & you are the best Daddy Halle could ever have. We love you & today we're going to celebrate YOU!

October 6, 2012
SHARE:

Friday, February 8, 2013

Fancy Friday Love

Ah, Friday again. I survived this week, and emotionally and mentally worked on getting myself back to where I was before the break in. I'm feeling better, and I'm so thankful. I even managed to sneak a little bit of blog reading in (ok, so I still have a touch of insomnia)...

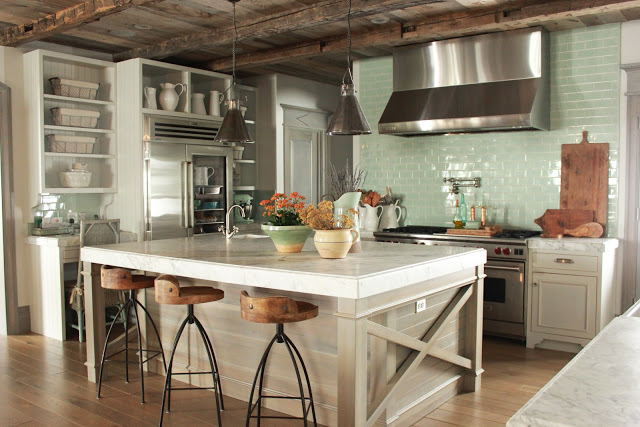
Desireé from Décor de Provence gave us a peek at her beautiful home. I love it, but I especially loved the beautiful kitchen with the open shelves and beautiful subway tile. I'll 
take 1 please! Go take a look if you haven't seen her home yet...


via Decor de Provence

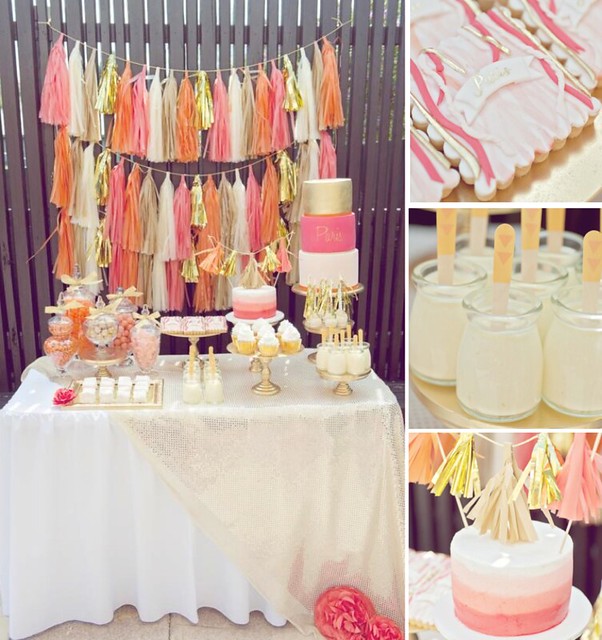
This orange, pink and gold 1st Birthday Party, from Kara's Party idea's is too cute! I love every single detail of it.

Orange-Pink-Gold-1st-birthday-party-via-Karas-Party-Ideas-karaspartyideas.com-orange-pink-gold-1st-birthday-party

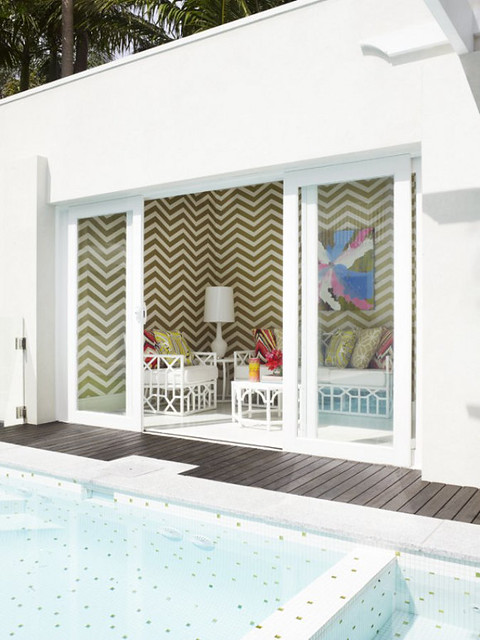
I'm sure that all of my fellow Northern Hemisphere readers will agree that we've had enough of winter. I mean, I can't complain that much since the winter's out here are much more mild than they are back in Toronto... but I've just had enough of the low temps (I can't really say cold. I don't find it that cold here). I'm just dreaming of kicking back somewhere like this lovely poolside space, found on desire to inspire. Dreamy, yes?

gregnatale62_900

Well, I'm pretty happy that the weekend is here and I'm looking forward to a nice weekend with my two favourite people after all of the craziness for the past week and a half. Have a great weekend everyone!
SHARE:

Thursday, February 7, 2013

Love Is In the Air

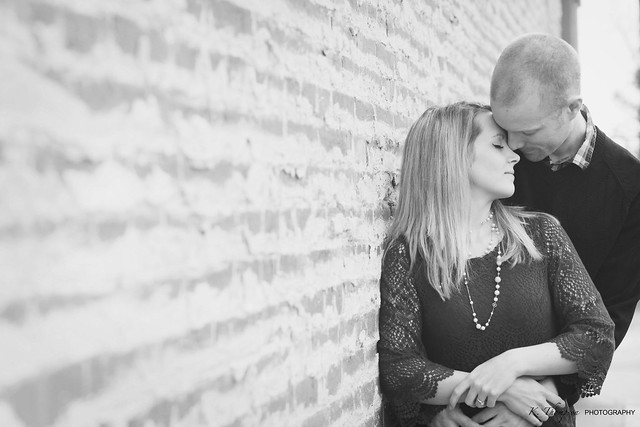
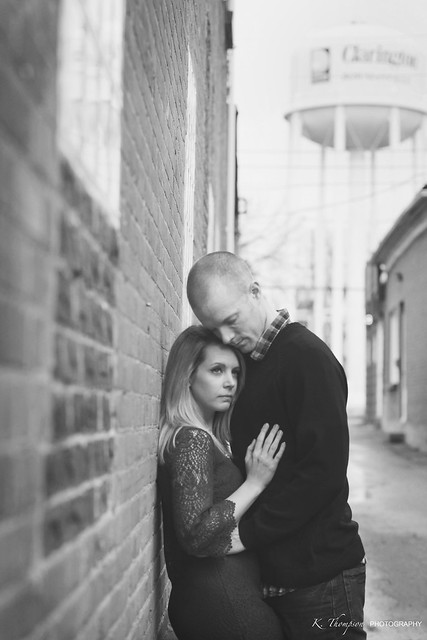
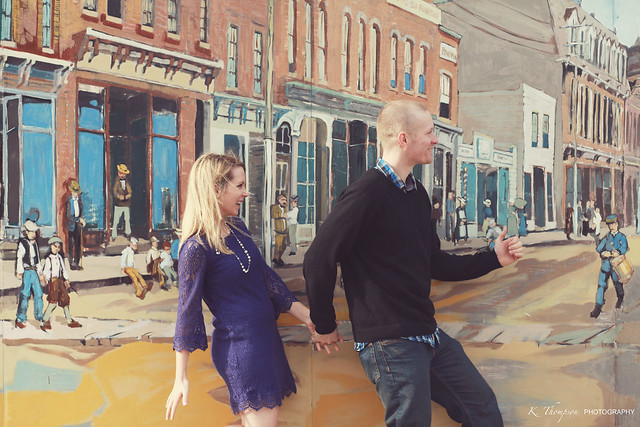
I'm hoping that next week will be the week that I am ready to start sharing ways for you to protect yourself, and the items in your home. I promise, it is on my list of things to do, but for now - here is something a little more fun and light. While B and I were back in Toronto last month, we made time to get some engagement photos done with our wedding photographer. Well, on Monday the disc arrived and I was so excited to see our pictures. A big thank you to Katie from K. Thompson Photography who captured these photos for us. I can't wait for you to capture our big day as well.


IMG_3523

IMG_3590

IMG_3594

IMG_3634

IMG_3789

IMG_3839

IMG_3870

IMG_3891

IMG_3907

IMG_3912

IMG_3934

IMG_4019

This one makes me laugh every time I look at it. It's just us... silly, and dorky and ridiculous. Okay, and a little awkward, but I think it's part of why I love it so much! Thank you Katie for asking us to do this. I really smile every time I see it!

IMG_4033

I'd say the photos arrived when I needed to smile the most. Thank you again Katie, for capturing us just as we are these days. Smiling, and laughing, and happy together. This is what life is about... and no matter what someone takes from our home, he didn't take this. We still have one another.
SHARE:

Wednesday, February 6, 2013

Toddler Approved Valentine's Activity

Valentine's Day is coming up quick... only one week away now. I must say, I'm feeling like a bit of a newbie these days. I haven't made a big deal out of Valentine's Day in a long time. B and I never really celebrated it, but I feel that now that we have Halle, we can really make it fun and celebrate it in our own way. So, I got things started on Monday by whipping up an activity with Halle at home... some DIY finger paint. It didn't go quite as I planned, but I thought I'd share it anyway.

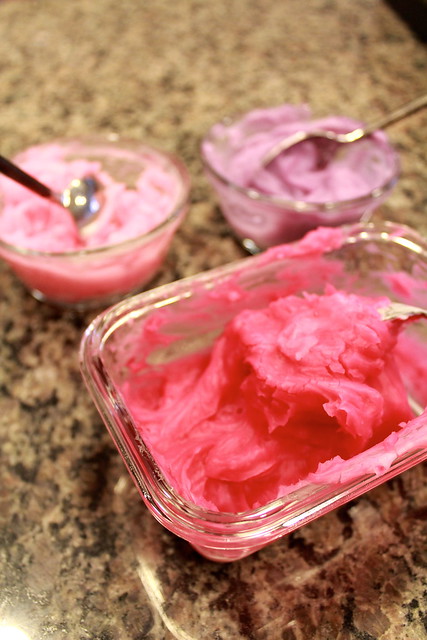
My initial plan was to use this recipe and make some pink, red and purple finger paints and have Halle paint a few pictures. I thought I could turn them into cards for B and some other family members and send them out to them. Well, with that recipe, the paint didn't thicken for me (it says right in it some people don't get it to thicken). So I read this recipe as well, and decided to try and heat the mix in a sauce pan on the stove. WELL, it worked, but I think I had the temp on too high and it made my paint a little thicker than I had planned. No worries, it's more meant to be a fun activity for Halle, so I decided to run with it. I whipped out my food colouring and got to mixing. My final colours are below...


February 4, 2013

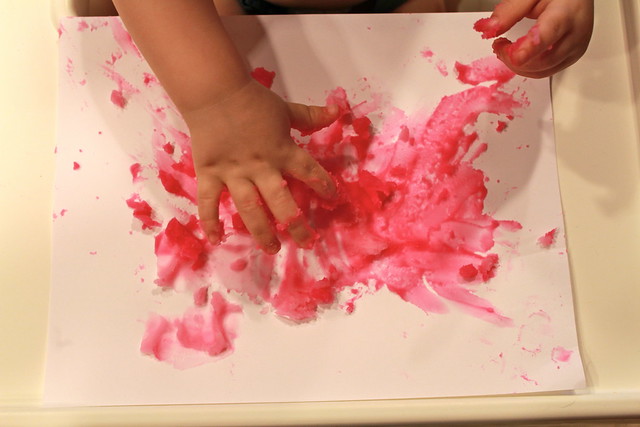
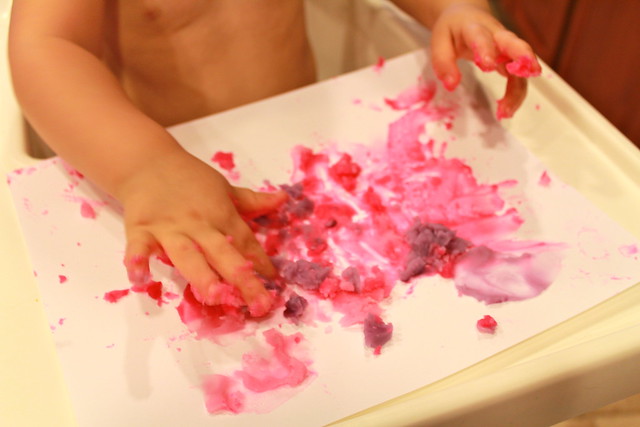
You can see above just how thick it was. More like an extra soft play dough than finger paint, but again, I just decided to go ahead and see how this experiment would go. Since we don't have a painting smock for Halle yet, I just took of what she was wearing, sat her in her high chair with a piece of paper and plopped some of the "goop" onto the paper. She's not really into getting her fingers messy, so she needed a little extra encouragement to really get in there.

February 4, 2013

February 4, 2013

The whole experience didn't last too long... but it was also only her first time trying finger paints. I'll definitely get her to give it another go again soon. Maybe her thoughts will change?

As far as saving this "artwork" or giving it to someone for Valentine's Day... well it's a bit too "blobby" and the parts where she didn't really "smush" the paint in are actually cracking a little bit. Maybe with our next attempt at finger paint?

Have you ever tried to make your own finger paints? Success or fail? Do you have some of your own Toddler Approved crafts or activities for Valentine's Day that you'd like to share? I'm always looking for new and fun things to do with Halle!
SHARE:

Tuesday, February 5, 2013

Inspiration Touchdown

So I'm a day late on giving you a look at what I pulled together for our Superbowl Party. I almost didn't do anything. I'll be completely honest with you - what happened last week completely took the wind out of my sails. I spent some time feeling scared and sorry for us, but finally reminded myself it wasn't the worst thing in the world and we'll get past it together. I needed to get back on my horse, keep doing what I love, keep smiling, loving and sharing memories. We still have the most important things here... and that is the three of us and the dogs!

So, everything we put together for the party was done between Saturday night, and Sunday morning before our guests arrived. I shared my inspiration for my projects last week, and I'm proud to say that I managed to do everything on my list. Simple - but super cute and not too over-the-top for the football loving fans, who may not have been as excited about my "decor". Here's how things turned out...


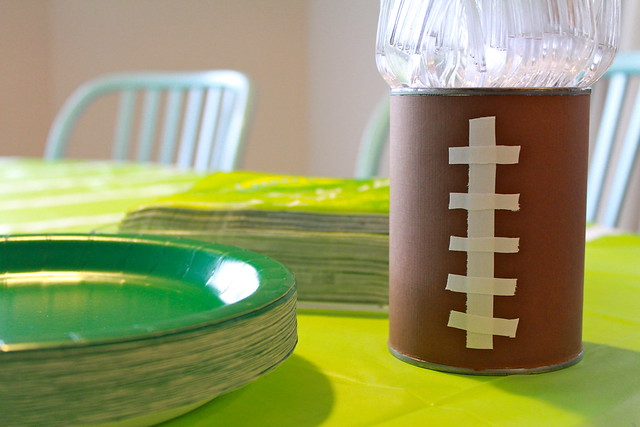
IMG_0480

IMG_0481

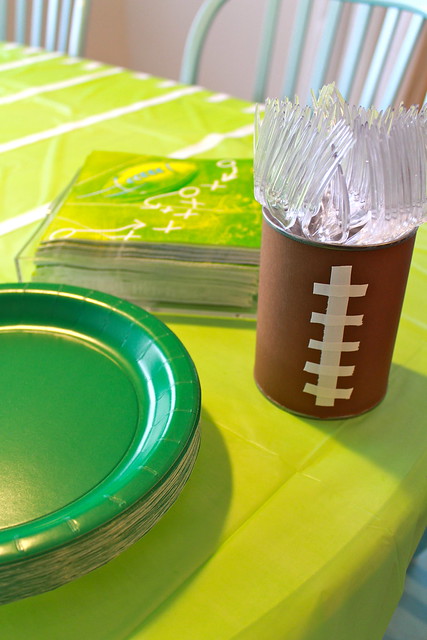
I loved our little can football utensil holder. It was super quick and easy to do. I picked up some brown scrapbook paper at Michael's for $0.99, and the laces I made out of sports tape that we had grabbed at the Dollar Store for $1.25. Worked out well and looked so cute on our table. I also grabbed the green plates at Michael's, and the napkins we picked up at the Dollar Store. I just wish we'd had another can kicked around so that I could've made a second "football" to hold the spoons for chilli, but I forgot to get some out of the bin before recycling day. Lesson learned.

IMG_0482

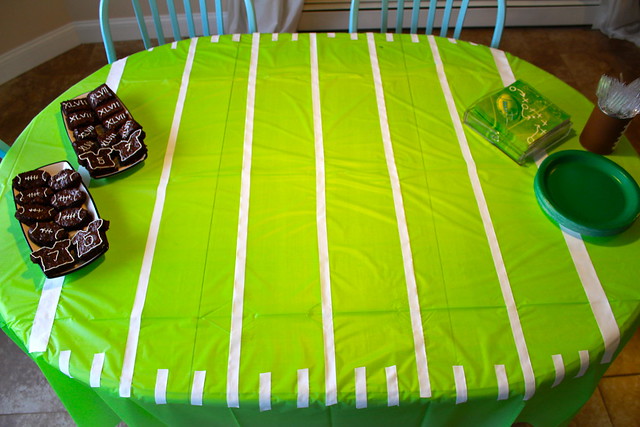
The football field table cloth was fun to do, and B was a big help. The tablecloth was from the dollar store, and we used the fold lines as a guide for where to put the yard lines on the "field". We used the full width of the sports tape for the end zones, and ripped the tape in half for the rest of the lines. We could've added more detail in the end zones and at centre field, but decided against it at the end of the day. To be honest, I don't think anyone commented on it... and not surprising since it was just covered with a lot of tasty food!

Speaking of tasty food...

IMG_0486

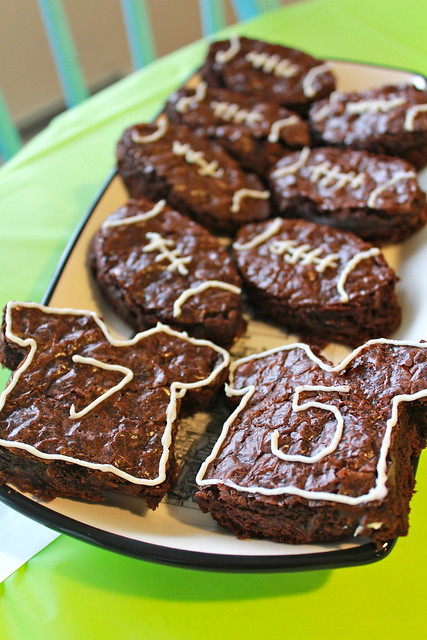
TA DA! I bought cookie cutters at Michael's that had the football, a jersey, a pennant flag and a helmet.   I only made use of the football and jersey, and in the end even cut a bunch out as squares since I was sick of wasting so much delicious brownie. (The squares had XLVII piped onto them with the cream cheese icing). These were a big hit and super easy. We just used the Ghirardelli mix that you can buy from Costco... because let's be honest... they are delicious. A few didn't work out quite so well, but at the end of the game - no brownie was left behind!

I had so much fun doing these little extra's this year, and maybe next year I can take it to another level. I'll definitely continue to add fun ideas to my Superbowl Pinterest board!

Did you watch the big game? Or just tune in for Beyonce's half time show? Did you host or attend a party, or just hang low at home? Any fun Superbowl Party ideas you'd like to share? We're always open to new and fun ideas to add to our big party for the next time... so share!
SHARE:

Friday, February 1, 2013

Fancy Friday Love

Happy Friday! It's a very happy Friday for me since i'm back doing a Fancy Friday Love post. January wasn't very good for these, especially with me being away and focusing on the wedding. So, here I am catching up sharing all of the things I've loved from the many weeks that have passed...

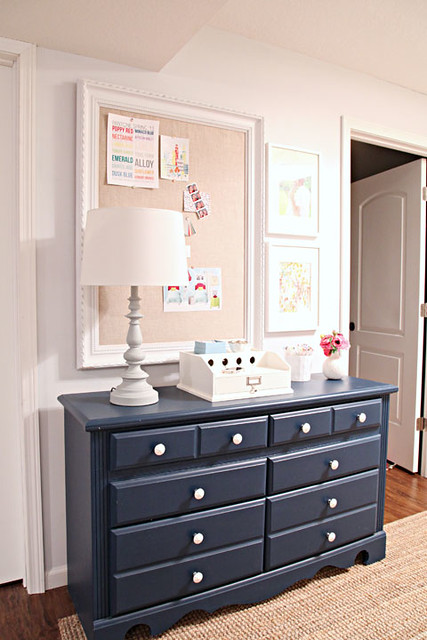
It's that time of year, right? Everyone is working on purging and cleaning and just generally trying to get their homes to a fresh new place that they love. We haven't done much of that recently (with me being gone half the month), but the blogosphere has definitely inspired me to jump on the bandwagon and get to work. Jen, from i heart organizing, is always one of my favourite places to go for organizing inspiration (no surprise right). I loved seeing part of her updated studio space this past week - the painted dresser, that lovely memo board. I need all of that going on in our dining room/office space (which has somehow become Halle's playroom as of late). 


DIY-Memo-Board via i heart organizing

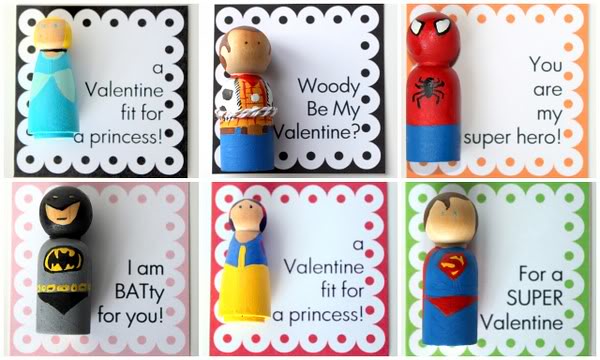
Do you have a little one in the house? Is it hard to decide on little treats to give their school mates that can be nut/dairy/gluten free etc? There was a great post on Valentine's to give that are sweet free over on Ohdeedoh, and I loved these Princess and Superhero Peg  Dolls from Crossing the Bugger-Dixon Line. Cute, right?

ValentinePegDollCollage

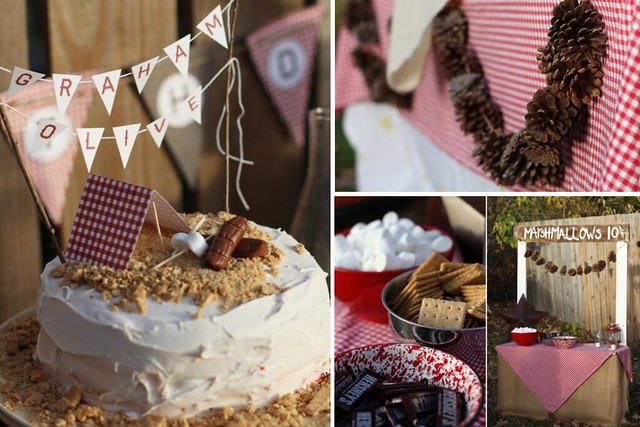
Love this sweet camping themed birthday party, from Kara's Party Ideas. I honestly think a lot of that has to do with that delicious smore's looking cake. (I have some huge cravings for chocolate/refined sugar recently, and I'm doing my best to cut it out as much as possible).


Camping-themed-birthday-party-via-Karas-Party-Ideas-karaspartyideas.com-camping-party-ideas-outdoors

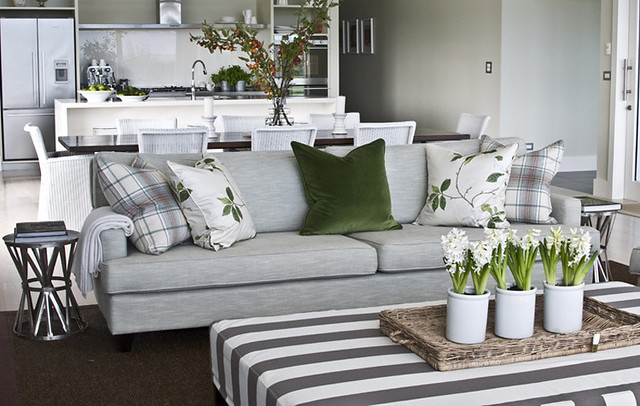
Gorgeous spaces on desire to inspire, from New Zealand based interior designer Bridget Foley. I seriously loved all of the spaces (you can find them on my Pinterest boards), but this living room had to be my favourite. A lot of neutrals, but it still feels warm and cozy with those dark greens, some nice textures and pretty flowers.

bridget foley via desire to inspire

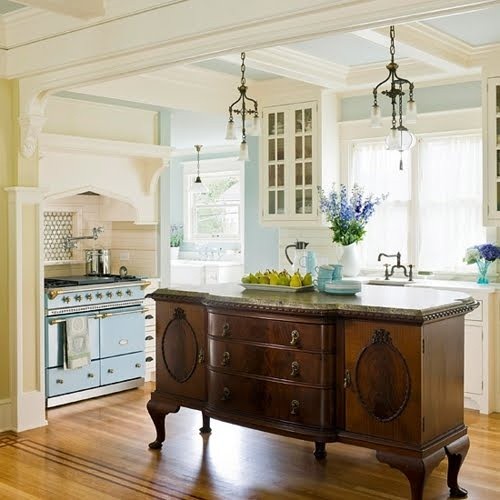
I stumbled across this breathtaking kitchen while I was on Pinterest earlier this week, and I just had to share it. I mean, what's not to love? The old dresser as an island, that gorgeous range, the blue and cream mixed together and the dark wood grounding the whole space. Did I mention the light fixtures? Those are just the icing on the cake, really. 

117093659033626723_AWvAZToz_c


Well, we are definitely looking forward to this weekend. There will be some cleaning up, cooking and preparing for our Superbowl Party on Sunday. I can't wait to host so many friends, and B's coworkers here at the house. Lots to do, but it should be fun. Hopefully I'll remember to take some pictures and share with you on Monday. What do you have planned for this first weekend of February?
SHARE:
Related Posts with Thumbnails
© Life on Misneach Ridge
Blogger Designs by pipdig