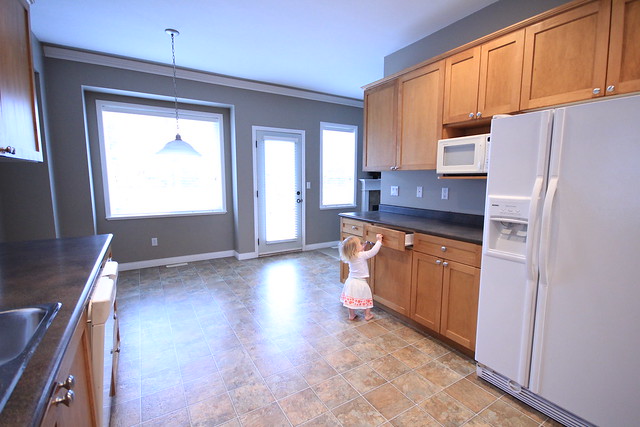
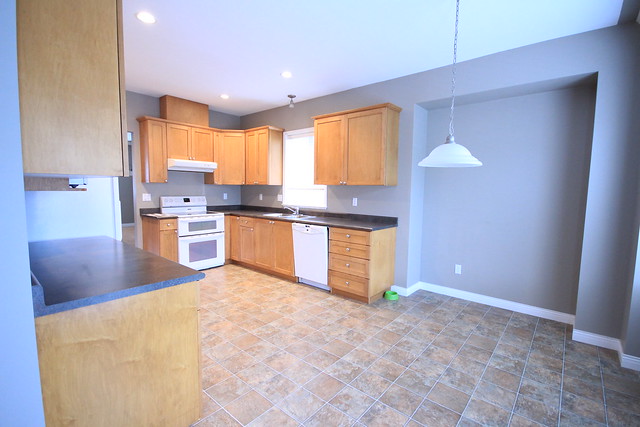
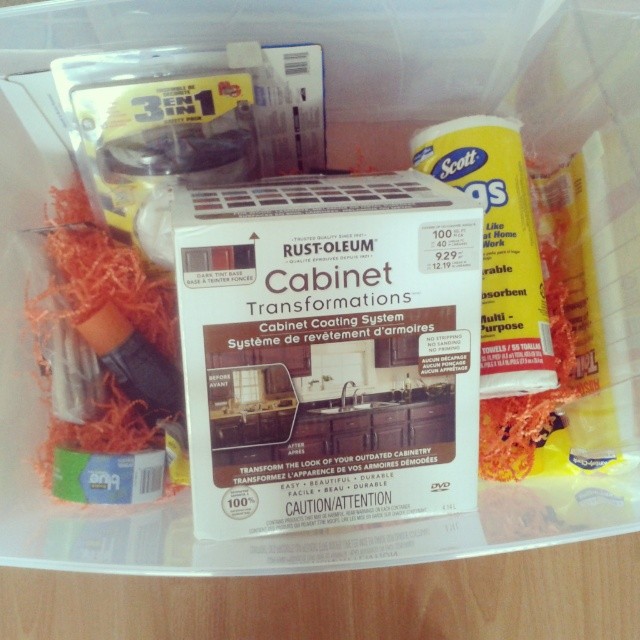
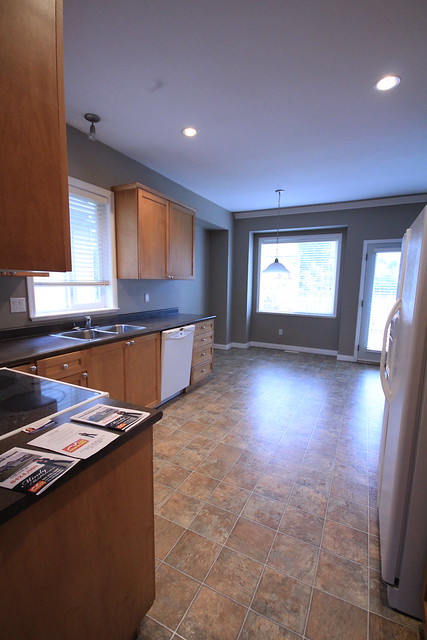
One of my biggest issues was the colour of those cabinets. It wasn't awful by any means, just not what we wanted. So, when the people over the The Home Depot got in touch and asked if we would be interested in renovating our kitchen quickly and on our own, we jumped right on board! A few weeks later this big bin of fun arrived on our front door step, with everything we would need to take our kitchen to the next level.
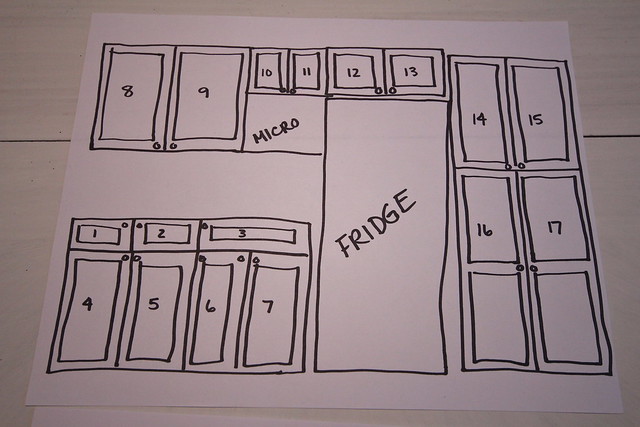
It took us a little longer than anticipated to get started due to both B and I getting sick, but by the time Black Friday hit (yup, it was that long ago that this started) I was ready to get moving! (Just as a foot note, we had to break the rules a little. Our kitchen is quite large and the weather was a little cool, so we had to do half of our kitchen first and then jump to the other half afterwards). I began by sketching out the cabinets we were removing and numbering them all.
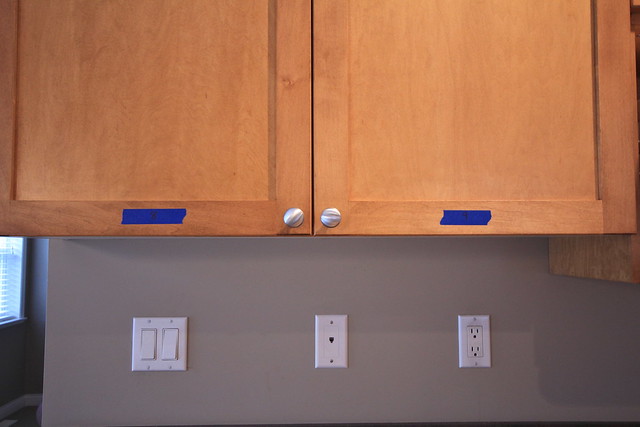
I then used some blue painters tape to put the coordinating numbers of each of our cupboard doors. This part ended up being a little silly. We ended up losing the tape while working on the doors since the tape had to come off and things got a little mixed up. Good thing all of the doors are different sizes, so matching them back to their proper spots was not an issue at all for us!
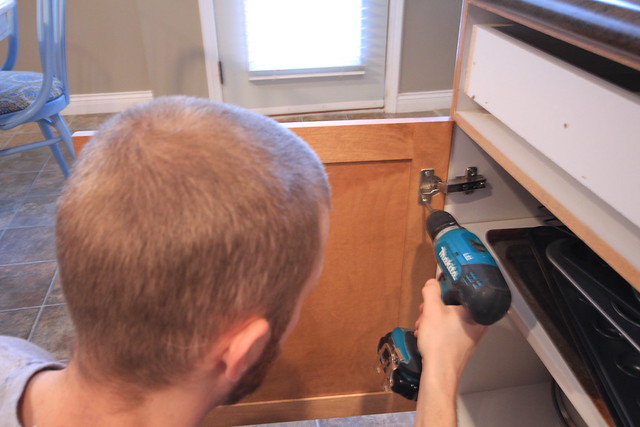
Next, B removed all of the doors and I wiped them all down with a green multi-purpose cleaner before bringing them out to the garage for the de-glossing phase. B helped with this. I did the de-glossing and he followed along behind me to wipe off all of the de-glosser. It was a little slow going, but much quicker having two sets of hands (as I would later learn). It was really important here to have lint-free cloths, so I highly recommend you make sure you have those on hand for this project.
Before we de-glossed, B also filled any holes (mostly on the drawers where the new pulls would fit completely different), and drilled all of the holes for our new hardware. We decided to change them all since the knobs were far too small for many of our oversized cabinet doors. They just weren't balanced, and the new chrome pulls we have really help to update the look of the kitchen.
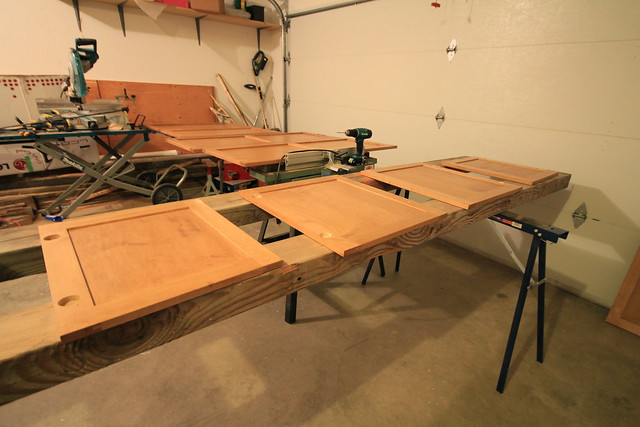
So, with all of our cabinets spread out in the garage, new holes drilled and de-glossed, I got to work on the tinted bond coat (don't mind our garage mess).
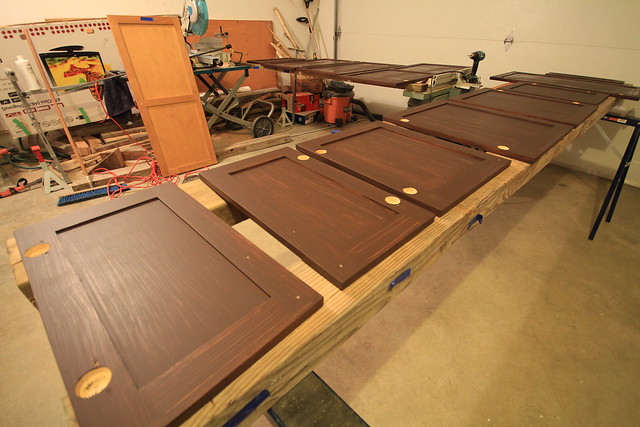
{After the first coat of colour}
One important thing I learned during the process was to make sure you invest in some really good quality synthetic brushes. The one's we had kept loosing bristles into this coat, so I spent a lot of time trying to carefully lift them out. Sadly, a few got stuck and are still on our doors, but aren't that visible with the darker colour.
Getting the tinted bond coat was quite a tedious process. Each door needs two coats front and back, and you can't forget the edges of the doors either. I had a hard time getting around the small edge of our recessed panel doors, so even after two coats I still had to go back and do some touch-ups before the next step. Honestly, this part would have gone a lot faster if I had an extra set of hands, but it was always me going solo since B needed to watch Halle. It also meant not accomplishing much during the days while B was off at work. This meant the project stretched on much longer than it would normally take if two people were able to give their full attention to it!
Once all of the doors had two coats on each side, we approached the decorative glaze step. At first, B and I were convinced we needed to do this in order to get a more professional look. So, when I headed out to the garage to attempt this coat I started by putting a bit of the glaze on the back of one of the drawers and seeing how it turned out. Just as the instructions stated, it was subtle... VERY subtle. Actually, so subtle that neither B or I could see a huge difference on our dark cupboard doors. With the amount of time required for this step and the subtle change, we opted to skip the decorative glaze and move right onto the protective top coat.
The doors and cupboards only required one application of the top coat which was nice, but at this stage of the game it's the drying process that takes the most time. You need two hours for each coat to properly dry, but they recommend waiting 72 hours before using your cupboards regularly! The waiting game was long but by the end we had a good rhythm and I was lucky to have B taping off the cupboards since he was a lot more precise than I would be. It all took longer than we anticipated (again, because I did the majority of it on my own during the Christmas season), but it was very much worth all of the extra effort!
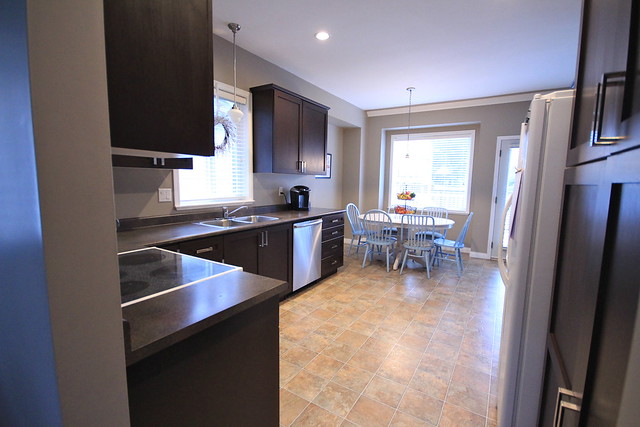
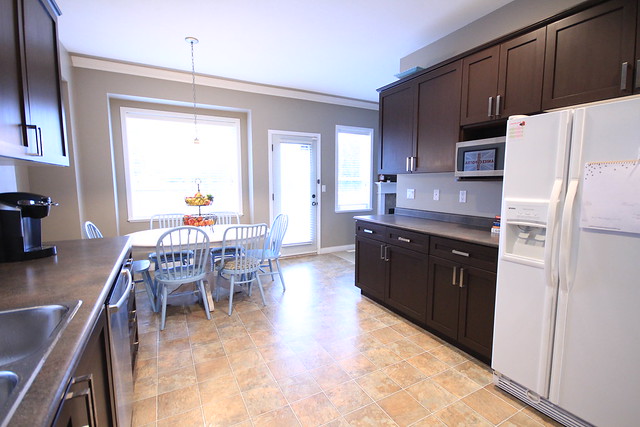
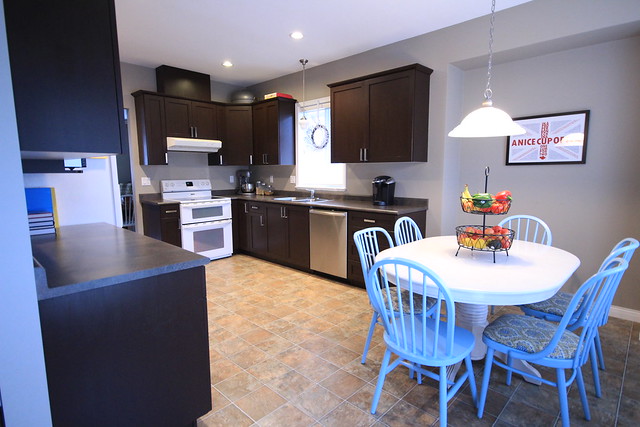
Here's the side by side of our kitchen on our second walk through and how it looks now:
Here are my top tips for a successful kitchen transformation with the Cabinet Transformation Kit:
1. Measure! PLEASE Measure! We had one kit to start and after B took all of the measurements (as per the kit instructions), it said we would need two kits. This is important because you need to mix all of your tinted base coat together to ensure a consistent colour on all of your cabinets! We're glad we got the second kit because although we didn't use a lot from it, we did need it! We also have some leftover now that we can use when we put in a seating bench in our dining nook!
2. Make sure you have two people who can devout their full attention to this project! If you can do that and give yourself a few days to do EVERYTHING at once (not broken up like we did), you can have this project done really quickly!
3. Invest in GOOD brushes and make sure you have lint free cloths! These will ensure that your cabinets look their best!
4. Be very careful when applying the topcoat. Make sure you aren't stingy when applying the top coat to the door fronts, but also be careful on the edges of your doors. I missed a few spots where the top coat dripped and collected and we had some bubbled edges we needed to sand down and touch up! Not pretty and very annoying. To go along with that, I found it worked best when I applied the top coat to the backs of the doors first and once those dried, I did the front of the doors and edges of the doors at the same time! At least if it dripped a little, it wasn't on the front (and most visible) part of the doors!
5. BE PATIENT! The project can feel tedious at times, doing the same thing over and over, but it's well worth it in the end.
Yup, it took us much longer than we expected BUT the best part was we never lost of the use of our kitchen! Yeah, the doors were off for a while leaving us with our "behind the cupboard door mess" visible to all of our house guests, but it could've been much worse! We never had to pack anything into boxes or not have use of the sink or stove! We could still cook at home and wash our dishes no problem! We could not thank the kind folks over at The Home Depot enough for giving us the chance to try this kit out - and we hope our experience encourages you to try it out as well! It was nice that this update cost us nothing (thanks to The Home Depot, and a friend who gifted us those nice new pulls), but even if we had paid for the kits and supplies ourselves, it wouldn't have cost us much more than $350!
Have you been making any big changes in your home? Anyone else thinking of trying out the Rust-Oleum Cabinet Transformation Kit?


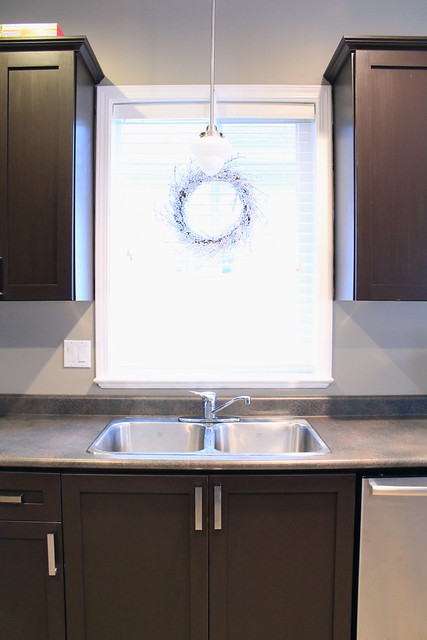
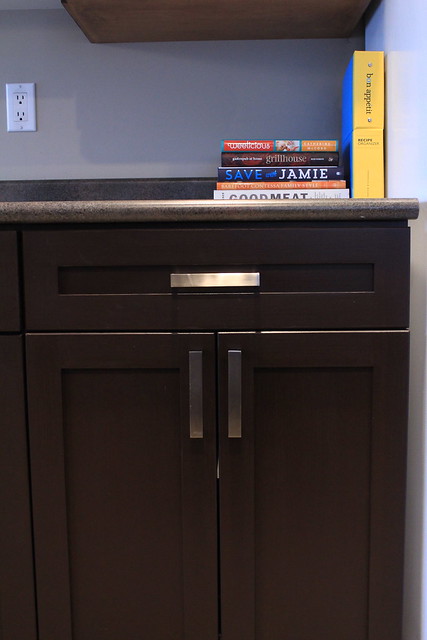
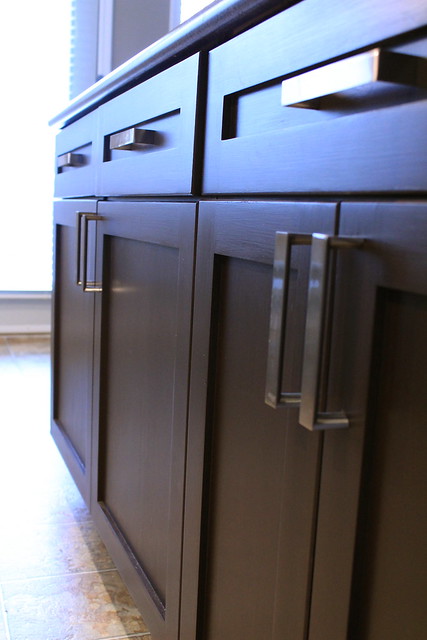
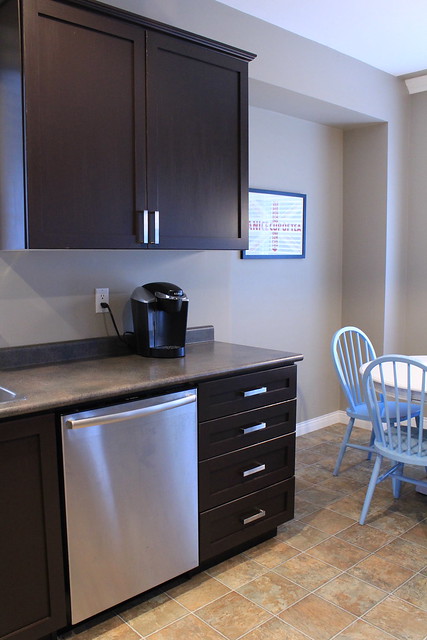
love the new color and the handles.
ReplyDeleteI am liking the new look! Oh - how I wish I could change the cabinets in our rental! But seeing all the work it took on your end, I am not proposing that to my landlords!
ReplyDeleteWow what an amazing transformation Kerry! I always love the idea of upcycling especially with those good quality cabinets you have. Your kitchen looks a lot modern and gourmet now, great job!
ReplyDeleteWhat a difference
ReplyDeleteI love how it looks ,that table also looks really nice by the window .
Looking forward to see the litlle touches ;)
Great job
xoxo
Lulu
The transformation is incredible!! Your kitchen looks so good going dark!! :) And I love the new hardware too :)
ReplyDeletewow fantastic transformation! love the dark, rich colour
ReplyDeleteThis is amazing!!! I showed my husband and I think he is up to do it!! What color did you guys use??
ReplyDeleteWe used Espresso! :) The perfect dark colour! I really, really love it!
DeleteI just wanted to let you know that I stumbled across your blog the other day and I just love it! I will be back for sure!
ReplyDeleteWe are going to get this kit and was thinking of doing the same color. What is the name of the color you used.
ReplyDeleteI guess it would've made sense to share our actual colour choice! :) It's "Espresso" - nice and dark, but not the darkest they have!
DeleteI LOVE how these turned out! You guys did awesome! Crazy how much it changes the whole space!
ReplyDeleteThis looks great Kerry! I love the colour and those new pulls are gorgeous! Were your cabinets real wood? Will this work on cabinets that aren't?
ReplyDeleteThanks Elaine! :) The cabinets were mostly a veneer (B says the frames of the doors were real wood). Regardless, this kit will also work on cabinets that are not real wood! The deglossing stage is what preps the surface to hold the colour coat! :)
DeleteLooks awesome Kerry! We're thinking of doing the same but I wanted to do my cabinets white...do you think it will give good results with a white finish too?
ReplyDeleteThanks for the tips. I love the look of the Espresso color on the cabinets. What is the color on your walls? Is it brown or grey?
ReplyDeleteLove these cabinets! Did you use the espresso gloss or no gloss kit? Also, what color did you paint the walls? Love the two together!!
ReplyDeleteCan you use a roller instead of brushes with this technique?
ReplyDeleteHello! Wondering how the cabinets and doors have held up over time?
ReplyDelete