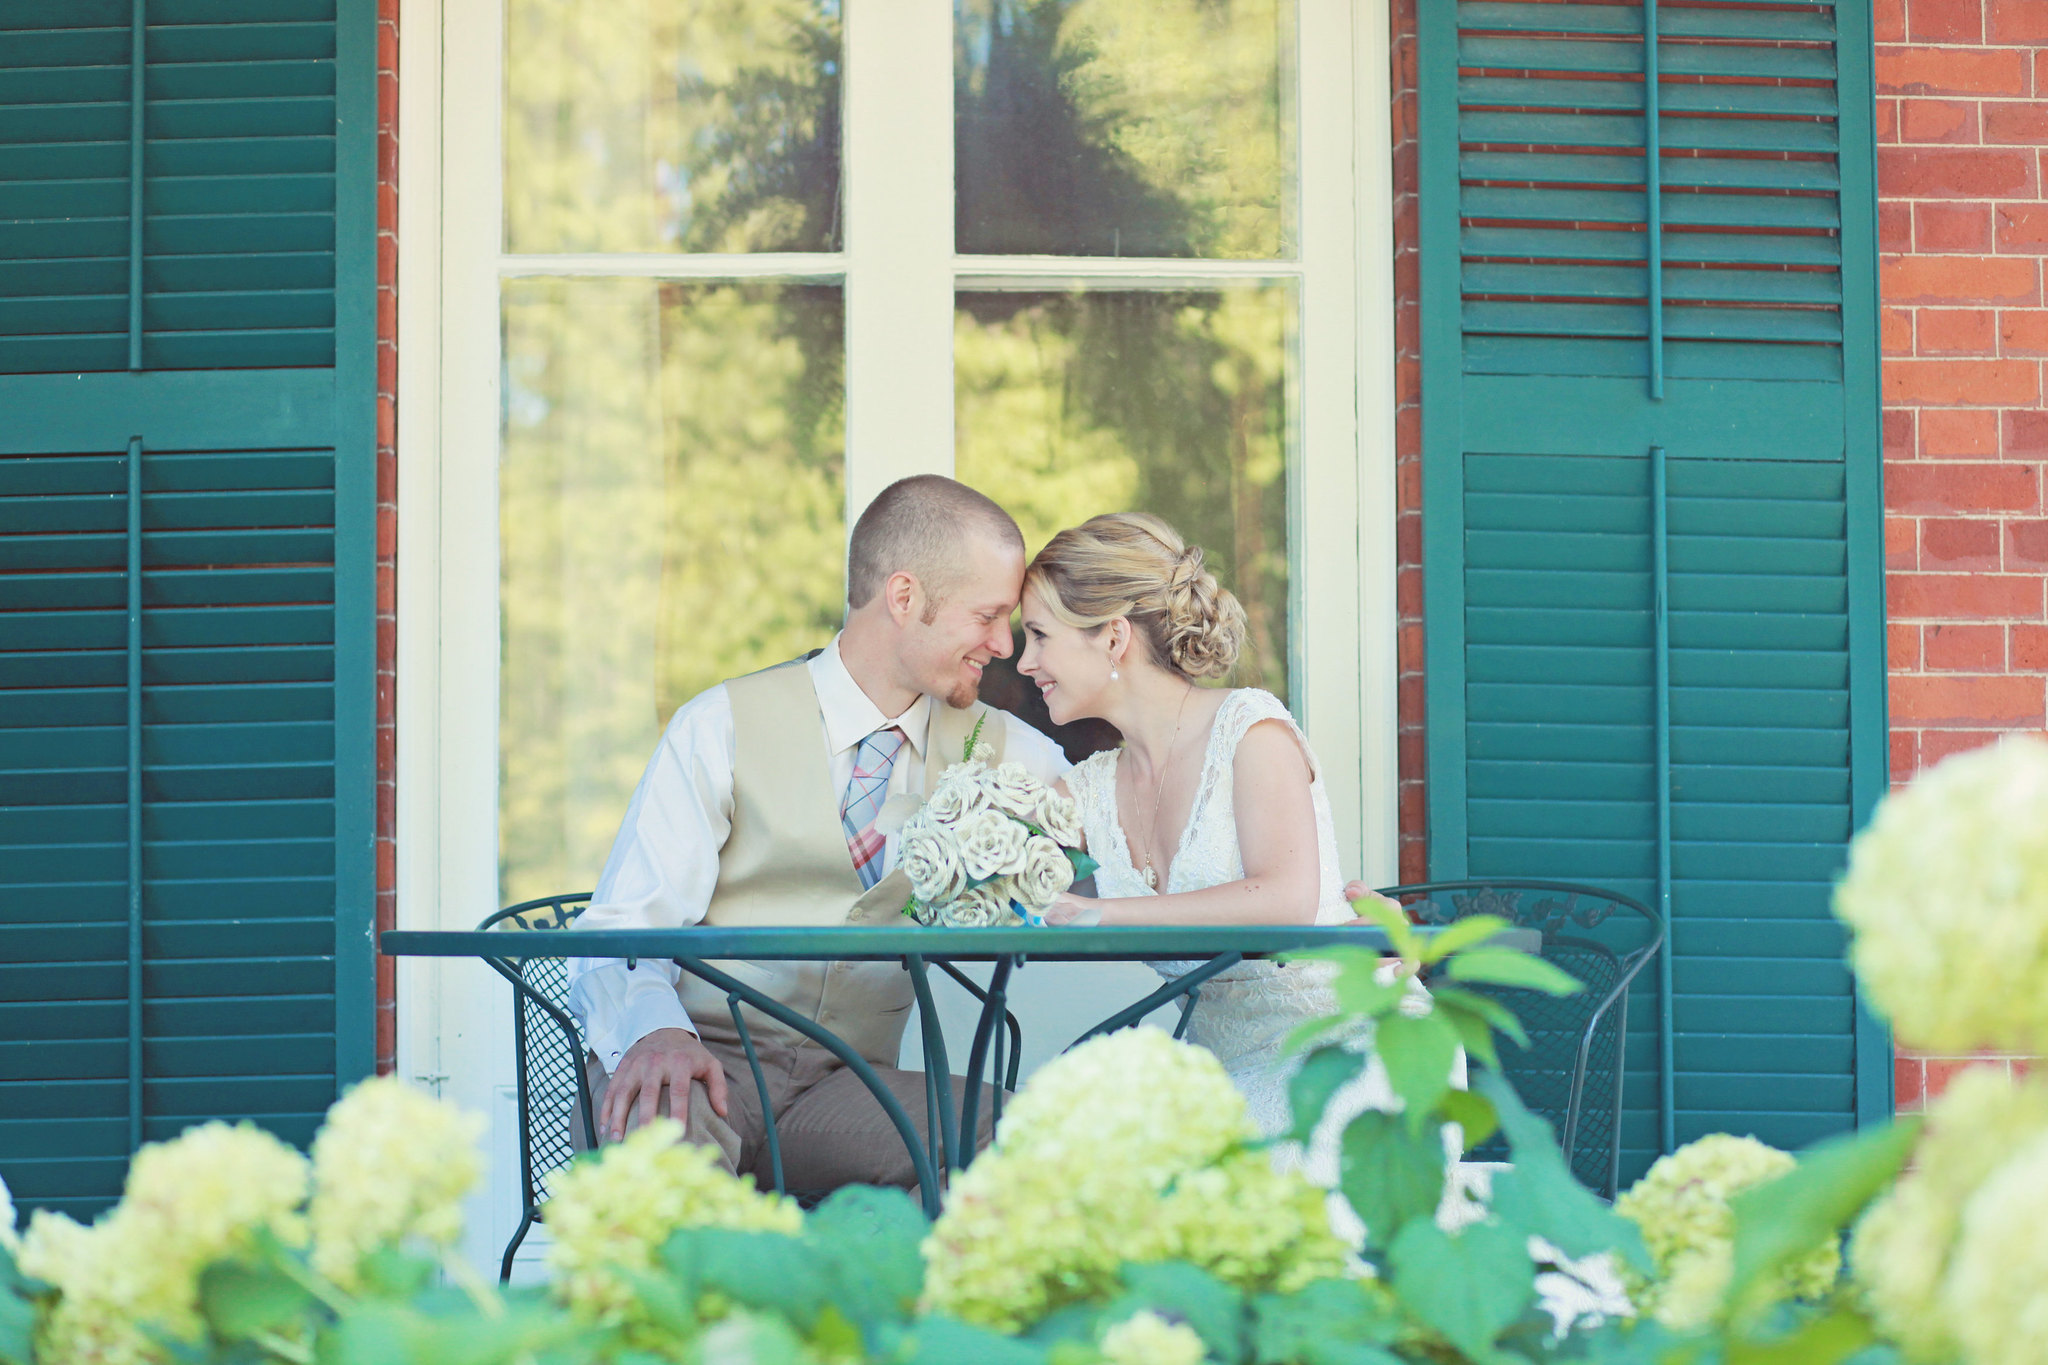
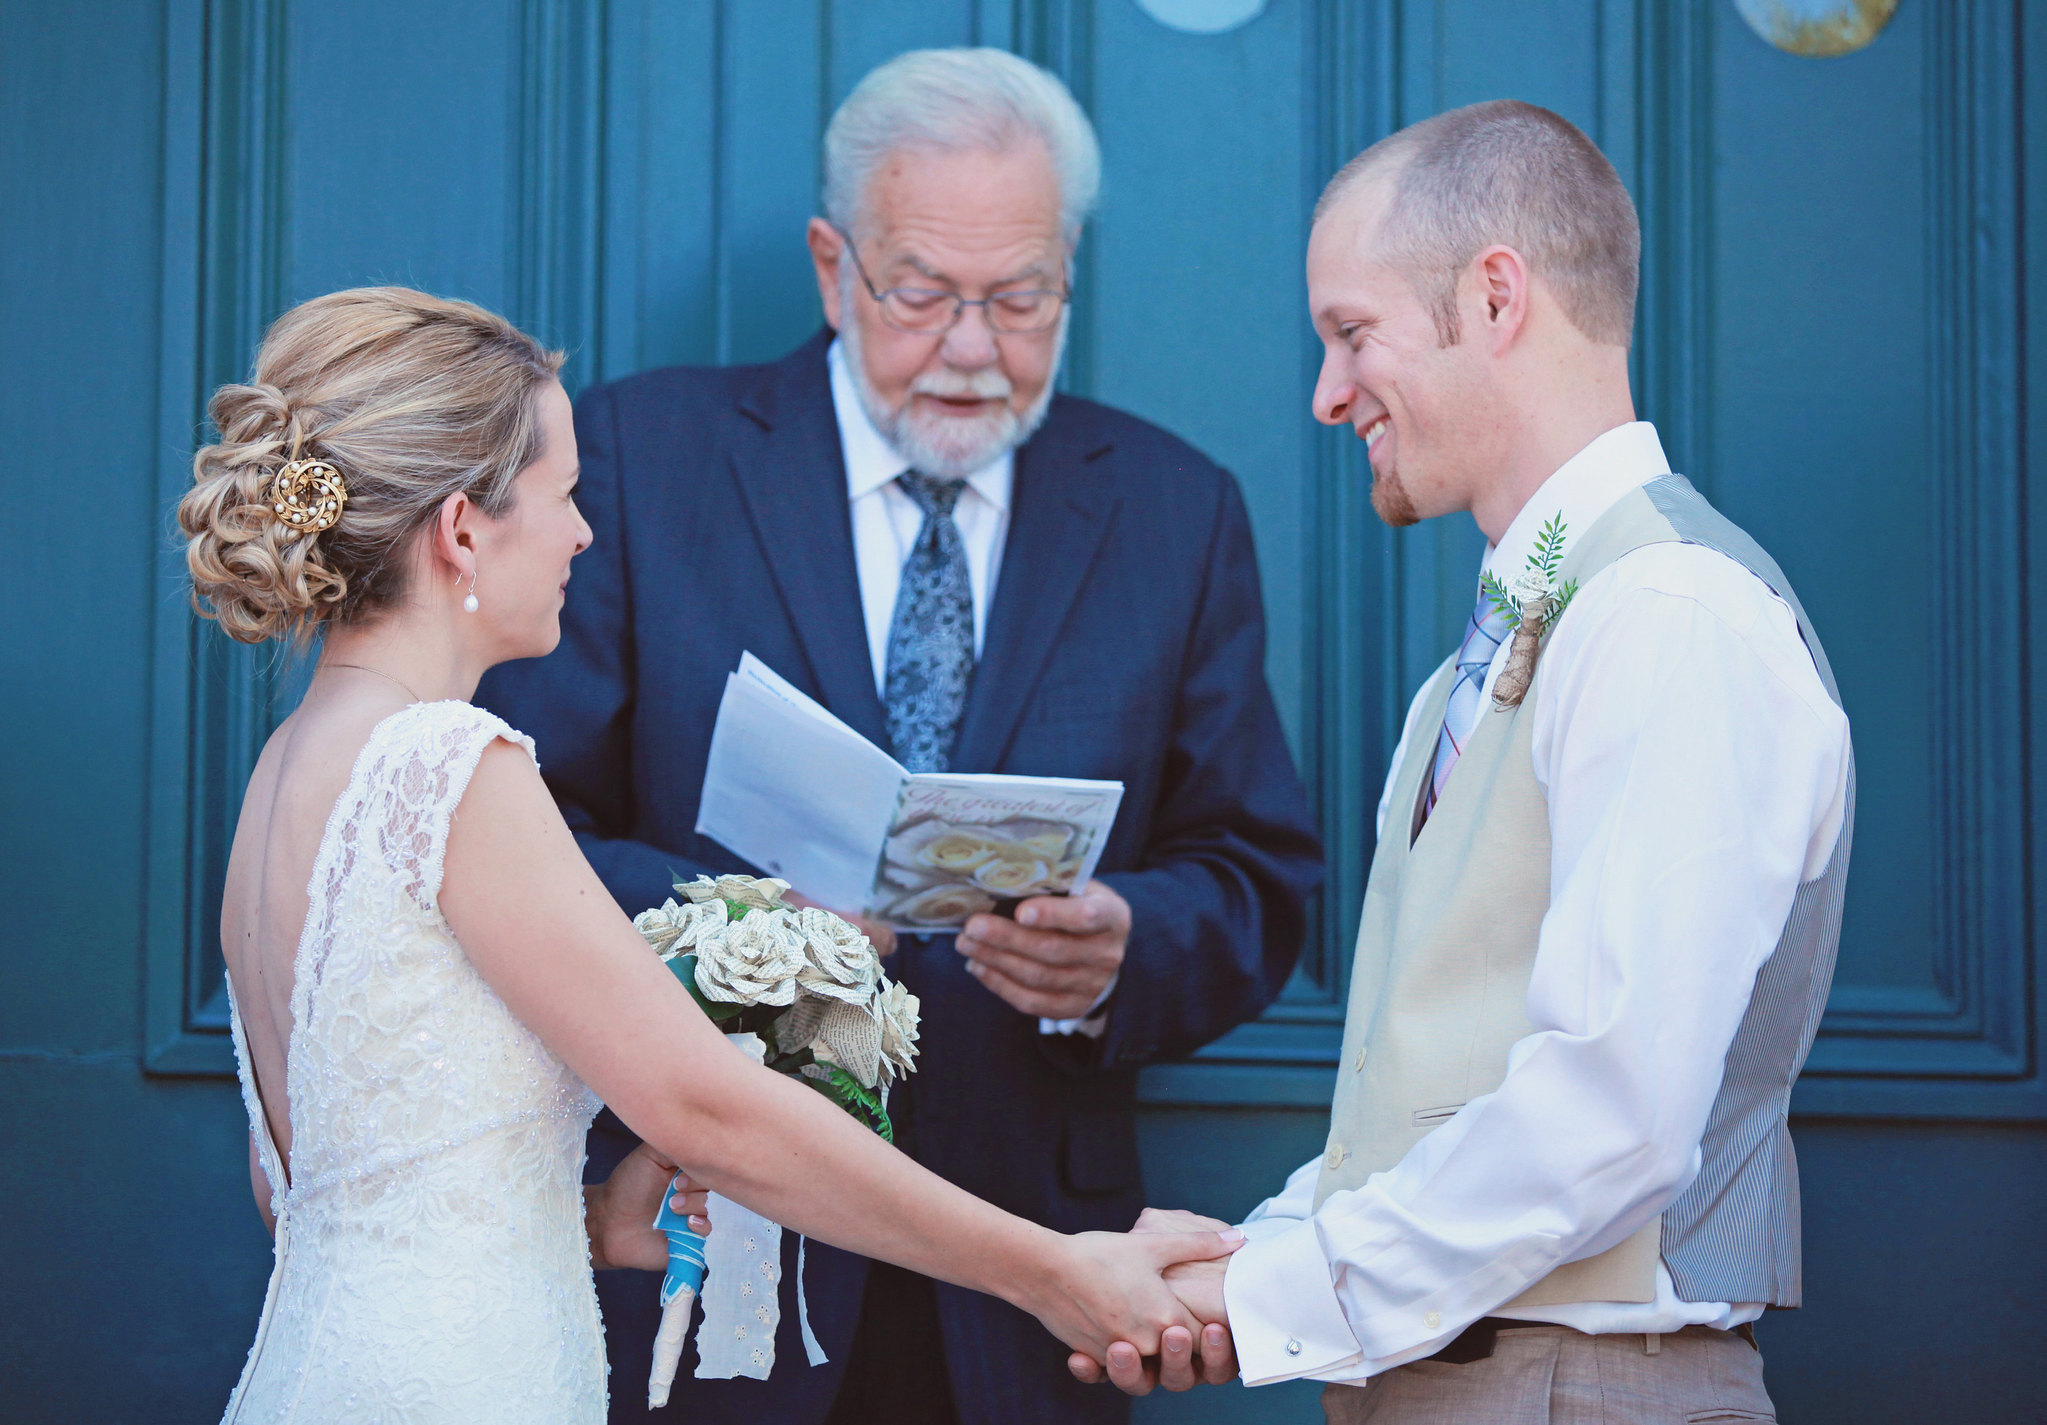
Two years ago on this day. I said "I do" and made a vow to be honest, loyal and love this man every day for as long as I live.
Today, I love him even more than I did on that day... or even when I first fell in love with him eight years ago.
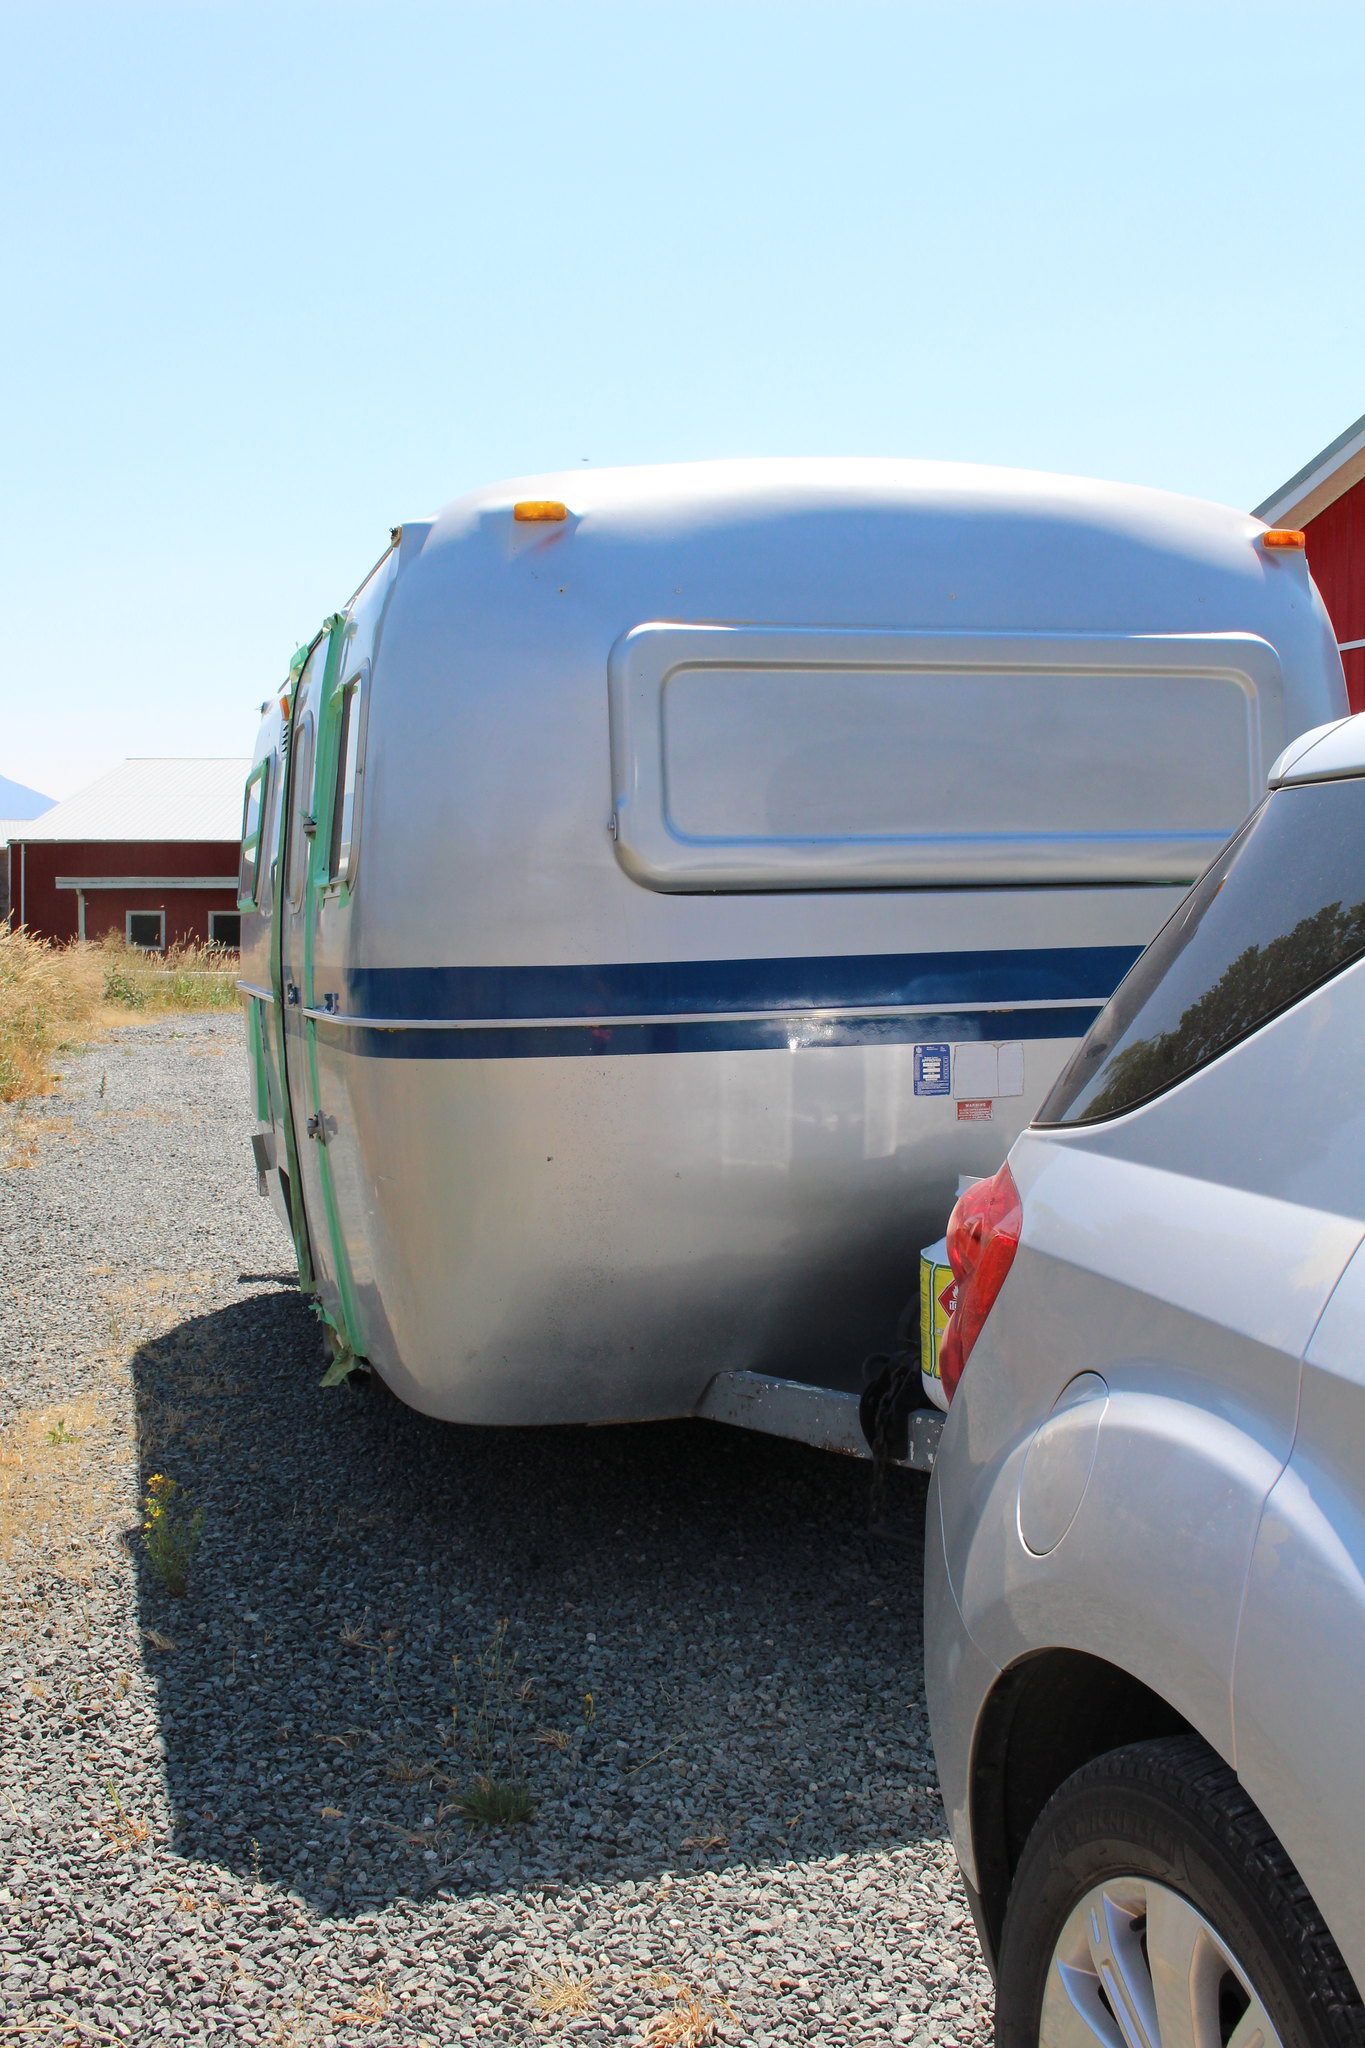
Since we made our vows we have traveled to Scotland, San Diego, around Vancouver Island, Newport Rhode Island, and made a couple of trips back east to visit family and friends. We also purchased our Boler trailer so we can continue to travel and explore as a family.
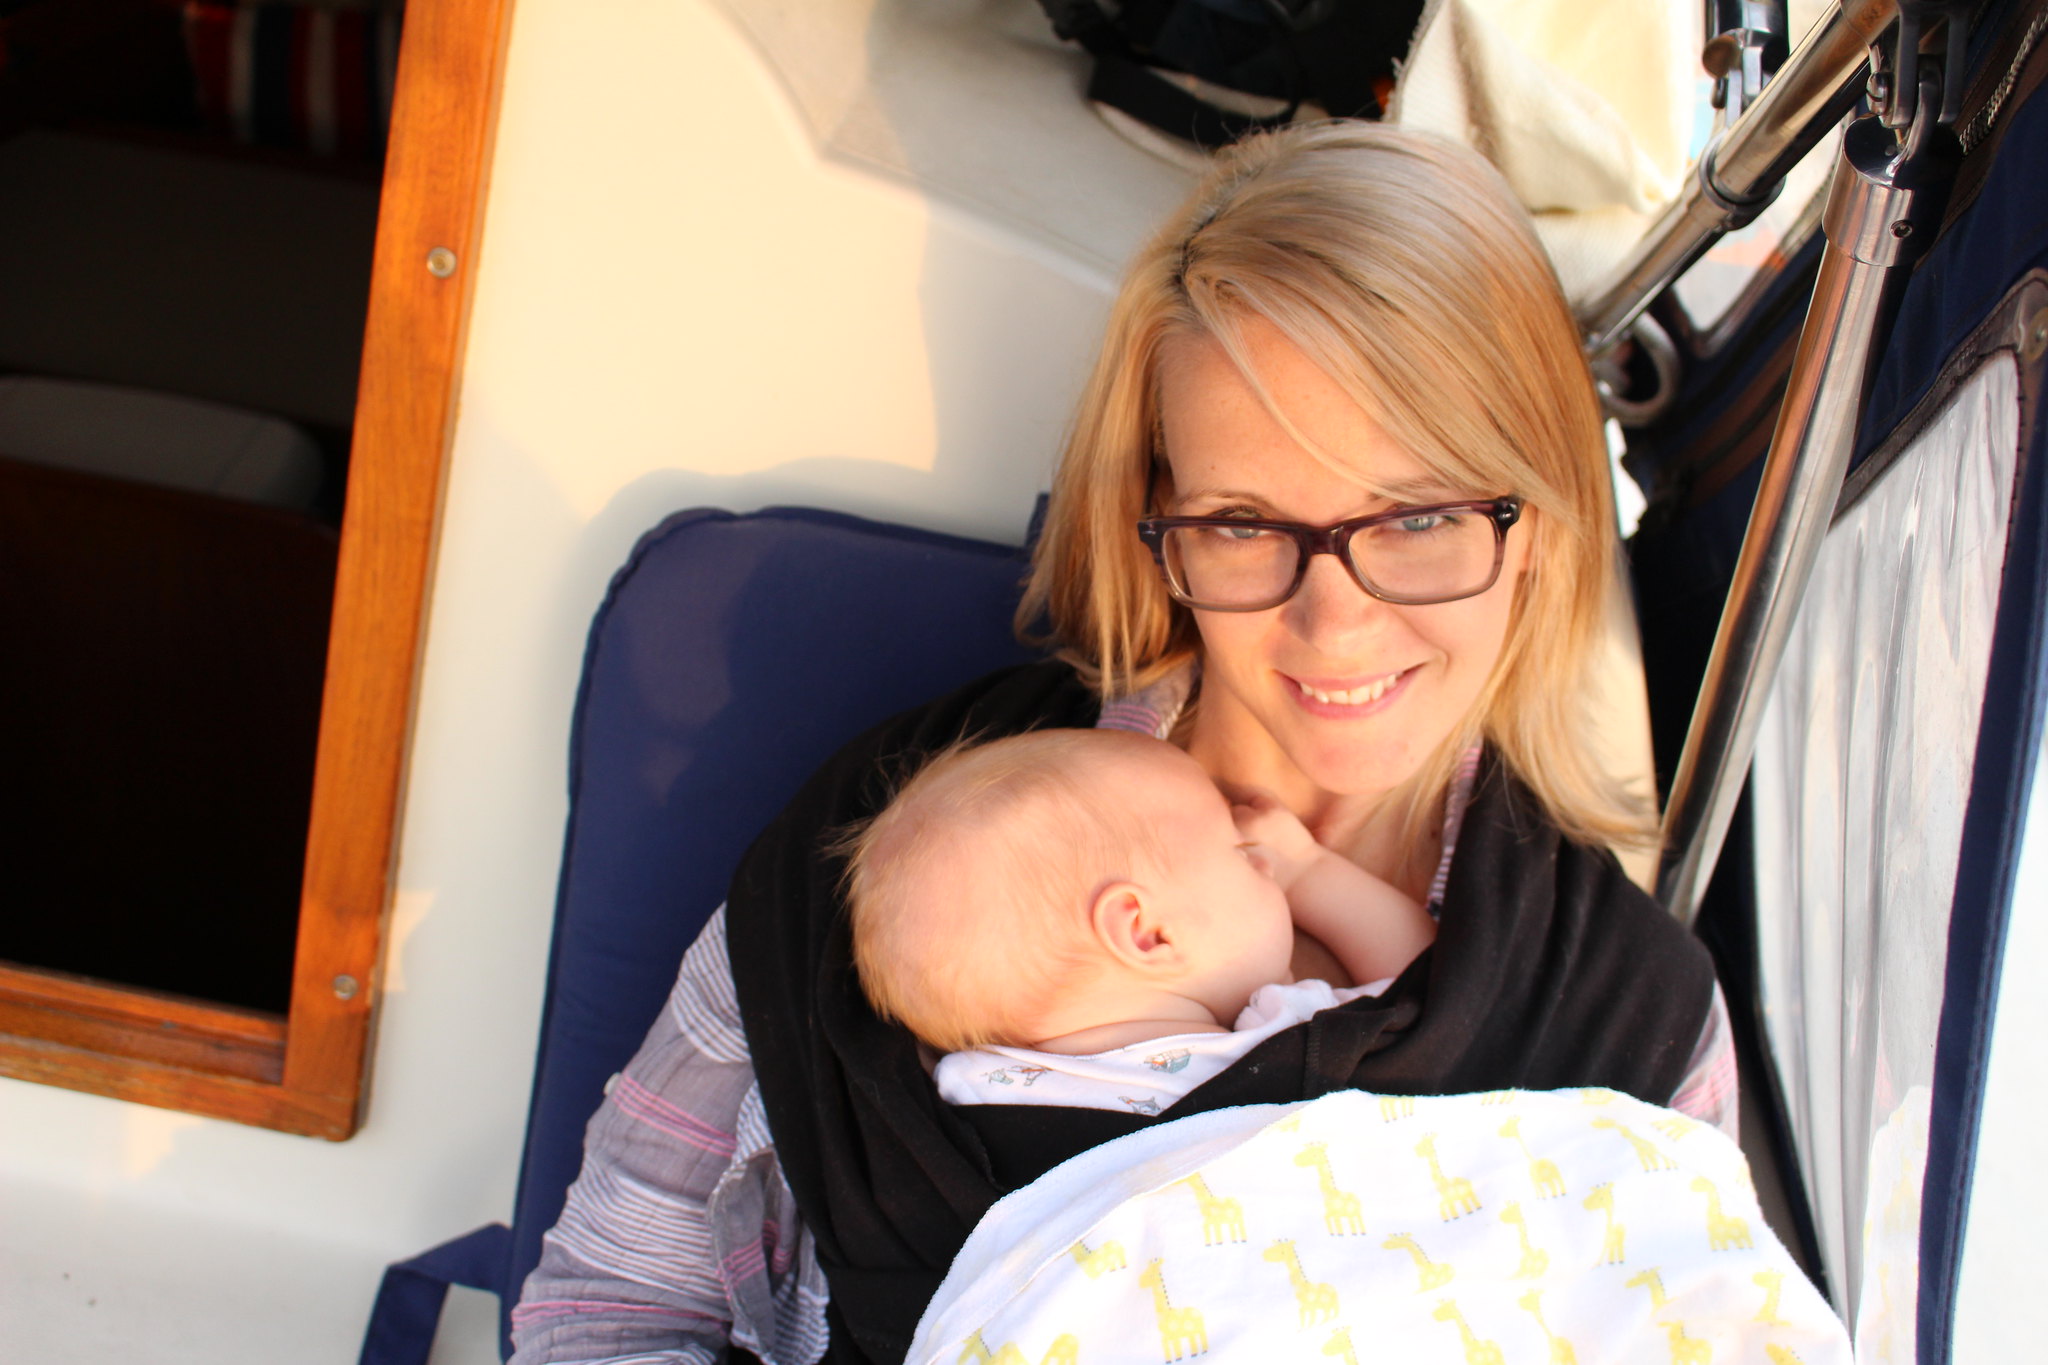
We've added a little man to our family, and seeing B be a Dad to 2 makes my heart swell even more than I thought possible.
So, since we've just returned yesterday from 10 days travelling around Vancouver Island in our Boler and have a lot to catch up on, we'll grill some steaks for dinner tonight and crack a bottle of wine to toast to two wonderful years of marriage.
Thank you for loving me the way you do B. I can't wait to see what the future holds for us!
Monday, August 24, 2015
Thursday, August 13, 2015
Summer Time Fun!
Life gets in the way a lot, doesn't it? It seems like things get crazier every year and this year is no exception, with the addition of our newest family member. I feel like we are constantly on the go, but it's been so nice squeezing in so much family time, and making use of our new to us Boler travel trailer. Of course, the best part is getting to do everything with both of these munchkins!
{Canada Day}
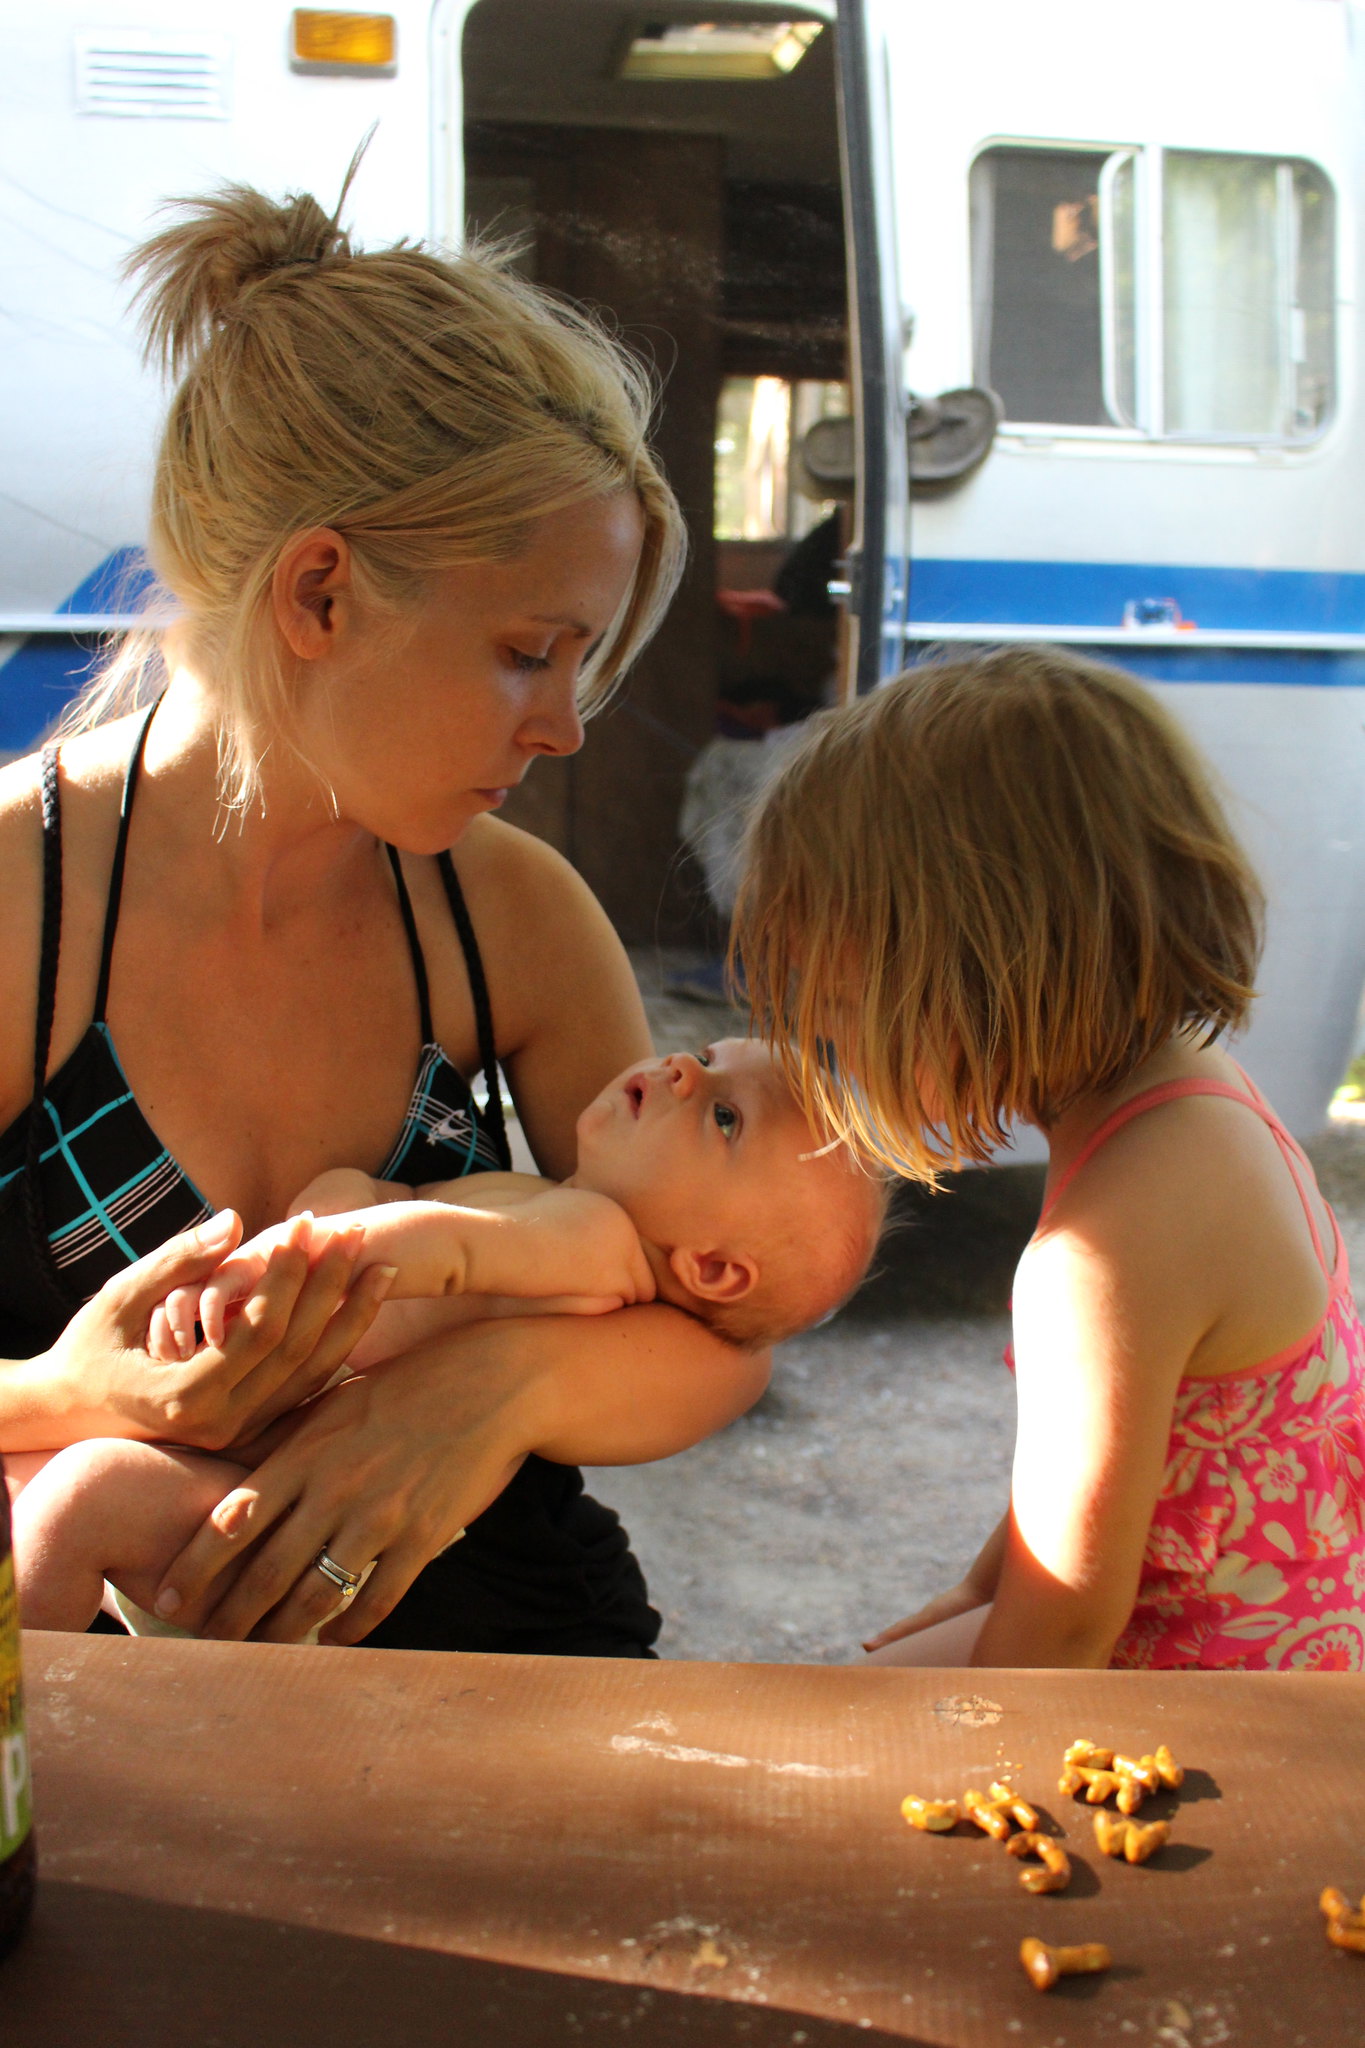
We embarked on our first camping trip in the Boler the weekend after Canada Day. Halle loves having the trailer to sleep in, but especially enjoyed that trip since she had two of her friends along to play with. Nolan did great sleeping in the trailer and really made it easy for us to camp with a 6 week old...
{Swimming at Ross Lake}
{Surrounded by beauty!}
{Just me and my babes}
{Heading Home}
Camping aside, we've also been lucky to enjoy some time on our friends sailboat, which is moored right downtown. We enjoyed one Friday afternoon BBQ on the dock, followed by a boat ride, then headed out again another Saturday afternoon for a BBQ on the boat while we secured a prime spot to watch the Celebration of Lights from the water.
{Nolan's first boat ride... and he slept through it}
{Halle taking in the view}
{Heading back in - Halle had a chance to steer for a bit}
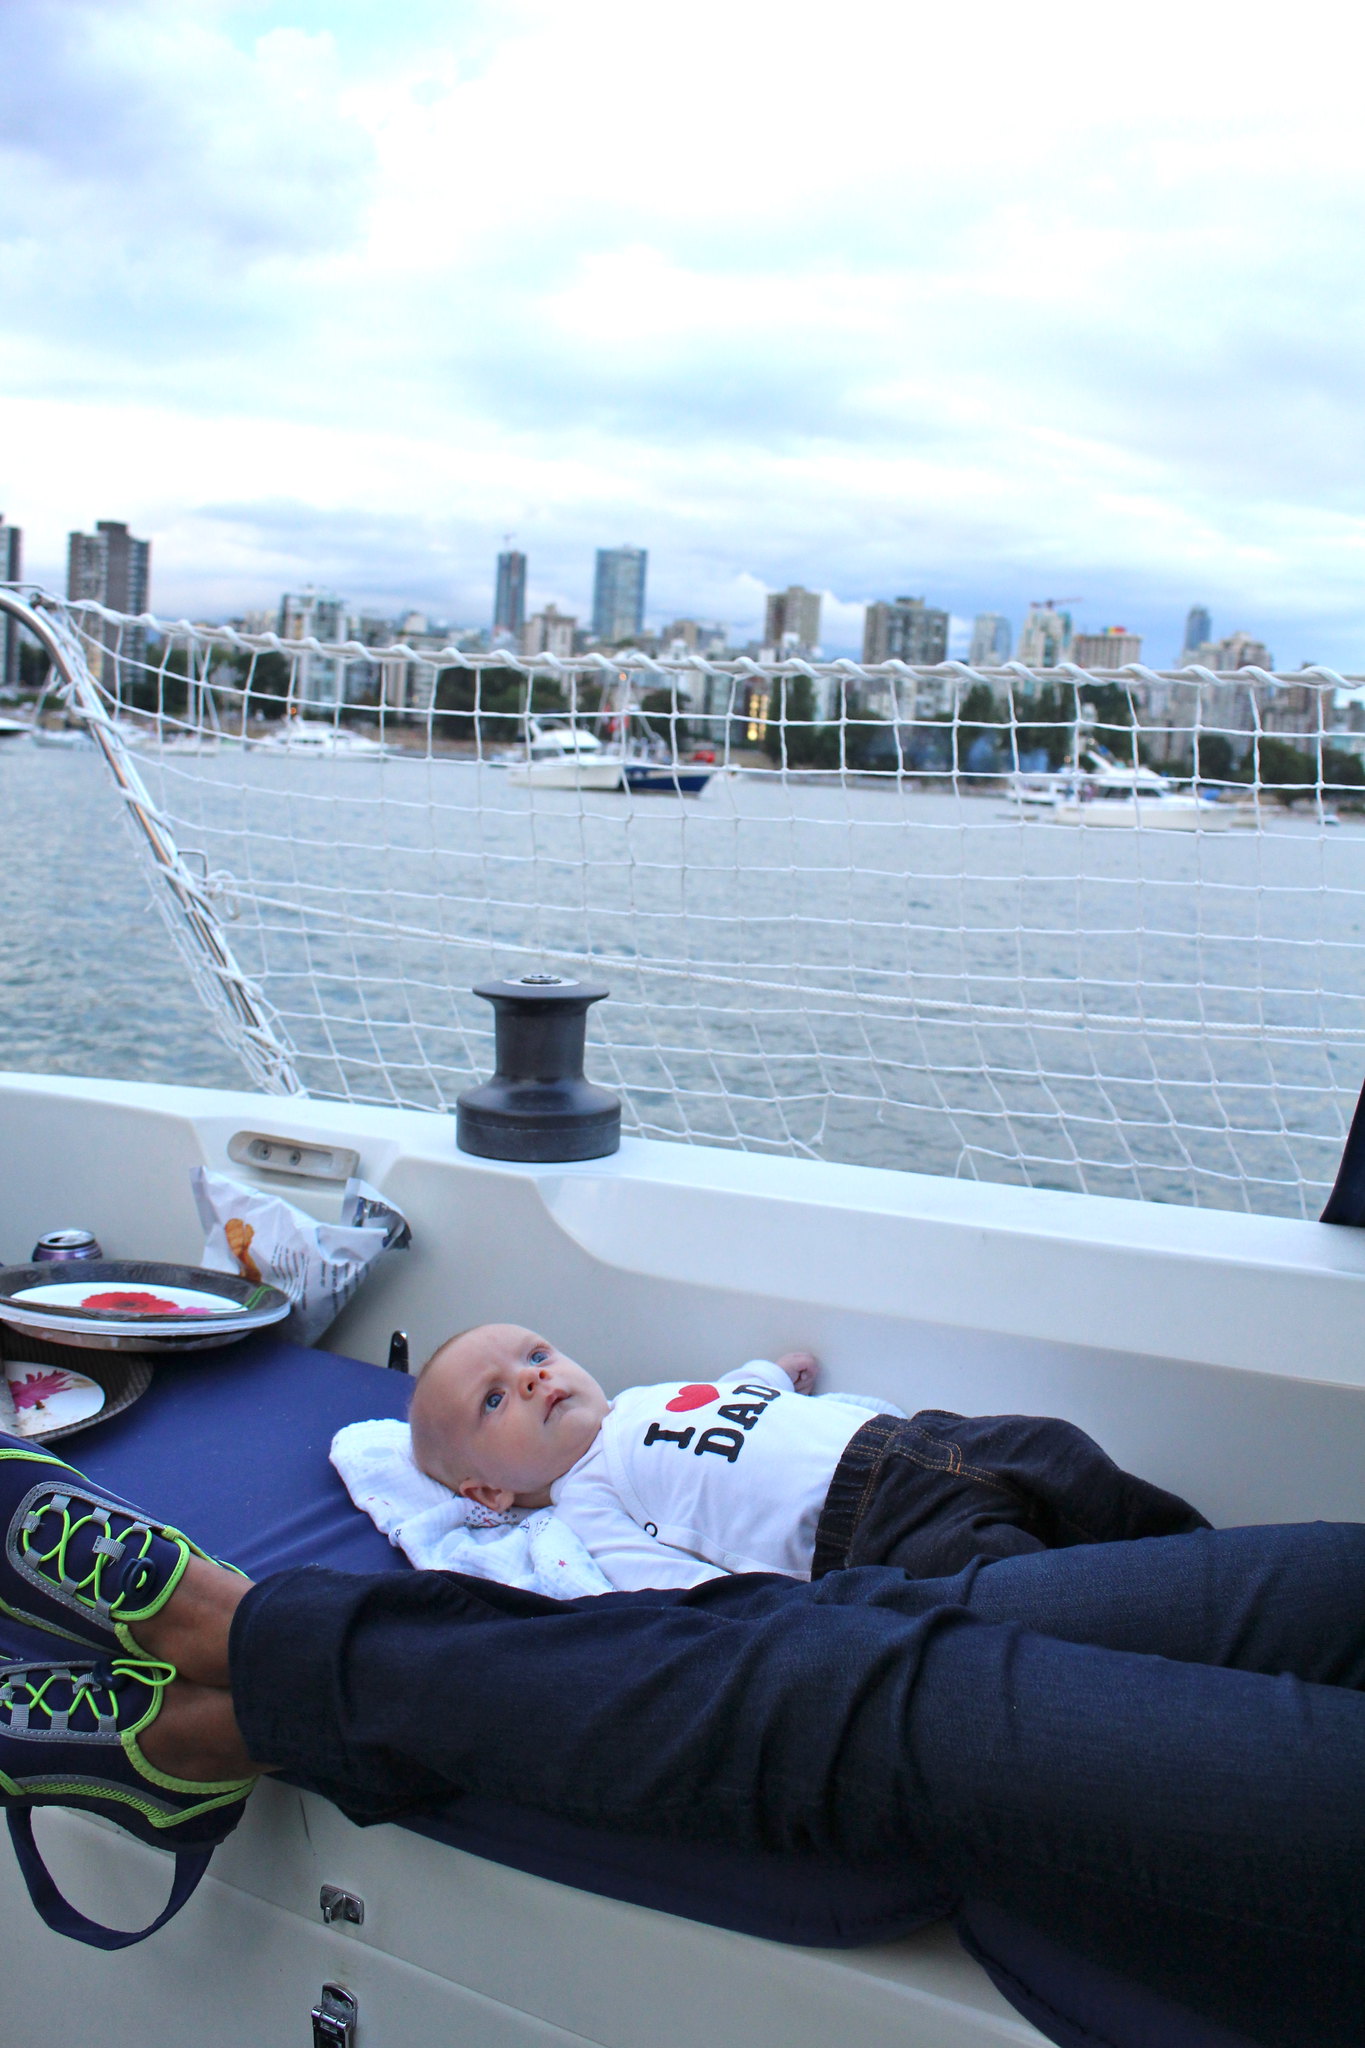
Our second trip out, Nolan was more alert. He enjoyed the rocking of the boat and staring up at the mast. He did really well and promptly fell asleep just before the fireworks began...
{Halle was thrilled by the Red Bull stunt plane}
So far, it has definitely been a fun summer, full of family, friends and new adventures. There is still plenty more to come as well.
What kind of fun has everyone else been getting up to? Big trips? Small adventures? I'd love to hear more about your summers too!
Tuesday, August 11, 2015
Love Your Wood!
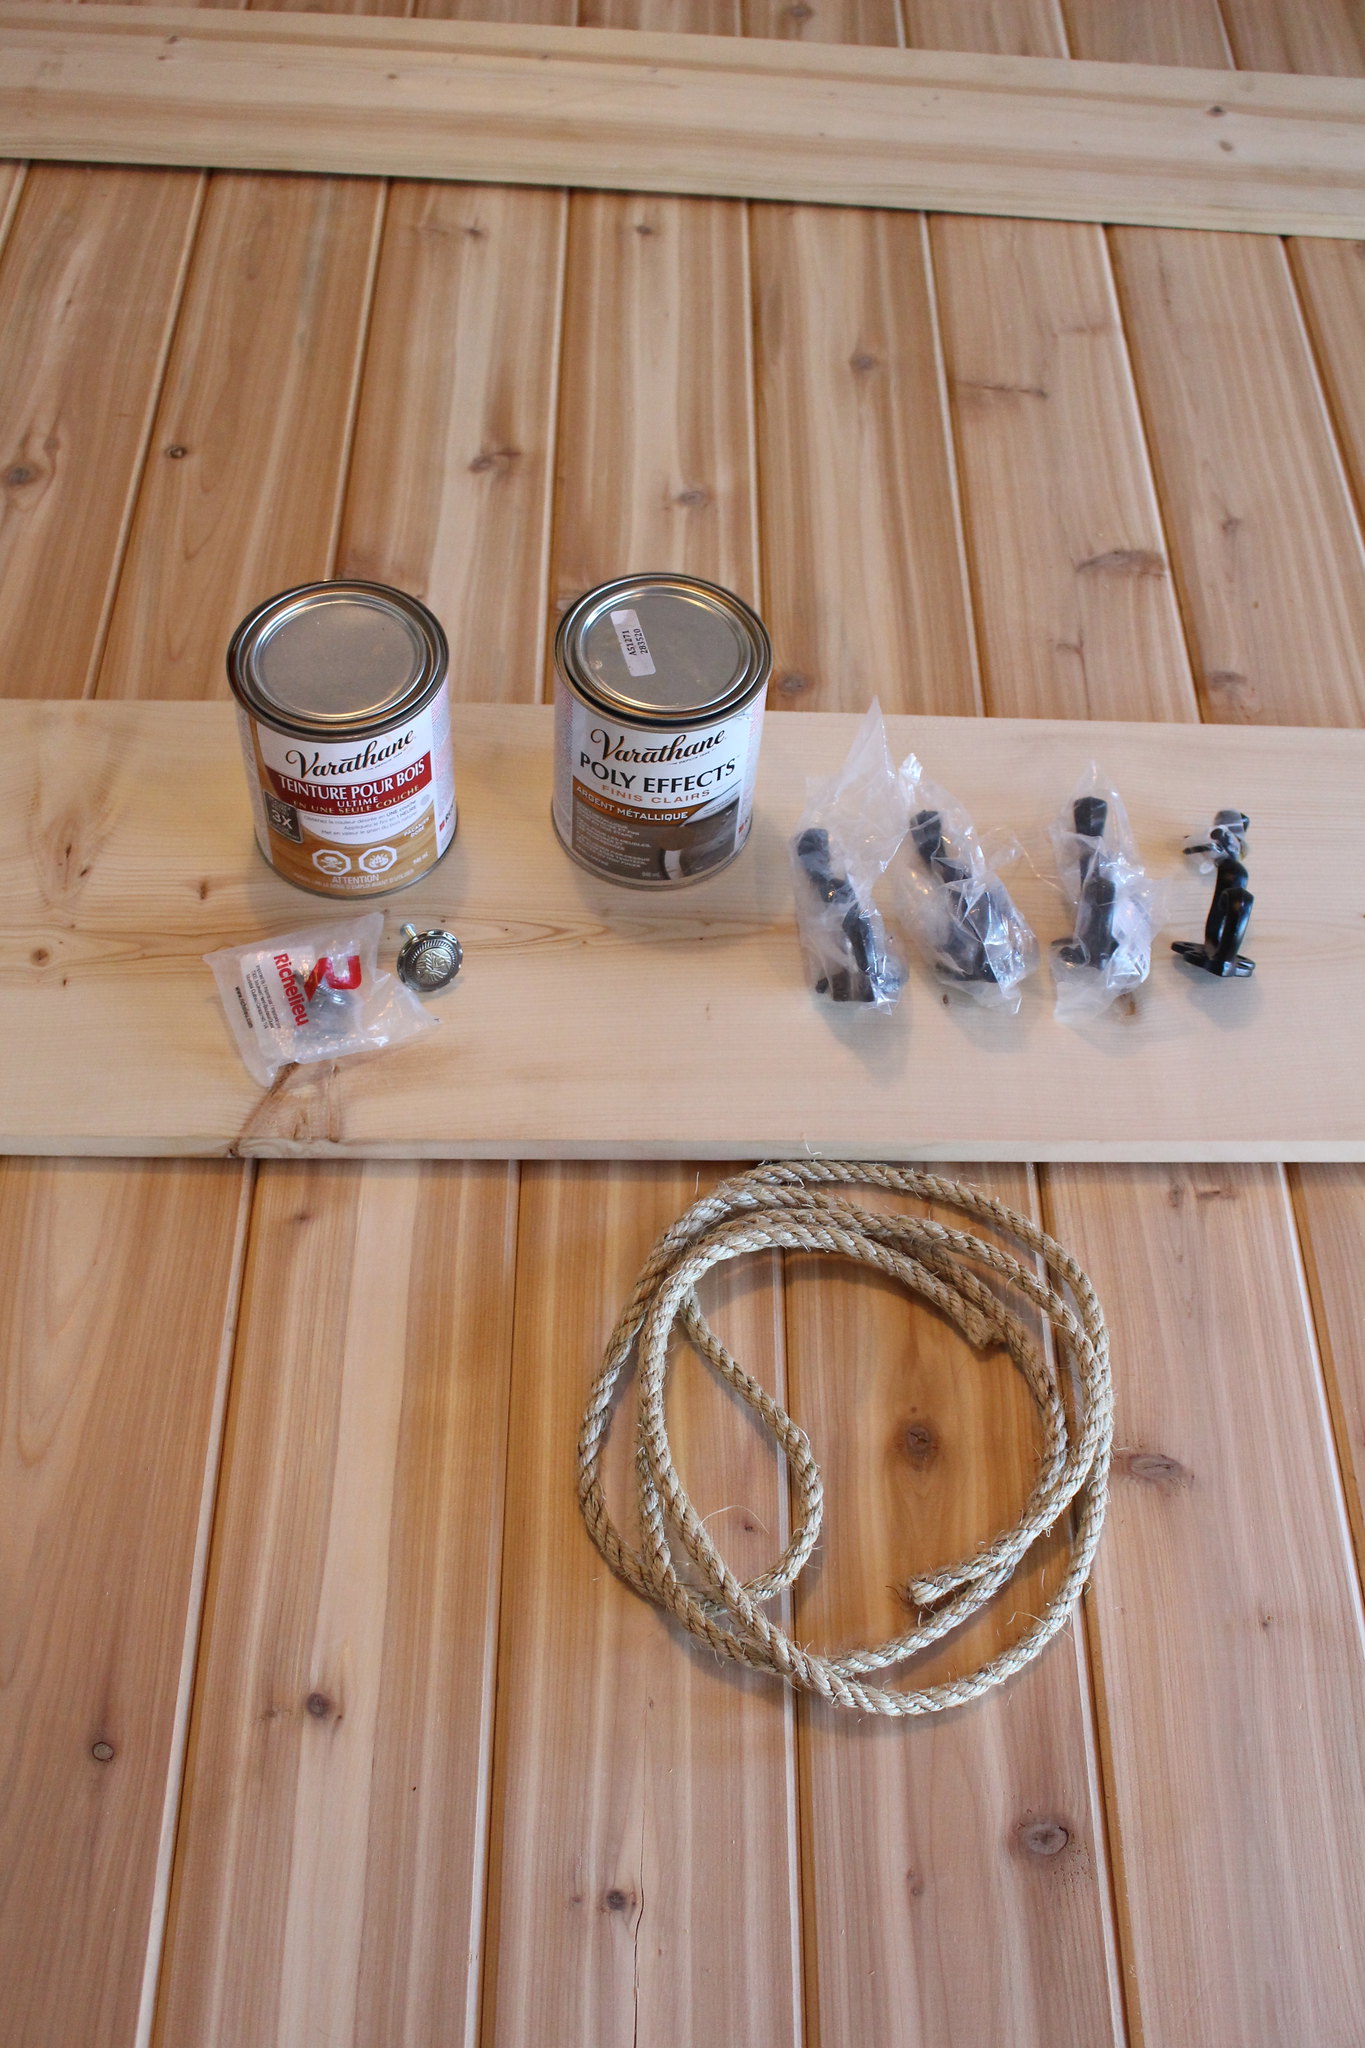
Last month I was contacted by the good people over at Rust-Oleum Canada, asking me to take part in their Love Your Wood challenge. The idea was that they sent me (and 7 other DIY bloggers) a box containing a wood stain, a clear coat, five mystery items (which ended up being a hook, a drawer pull, decorative stones, wire and rope) and a $75 gift card to help buy any additional items we needed. Each blogger had to refinish a piece of furniture or build something using wood, stain and three of the mystery items. If you follow me on Instagram then you've seen a few of my sneak peeks over the last little while.
For my wood I picked tongue and groove cedar and some pine boards and the 3 mystery items that I picked to work with were the rope, hook and drawer pull (we bought extra hooks and an extra pull). As we worked we also ended up purchasing 6 brackets and an extra Varathane stain, in weather grey, to work with.
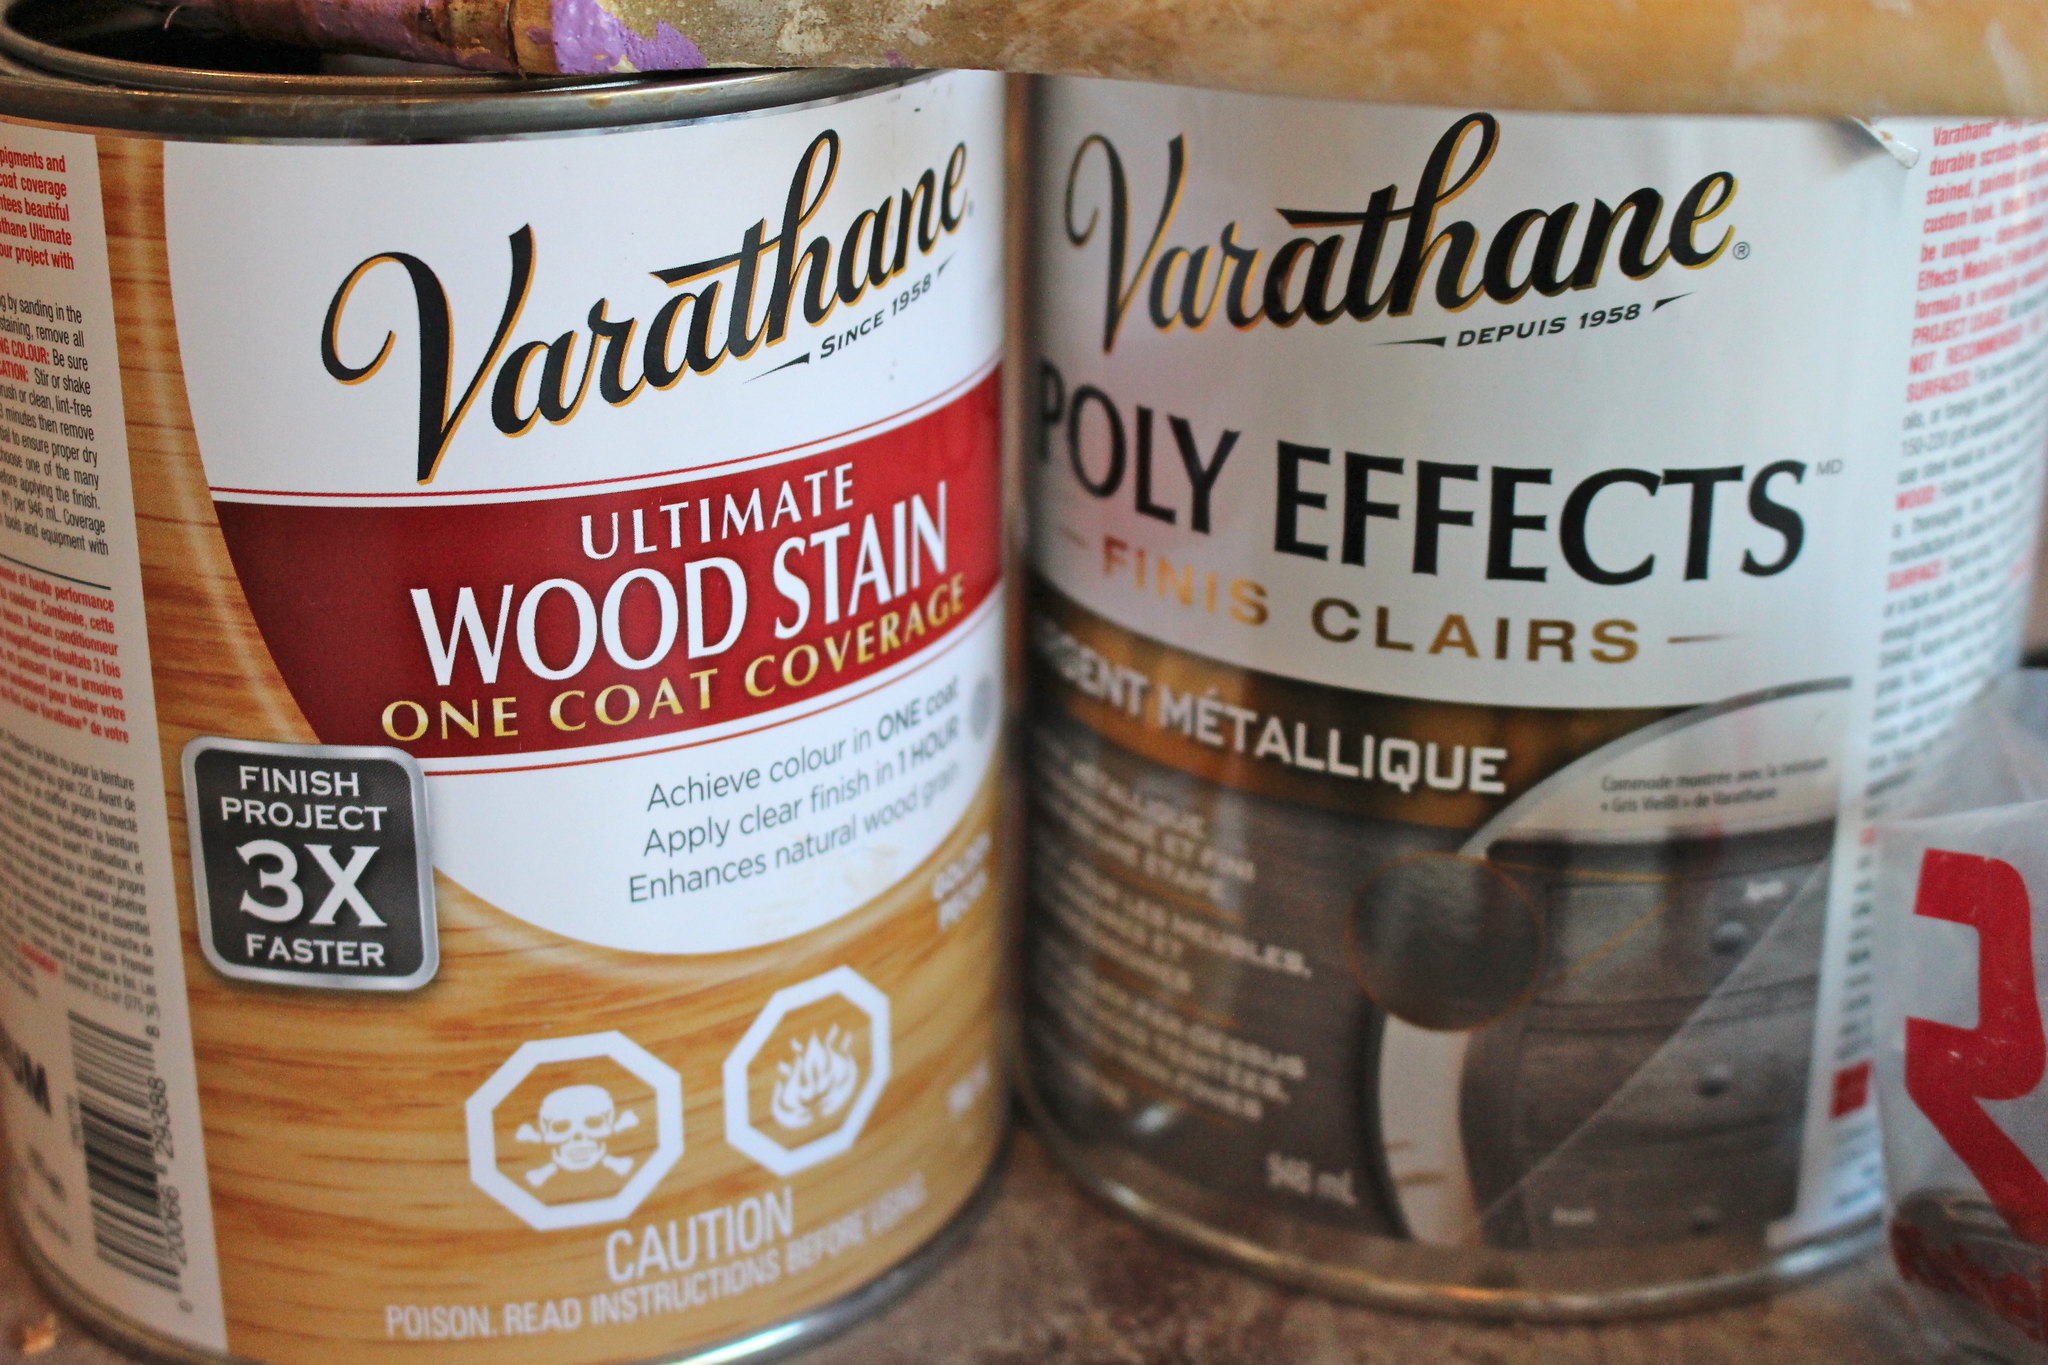
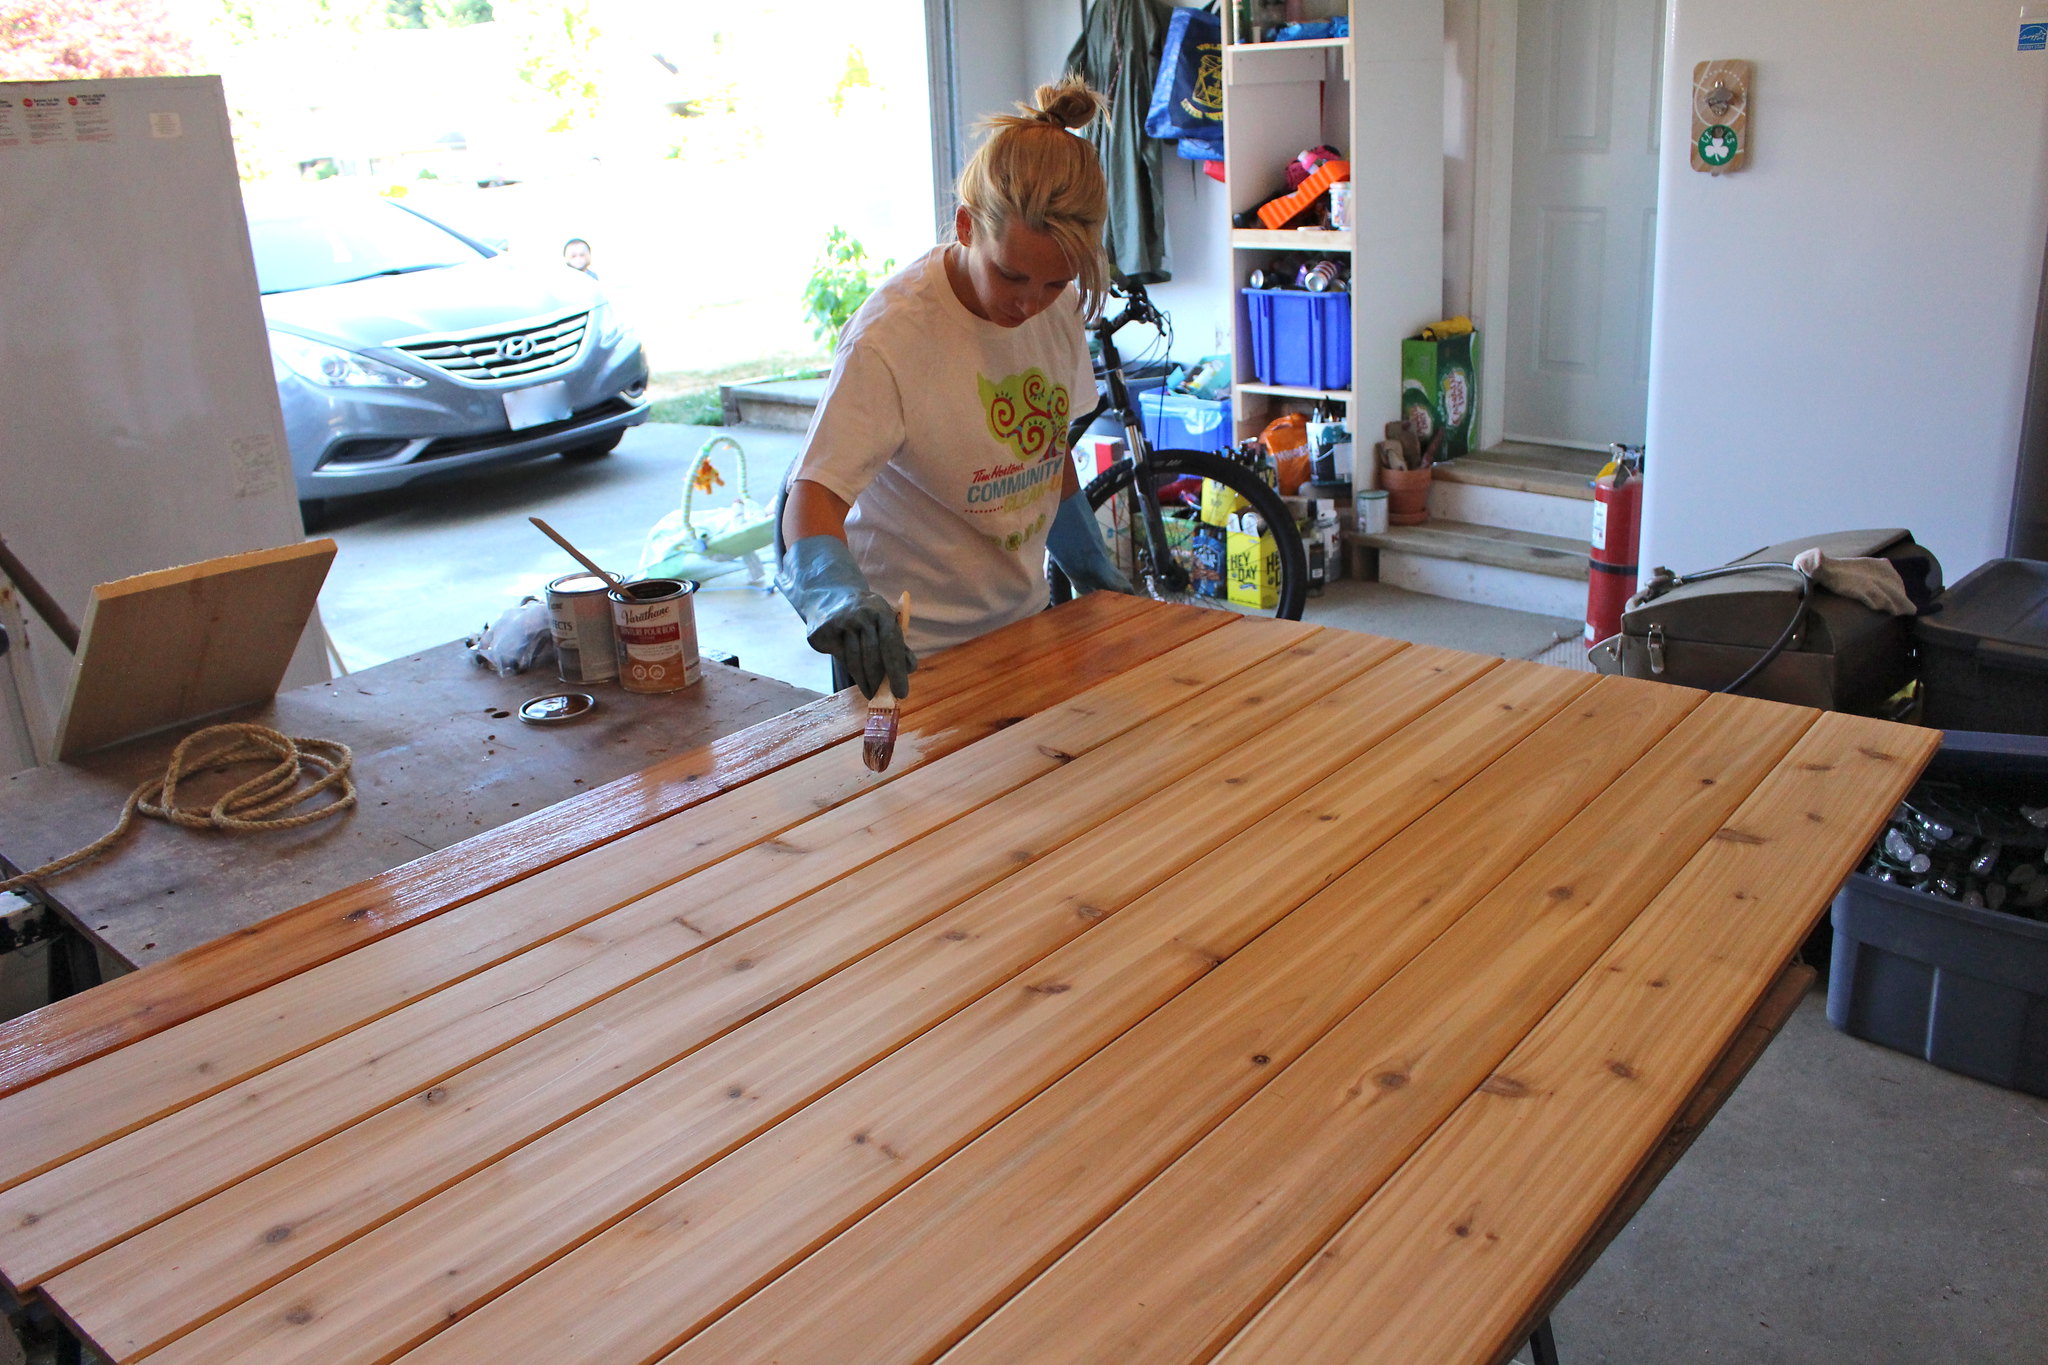
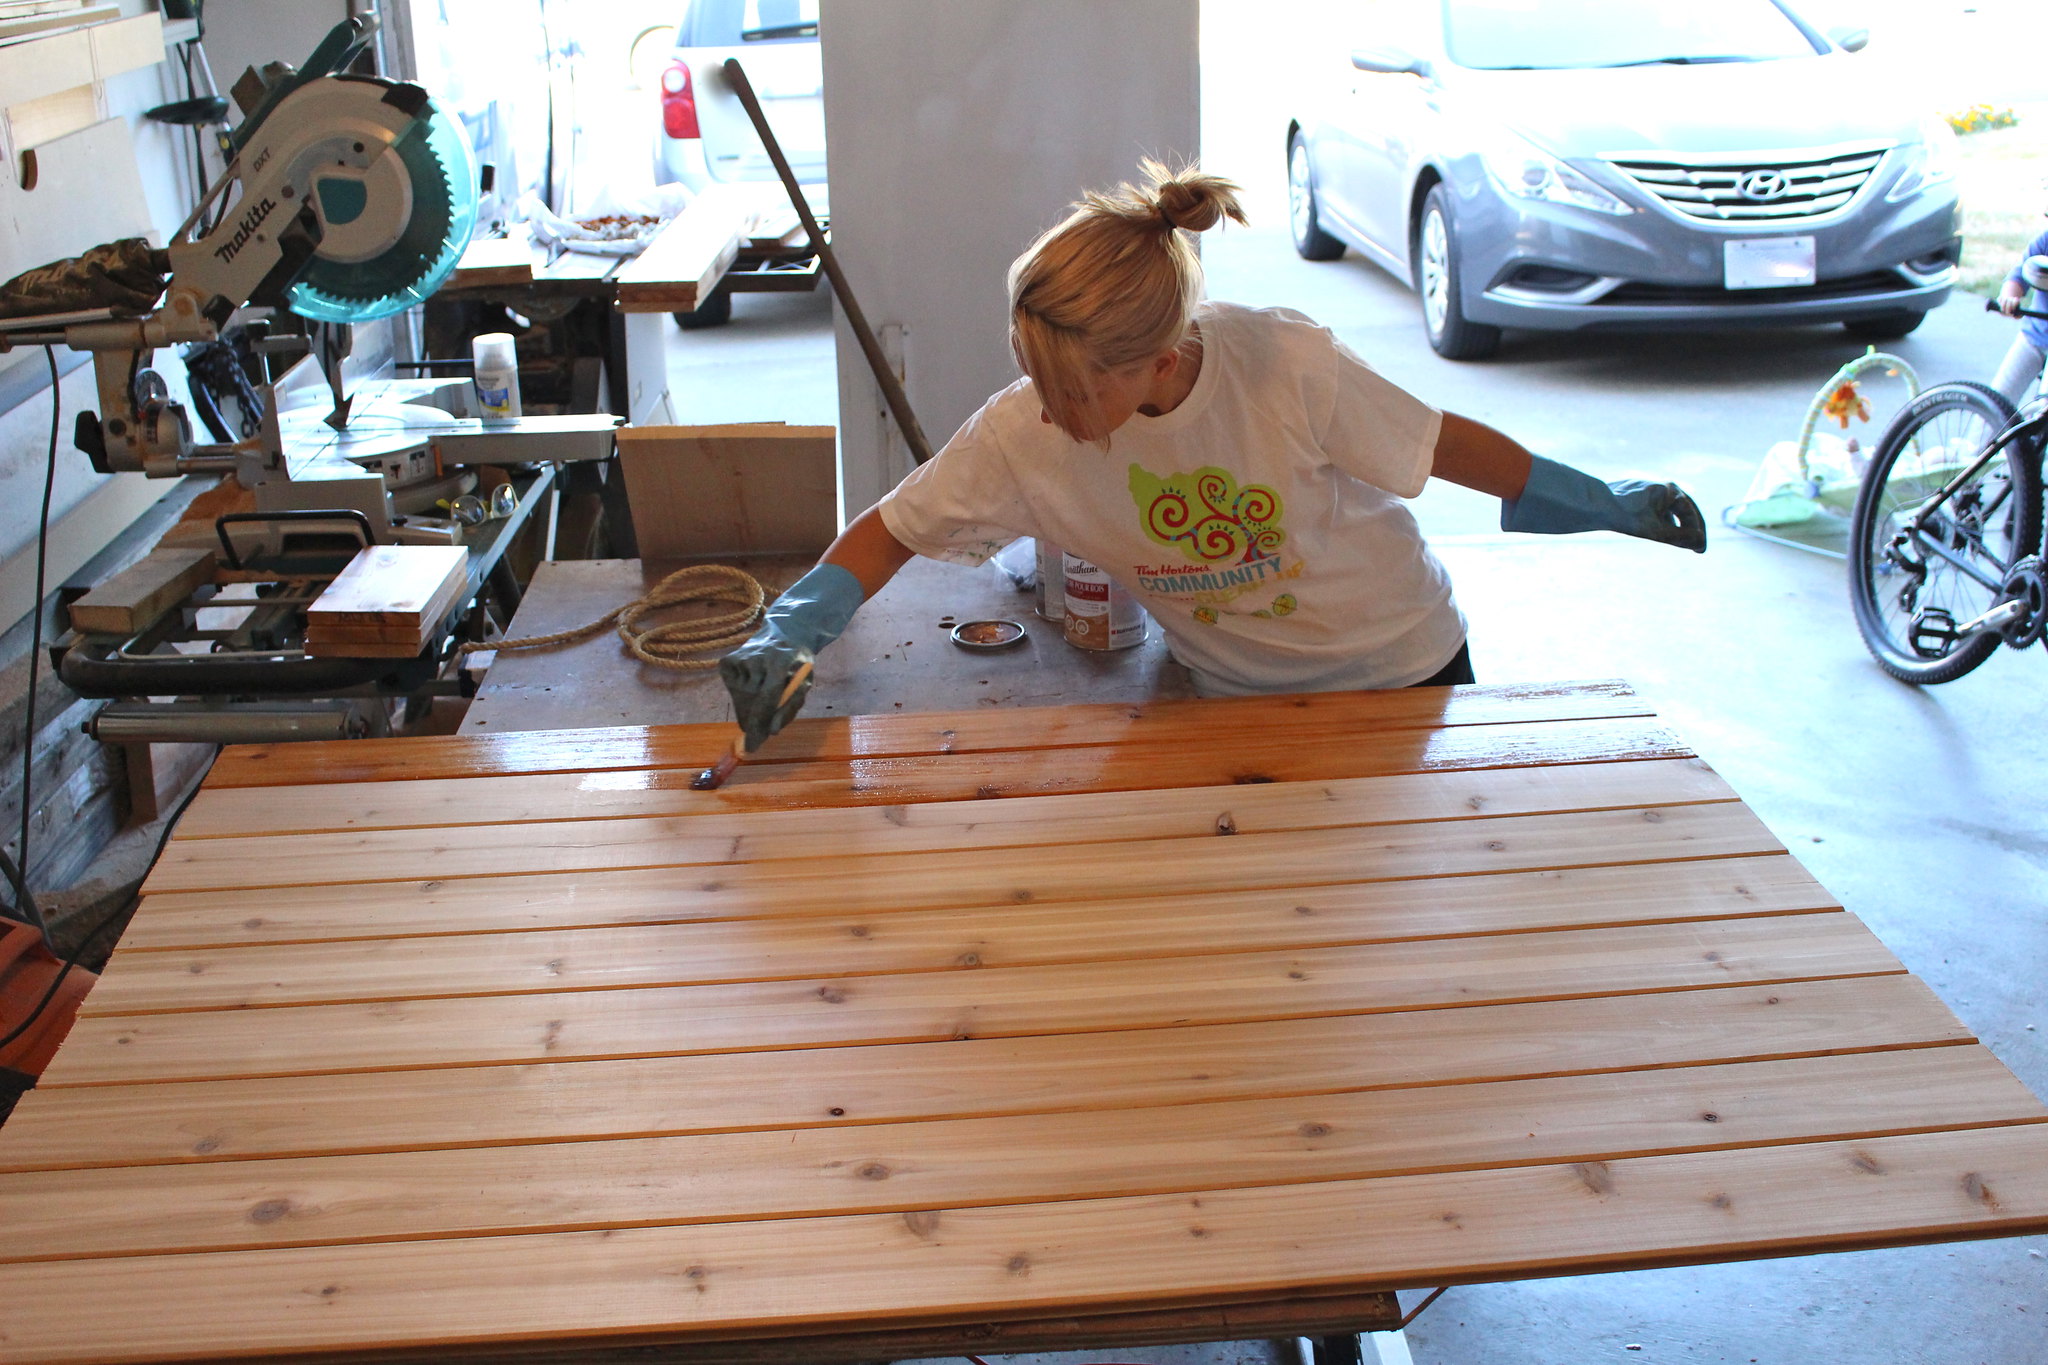
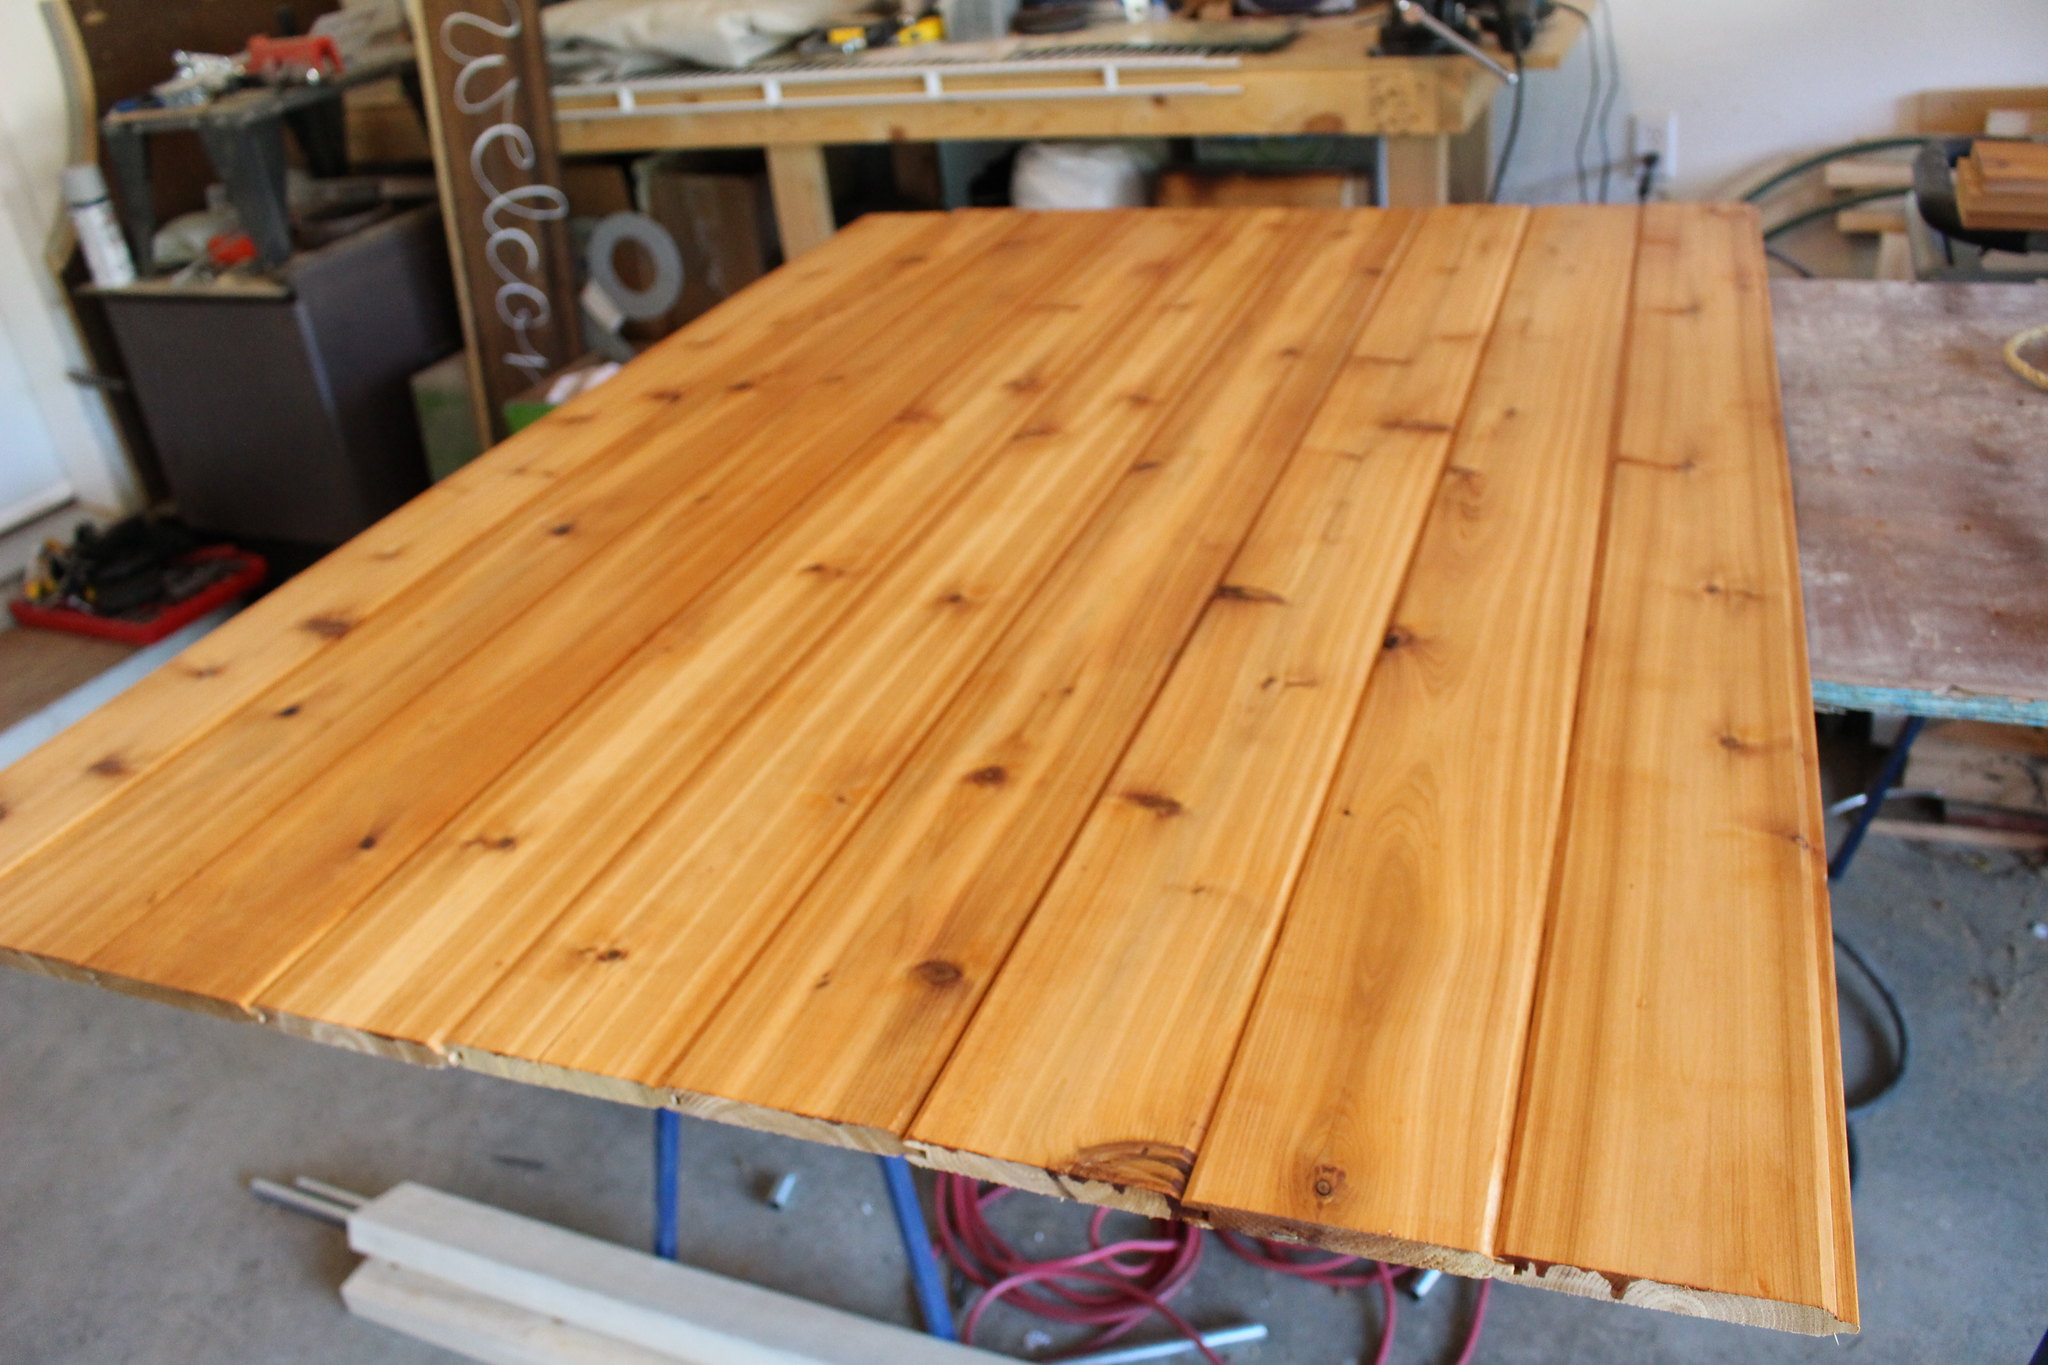
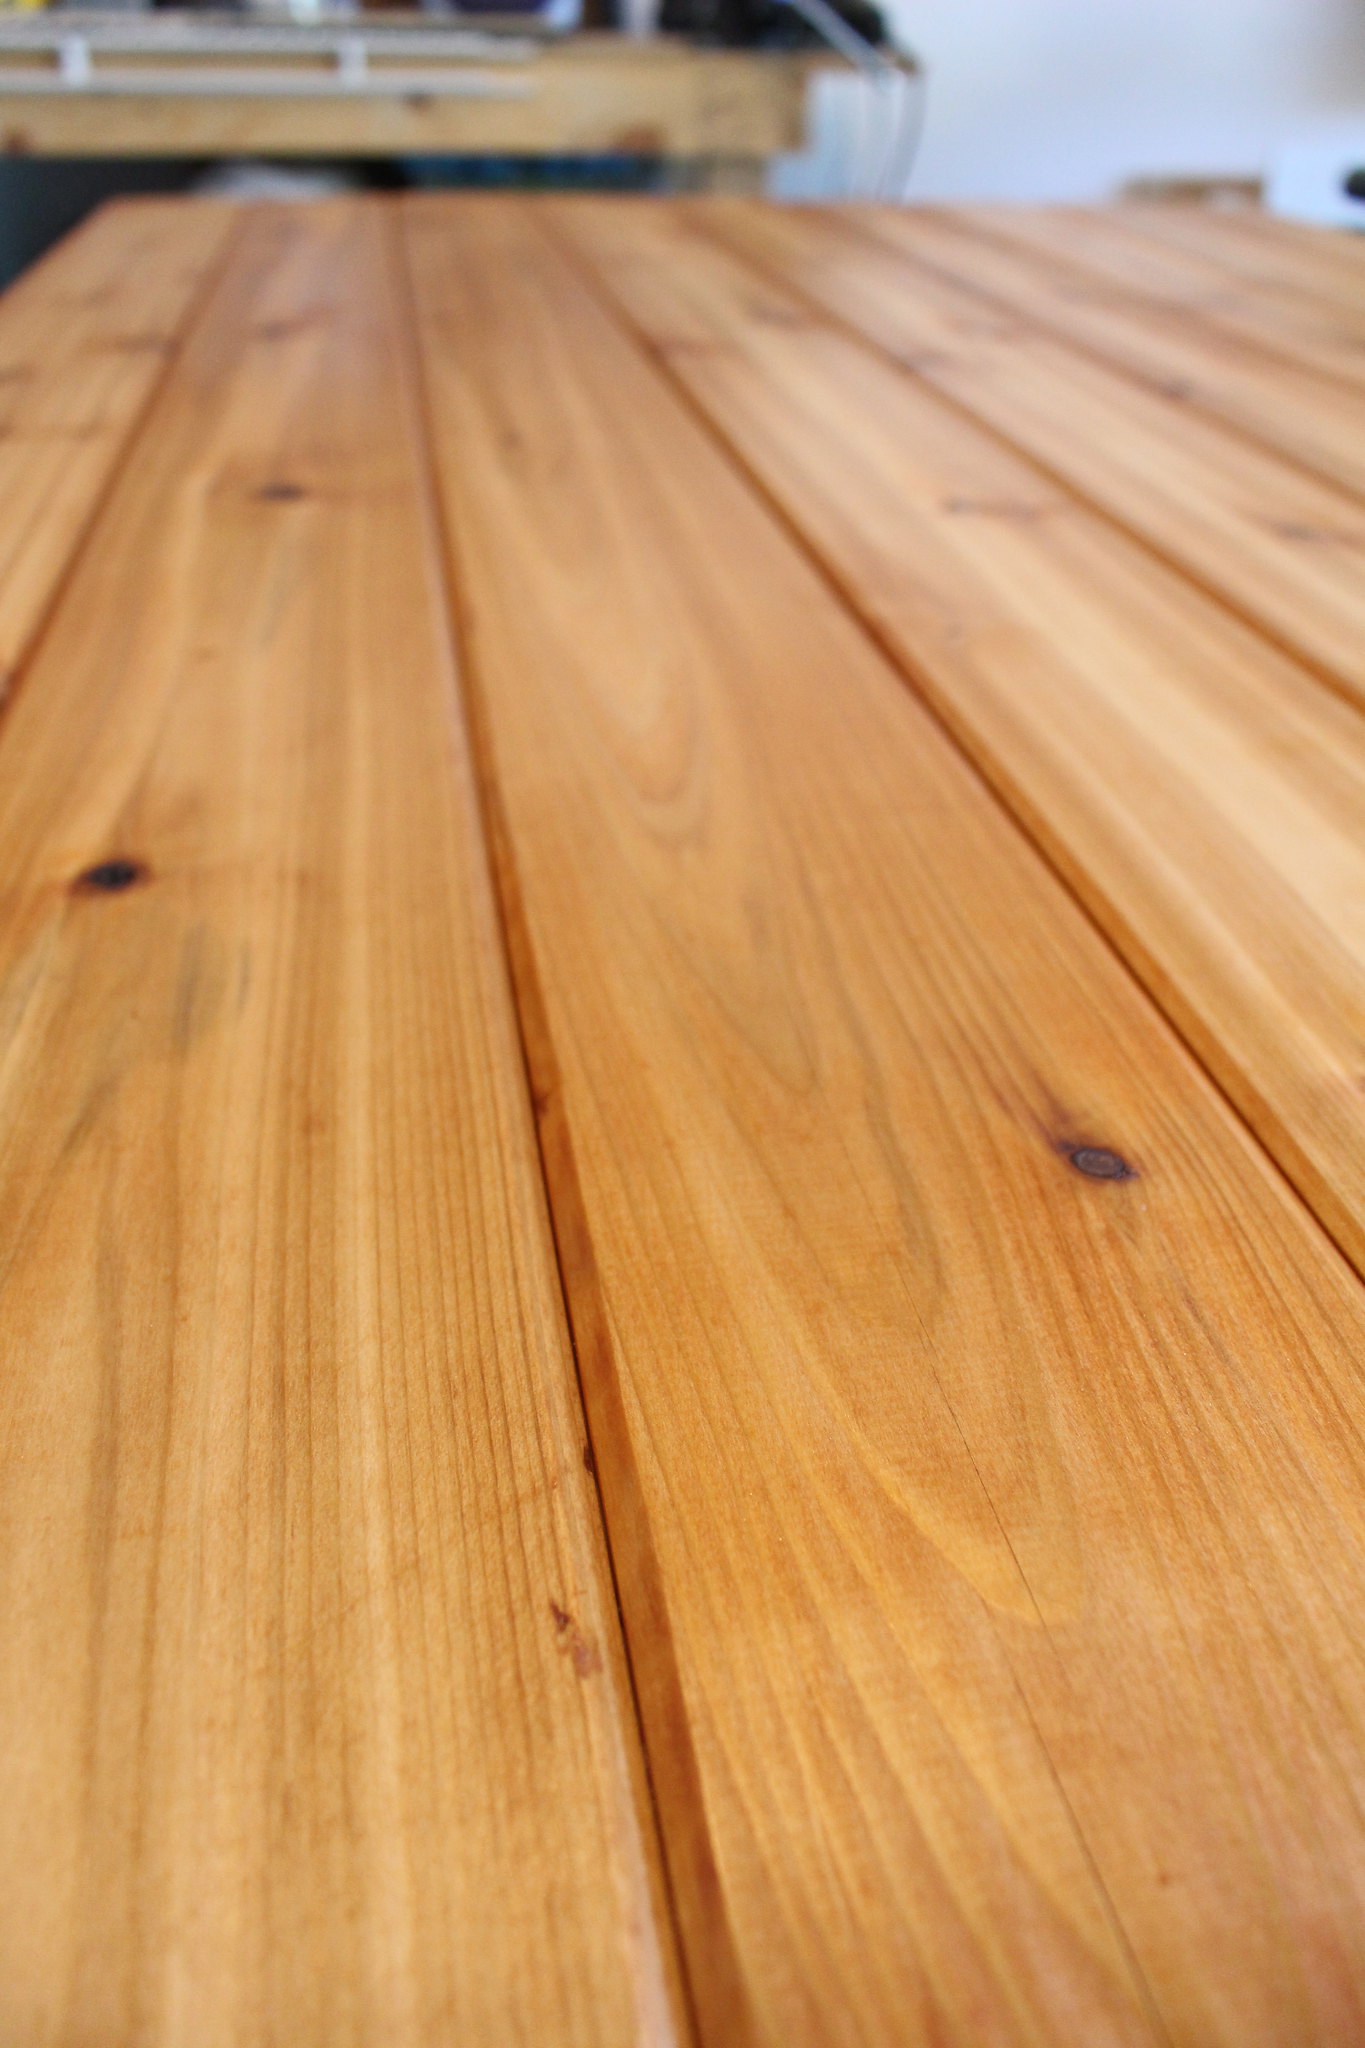
Rust-Oleum had provided me with the One Coat Coverage Ultimate Wood Stain in golden pecan. The stain covered wonderfully in one coat, and it was the perfect colour to put over my lovely cedar! It really brought out the beauty of the wood!
Hello beautiful golden cedar! It was the colour of the stain that led me in the direction of this wood, as I knew that would pair nicely. Sure enough, we had a beautiful result after just one coat of stain.
To be completely honest, I was a tad nervous about the clear coat they sent. It was metallic accent in silver and I wasn't too sure what to expect. I ended up being pleasantly surprised, seeing that the clear coat just added a really beautiful shimmer to both of the stains I worked with. I just went with the recommended minimum of two coats, and it was perfect. I'm sure if you added another coat or two, it would bring a much more metallic finish to the piece. I could see it working great on a pink dresser in a little girl's room - would give it a great shimmer!
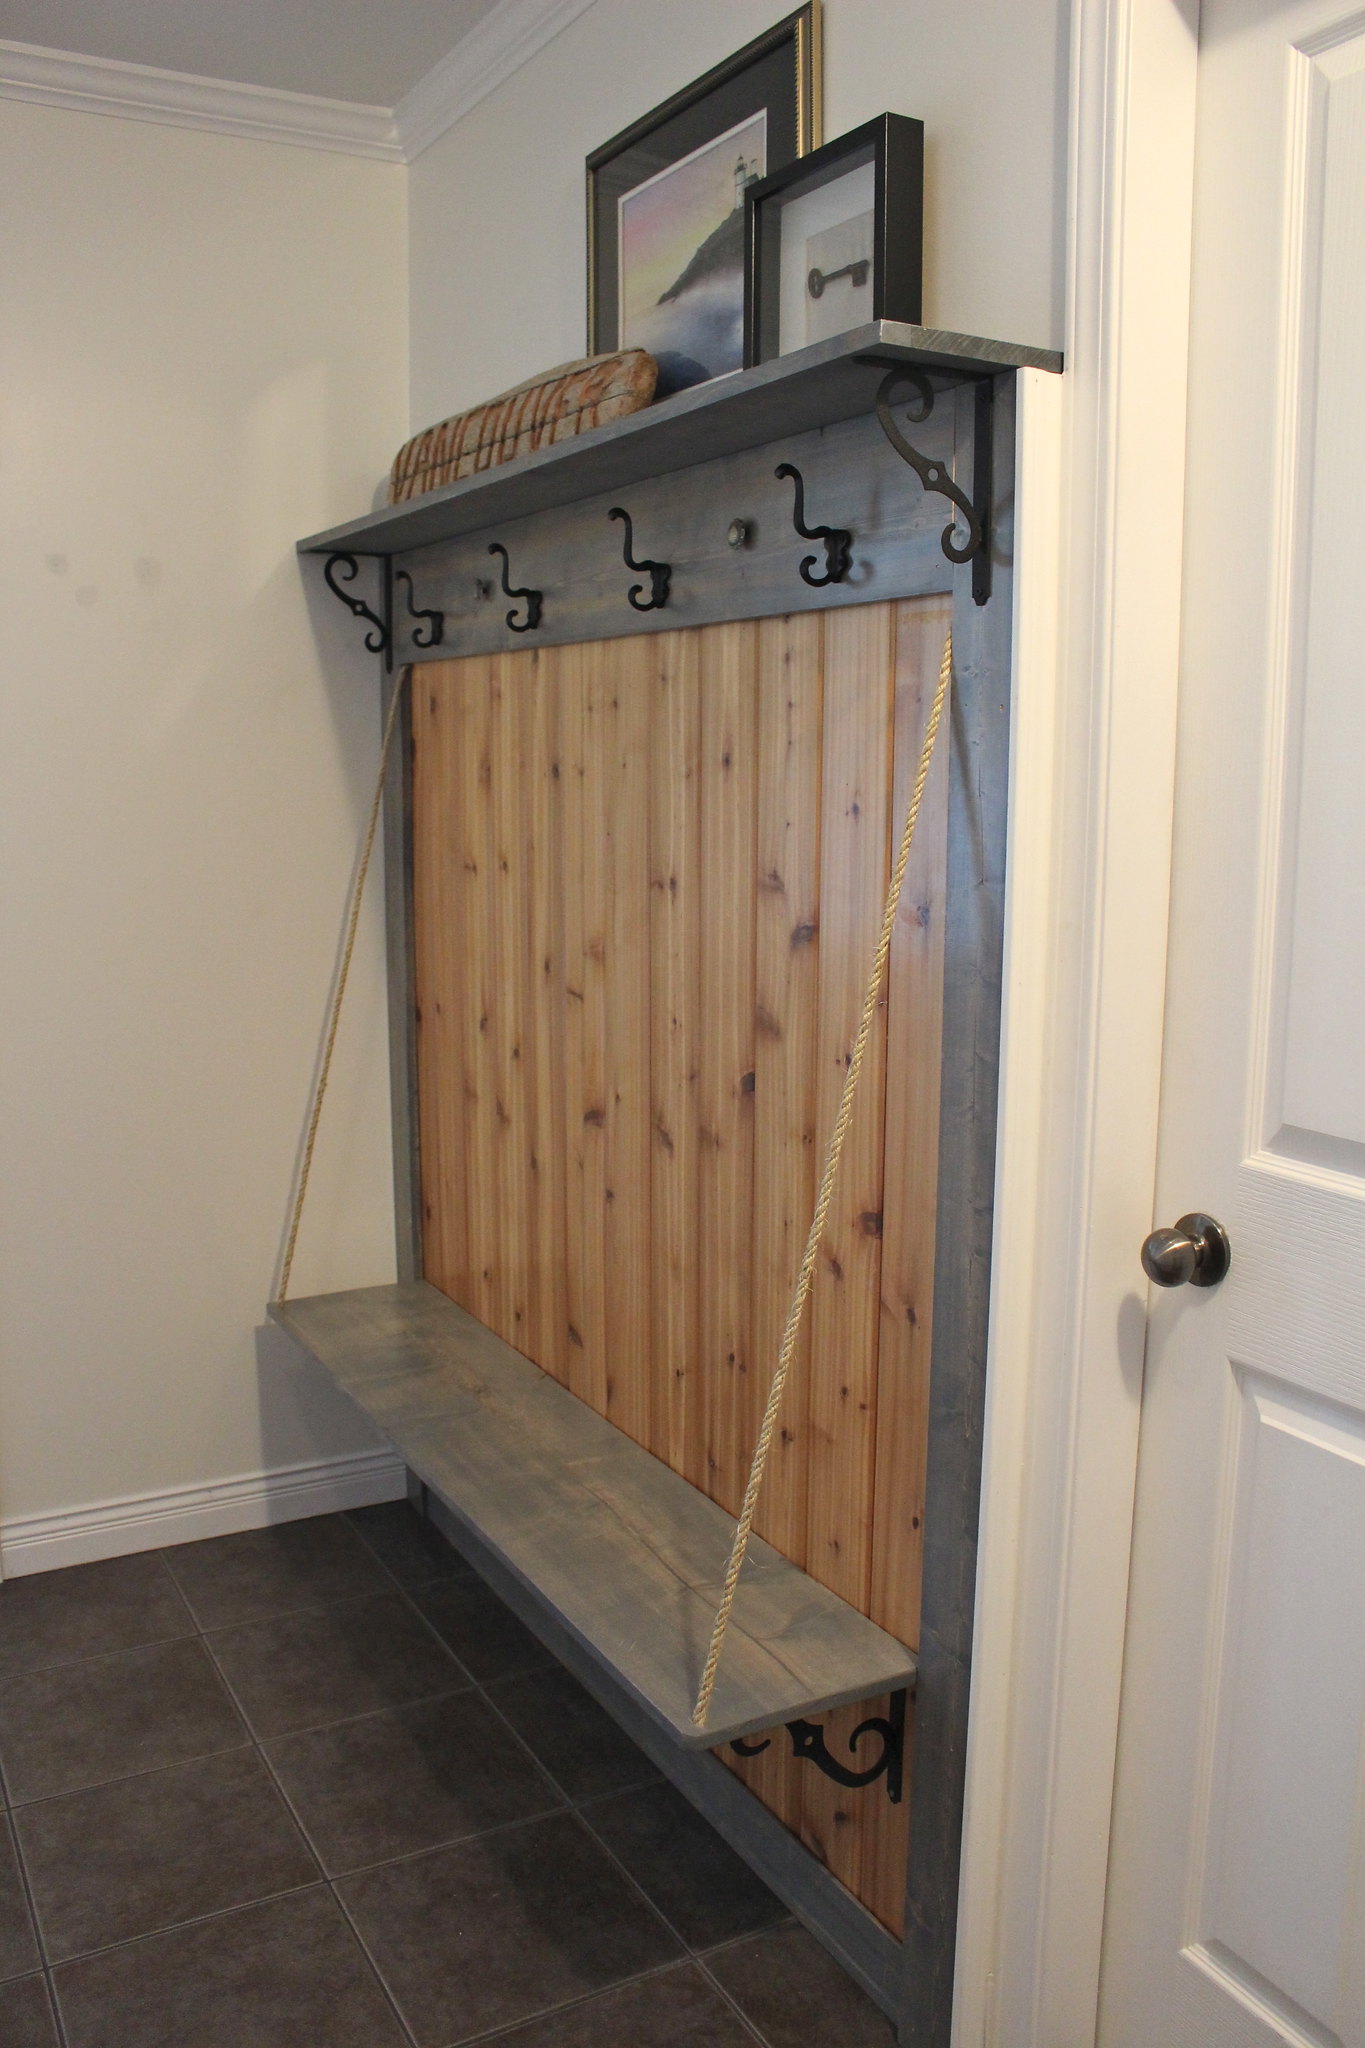
Moving on, with everything stained and protected, it was time to get into building. I was excited to get involved since B is usually the one doing all of the building. The best part, this wasn't just building something, we were also transforming a small corner of our home! The wall right by the front door to be exact...
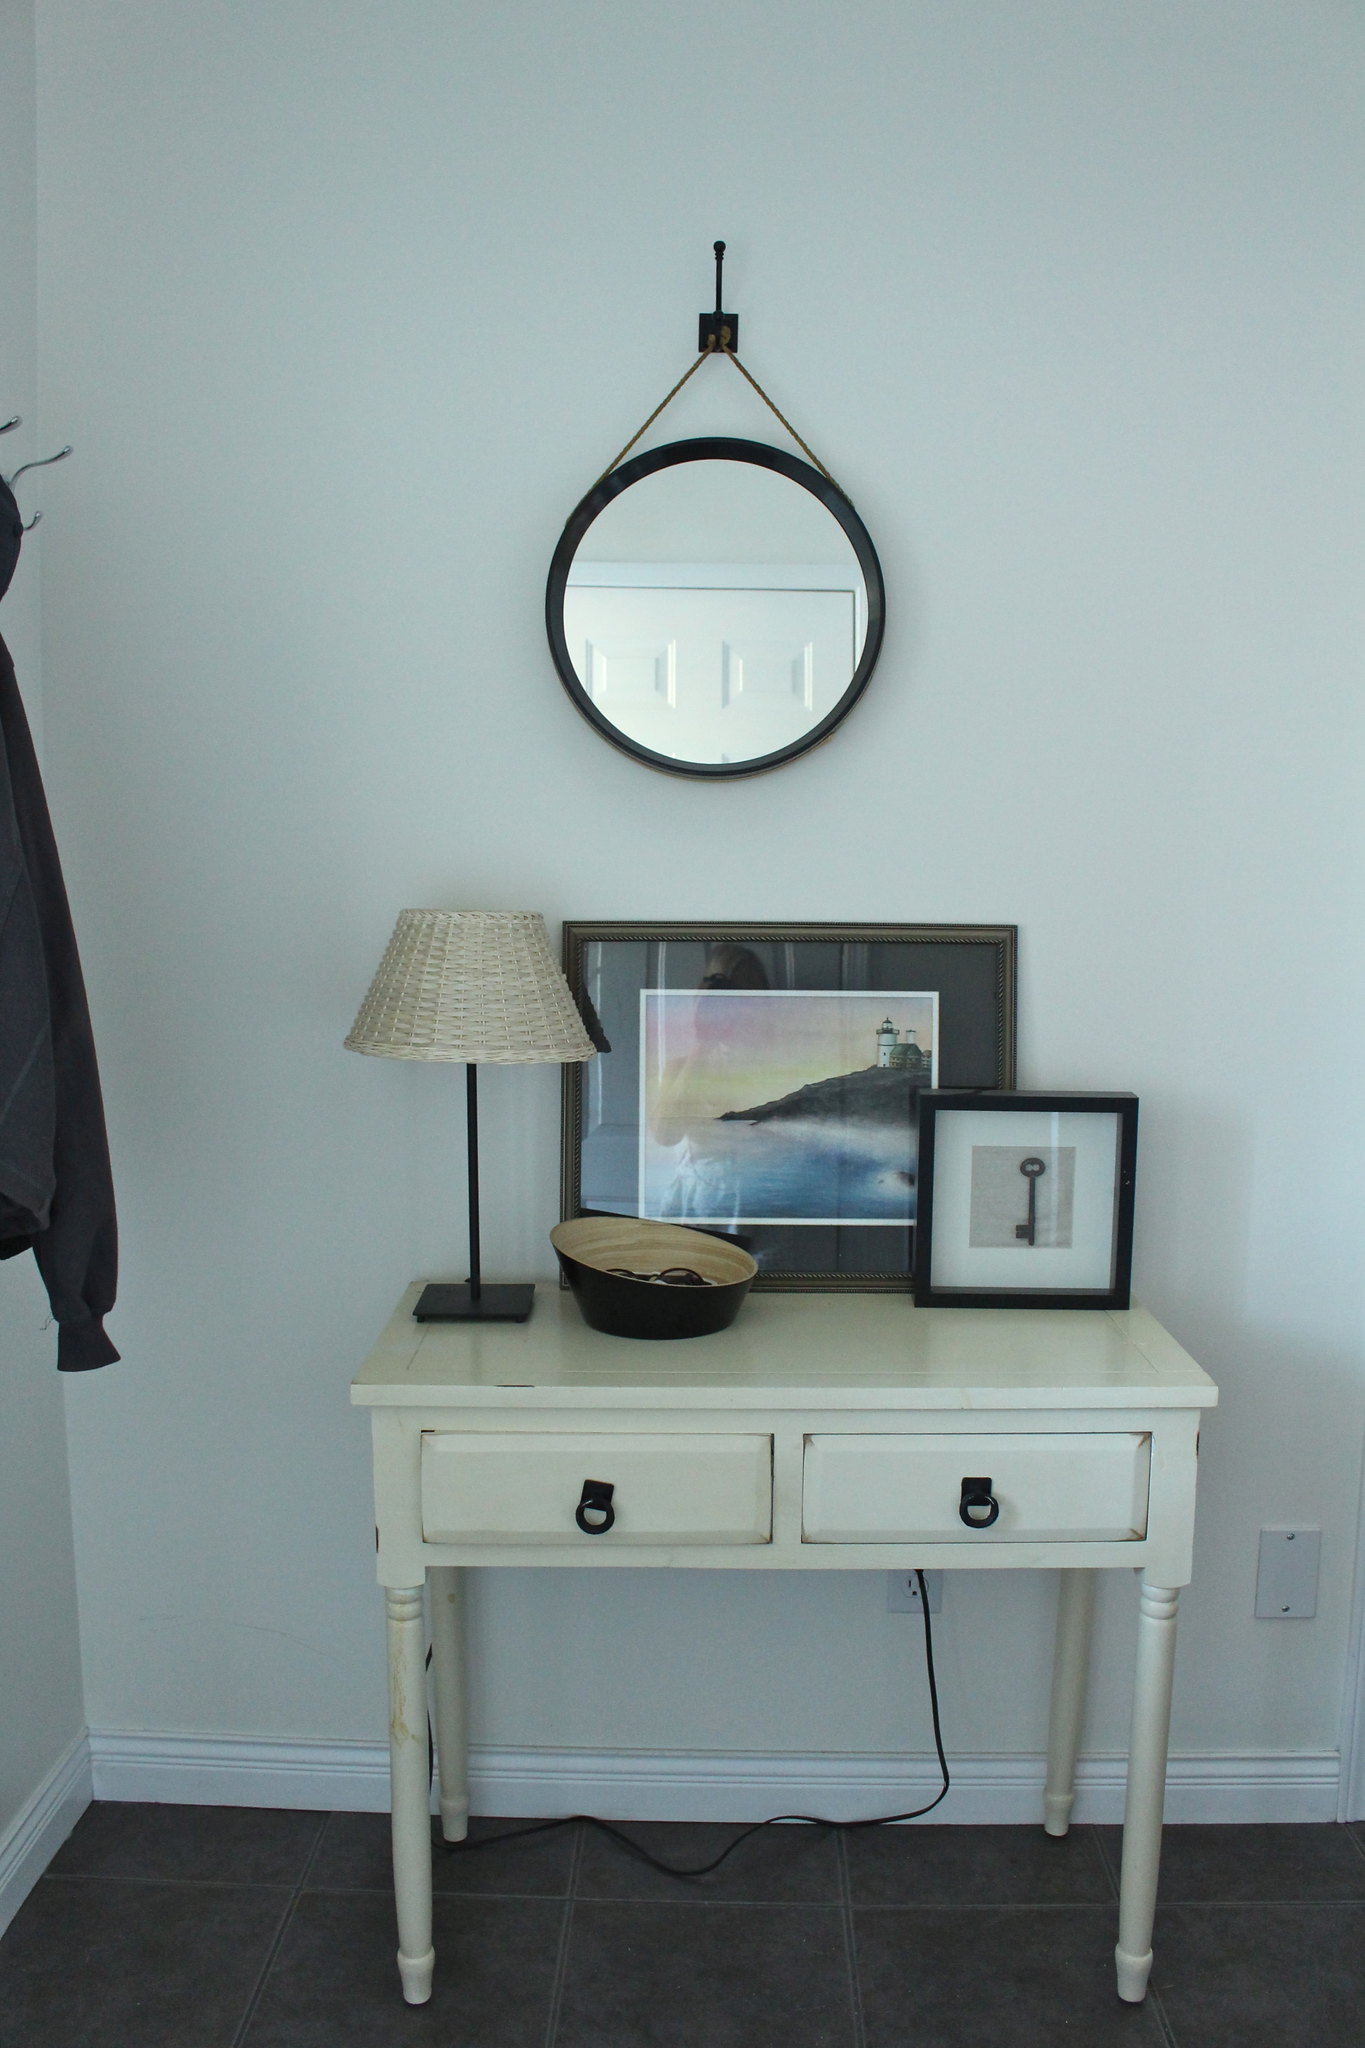
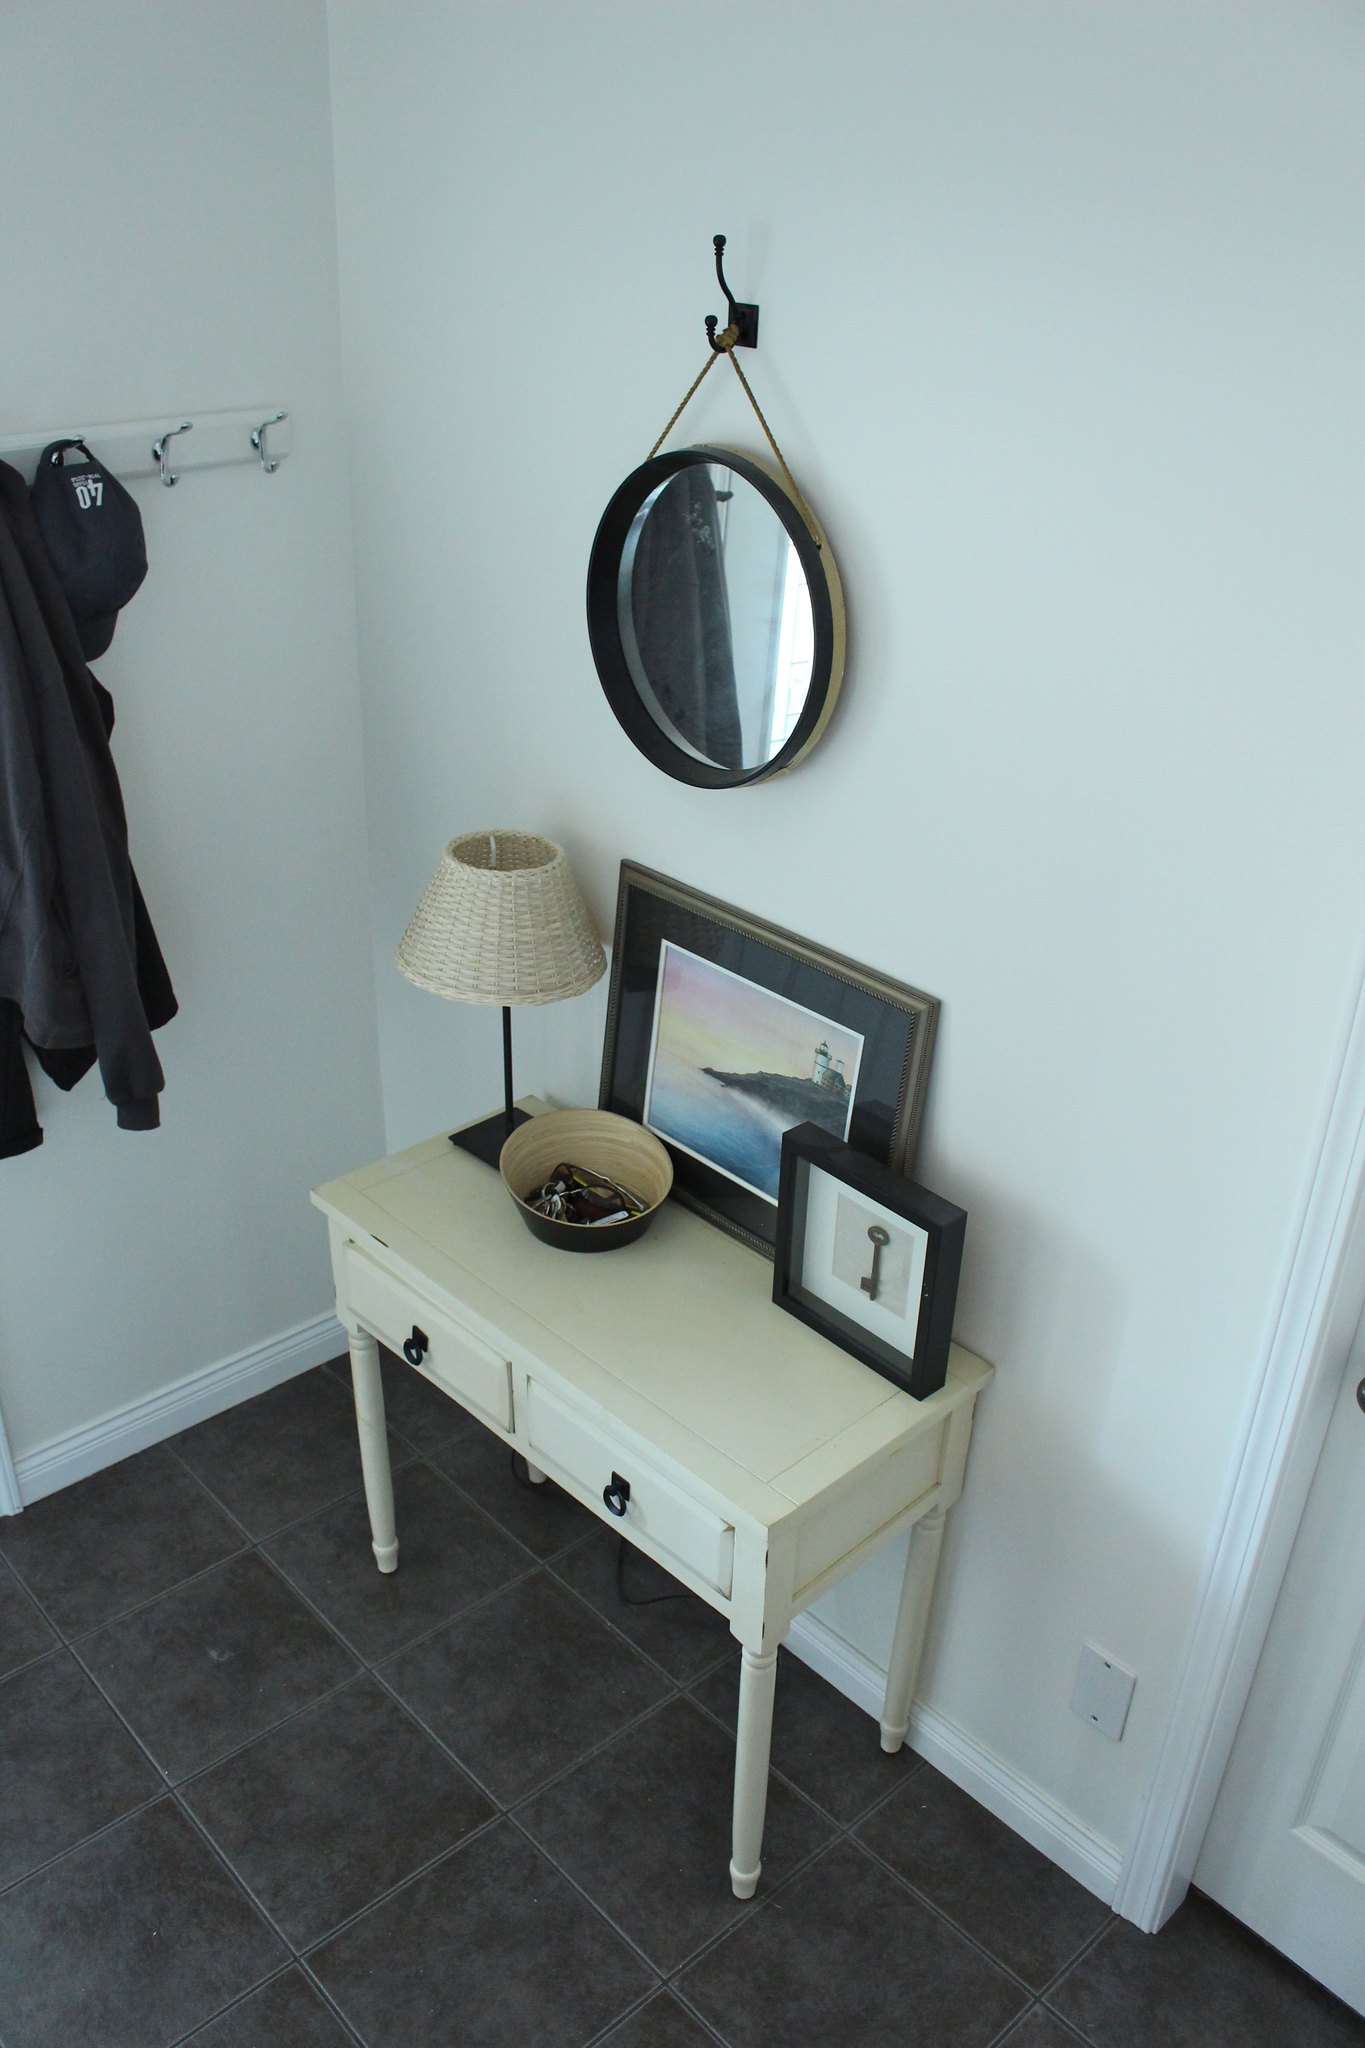
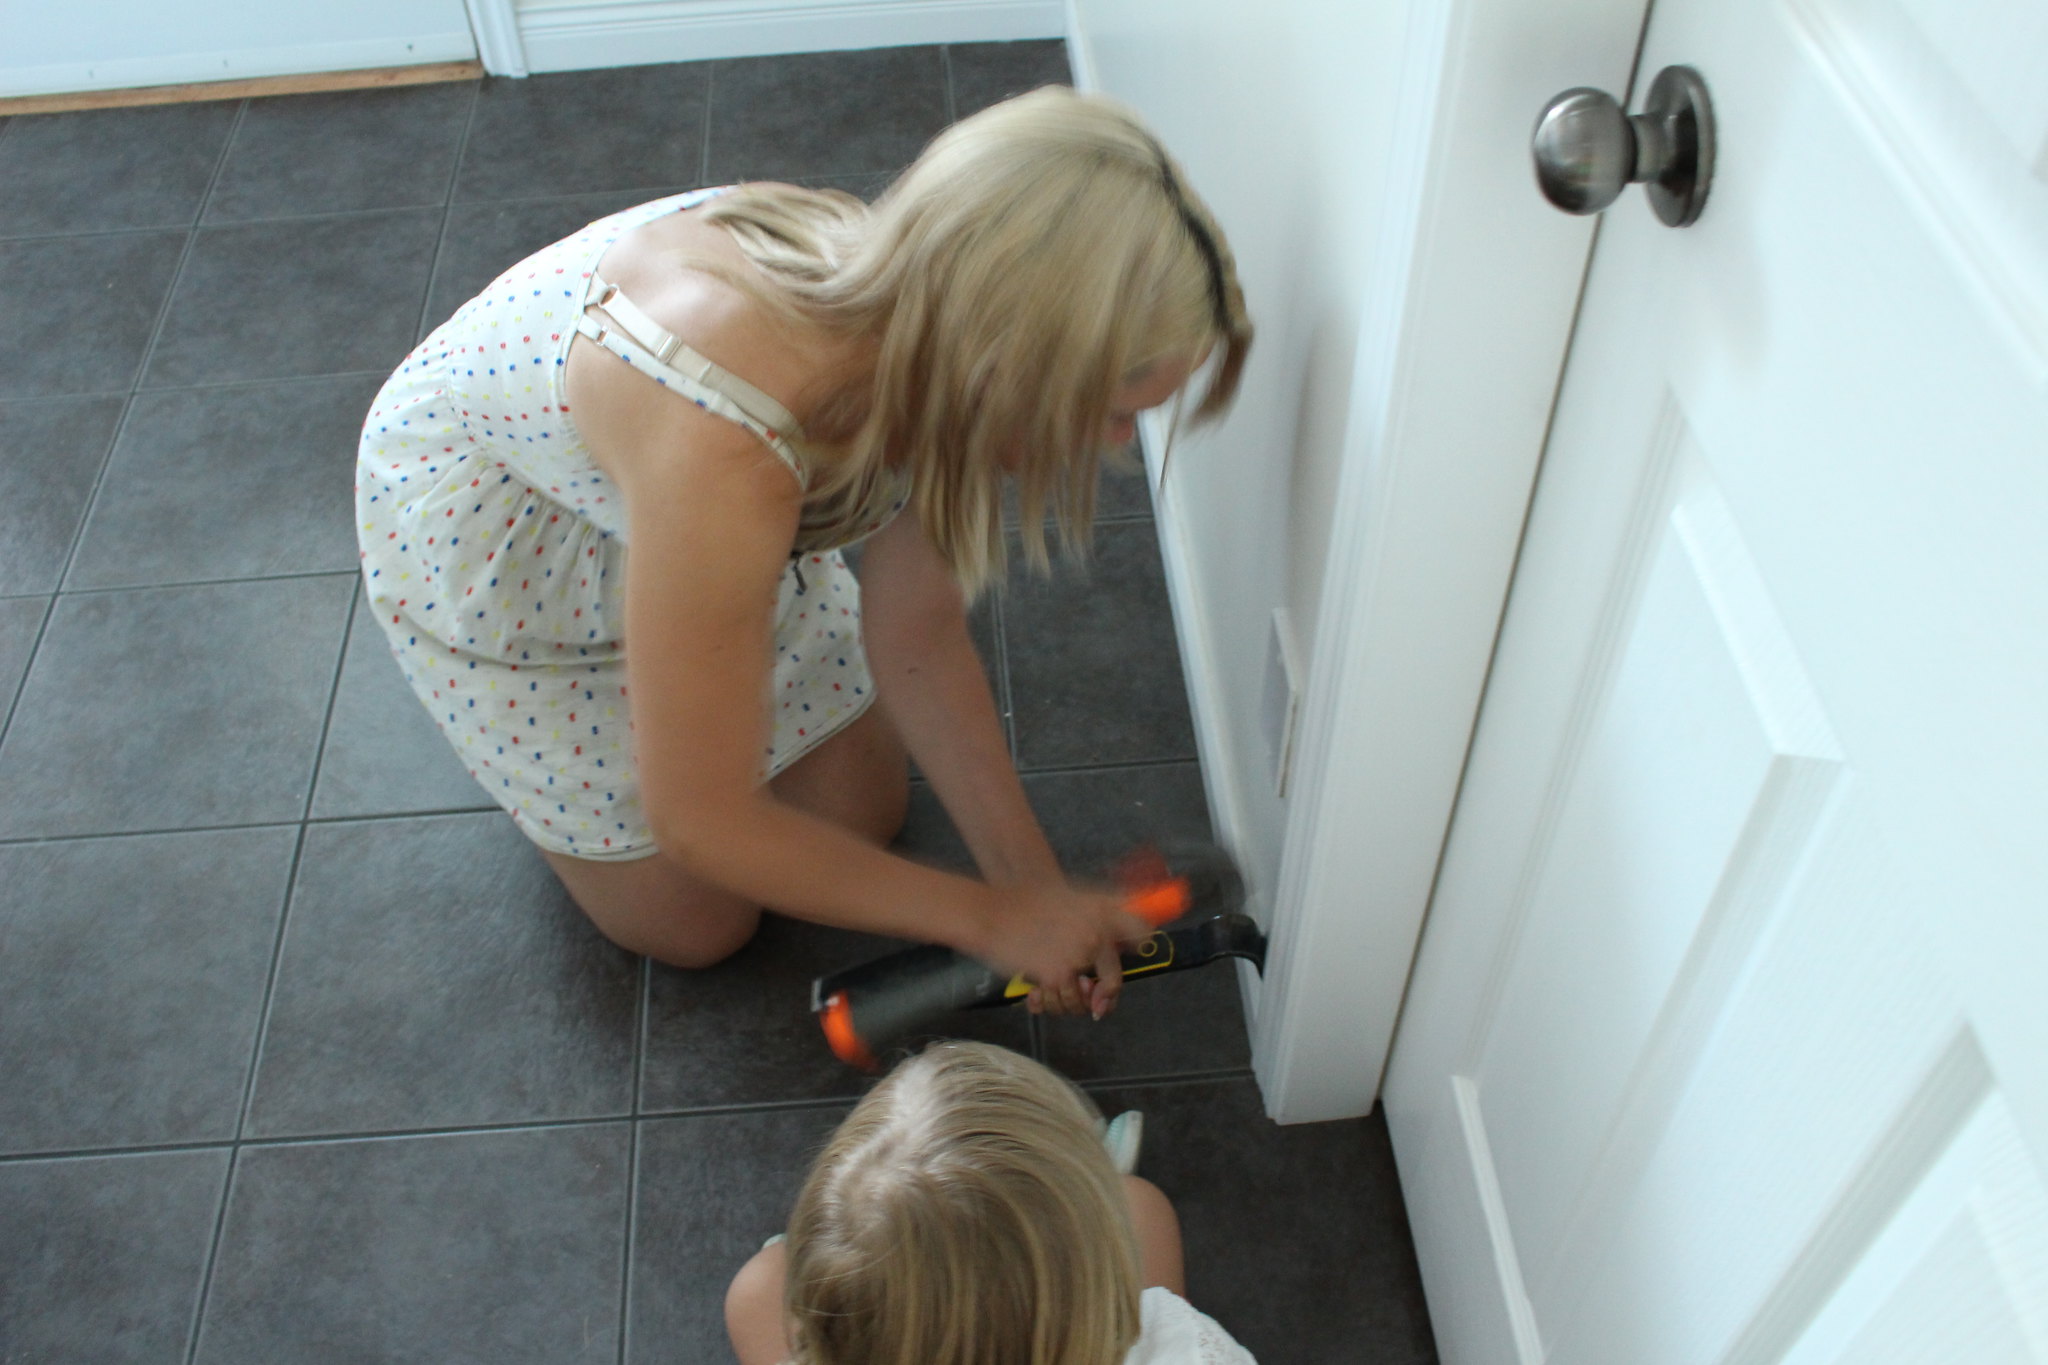
This too small table operated as a dumping ground for items when we walked in the door. When I started brainstorming for this challenge, a new functional front entrance space jumped out at me right away! It was time for ME to tackle it. We took everything away and I started by removing the baseboard (as you can tell, I was dressed appropriately for this part of the project).
Then things had to be nailed. I love using our nail gun attached to the compressor - makes me feel tough and useful. Unfortunately, no photos of this nail gun toting Mama. B actually attached some large pieces of scrap wood to the studs in the wall to make sure that when I nailed my wood in place it would be securely anchored to the wall.
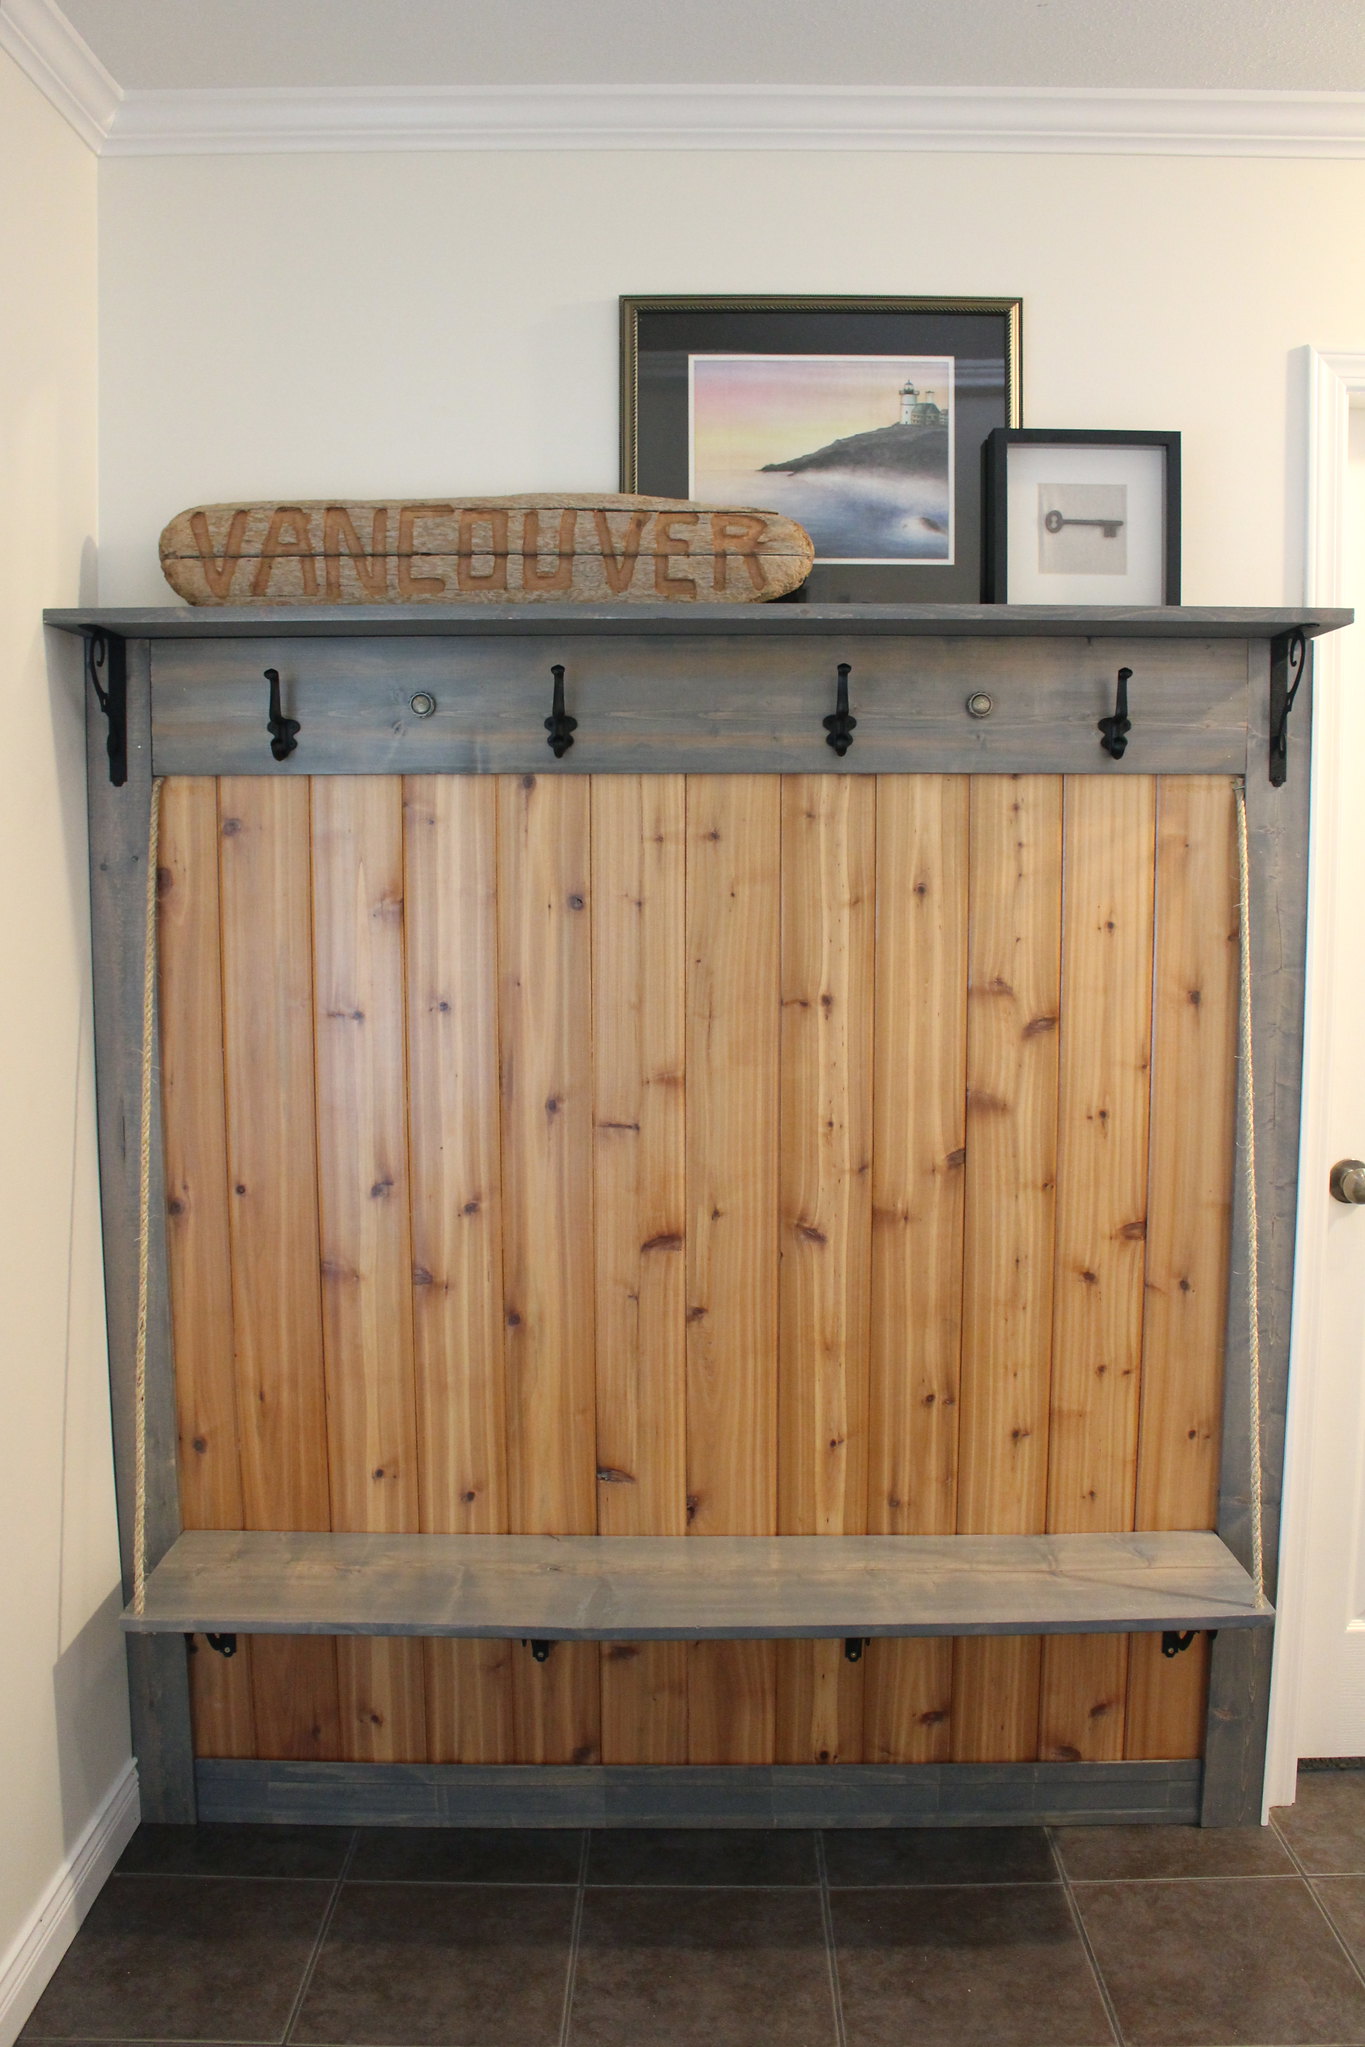
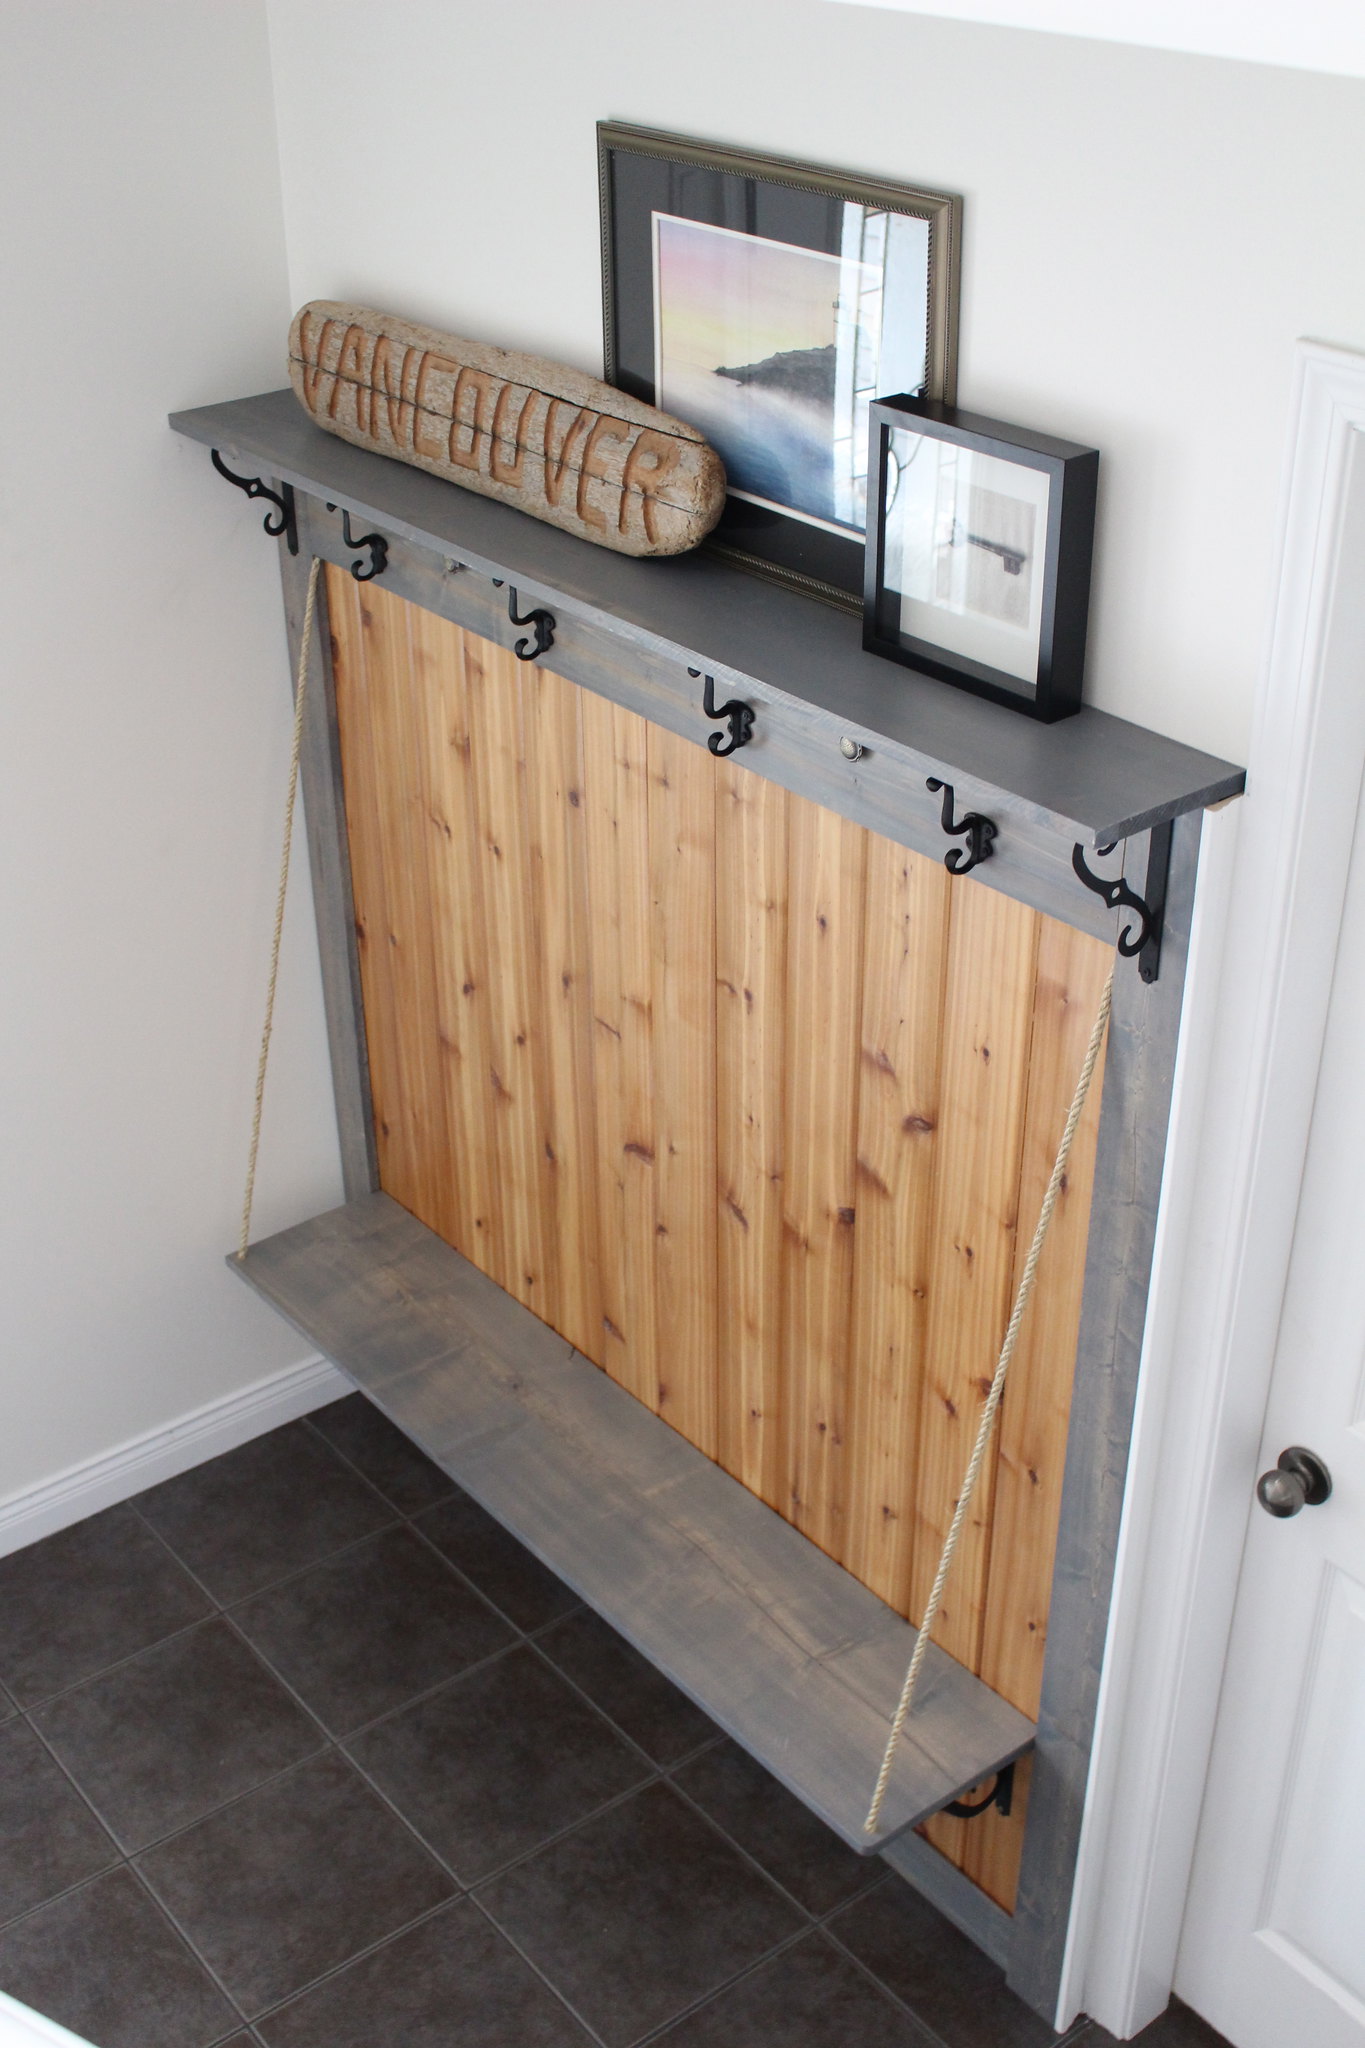
The cedar was nailed in place first, followed by the side trim and then the top trim board. The top shelf first got nailed into our trim boards to make sure it would stay put, then I drilled pilot holes for the decorative brackets and finally screwed them in place. Our bench is secured in place using larger brackets, so again I drilled pilot holes and then secured them in place with screws.
Our hooks went up in a very similar fashion, after being measured. I drilled pilot holes, then screwed them in place by hand. It took a lot longer, but I knew if I used the cordless screwdriver that I would strip the screws, so by hand it was. Once I was done B did go back over them with the screwdriver to make sure they were nice and tight.
By this point in installation Nolan had, had enough so I let B take over for the installation of the rope and drawer pulls. The rope is attached to the corner of our pine trim and cedar using u-nails that he nailed into place. He then drilled a hole in the corner of the bench which he thread the rope through and nailed it into place as well. This was my favourite part of the project, I think the rope adds something to the bench, so it doesn't just look like it's floating off of the wall. The knobs I decided to use more decoratively (my initial idea was to have drawers under the bench, but that was too time consuming and complicated). B drilled holes only slightly larger than the back of the pulls and then pushed them into place.
I honestly love how it turned out more than I even thought I would. It will be a much more functional space for us as we come in the front door to hang jackets and bags, and I may hunt out some trays for under the bench for our shoes to dry in the coming wet months (oh how I hope the rain will one day return). It's really perfect timing as Halle begins preschool next month too! I can already see her tiny pink backpack hanging here every day when she arrives home! It's a much more beautiful space overall, and I'm glad our top shelf can provide a safe spot for our artwork to sit (away from little hands), and we finally have a home to display that piece of driftwood B brought back from the island and carved up!
Now for some awesome before and after, side by side comparison shots!
Now for the fun part! There were 7 other talented bloggers taking part so you need to check out what everyone else came up with (I'm excited to see what was made as well). Then - VOTE! As much as I want you to vote for me (please, please, please vote for me!) you need to pick your favourite of the 8 projects. There's $2,500 on the line, and if I win, I'd like to renovate one of our bathrooms - preferably the master bath!
Voting starts today and ends on August 31st at 11:59PM (EST). You can place a vote once per day over on the Helping You Finish Facebook page - so make sure to visit daily to support your favourite project! Thanks so much for checking out my project! HAPPY VOTING and may the best blogger win!!
Labels:
Before and After,
Contest,
DIY,
Entrance,
organization,
Storage,
wood
Monday, August 10, 2015
Nolan's Custom Closet
We are creeping up on Nolan turning 3 months, and still his nursery is not complete. We mostly just need to hang his bookshelves, remove some bins and bring his chair in. Hopefully I can share a complete nursery reveal soon, but in the meantime, I wanted to share the custom storage I had B build for his closet.
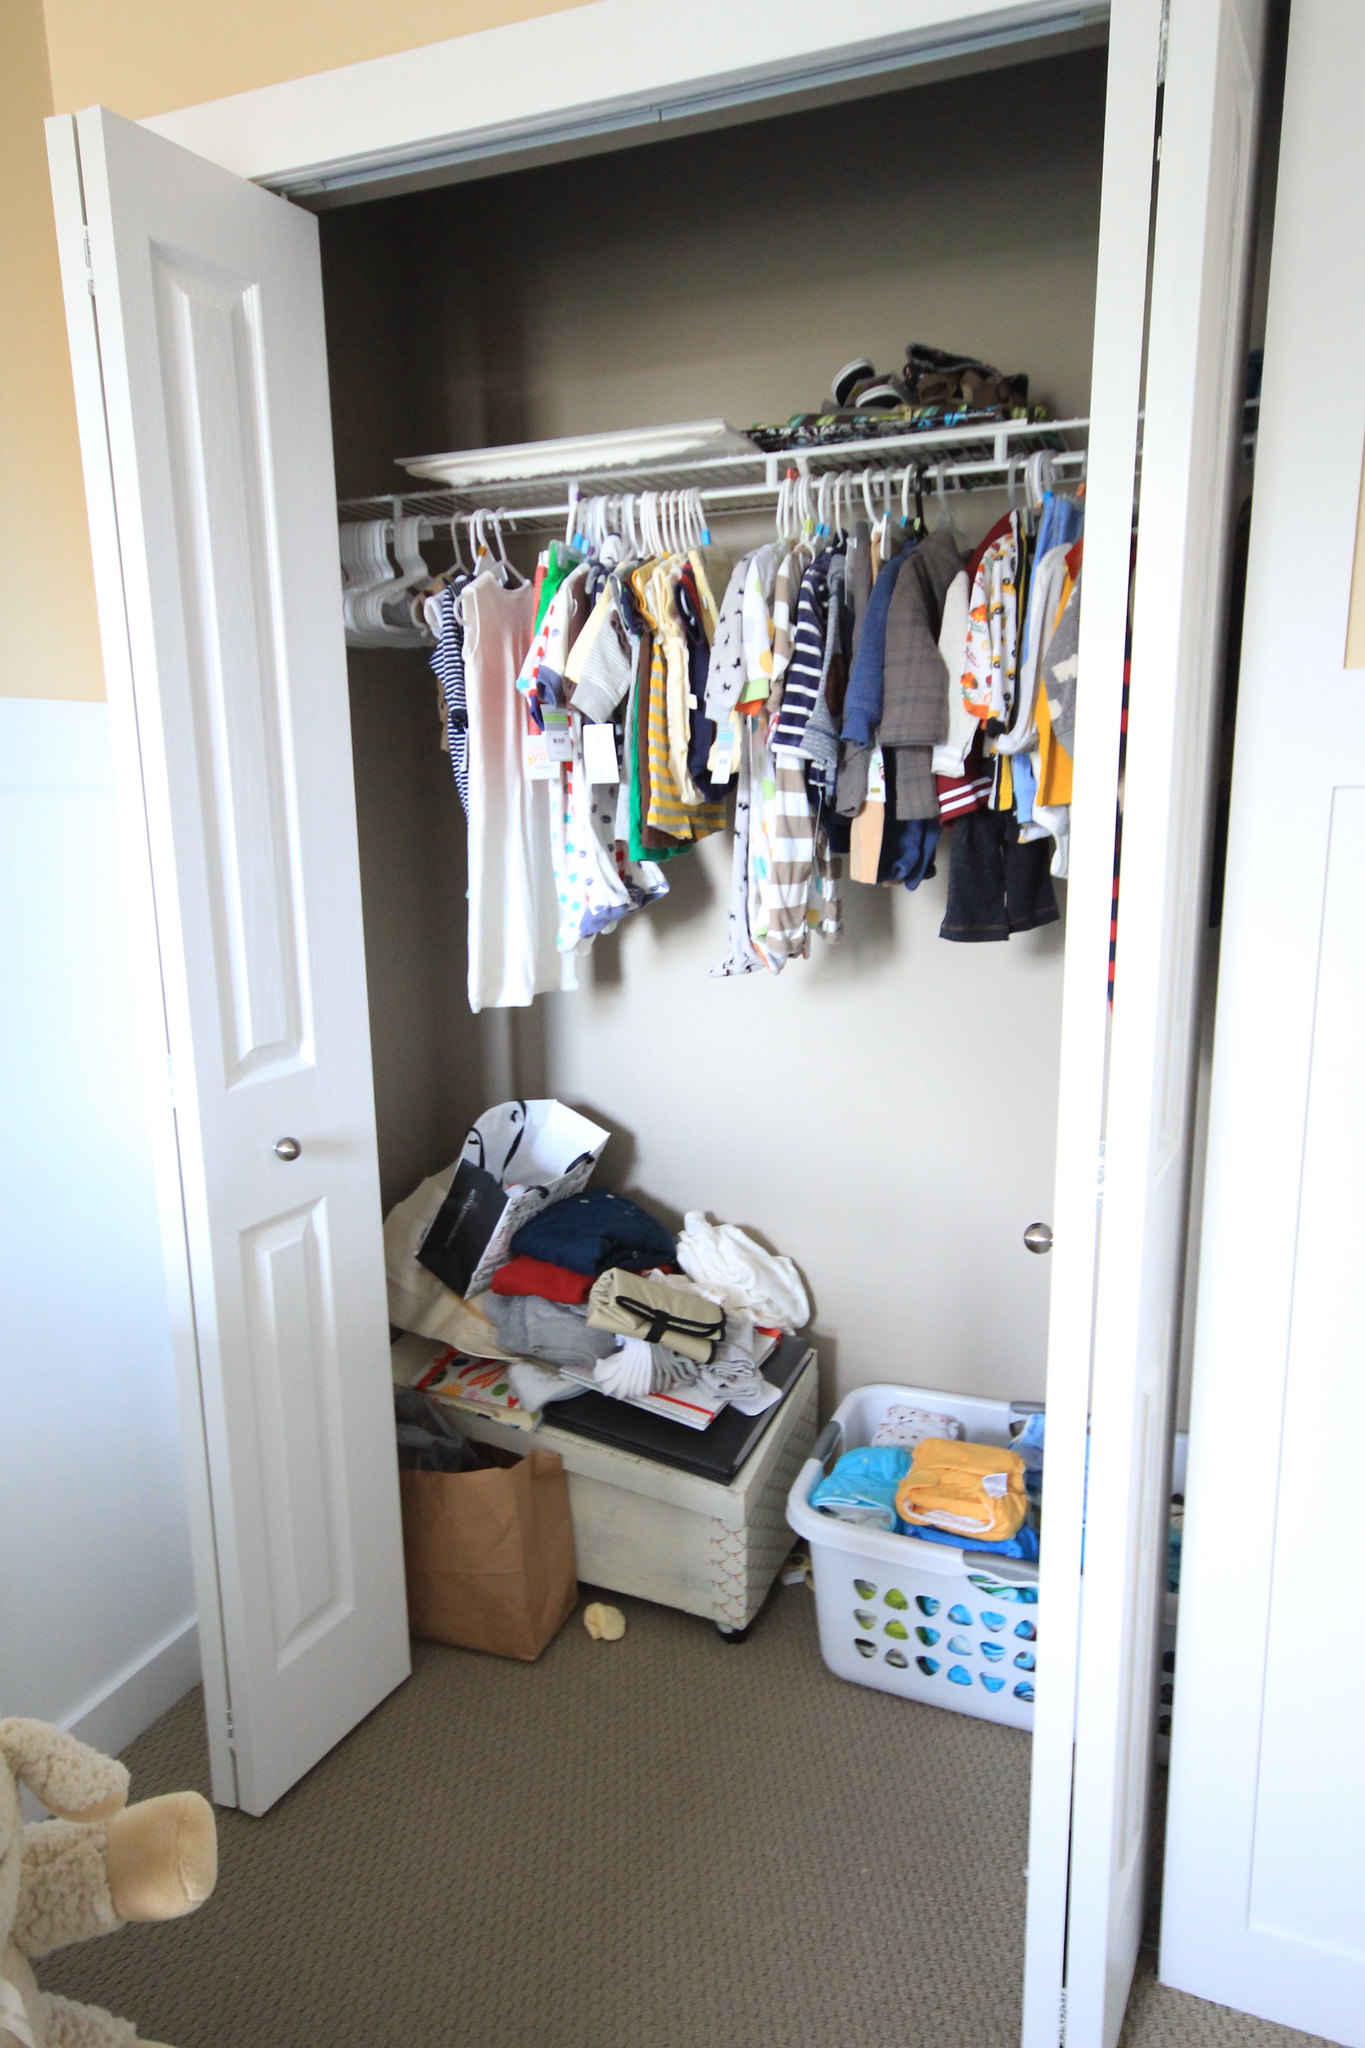
Last March we had tackled Halle's closet, using a lot of what we had to make the space more functional and tidy (you can read about her closet transformation here). A year on, we were so happy with how her closet worked, I knew I wanted something similar for Nolan's closet. What we started out with was quite simple, which didn't provide a variety of storage options for us...
Last March we had tackled Halle's closet, using a lot of what we had to make the space more functional and tidy (you can read about her closet transformation here). A year on, we were so happy with how her closet worked, I knew I wanted something similar for Nolan's closet. What we started out with was quite simple, which didn't provide a variety of storage options for us...
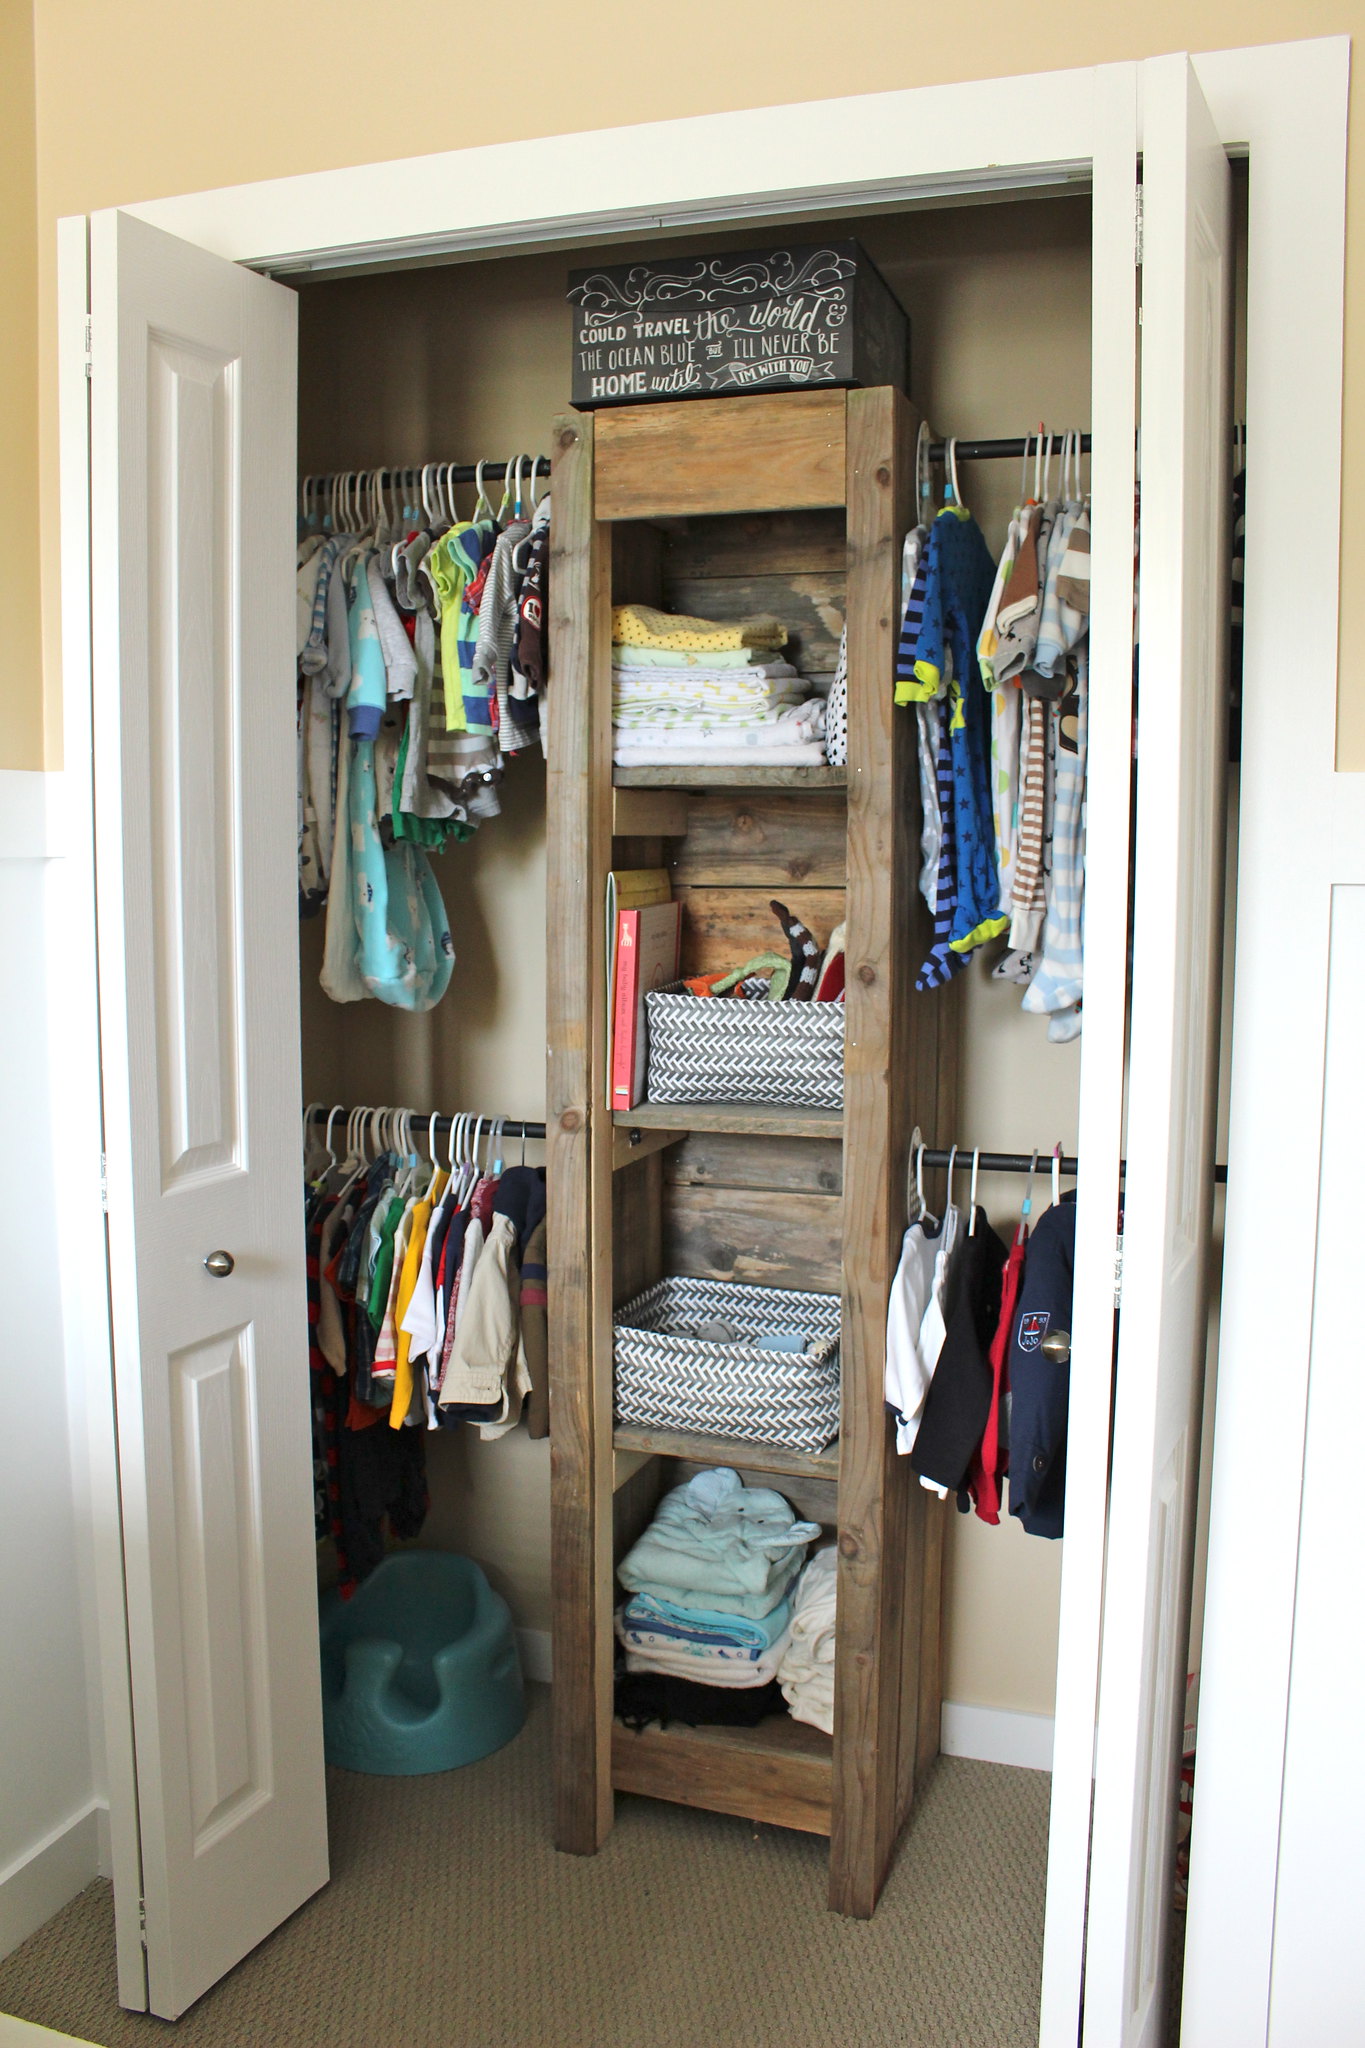
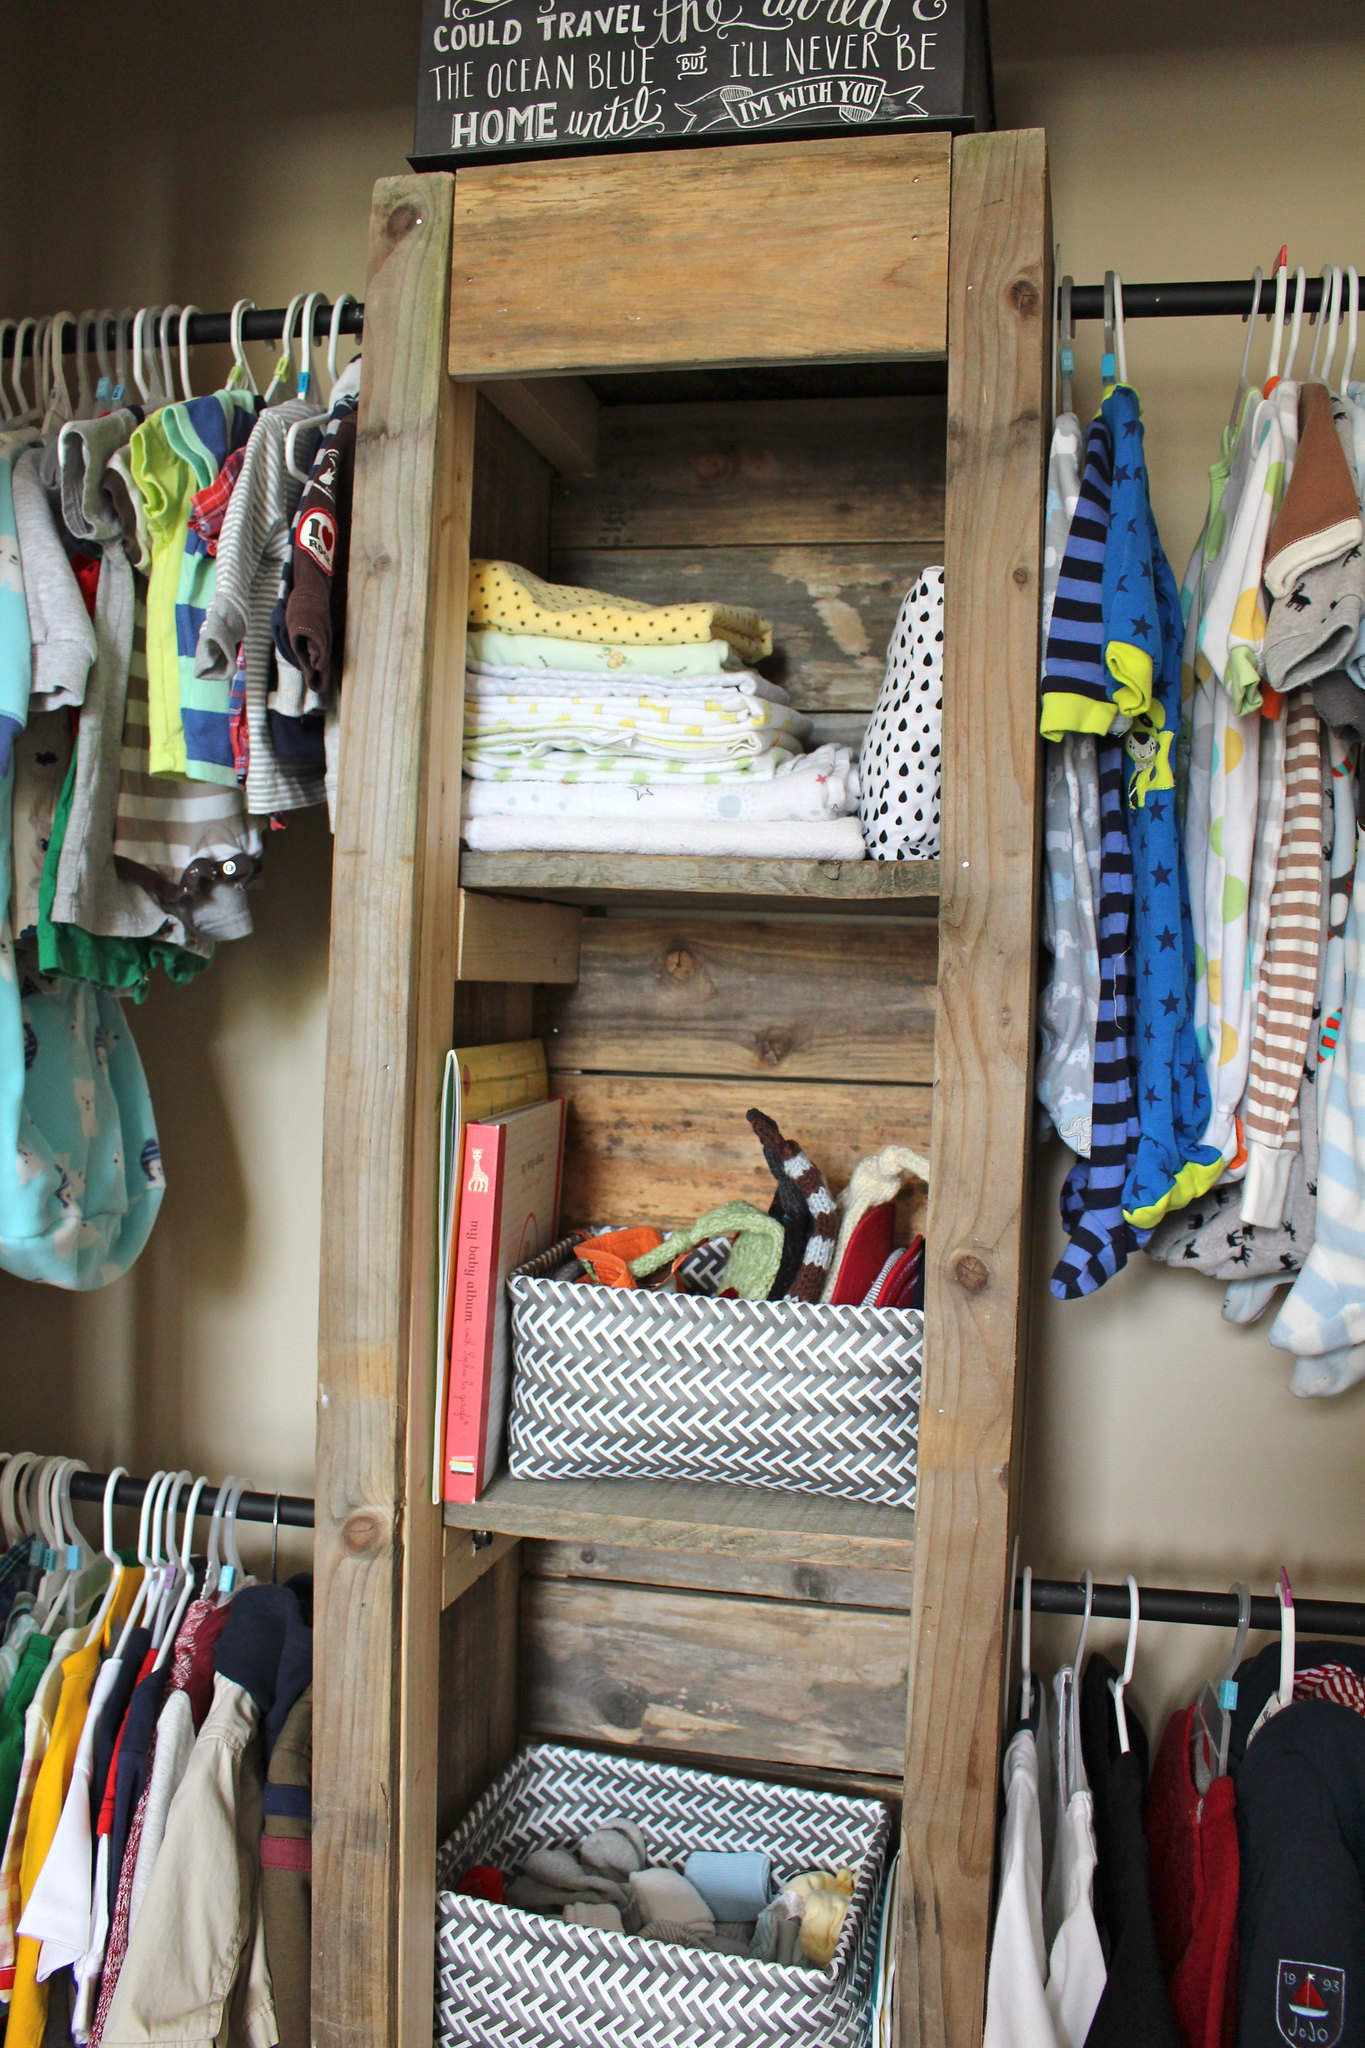
Yup, we had a lot of work to do to get things looking pretty. So, B set to work building some custom shelving for the centre of his closet. He used scrap wood that we had laying around, and what he constructed is absolutely perfect!
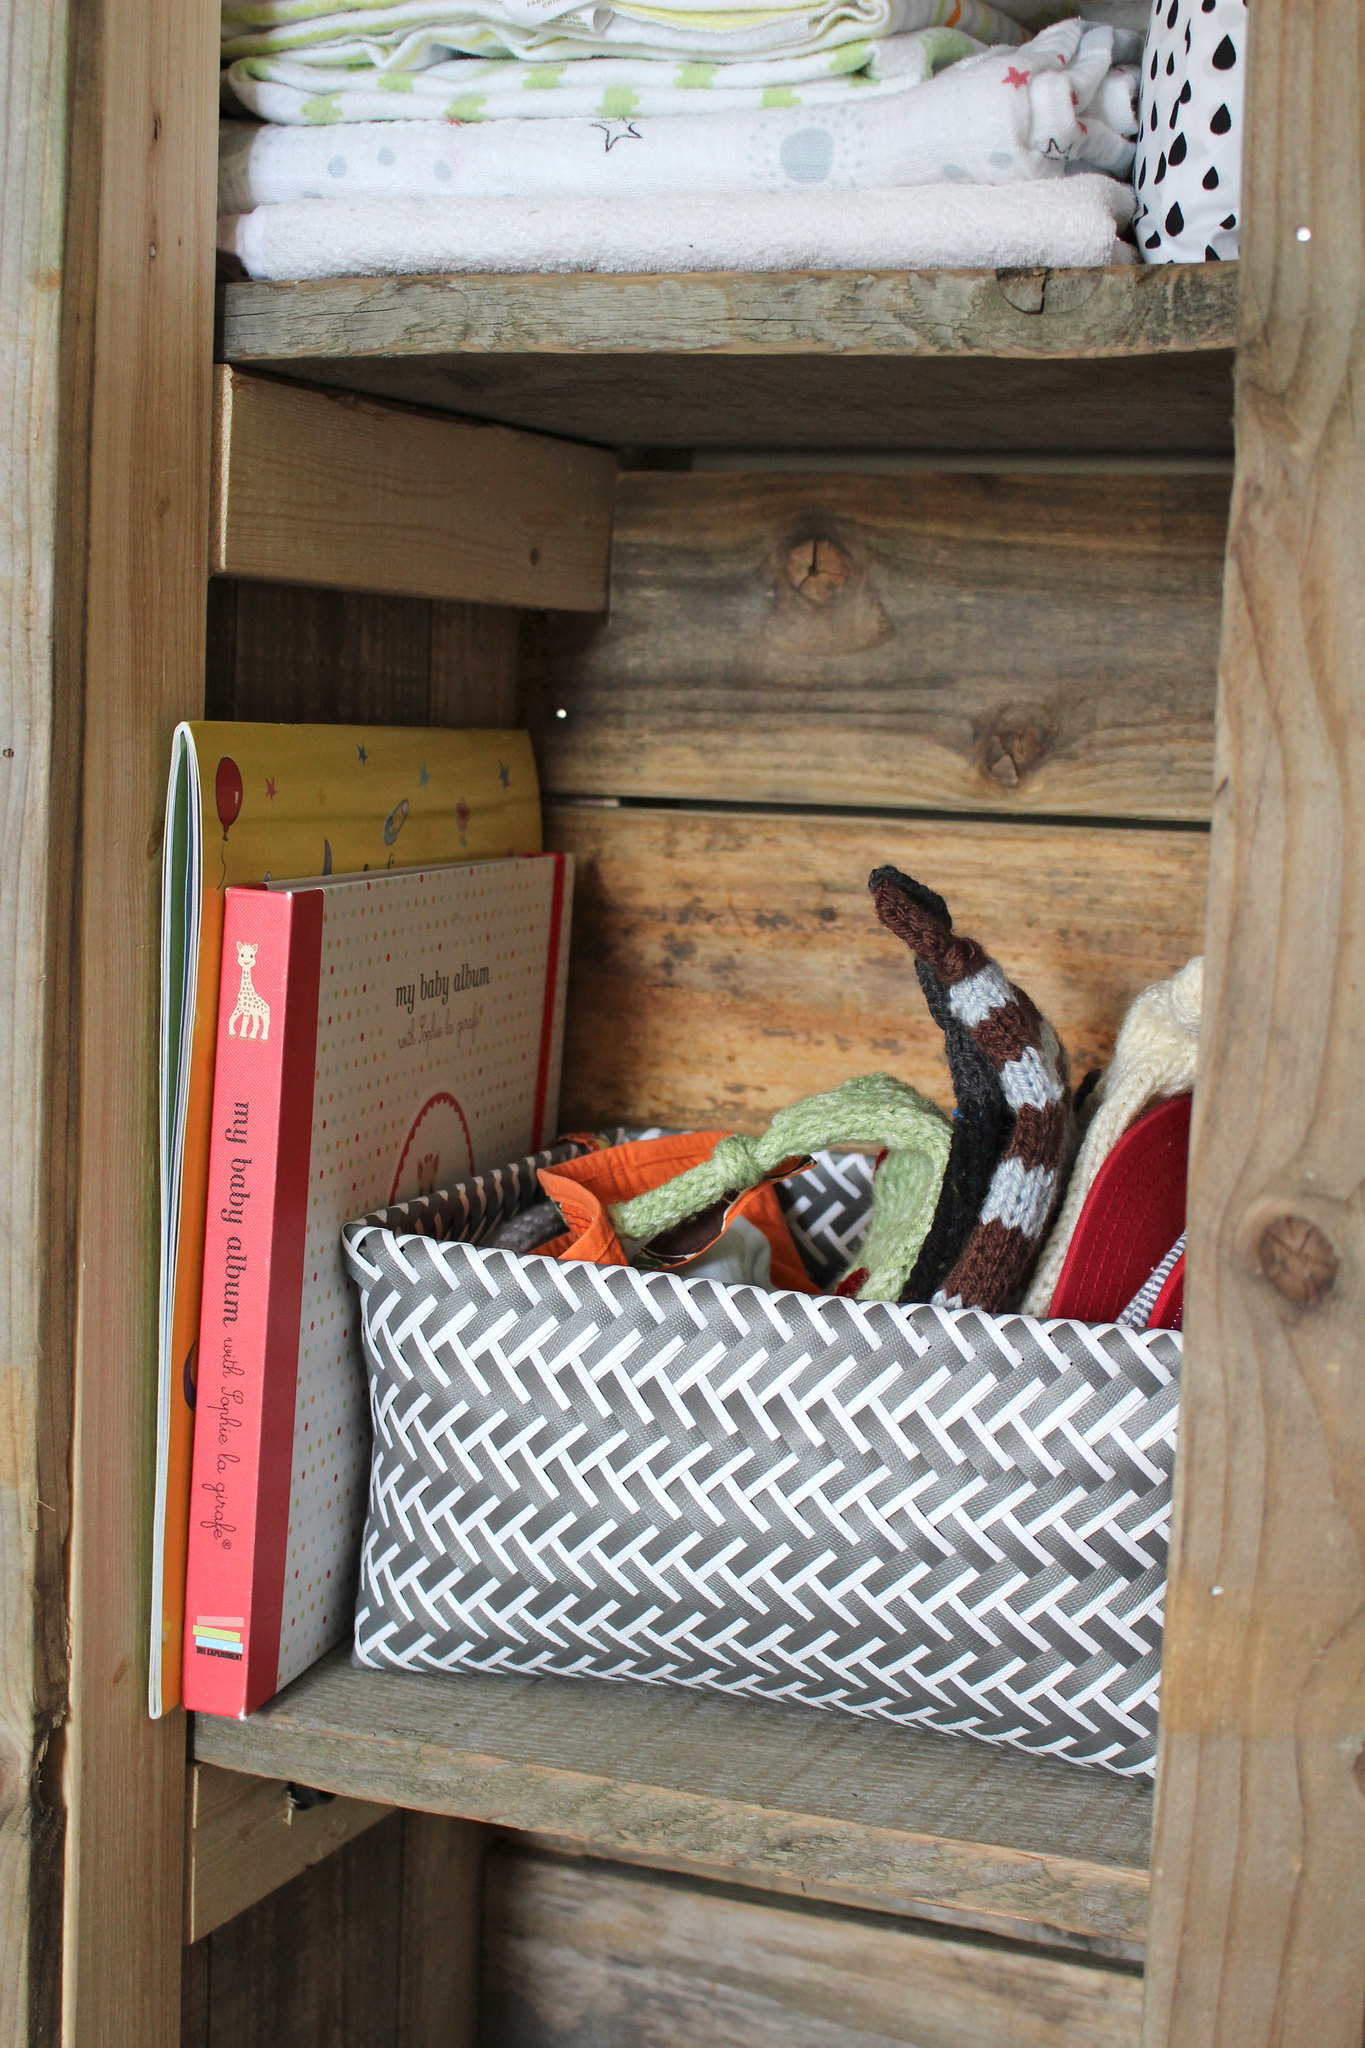
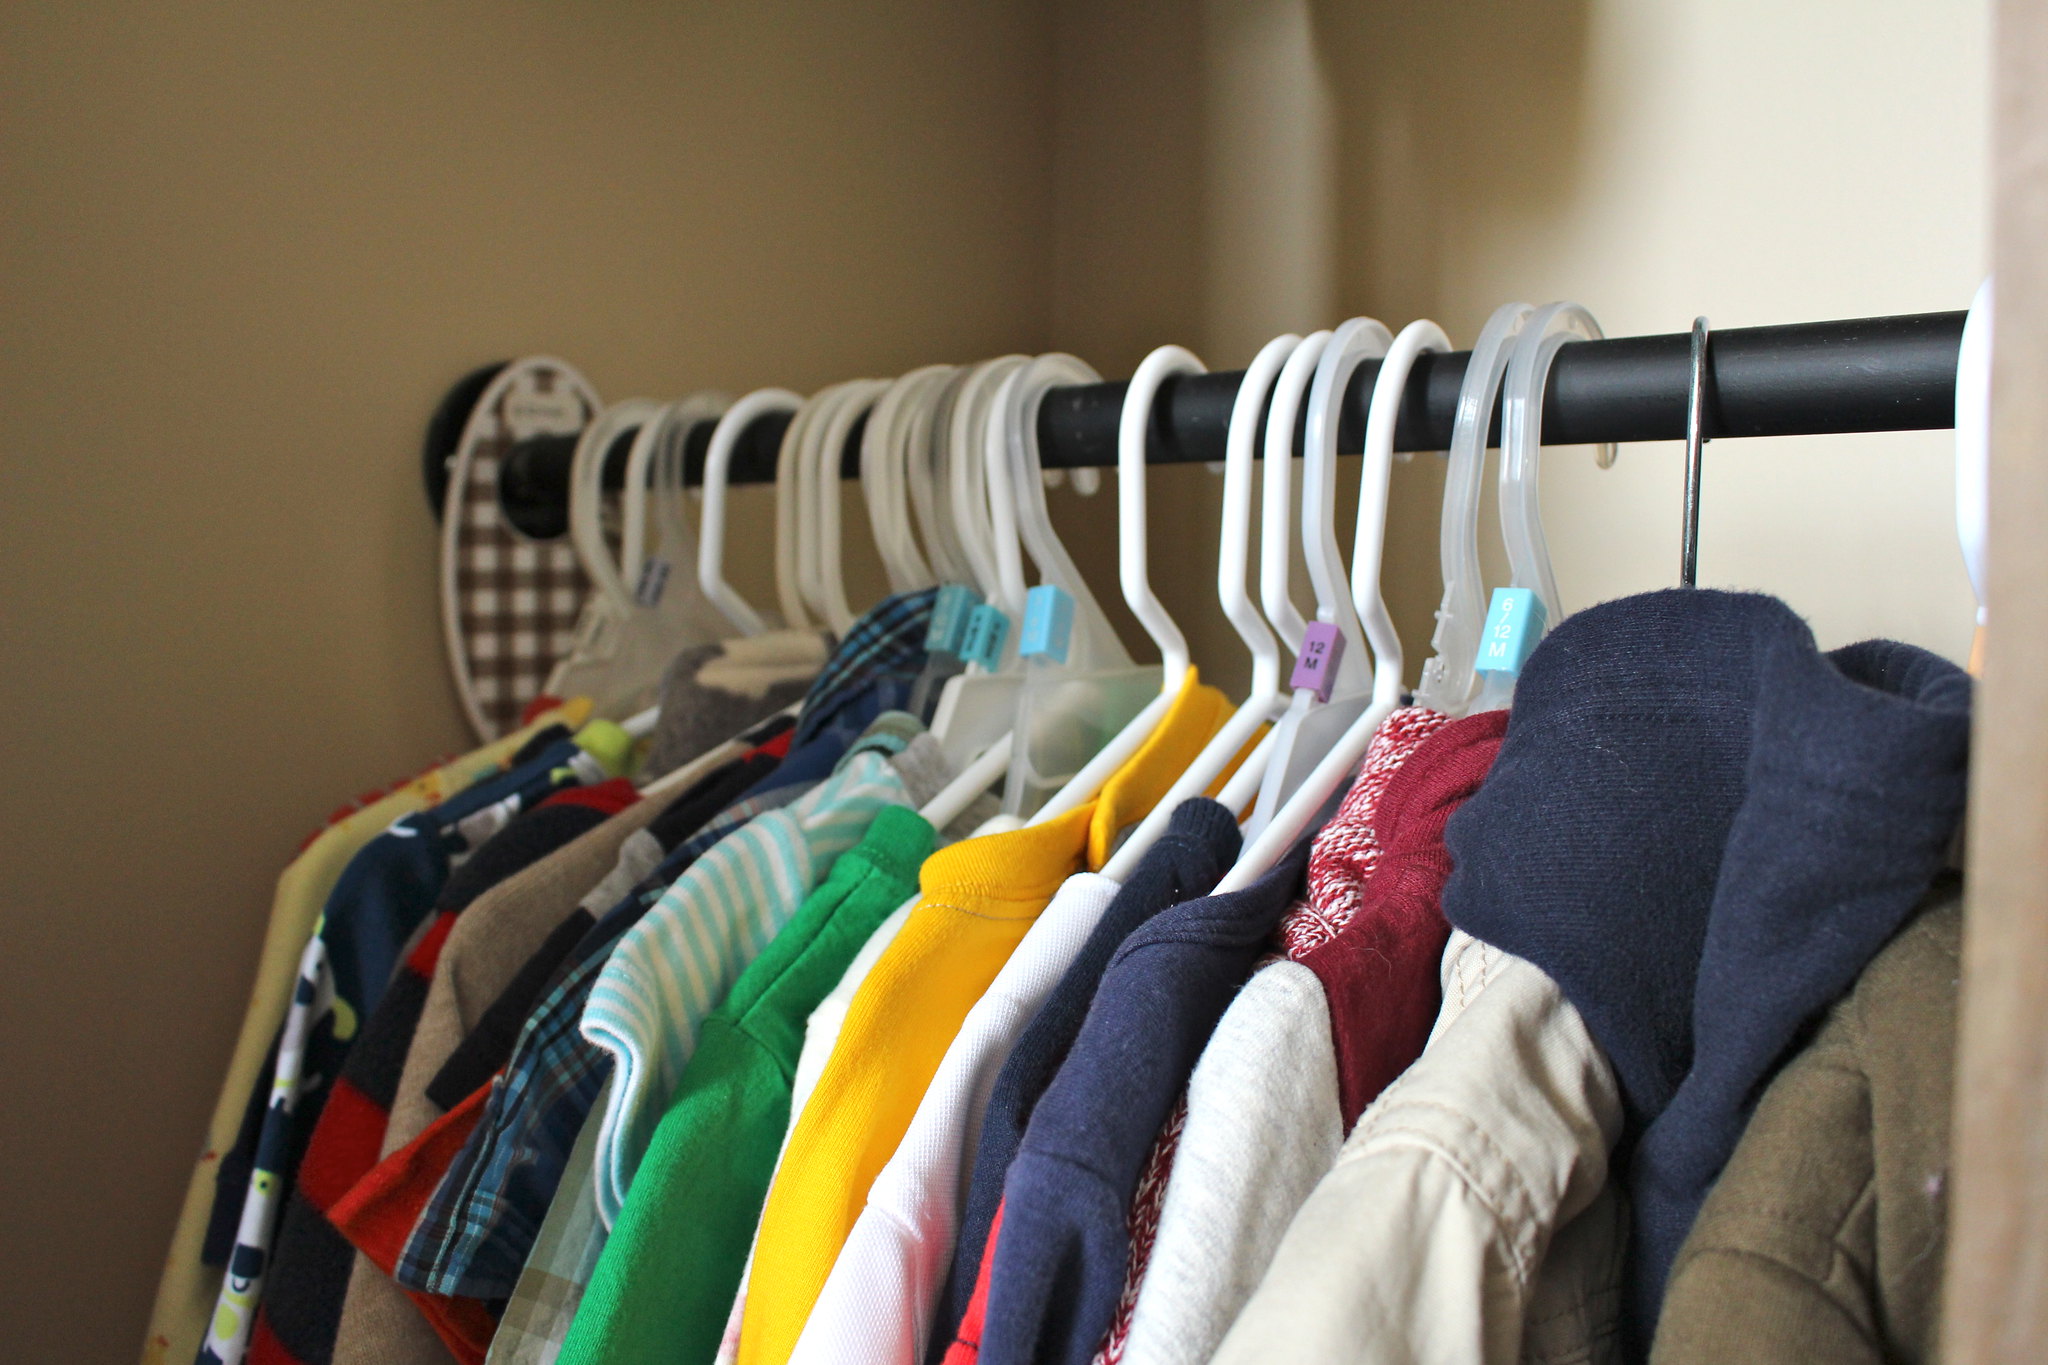
The shelves provide lots of room to keep blankets, towels, extra crib sheets & mattress protectors as well as some baskets for his socks and hats (this boy has LOTS of hats!). Putting the shelves in also allowed us to add four rods for hanging. While this configuration doesn't exactly give us more hanging space, it definitely helps me to keep things more organized!
His baby book and first year calendar have also found a home in his closet. I'm pretty happy that I've been doing a decent job staying on top of both of them. The baskets I love, and picked up at HomeSense for around $10 each. I know once they have served their purpose in his room, they will be easy to use as storage somewhere else around here!
The hanging rods are actually 1/2" galvanized pipe that we spray painted matte black. The match the pipe that we installed for his curtains. You can read more about his nursery here.
It feels good have two of our many closets redone and organized. All of the rest of the closets in this house are also made up of wire shelving, which does not really do the best job at maximizing storage and organization. The next two most important closets? Our master bedroom and hallway linen closet! Maybe this winter will be our chance to work on those problem areas.
Do you have any closets that could use and organizational overhaul? Any of you working on major reorganizational projects this summer?
Subscribe to:
Comments (Atom)
